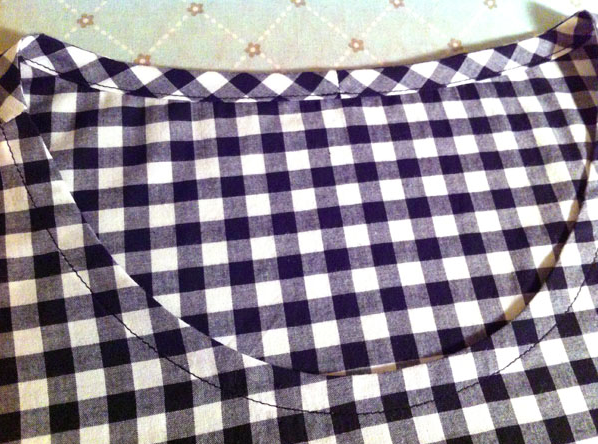
If you found the first version of how to apply bias tape to a neckline to be too challenging, well, you are in luck! This version is even easier for professionally finishing any edge on a neckline or arm hole opening, or anything else with a raw edge. The final result is nearly identical to the first version, with even less effort. Try both and see which you prefer!
Step 1: Just like the first method I taught for applying bias tape to a neckline last week, if possible start with the shoulder seams sewn together, but not the side seams. This gives you full access to the neckline without restrictions.
Step 2: Measure the opening with a flexible ruler and do your best to get a measurement for the neckline. Add a couple of inches to the total so you have room to overlap and sew the ends together.
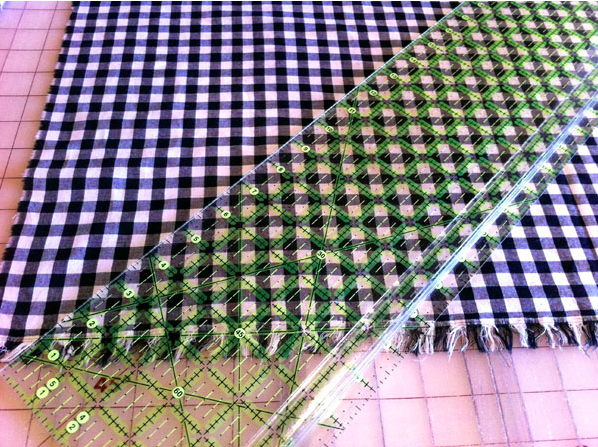
Step 3: Line up the 45 degree angle from your ruler on the selvage of your fabric. This will give you a line into the true bias of the fabric.
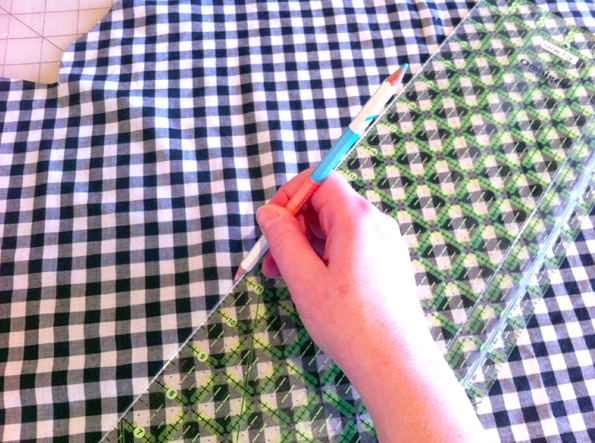
Step 4: Draw a line along the edge of your ruler equal to the length you measured in step 2.
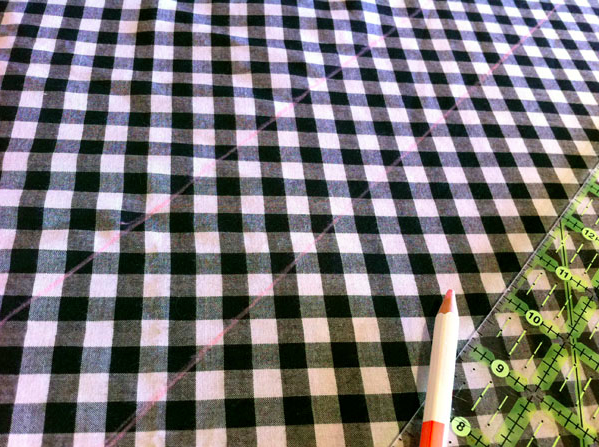
Step 5: Move your ruler over and draw a parallel line next to the first one, 2” apart, for a bias strip that is 2” wide by the length from step 2.

Step 6: Cut along both lines, carefully staying on your drawn line.
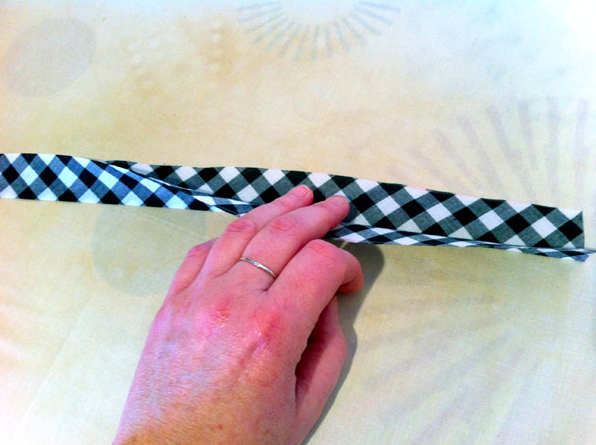
Step 7: Take the bias strip to the ironing board. Fold the strip in half and press crisp, keeping the raw edges lined up as you go.
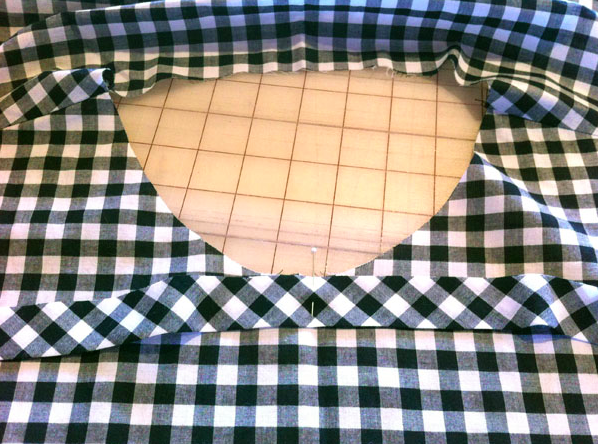
Step 8: Leave the bias strip folded. Find the center point of the strip and pin it to the center point of the neckline. Continue pinning around the entire neckline until you reach the midway point on the neckline back.
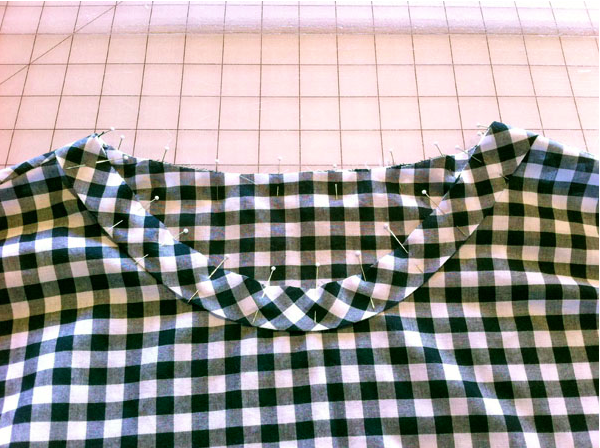
Step 9: At the center back, open the fold of the bias strip and pin the ends together so it fits around the neckline.
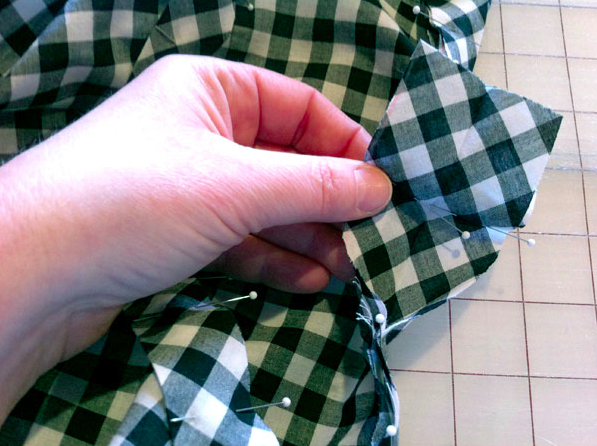
Step 10: Take the pinned spot to the sewing machine and stitch them together. Make sure they are pinned with right sides together.
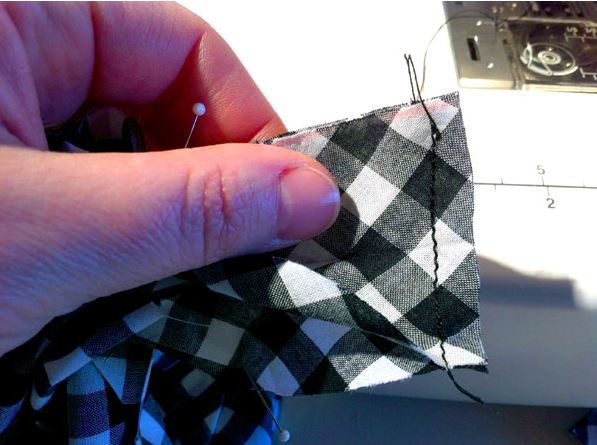
Step 11: Trim off the extra fabric after the stitch mark. Press the seam open.
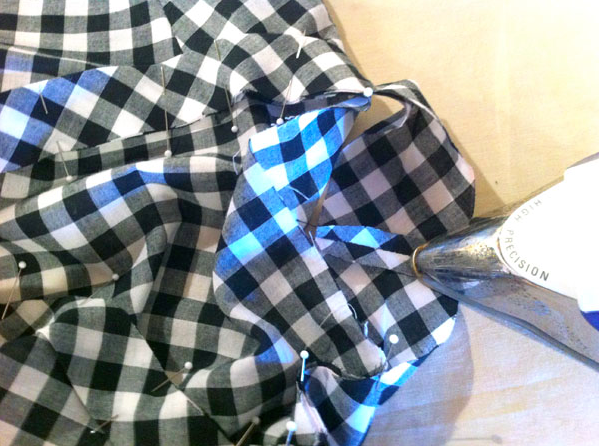
Step 12: Press the original crease at the center back and pin at the neckline.
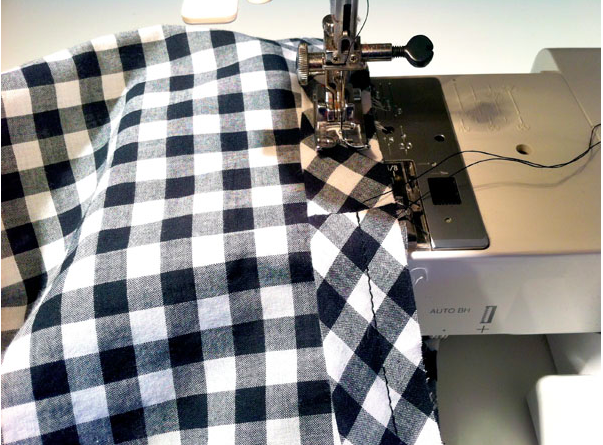
Step 13: Sew around the entire neckline at the 1/2” seam allowance.
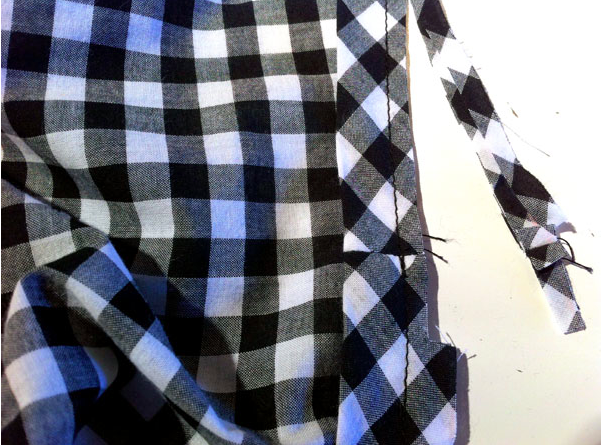
Step 14: Trim the seam allowance around the neckline in half. Be careful not to accidently trim the neckline stitching.
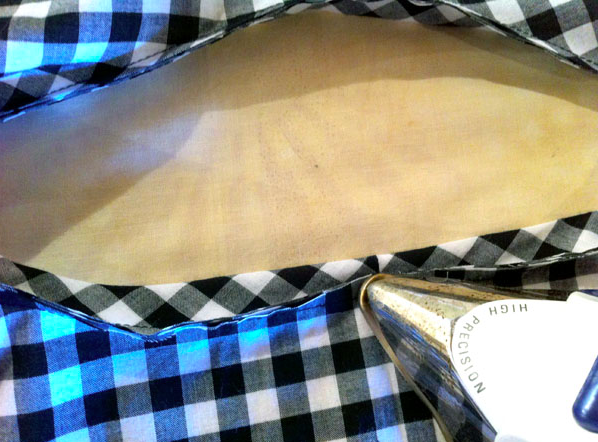
Step 15: Press the bias tape on the right side of the garment, up into the neckline opening.
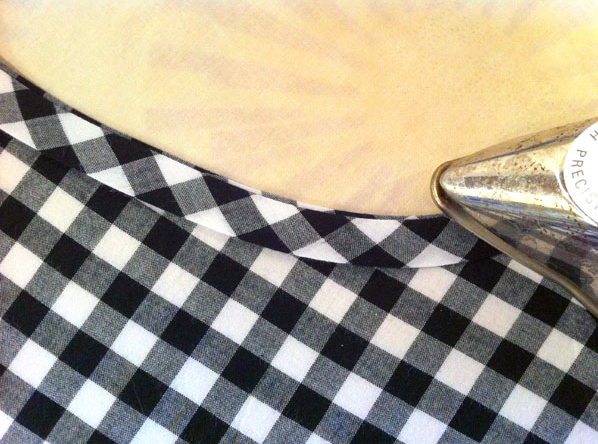
Step 16: Turn the bias tape into the neckline, rolling the seam to the inside and press. Pin in place.
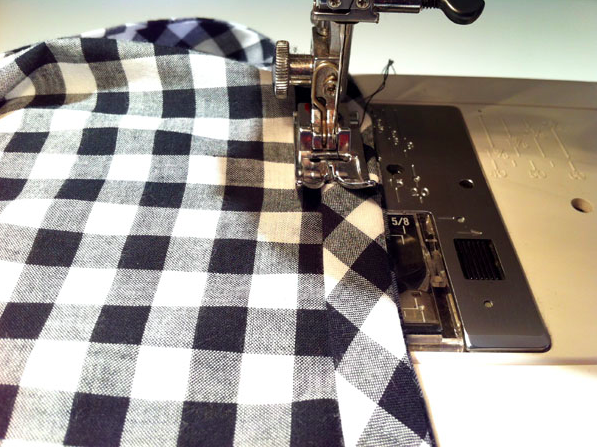
Step 17: Sew all around the neckline as close as you can to the inside fold. Give the entire neckline a final press and you’re done! This method of finishing can be used on any neckline or to make a sleeveless finish to edge an armhole opening. Mix it up and use a contrasting fabric for a little secret inside your next dress project!
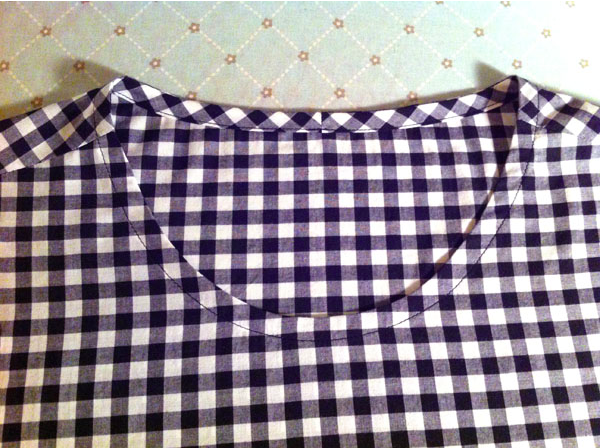
So now that you know both methods, which do you prefer?
Come back to the Craftsy blog tomorrow to learn all about inserting zippers with ease, every time. And in case you missed it, enjoy some great tips for sewing with satin.

Share tips, start a discussion or ask one of our experts or other students a question.
No Responses to “How to Apply Bias Tape to a Neckline: Method 2”