A single pot of beans can produce a week’s worth of dinners and lunches. But before we get to the recipes let’s talk about bean cookery.

Finding a good bean
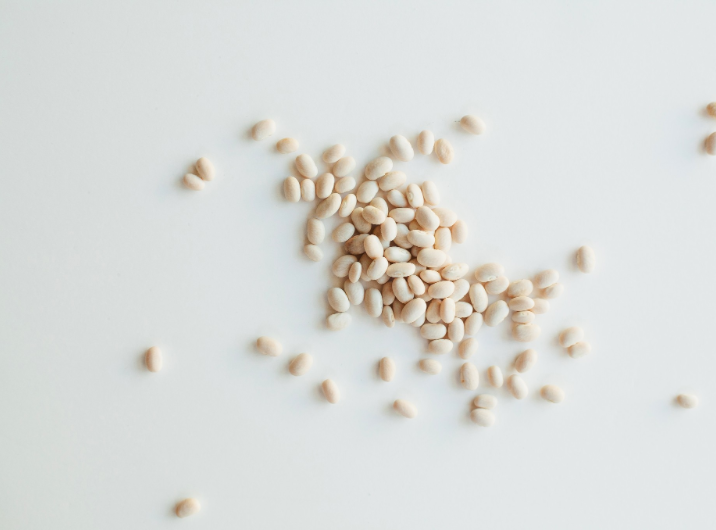
The first step is to procure beans with a clean smooth surface. There is a stand near my parent’s house that keeps their shelves stocked with freshly dried beans with no attendant on duty. In its place there is a little black box labeled, “honor system”. Because of this dated notion and their quality beans they are my choice but if you aren’t as lucky as I to live near such a place there are great sources online, such as Rancho Gordo. The most important thing is to look for clean, smooth beans with with not a lot of cracks. The color should be bright, not muddy.

Cooking your beans
Step 1:
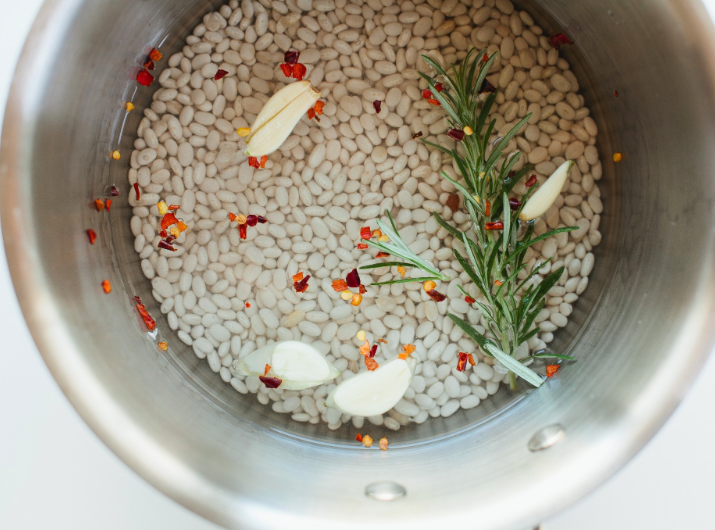
Place the dried beans in a large pot and fill the pot with cool water. Capture any that float to the surface and get rid of those as they are too old for their own good.
Step 2:
If you’ve really planned ahead you can do an overnight soak. Cover your beans with at least 3 inches of water. Let soak for 8 hours or refrigerate overnight. Typically I use the quick soak method which is to cover beans with water, bring to a boil, turn off heat then let them soak for 1-2 hours. When ready to cook, drain the soaking water then add fresh water to cover the beans by about 2 inches then cook until tender.
There are those who prefer to skip the soaking step, I’ve done that too and have had great results. The benefits to soaking are; less cooking time, less unpleasantries that can often accompany the consumption of beans and some say they hold their shape better having been first soaked.
The exception to soaking are split peas and lentils. Those varieties can be cooked immediately.
Step 3:
After the soak, cover the beans with at least 2 inches of fresh water using the soaking liquid as well as there is loads of flavor in that broth.

Dry bean cookery has created plenty of rules but the thing is just when you discover another rule you find someone else who has debunked it. Salting is the big one. I was always told not to salt when you are cooking the beans as the resulting bean will be musy. But then my beans were flavorless and only salty on the exterior. I’ve since heard others say go ahead and salt in the process and I’ve followed this with great success. I salt the cooking liquid just before I start to cook the beans as well as add herbs such as thyme, rosemary, bay, and oregano or fragrant vegetables such as garlic, onion, celery, carrot or fennel. Bundle and tie any aromatics you choose to use for easy removal at the end of cooking. Fresh cracked pepper and other spices are also a welcomed addition. This provides a fragrant broth that infuses the beans with lots of flavor.
If you’re worried about mushy beans, salt them at the end or halfway through the cooking process to cut down on the splitting of the beans.
Bring the pot to a gentle simmer with the lid on, mostly. You could also stick your pot, covered, in a 300* oven. Watch the pot closely and skim off any foam that rises to the surface. You never want to boil the beans rapidly as this can cause them to break apart. The beans should always remain covered with water. Gently simmer until tender, with most bean varieties this should take about 1-2 hours (for beans that have been soaked).
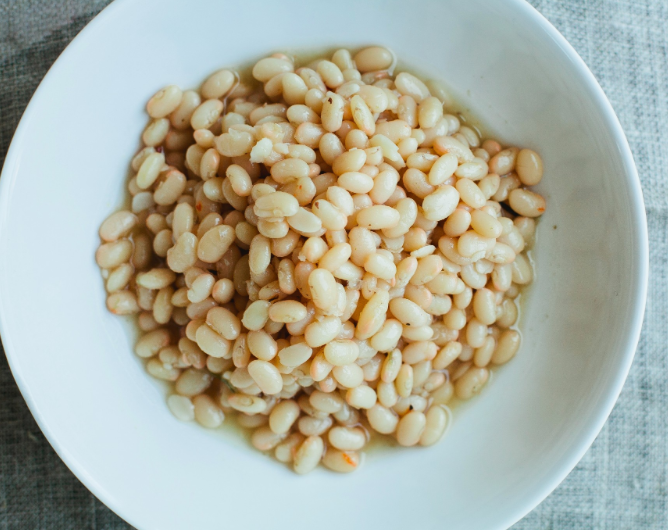
Taste and add more salt the beans if needed. Remove any herbs or vegetables that you added for flavor. Let them cool in their cooking liquid before draining it off. Before you simply let that flavorful broth run down the drain, consider saving it for a rich base for soups.
Unused beans should be stored in their cooking liquid in the fridge for a few days or up to a month in the freezer.

Share tips, start a discussion or ask one of our experts or other students a question.
No Responses to “Food Lover Friday: The Secrets to Cooking Dried Beans”