
Did you realize that you can create intricate works of art with just some blank paper and a pair of scissors? Using a few simple techniques, you too can build volume and texture without putting pencil to paper.
Learn how to create textures on paper in 3 different ways!
The great thing about these exercises are that you can use any paper you like. Printer paper, unused scrapbook paper, and even watercolor paper will work! Personally, I favor colored papers with a little bit of toothy texture to them — the type you might use for charcoal drawing. I like the weight and feel of them. They are thick, but not so much that they won’t easily bend or move.
Learn to love layers! They are a very important part of creating textures on paper. Each of these techniques require you to put pieces of cut paper on top of each other. I really enjoy working this way because it’s forgiving. If you don’t like how something looks, you can take off the last layer and start over! Just make sure you’re taping things down rather than gluing them. (Only apply glue when you’re really confident that you like it.)
1. Cutting fringe
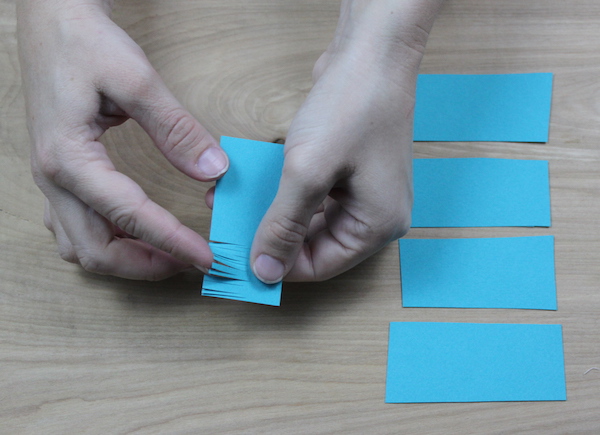
Cutting fringe is a great way to mimic hair or fur. To begin, cut out strips of paper, however wide that you want to make the fringe. Then, start to carefully make a series of tiny cuts in the paper. I’d go slowly, because you want to try and make your cuts as uniform in shape and length as possible. You don’t want to cut your strips of paper in two! Make sure there’s ¼ to ½ inch of space remaining at the top of each strip.
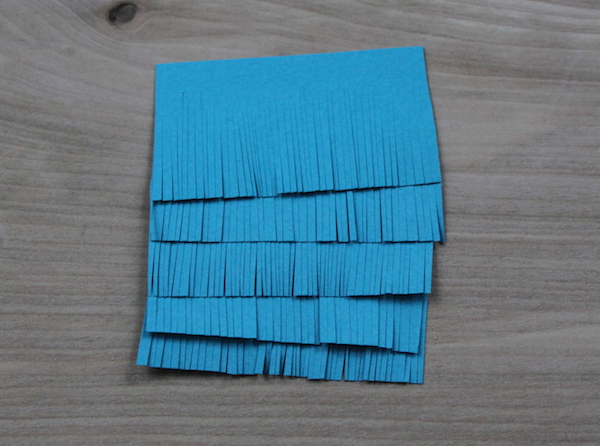
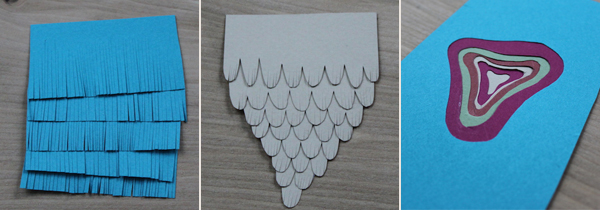
Once you’ve cut three or four layers, start to see how they appear when they’re on top of each other They’re looking neat, right? Each row of fringe adds more and more volume. Could you imagine making a pet portrait with this technique?
2. Creating scallops
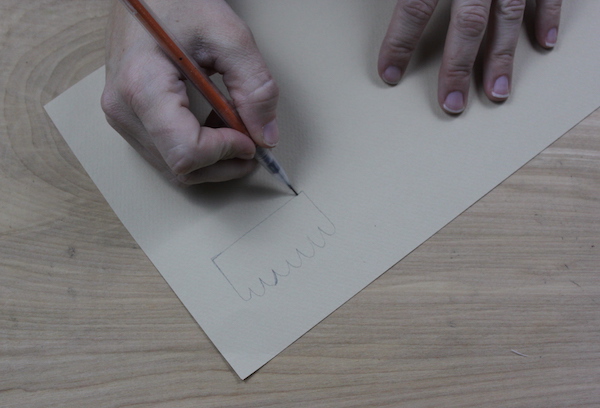
You see scallops everywhere — they’re both decorative and functional — and add a fun and whimsical look to things. Once again, we’ll work in layers but we’ll need the help of a pencil. Flip your paper over to its backside. On it, draw a number of scallops — however many you want. Make sure that there is ¼ to ½ inch of space left at the top of the paper. Now, cut out what you drew. Ta-da! You have your first layer of scallops.

We’re going to use that layer (and every subsequent layer) as a guide for the rest of our scallops. Flip your paper to the back or “wrong” side and take your row of scallops and place it face down on the paper. Use that to determine where to draw your new pattern, making sure that the scallops alternate one another and are offset by one row.
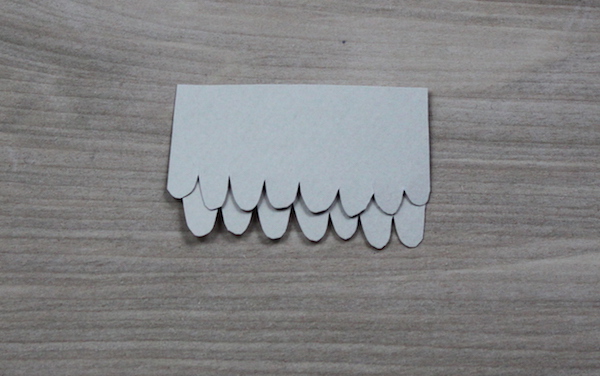
Once you have three or four rows, piece them together and see how they look. When you’re done, it should form a V-shape, with one scallop at the bottom.
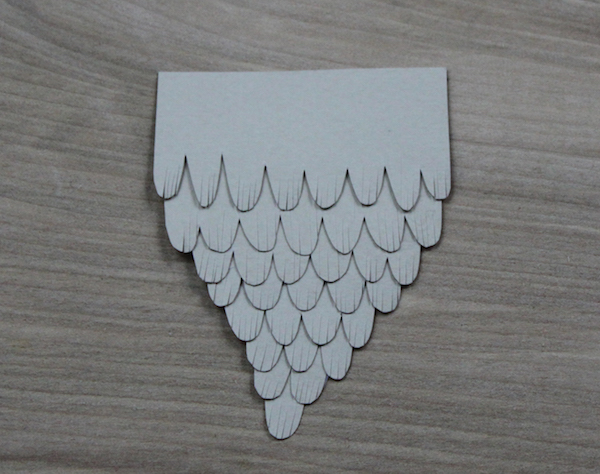
Optional: Add some fringe to your scallops!
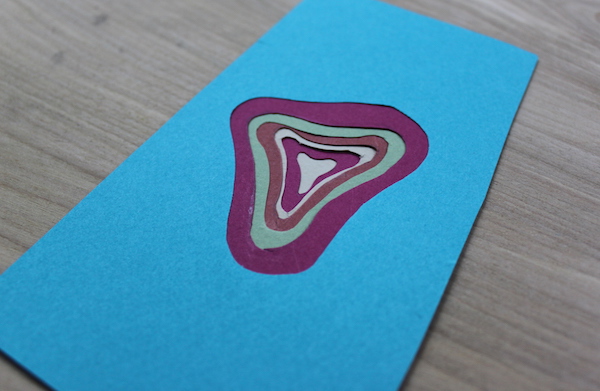
3. Building spaces
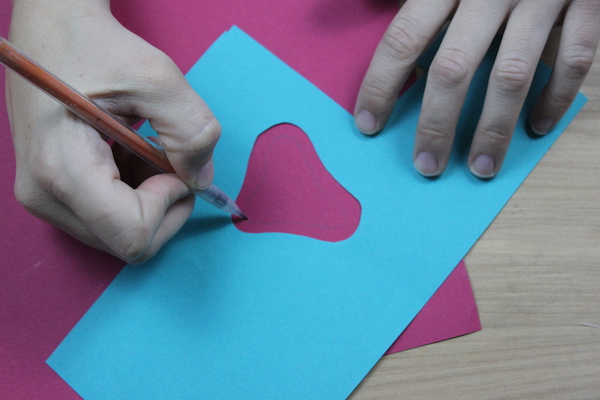
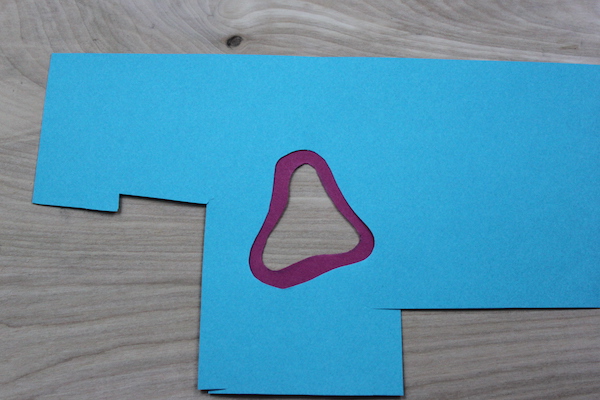
The last techniques use layers to build upward and downward, but for this last one, let’s build inward like we’re looking into a cavernous space. Start by taking a piece of paper and cutting a shape out of its middle. (You can gently fold the paper and snip it to make a cut in the center of the paper.) Once you have that shape all cut out, place it on another piece of paper. Trace around the middle while leaving a ½ border around it. Then, using the same technique, cut it out. Repeat this until there’s no more space to trace around. You should have a tiered, multi-layered paper landscape!
Share tips, start a discussion or ask one of our experts or other students a question.
No Responses to “Building Volume: How to Create Textures on Paper”