
Crimping is likely one of the first things you did when you started beading. It’s easy to do badly but not necessarily easy to do well! As soon as you venture into the world of beading wire, you will be introduced to crimps – funny (very!) little metal beads in various different finishes. They’re not the prettiest beads in the world — some look like donuts, some look like tiny lengths of tube. So what are they for? I am here to tell you how to use them properly to make your jewelry super secure!
What are crimp beads?
Crimp beads are tiny metal beads with very thin walls. They aren’t designed to be used decoratively (although you can if you feel so inclined!), but are rather designed to be squashed and reformed with crimping pliers to be used at what I call the “construction points” of your jewelry. The construction points are what holds the jewelry together. Your creations are only as strong and secure as your crimping ability, so it’s worth practicing and perfecting.
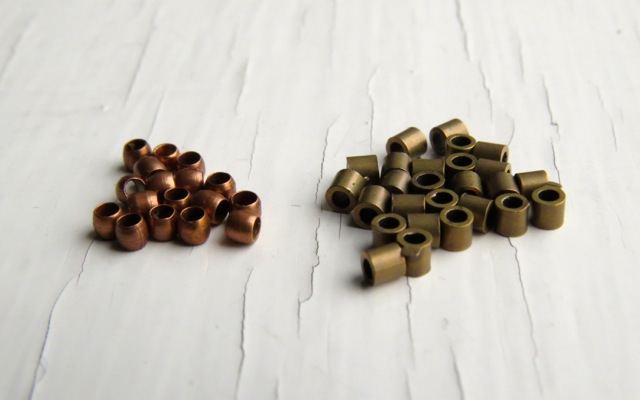
There are two main types of crimp beads: crimp beads, balls or rounds (terms are interchangeable) and crimp tubes. Crimp bead is the umbrella term that covers both, but they are in fact quite different.
Crimp beads
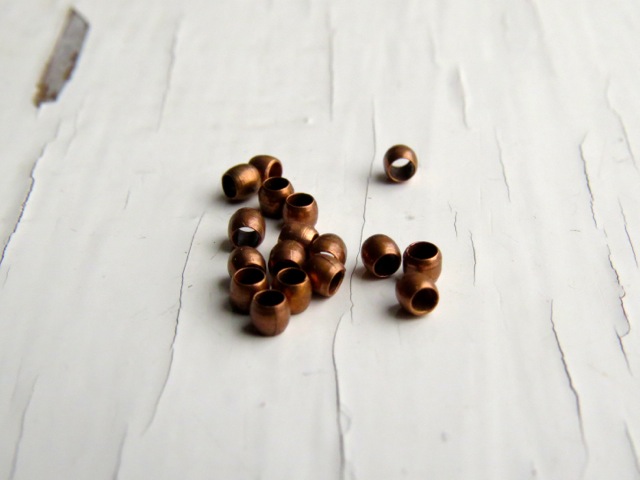
Crimp beads/balls/rounds are, as you might expect, round beads, kind of like tiny donuts.
Crimp tubes
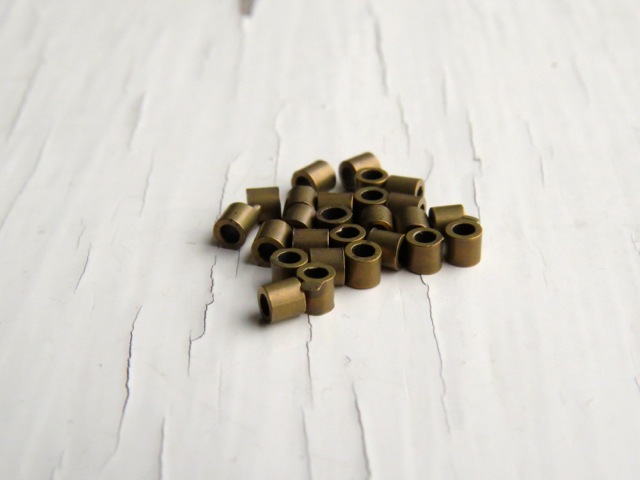
Crimp tubes are cylindrical, like a length of tubing that has been chopped up into tiny sections. They are also a little longer and look larger than their ball counterparts, even when the diameter is the same. They typically have slightly thicker walls than crimp rounds, and are generally the type of crimps you should be using if you want your jewelry to last and stand up to wear.
Sizes
Crimp beads are available in different sizes, and these sizes refer to the inner diameter of their holes. Different sized crimps are applicable depending on what size beading wire you are using, how many strands in the necklace/bracelet, etc.
To start off with, I would select a 2mm crimp tube.
Crimping pliers
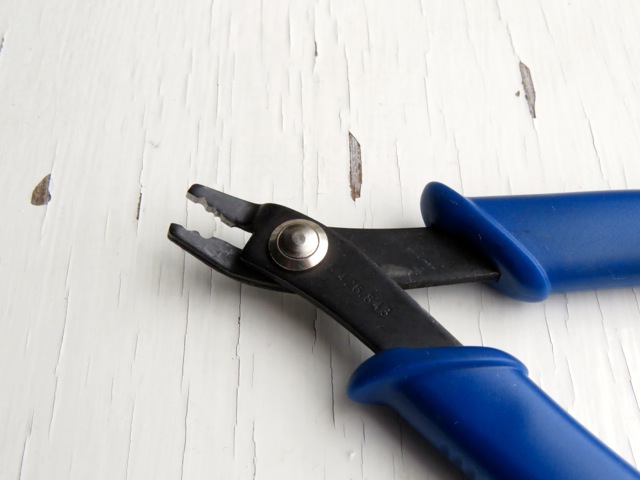
The other thing you need to know about in order to crimp successfully is crimping pliers. These are usually available in three different sizes: micro, standard and maxi. Think of them as the three bears! You need to get the crimping pliers that are the appropriate size for the crimps you are working with – the ones that are “just right.” Generally, most people will be working with 2mm crimp tubes, and will want to use standard crimping pliers. These are what I am using in the examples below.
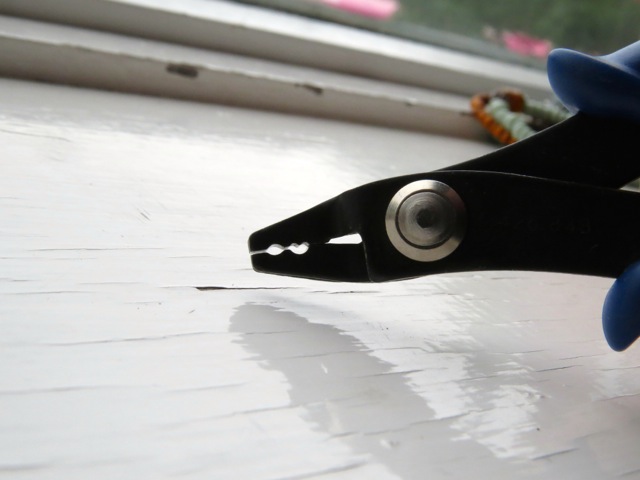
Note: Crimping pliers have two sections – the back section (nearest the joint) has a little nick in the top. The front section is like a tiny elipse. You use each section in turn.
Let’s get started!
How to crimp
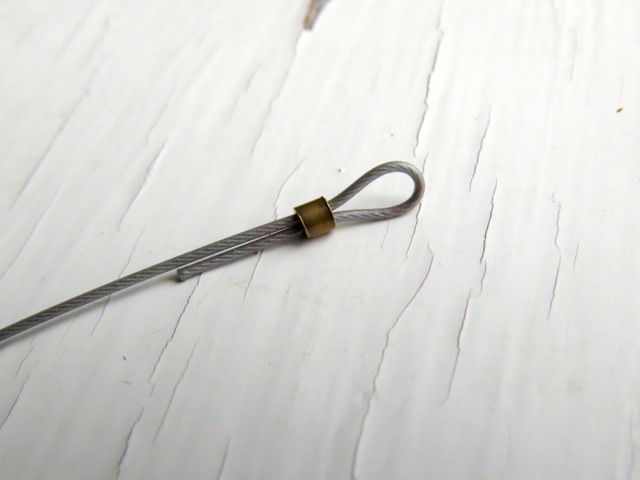
Step 1:
Make a little loop with beading wire and your crimp tube. You want to make sure that the two wires are not crossing over within the crimp tube. Hold them firmly between finger and thumb to make sure they stay put.
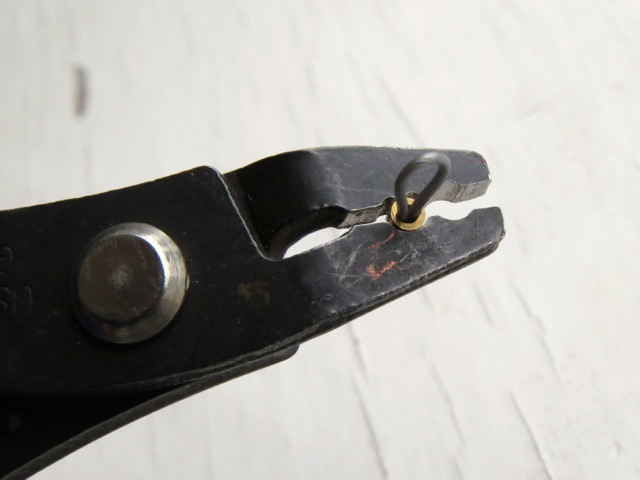
Step 2:
Place the crimp tube within the back section of the crimping pliers…
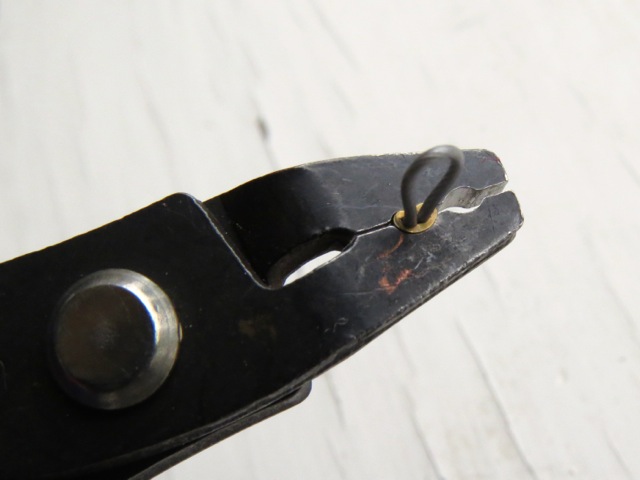
…and close firmly. It is VERY important that the crimp tube sits exactly in the back section, as they are desgined to fit each other perfectly. If the crimp tube is not properly in place, your crimp will not fold properly and your jewelry will not be secure.
Step 3:
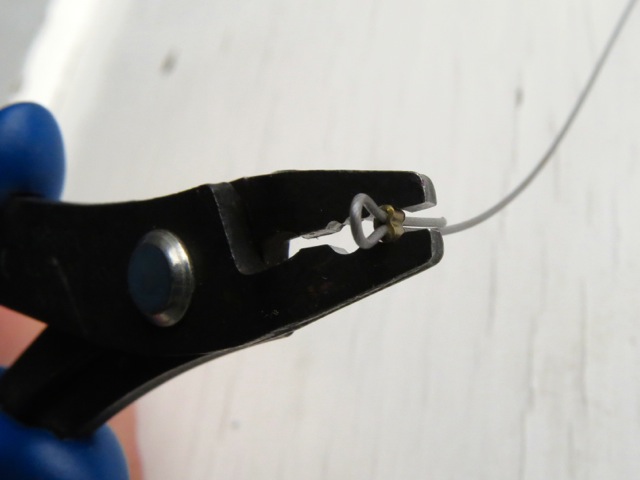
Turn the squashed crimp on its side so that it looks like a crescent moon. Then, place it in the front section of the crimping pliers and close so that the crimp folds in on itself like a book.
Step 4:
If you wish, you can give the crimp an extra squash closed with chain-nosed pliers.
When you are done, make sure you give the crimp a little tug. If it won’t stand up to that, it isn’t secure enough to be worn. Sometimes you can do everything right and it just hasn’t taken, although this is less likely to happen with good quality crimp tubes.
Step 5:
Repeat at the other end of your length of beading wire once you’ve got the beads and findings you want on the wire.
Don’t be afraid to practice this technique with scrap beading wire! Crimping may not the most exciting of techniques to do, but it is a very important one. It keeps your jewelry physically together, and, however beautiful your jewelry is, if it’s not secure it won’t last. And that is, after all, what we all want.
Thank for the lesson. I learned something new today 😊
My problem is on the finishing end. Somehow I have more space than I would like; I have enough space to add another bead. What am I doing wrong?