
Unless you’re just going to crochet scarves for the rest of your life, you need to know about crocheting in the round. Hats, slippers, mittens, granny squares — all these require crochet in the round.
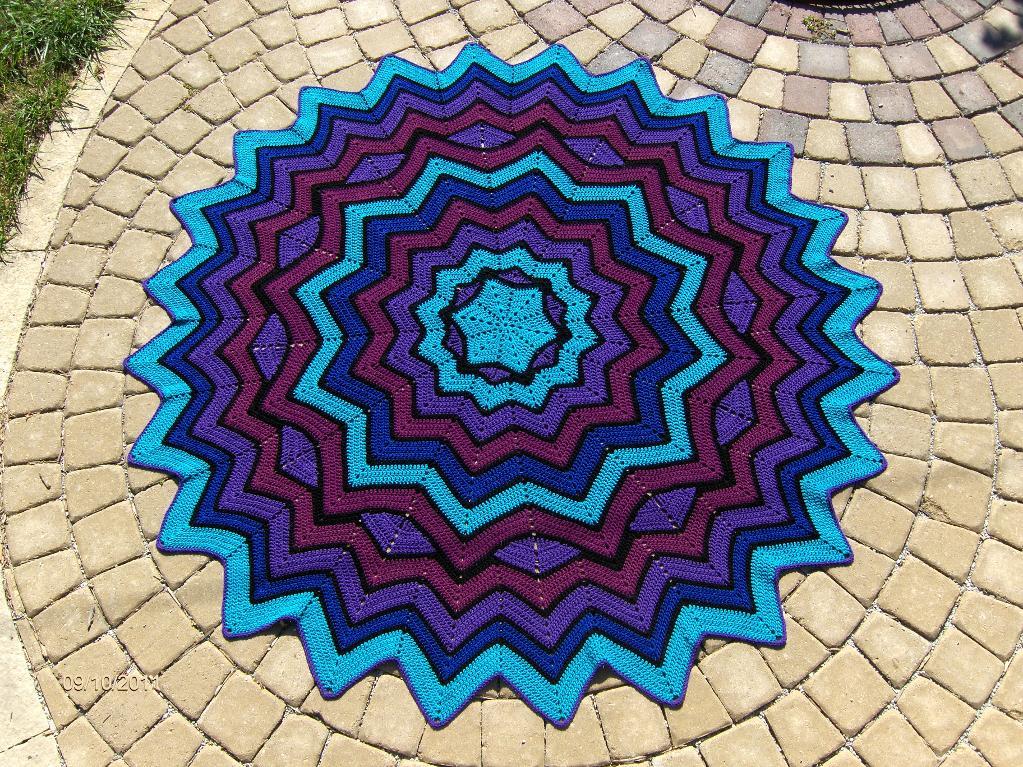
Photo via SmoothFox
There are a lot of different ways you can start off your crochet in the round. Of course, if you’re using a pattern, it will tell you exactly what to do. But what if you’re improvising? You never know when the urge to crochet a hat might kick in.
Be ready with these 4 tips for crocheting in the round.
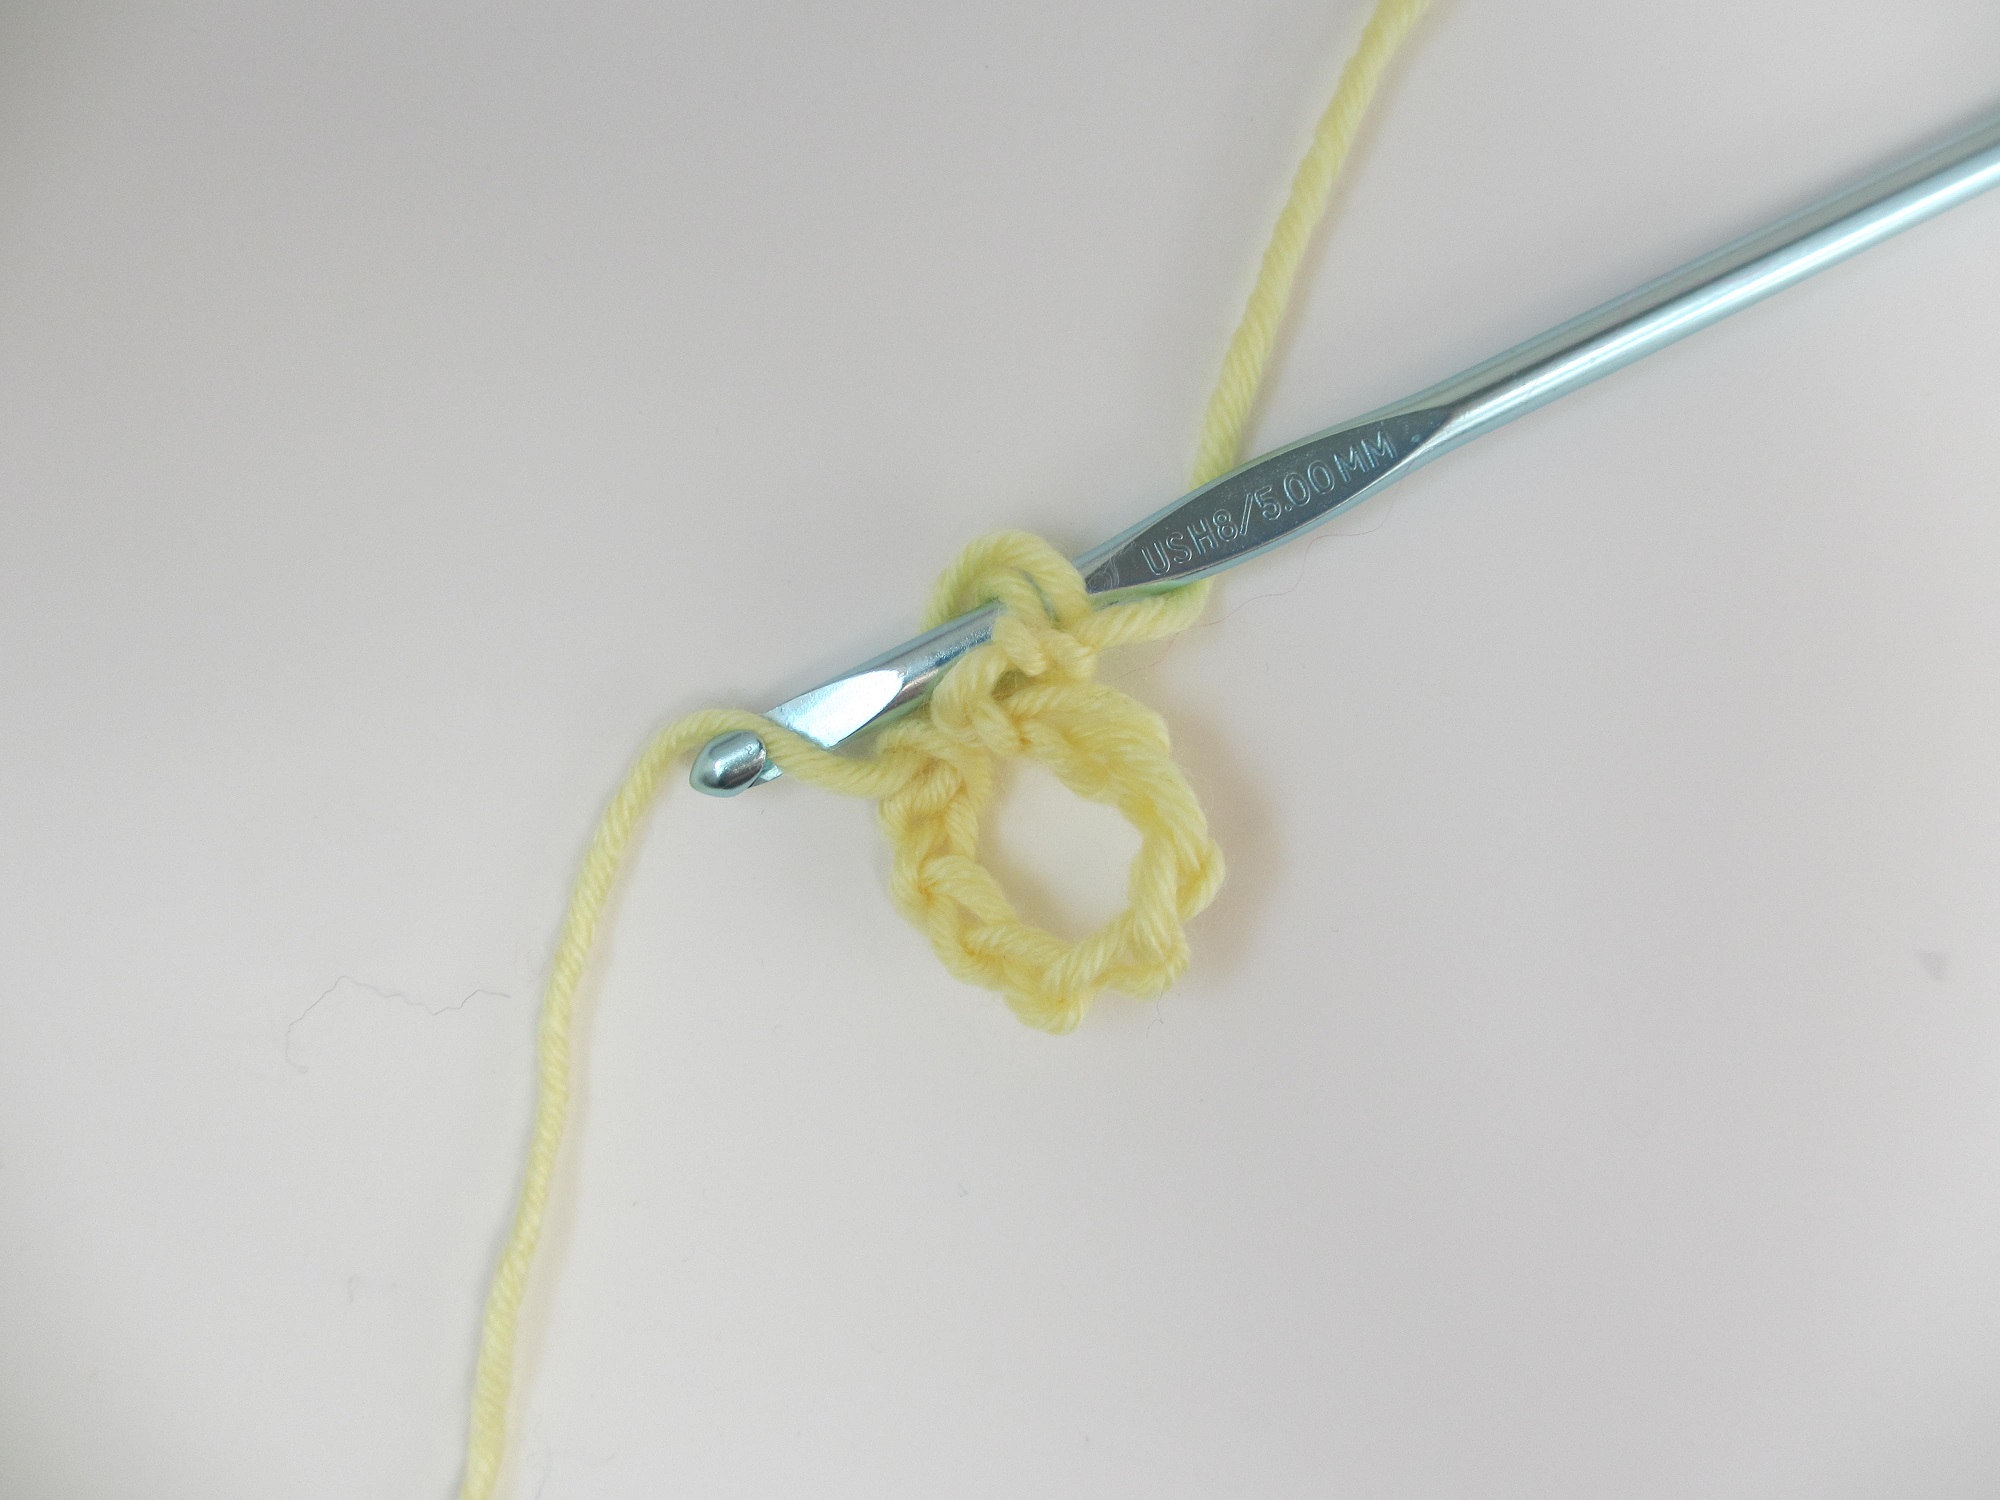
1. Crochet a ring.
A lot of crochet patterns will ask you to chain a few stitches, then join them into a ring to get the circle going. Here, I’ve chained 10 and joined the first and last stitch with a slip stitch. If you were going to crochet say, a hat, you’d probably want to chain more stitches depending on how big you need the hat brim to be. Of course, if you’re using a pattern, it will tell you how many stitches you need to chain at the beginning.
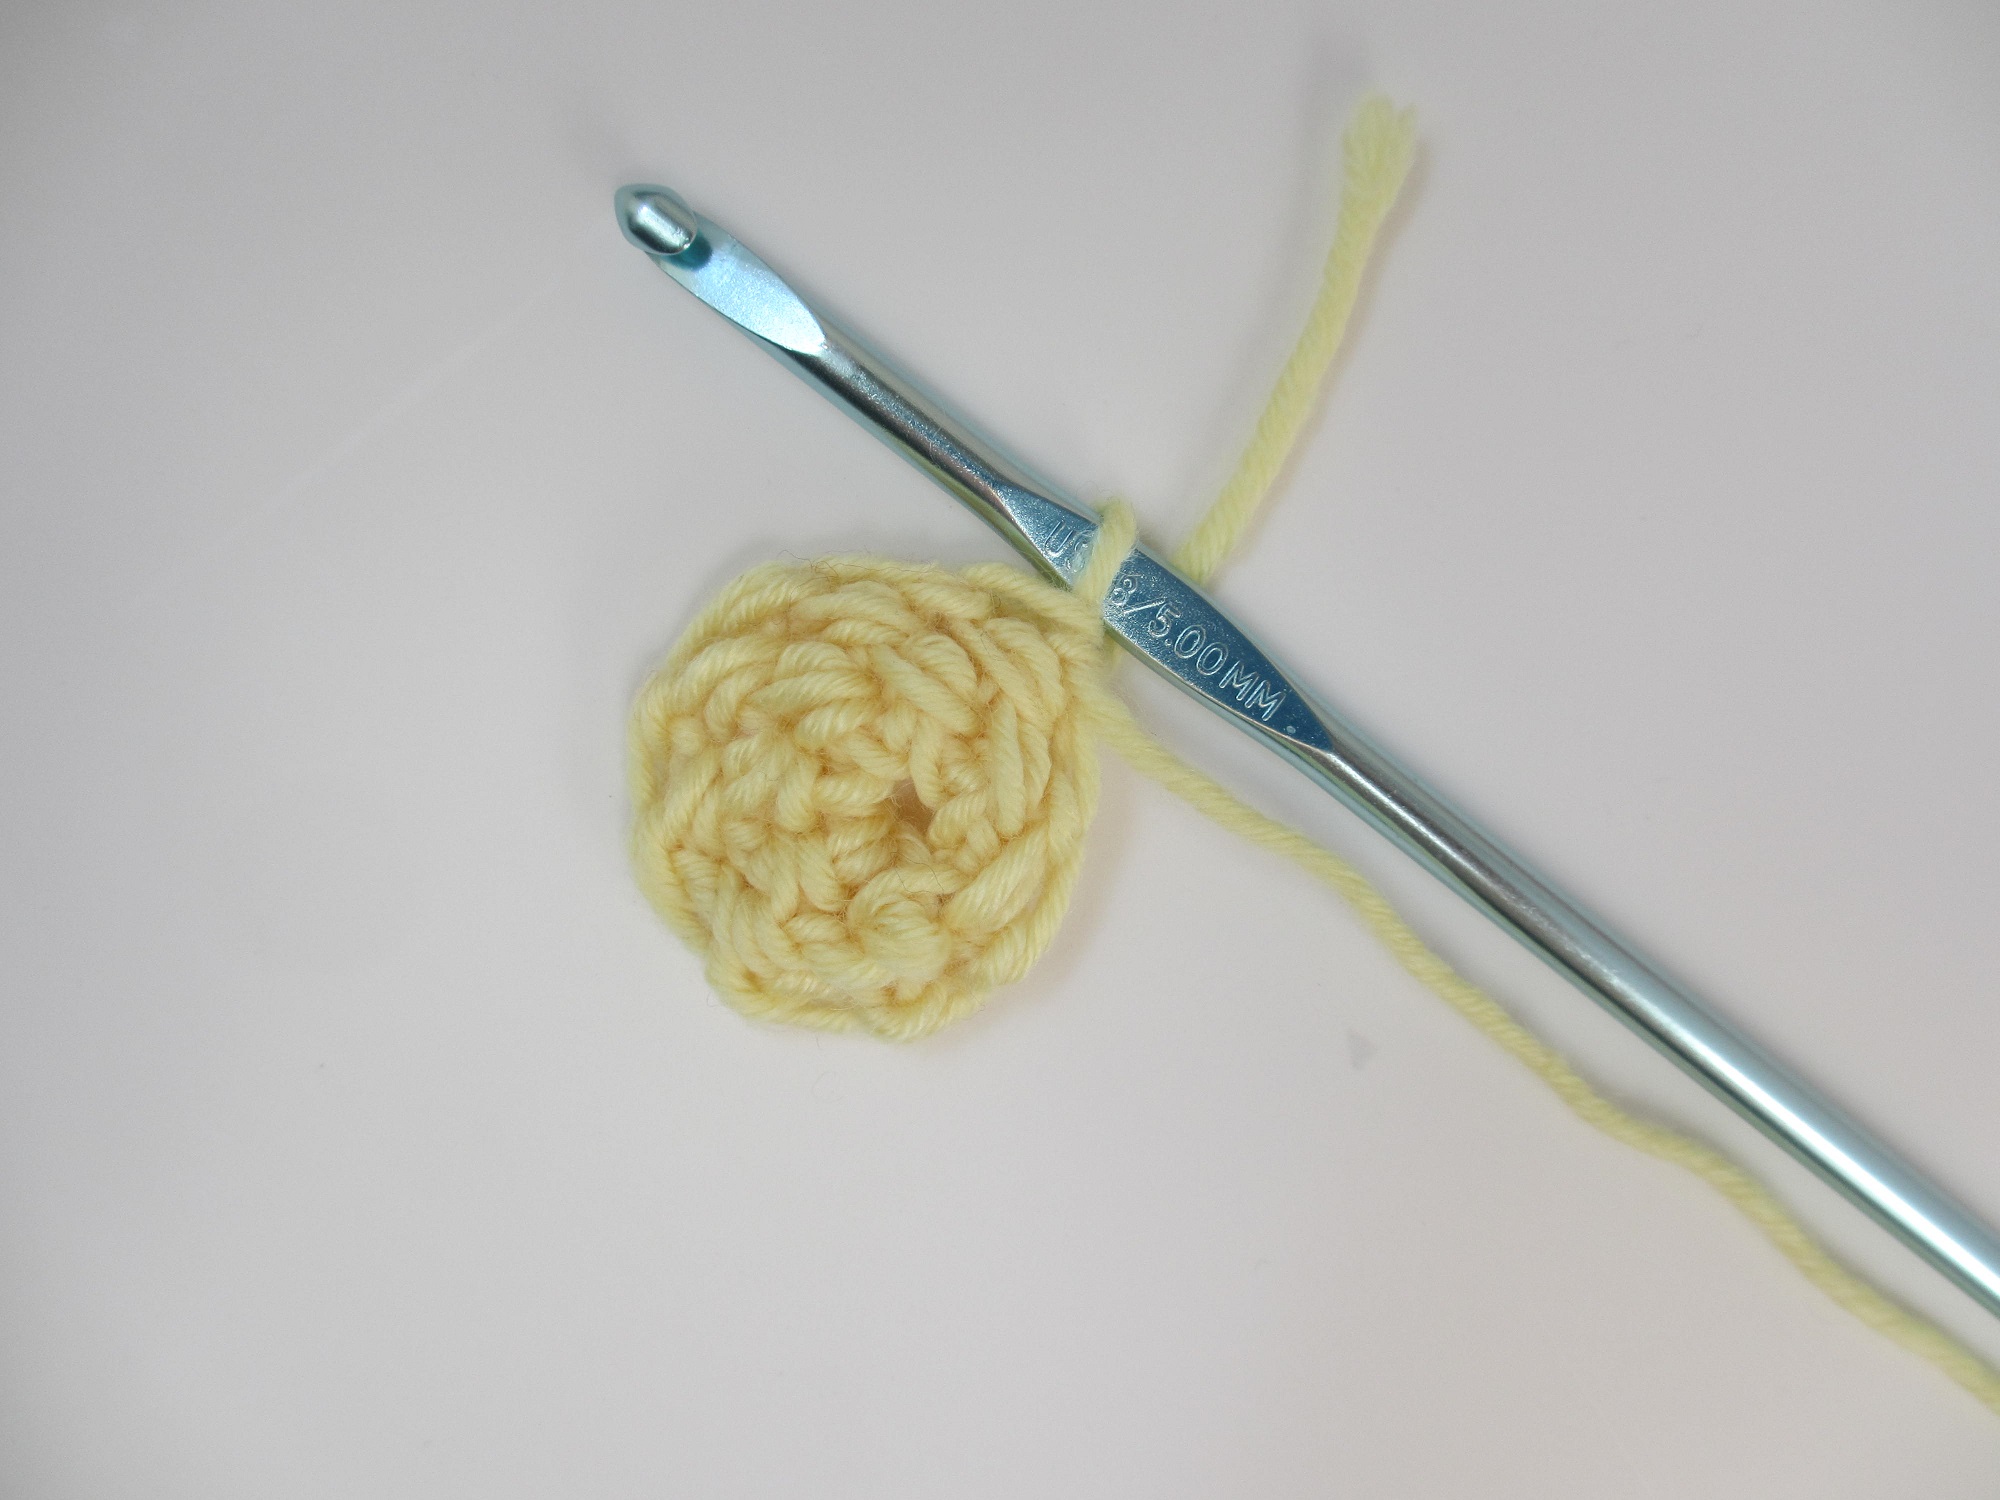
2. Join your first round with a slip stitch.
If you want your rounds to be perfectly even, you’ll need to join the beginning and end of each round with a slip stitch. Here’s how: Crochet around your ring as usual. After you crochet your last stitch, slide your hook into the side of the first stitch in that round and slip stitch. This will connect the round, making it look seamless without adding an extra stitch.
3. Work in a continuous spiral.
It’s not completely necessary to join each round with a slip stitch. The other option is to just crochet around and around, creating a spiral shape. This makes it a little more difficult to count rounds, though, so a stitch marker is helpful if you go with this method.
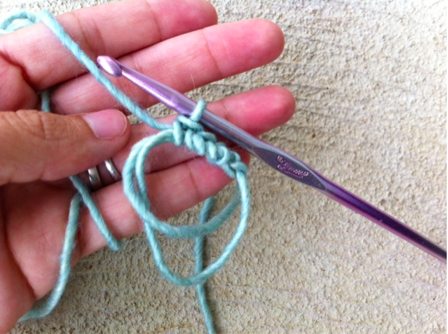
Photo via Andrea Sanchez
4. Use a magic ring.
The magic ring’s name is totally accurate. After all, it is pretty magical. Get the how-to from Andrea to crochet your own magic ring. This method can be used in place of crocheting a ring made of chain stitches.
General tips for crocheting in the round
- Notice that if you want to crochet something flat, like a granny square for example, you’ll need to work increases on every row to make sure the piece stays flat. If you don’t, it will turn into a narrow little tube.
- You also want to make sure your increases are even on each row, otherwise, you could turn out with a pretty funky-looking shape.
- Just like with crocheting in a spiral, stitch markers can be helpful for any in-the-round crochet. Attach them to your work so that you can keep up with where you left off — especially if you are one of those crocheters who works on projects sporadically!
There are a lot of other fun things you can create with crochet in the round. If you want to make an awesome amigurumi monster, for instance, you’ll need to know how to crochet in the round. Check out Stacey Trock’s Amigurumi: Design Your Own Monster class and you’ll have your own unique monster in no time.
Be sure to come back to the Bluprint blog tomorrow. It’s our favorite day of the week: Free Pattern Friday!
Share tips, start a discussion or ask one of our experts or other students a question.
No Responses to “How to Crochet in the Round”