
As I started to venture more into design for crocheting, one of the things I really loved about plain crochet fabric was the opportunity to customize it and create my own design with texture or stripes. Stripes are still very popular this year, popping up in designs for men, women, kids and the home. While the idea of working with two colors of yarn, and therefore two balls of yarn, may cause you to cringe, the end result of crocheting stripes will be fun and well worth it.
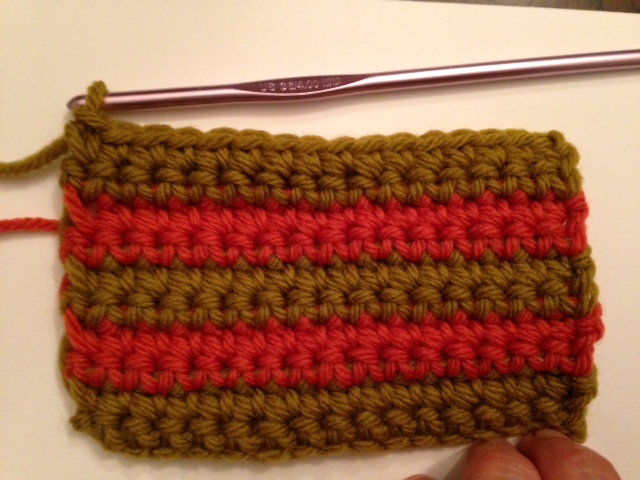
Learn how to crochet stripes with this quick tutorial
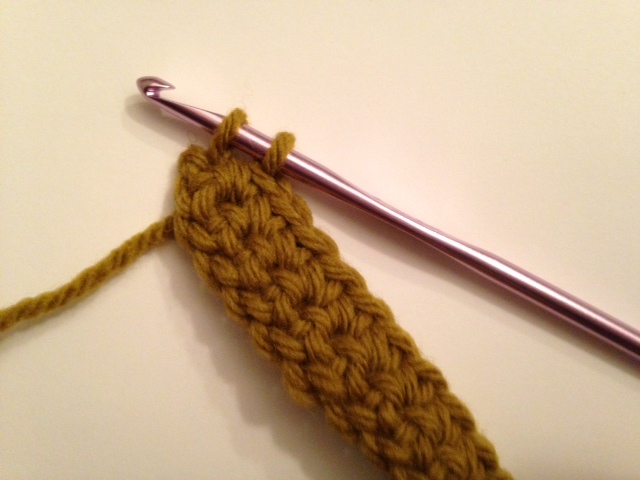
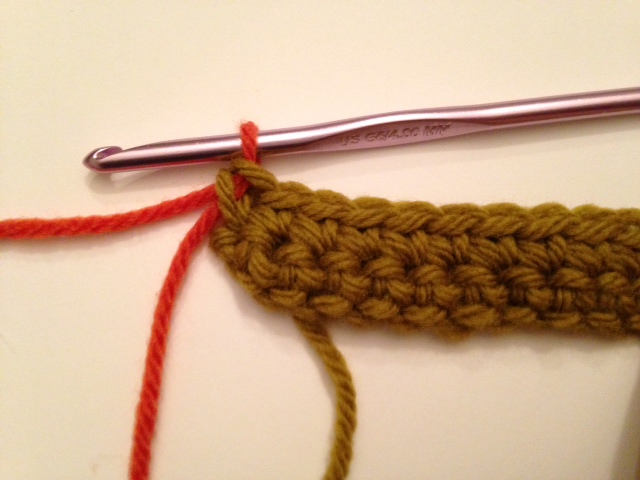
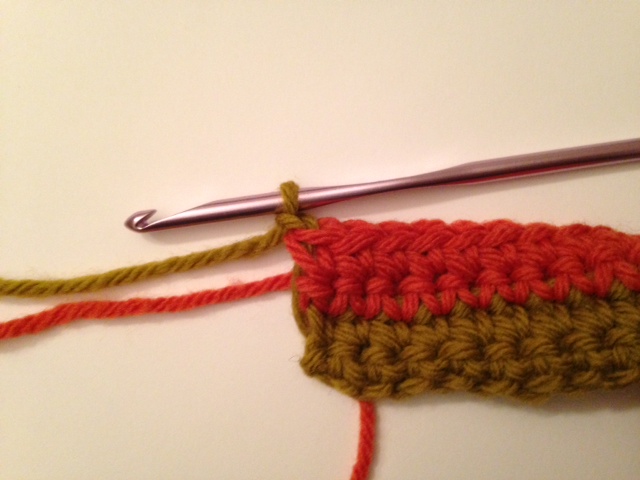
To join a new yarn color:
Work to the final stitch. Insert your hook into the stitch and pull up a loop. With the new yarn color, yarn over and pull through. You have basically begun the first stitch in the next row using the new color.
Two-color stripe sequence:
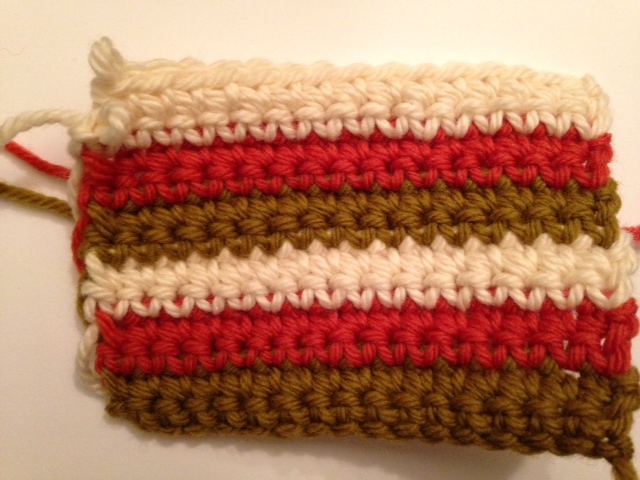
The most common striping sequence is probably the two-color stripe sequence. With this, you would crochet two rows of Color A, join Color B before turning, then crochet two rows of Color B. You would repeat this set of 4 rows to get the striping sequence. In a simple striping sequence such as this, you will twist the yarns on the color change rows. Keep the tension when doing this, but don’t pull too tight.
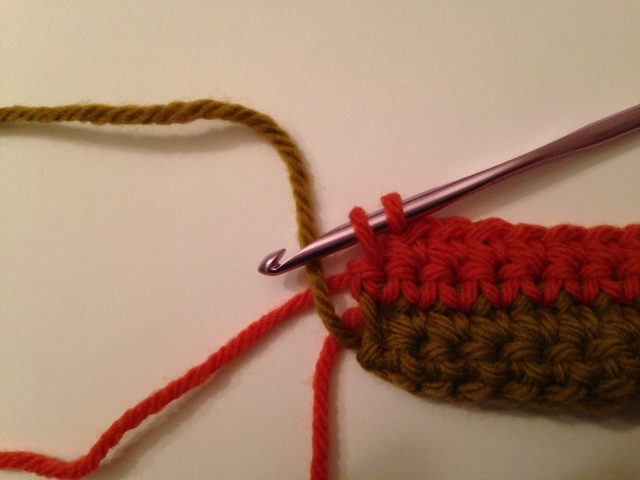
A two-color stripe sequence could also call for several rows of Color A before switching to Color B. In this case, you will employ the same method as discussed, twisting the yarns on the side where you joined colors, and will change colors. However, I have found that the longer the length of fabric between stripes, the more difficult it is to hide the twist. With a stripe sequence like this, it would be best to add a crochet border of some sort to hide the edge.
Three or more color stripe sequence:
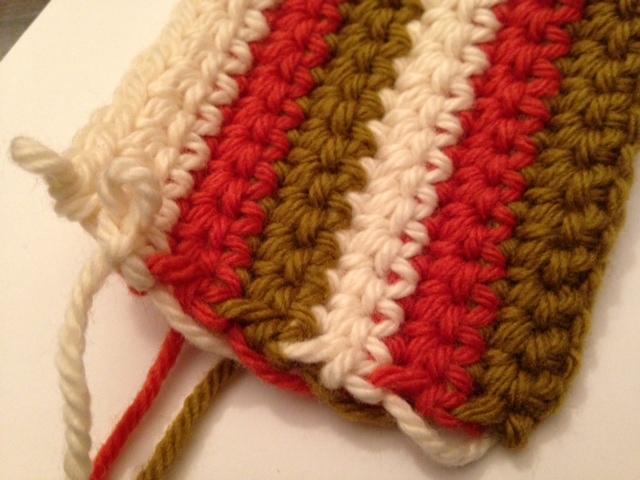
To work with more than two colors, you will employ the same method of twisting the yarns. However, you will not be twisting all yarns at the end of each row. When you turn your work and are ready to twist the yarn and start a new stripe color, the yarn just worked must be twisted to the back and the new color pulled forward, around that yarn, holding in the twist.
Some tips for crocheting stripes:
- Be prepared to straighten out the balls of yarn you are working with every couple of rows. That may be the most frustrating part of crocheting stripes and it can’t be avoided.
- Maintain your tension on the twist edge. If you pull too tight, the twist edge will be pulled in and the other side flared out.
![]() Photo via chocodogstudio
Photo via chocodogstudio
- I’m not a proponent of cutting yarn since that leaves more ends for weaving in. I have recently done a project with a three-color, two row each, stripe sequence, and while there was a lot of twisting and untwisting, I am so thankful there was no yarn cutting. However, you may run into a project, like the Serape Stripe Blanket, seen above, where you aren’t working with the same colors the entire project. In this case, cutting the yarn is necessary and just join the new color as demonstrated above. May I also suggest weaving in ends as you go?
- Along those lines, multicolored twisted edges look better hidden with a border. Think edgings for blankets and button bands.
Share tips, start a discussion or ask one of our experts or other students a question.
No Responses to “Earn Your Stripes! A Simple Tutorial on How to Crochet Stripes”