
Follow along with this tutorial to learn how to draw chickens.
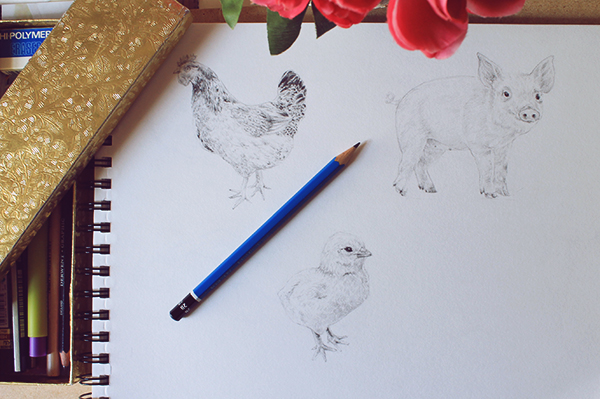
In these tutorials, you will learn how to draw a baby chicken and a hen by breaking up their distinct bodies into basic shapes. You will also get a look at how to render their feathers, along with tips on how to achieve a realistic look when drawing both of them. Grab your sketchbook and pencils and let’s get started.
Drawing hens
Step 1:
 Hens and chickens have a very distinct shape in comparison to most of the animals we have been drawing so far. They present a very round body and a long neck. See above the optimal basic shapes to use when drawing a hen.
Beginning with this simple structure will only require of you to connect the shapes through curves, and you will easily discover the silhouette of a hen on your page.
Hens and chickens have a very distinct shape in comparison to most of the animals we have been drawing so far. They present a very round body and a long neck. See above the optimal basic shapes to use when drawing a hen.
Beginning with this simple structure will only require of you to connect the shapes through curves, and you will easily discover the silhouette of a hen on your page.
Step 2:
 Here’s where we enclose the shapes with the silhouette of the hen. Connect all these shapes through soft lines and give them a curvaceous form throughout the tail, torso, neck and head.
Step 3:
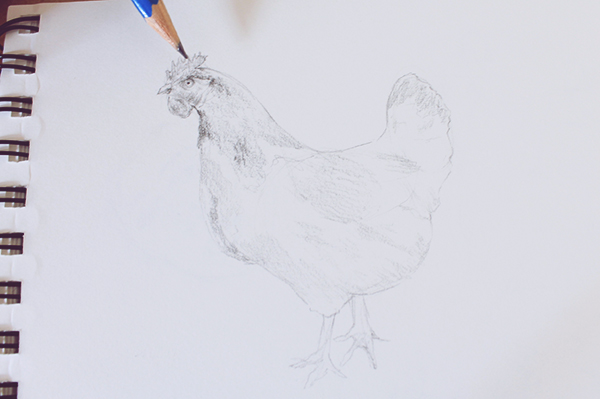 Once you finish the basic sketch of the hen, let’s erase all those circles and excess lines. To start shading this drawing, first begin by lightly and loosely blocking in the general areas where there are shadows or darker feathers. At this point you can also draw the eye and shade the beak and rest of the face.
Step 4:
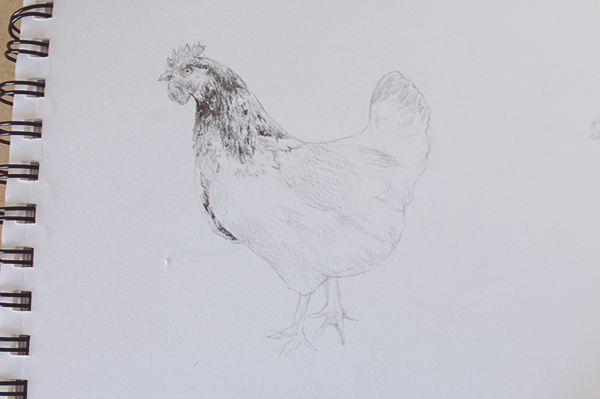 Begin to draw finer details over the areas we shaded in the previous step.
Step 5:
Draw small scribbles in the shape of a “U.” Apply different amounts of pressure while drawing to generate a variety of tones. The darker tones are generally found either in the areas of deeper shadows or where the feathers are a darker color. Drawing these different tones will really make a difference when it comes to achieving realism.
Drawing a baby chicken
Step 1:
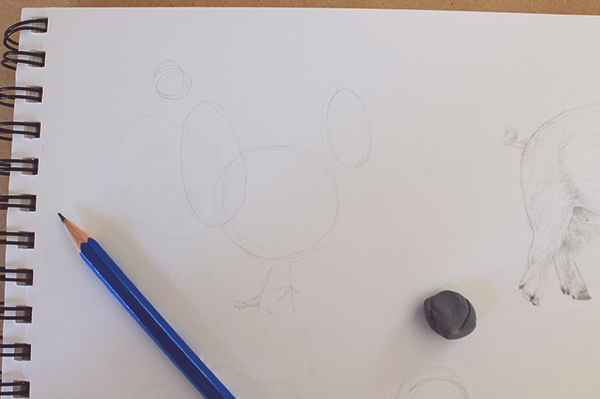
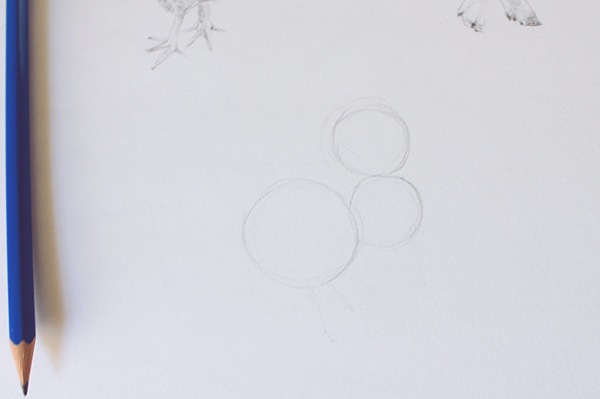 Just as in the previous tutorial, begin by using geometric shapes to determine the basic structure of the baby chick’s body. You can see above how to break down the figure into three very simple circles.
Step 2:
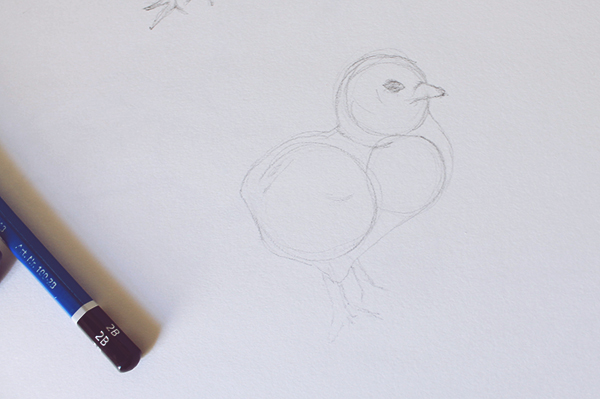 Now, use soft lines to determine the outline of the chicken and give its head and body that really round and fluffy shape.
Step 3:
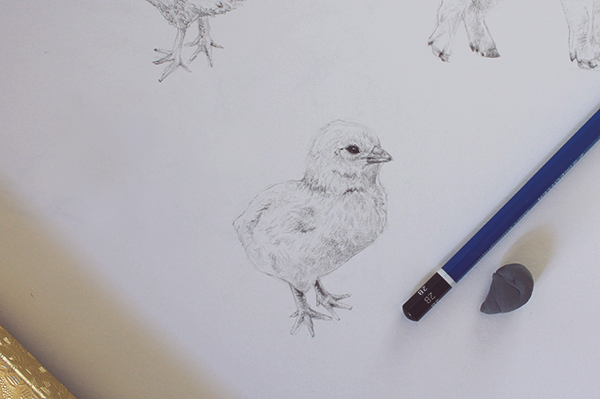
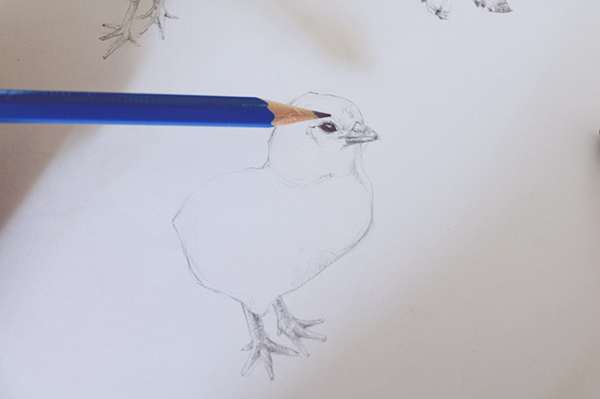 Now that we have the base line art ready, we can move on to shading and drawing details. Draw the beak, and feet, their shadow, and the chicken’s eye. Remember to leave a white area over the eye to represent the light reflection.
Step 4:
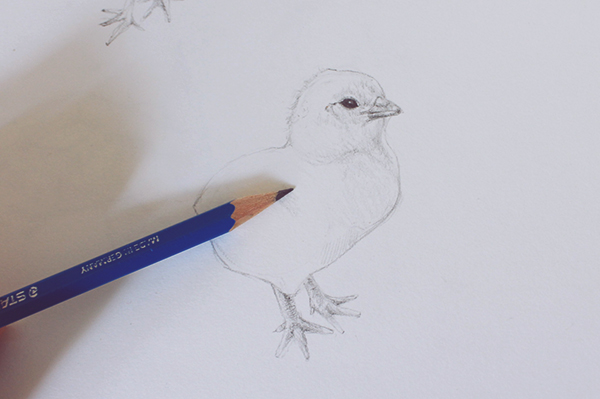 Using the side of the graphite, softly shade the general areas of shadow on the face and body.
Step 5:
 Make small scribbles throughout the chicken to represent its feathers. And there you have it! A cute little baby chicken.
Share tips, start a discussion or ask one of our experts or other students a question.
No Responses to “Drawing Realistic Farm Animals: Hens and Chicks”