
A swan’s unparalleled beauty makes it a romantic and mysterious subject for your artwork. These six steps will walk you through drawing a swan in multiple poses.
Whether drawing them up close or further removed, this tutorial for drawing swans will show you how to sketch a swan’s majestic form.
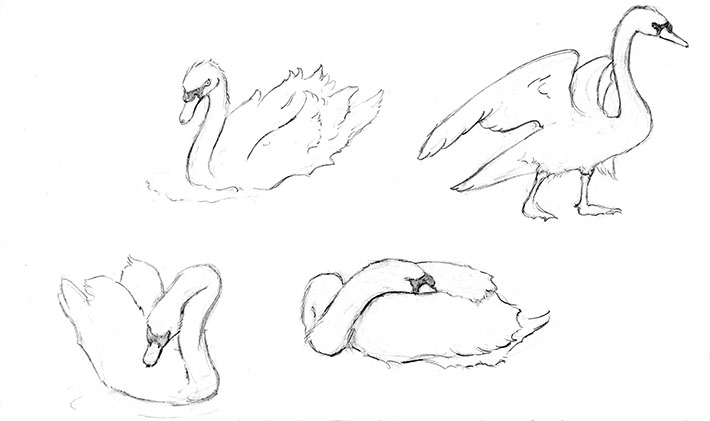
Swans almost have too many inviting poses, which can make it hard to decide just where to start with a sketch. I have provided several poses to study and get a feel for how to execute your composition.
How to draw a swan step by step
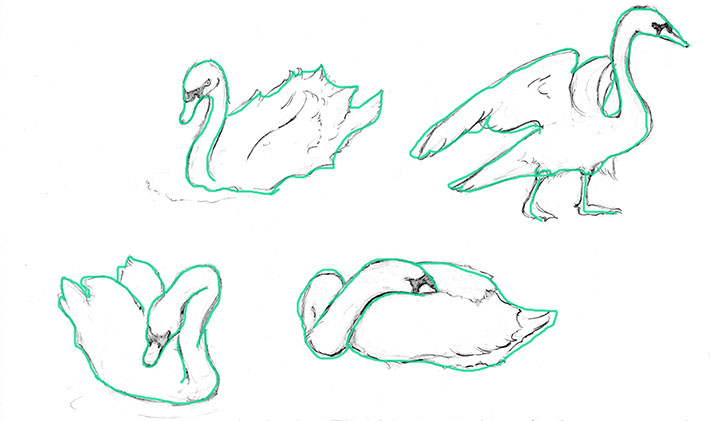
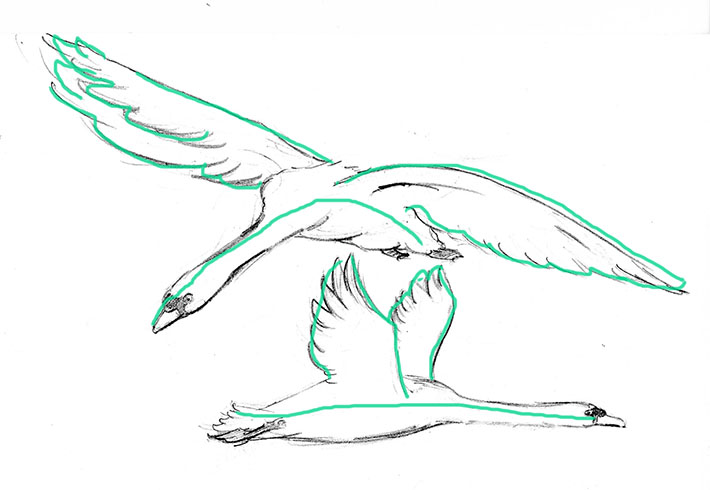
Step 1: Draw the shape of the swan.
Look at the overall form of the swan you choose to sketch. Try to adjust your eyes to the outer form and not any other details for now.
Draw the outer shape and we will work on the details next.
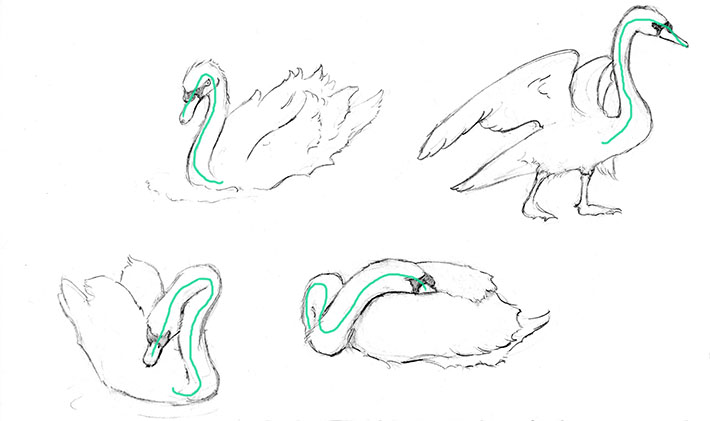
Step 2: Shape the swan neck
Drawing your swan’s defining neck in proportion to its body may take a little time — the shape, length, and twists and curves can be tough. It does not have to be anatomically perfect, but it must look like a swan.
If you can, picture an imaginary line (or lightly pencil in one, which I often resort to) to form the length and shape of the swan’s neck. Loosen your hand and pencil hold to increase free form as you draw the swan’s long, curvy neck. Roughly sketch in the shape of the swan’s head.
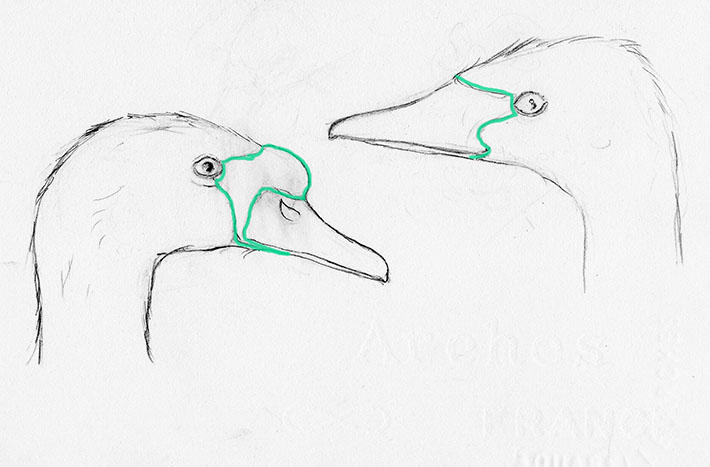
Step 3: Draw the swan’s head
There are different varieties of swans, so I have sketched two — the Mute swan to the left, with the basal knob on the upper beak; and the more angular Trumpeter swan to the right.
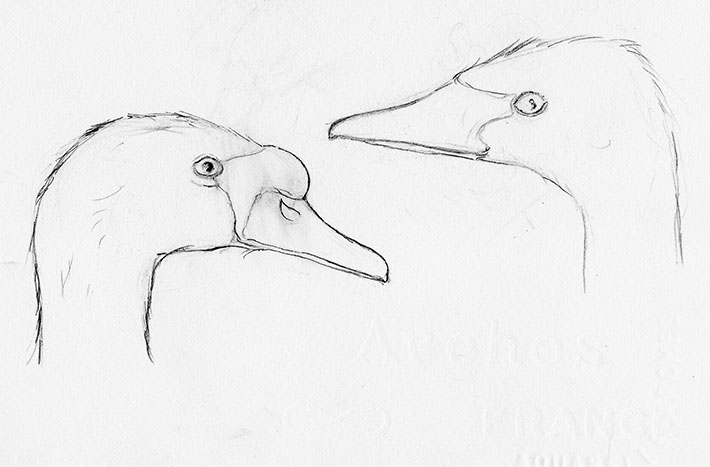
Study the swan’s head by looking again at the overall outer shape. Then look for the eye placement and the proportion of the beak to the head.

When you have this roughed out, go back and shape the eye and beak details.
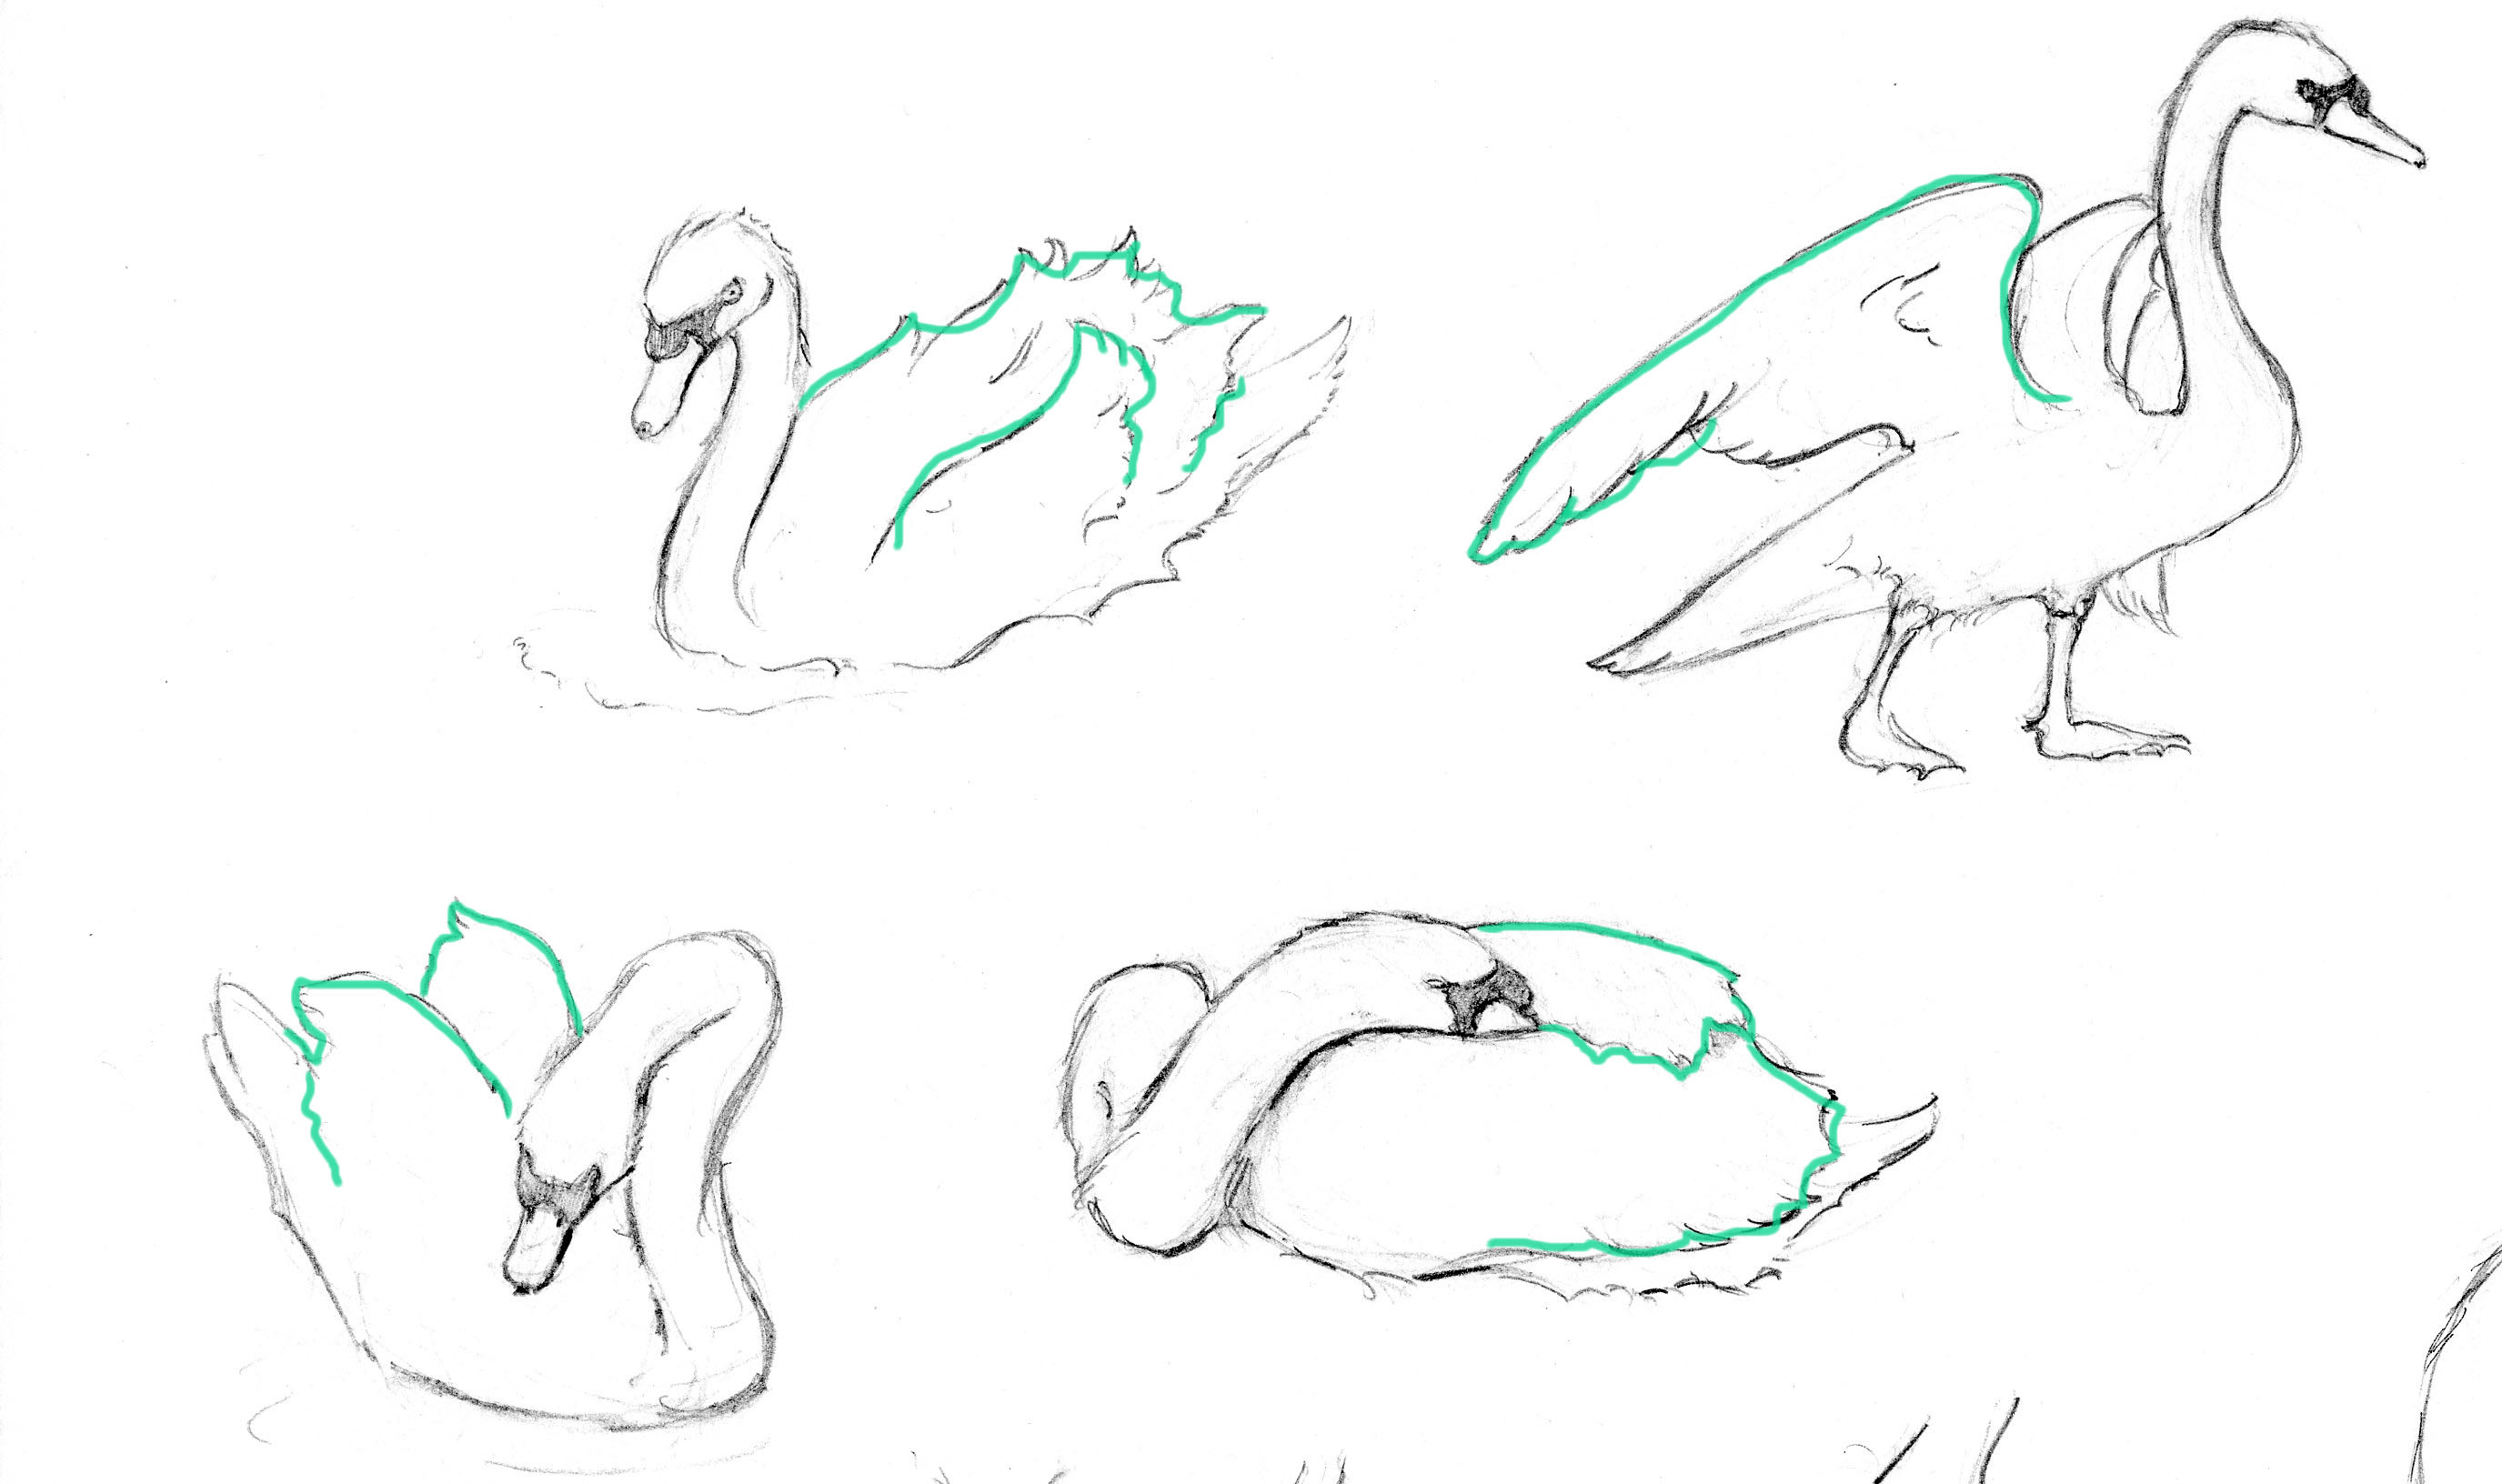
Step 5: Draw the swan’s wings
To form the swan’s wings, consider the shape of the swan’s pose. Identify where the wings connect to the body and whether they sits or spread out.
You can keep the wings fairly simple or you can really take the time for detailed wings. A good bird anatomy book can be very helpful for learning the shaping of wings and other body parts. And the time invested is well worth the effort.
Swans conveys emotion just in the way they fluff, wrap, fold or spread their wings. Use this to bring life to you swan drawing.
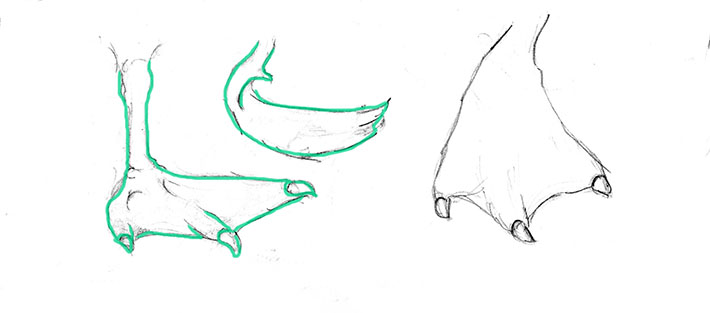
Step 6: Draw the swan’s feet
You may or may not need to draw the swan’s feet depending on its position. A swan’s feet are similar to other waterfowls’ feet: webbed with three toenails.
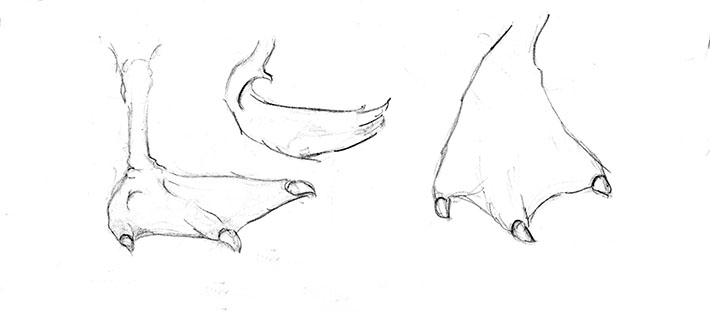
Again, look at the outline shape, rough it in and then shape up the sketch.
How to draw a flying swan
Follow the same formula as outlined in the steps above. Study the overall outline of the swan and use a pencil to draw lines — even a stick figure of the pose — and build your sketch from there.
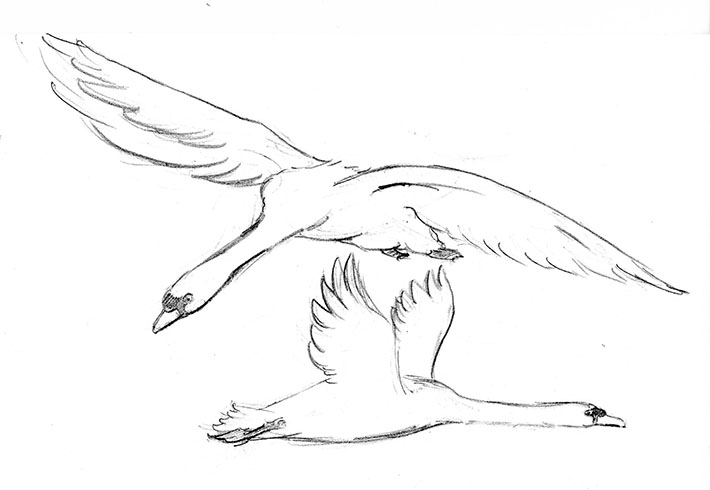
Keep the lines of the body and wings proportional and anatomical.
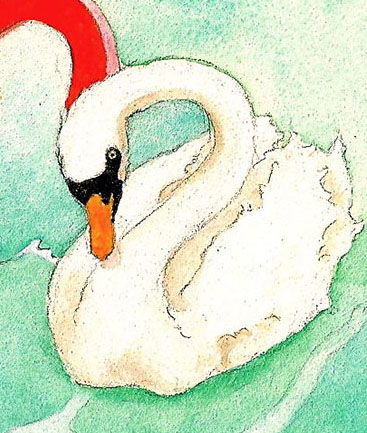
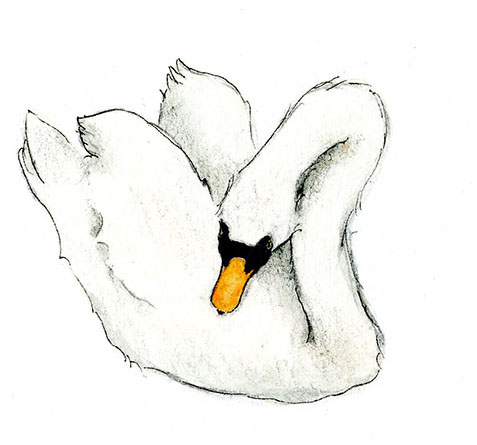
For the final swan piece, I decided to keep it very simple with very little wing detail. I painted the swan with a very light wash of yellow ochre with a touch of davy’s gray watercolors. Next, I shaded in just a few nooks and crannies with davy’s gray. After, I lightly went over the shading with a charcoal pencil.
Share tips, start a discussion or ask one of our experts or other students a question.
No Responses to “Draw a Swan in 6 Simple Steps”