
Who doesn’t love a tea party — especially on a beautiful spring day? Learning how to draw a teacup and paint it with lovely detail may be just the inspiration you need to create a tea party piece of art.
Pour yourself a cup of tea and follow along to learn how to draw and paint a teacup!

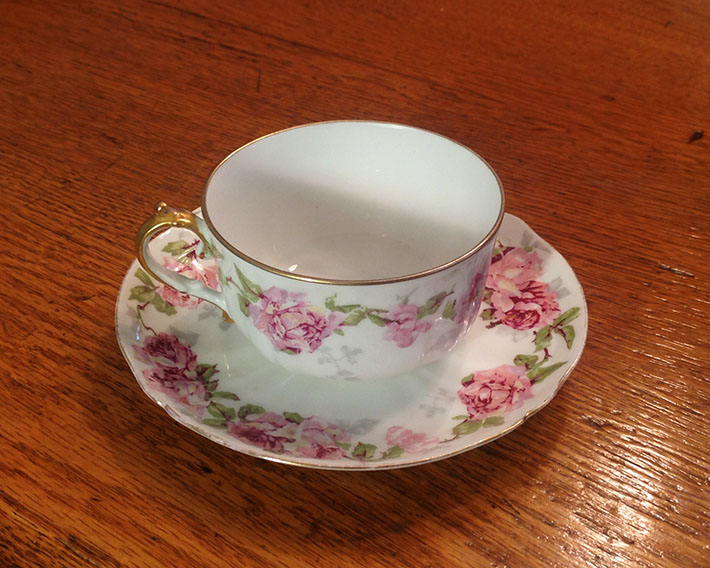
Take out a favorite cup and saucer, borrow one or find a picture in a book or online.
Here is a photo of the one I am going to use for this tutorial if you want to follow along with me. A lovely antique my dear aunt bequeathed to me, a treasure and a joy to have a cup of tea in.
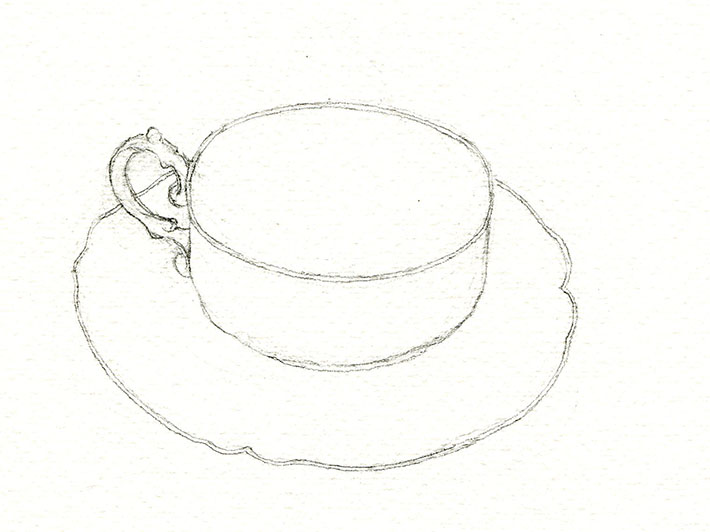
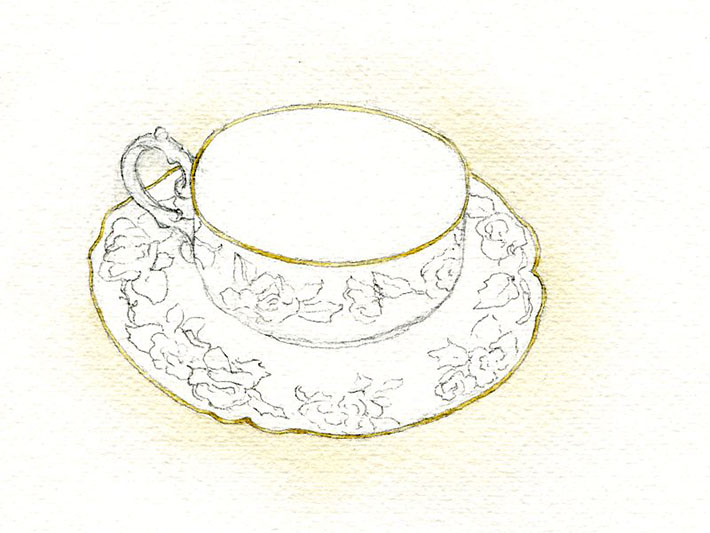
 Step 1. Sketch out the rough shape of your tea cup.
Even I often struggle at the sketch stage, so don’t fret if you don’t get it right away. Try not to press too hard with your pencil so you can erase the “struggle” lines when you have the form you are happy with (I am using an “F” pencil).
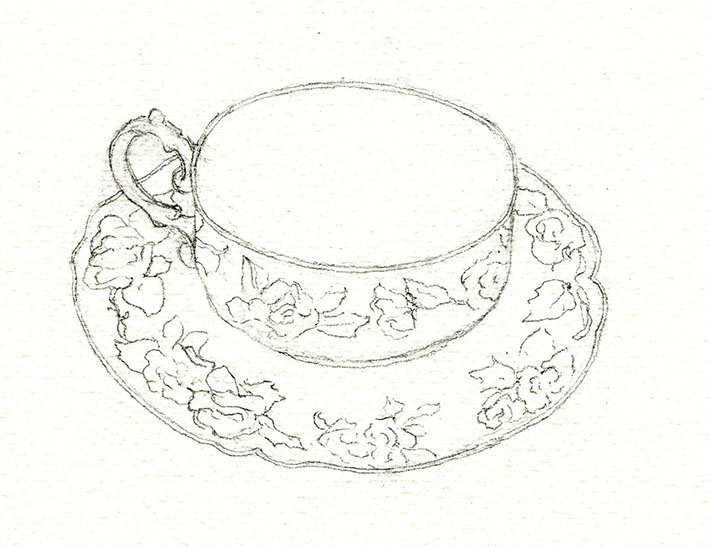
 Step 2. Refine your sketch.
Now that you are happy with a shape, gently erase the sketch lines that you do not need.
Note: There are times when sketch lines can actually add to the beauty of a piece of art. You have to decide which ones to keep and which ones to erase. My own tendency is to keep things too neat and tidy and I am sure that some of these times it ended up taking more away than adding to my art. In the end, you have to find your comfort level with your art and live by it. That to me is the path to being your best artist.
My teacup has gold trim so I have drawn in the thin line all around the lines of the teacup top and the plate edges.
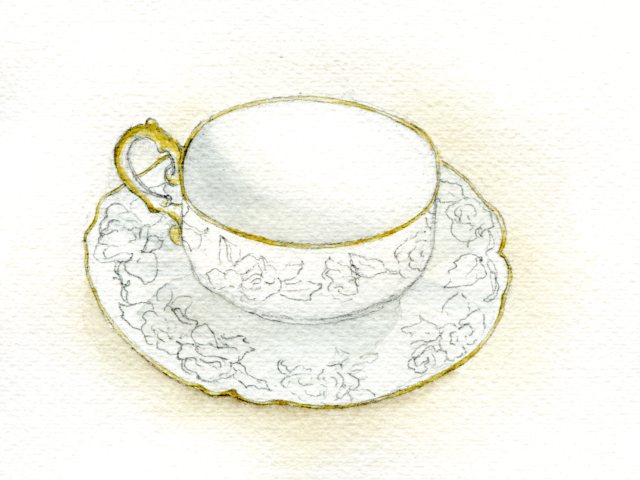
 Now lightly sketch in your cup design or pattern.
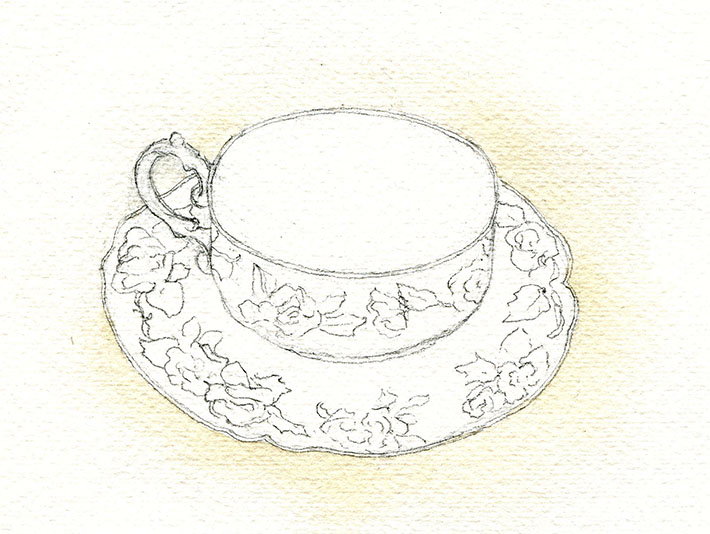
 Step 3. Prepare to paint your teacup.
Since my teacup is white, I am adding a little background color to make it stand out. My mix is a very watered down blend of sepia, ivory black and cadmium yellow.
I have started my teacup with the edges painted with a mix of quinacridone gold, lemon yellow and yellow ochre. Note that it is painted darker and lighter along the way for where the light hits the edges of gold.
 Next the gray/blue shading is applied as per the way I see the shadows in and around my cup as I paint it.
Tip: It is helpful to draw very light pencil lines for where you want your shadows to fall. These lines often seem to vanish when the paint is applied, or are easy to erase with kneaded rubber.
Paint your cup pattern or design. Using simple washes with some detailing is strong enough.
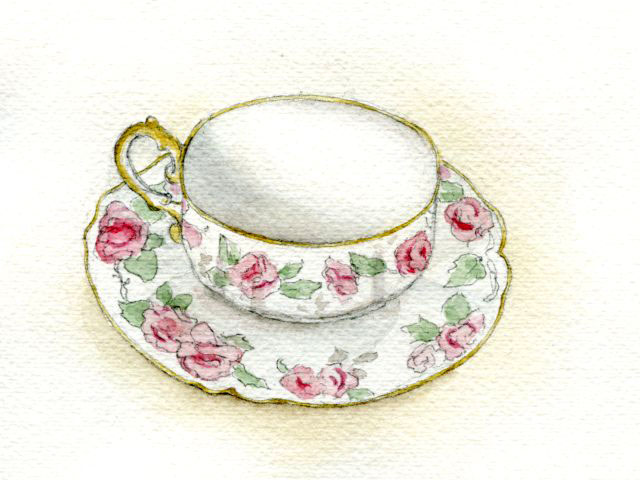
Step 4. Finishing details.
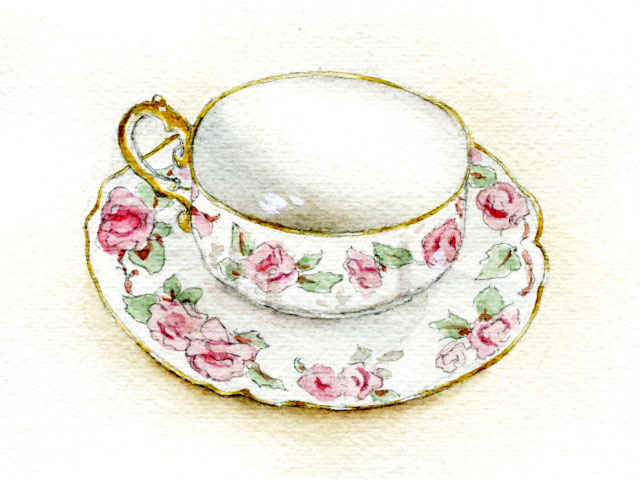
Deepen the gold edges of the teacup except for where it was lighter. This will make the gold glisten.
Deepen the shading where you think it needs to be stronger. I have deepened mine in the bowl of the teacup, just a little in the low spot. Some deepening of the shading on the surface right under the saucer gives more definition.
Add a tiny bit of detail to the flowers/leaves. I have added a few strokes of a mauve/green/umber mix in the leaves.
Lastly, a few touches of white gouache along the gold edges and a couple strokes in the cup gives it some great highlights.
And there you have a lovely teacup painting!
Share tips, start a discussion or ask one of our experts or other students a question.
No Responses to “Technique Tea Party: Draw and Paint a Lovely Teacup”