
Let’s kick off the tutorials of this jewelry series with how to draw earrings. I like that you can get really creative when designing earrings, they can be dangly, studs, long, short, wide, narrow, etc. Plus, the gems, diamonds and color variations are very vast, as well as all the possible motifs.
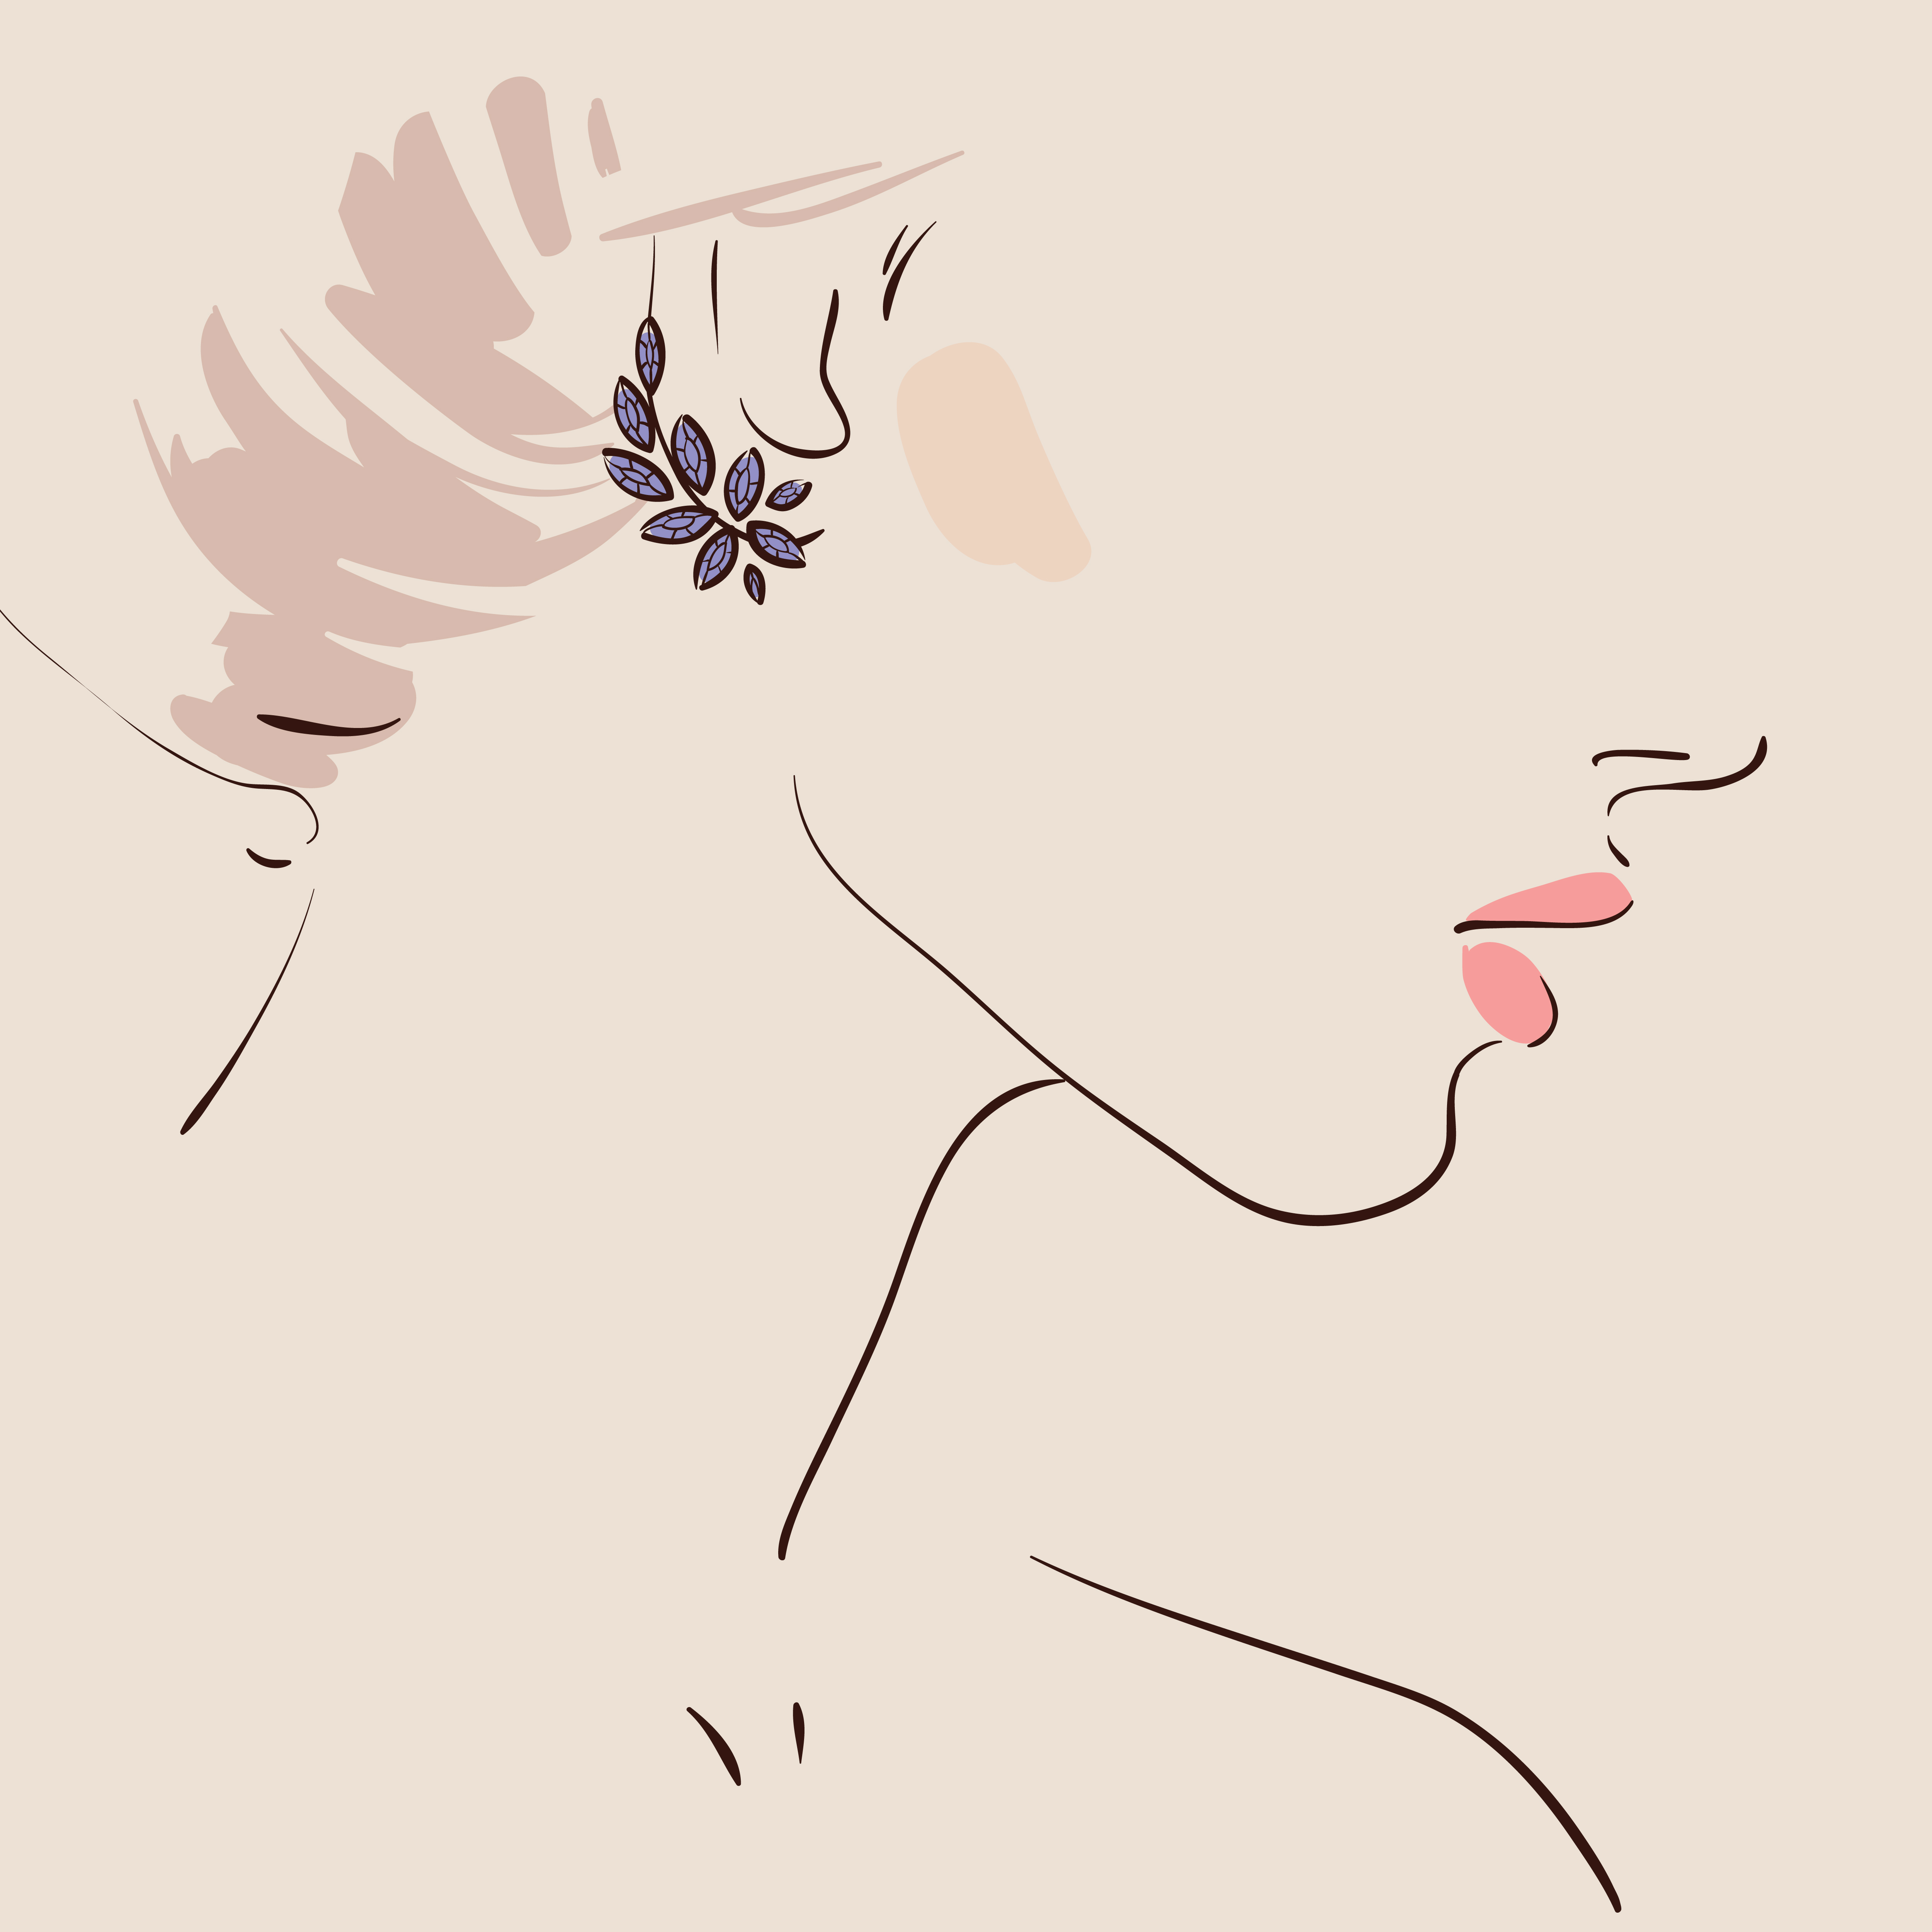
Image via Shutterstock/Yulia Yemelianova
When you are designing earrings, it is easy to get carried away sketching something that doesn’t exist yet and easily forget about some realistic parameters that should always be considered in order to make the design comfortable and wearable. The following are just a couple of the points that you want to take into consideration. If you are not designing earrings, and instead you are drawing earrings from life or a picture you can skip past the design considerations below.
Design considerations
Weight of your design
This point falls in the area of comfort. Remember that gems, diamonds and pearls can get heavy when you add them all to the same piece. It is important to consider how heavy your design will be in the very early stages otherwise, you run the risk of creating a pair of earrings that will weigh down the ears and might give the wearer a headache.
If your piece will be a dangly earring, a good rule of thumb would be to define the length of your design depending on the type of gems you select. the heavier the stones, the shorter the dangly earring should be. On the other hand, if the earring consists of a gem or diamond suspended from a long chain, it is best that this rock be light and small so that it will be comfortable to wear.
Width of your design
This point also falls within the area of comfort. If your design is too wide, it will touch the side of the face or get tangled with hair. Another disadvantage of very wide designs is that you also run the risk of the earring getting too heavy to wear if it also features many stones. A parameter I like to keep in mind as reference when sketching a design is that the general working area of the earring should not exceed 1inch in width and 4 inch in length. Of course you can play around with these numbers since it is not a formal rule or anything. It is just a personal rule of thumb that helps me keep designs within realistic proportions.
Drawing Your Design
Step 1.
To draw brand-new designs, you can draw a rectangle with the measurements above or whichever figures you choose to use for your design, and begin sketching your idea within this box.
Step 2.
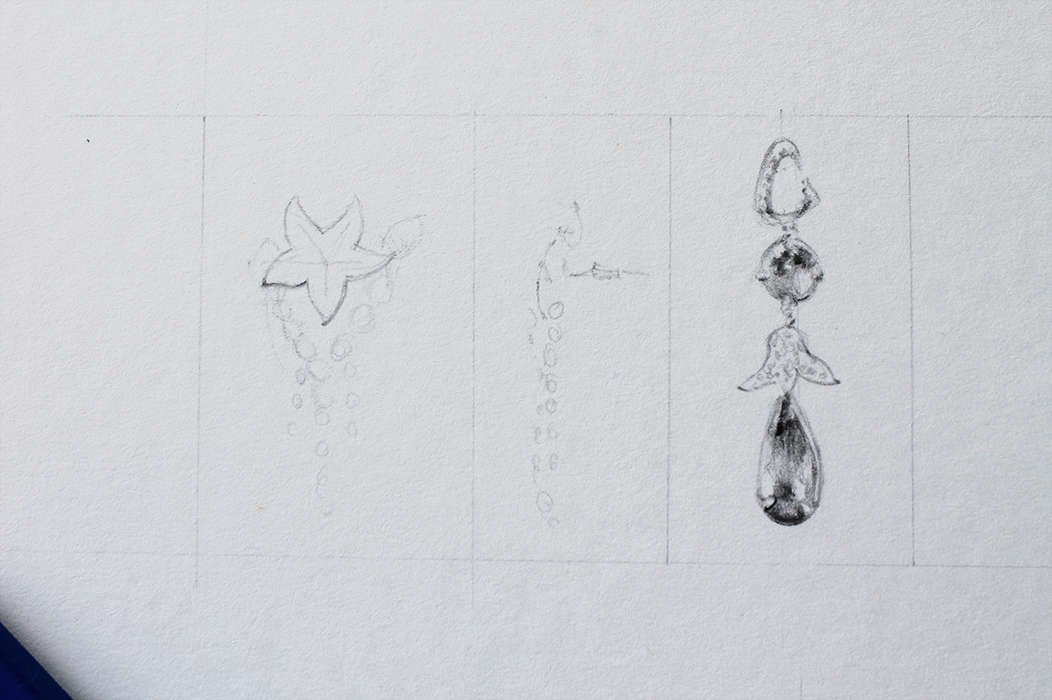
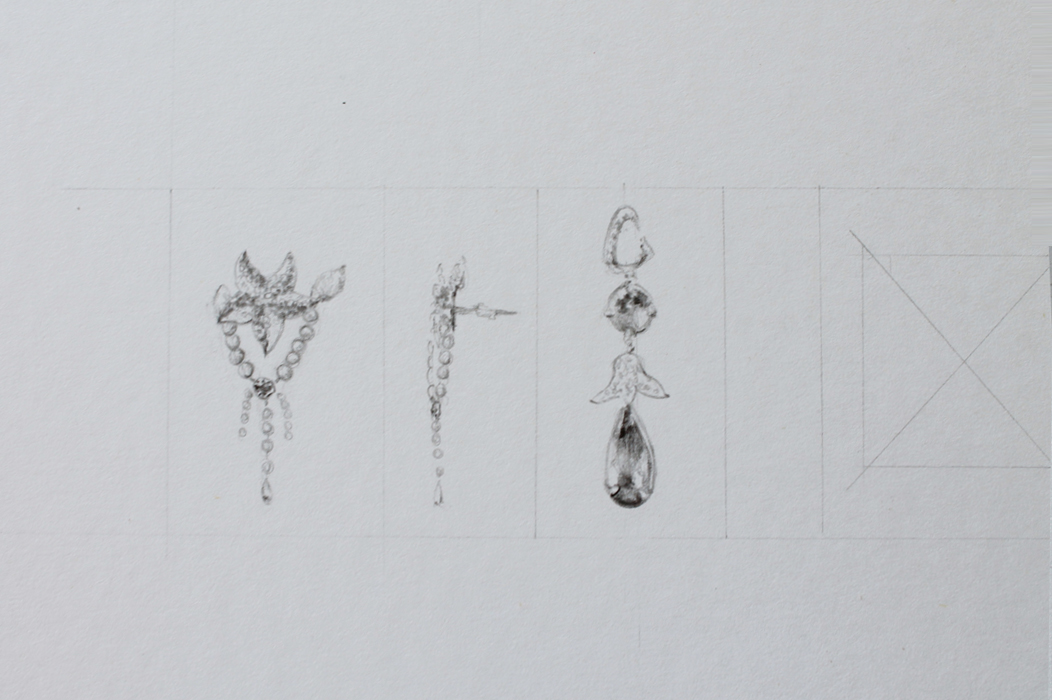
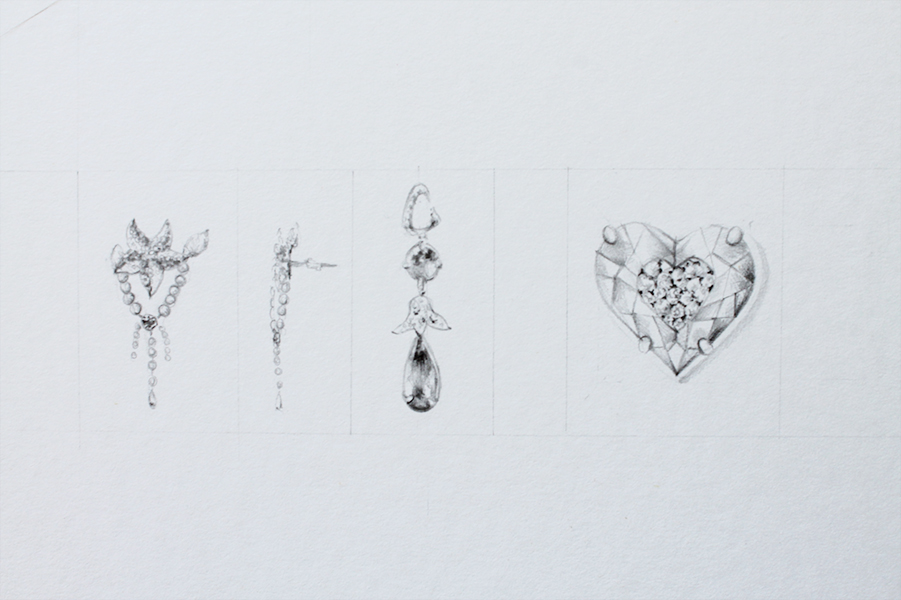
For this first design I chose to go with a beach/mermaid theme. I know I want it to be a dangly piece and it will feature a starfish, a small shell on the right and small pearls tricking down with a small gem in the middle. The starfish and shell will be the heaviest components of this piece so I chose to make them the base of the earring, locked securely to the ear, anchoring the design as a whole and supporting the strands of pearls. Don’t forget to draw other alternative views you might need depending on the design, for instance, a side view.
Step 3.
After you finish the basic sketch and you are pleased with the result, you can begin to shade the drawing. This will give it dimension and realism, which will help you get a better idea of what the real piece will look like. If, at this stage, you realize something in the design isn’t working or you are unhappy with any components, don’t be afraid to pick up that eraser and make changes. This is exactly when all the editing should be done to achieve the best design possible.
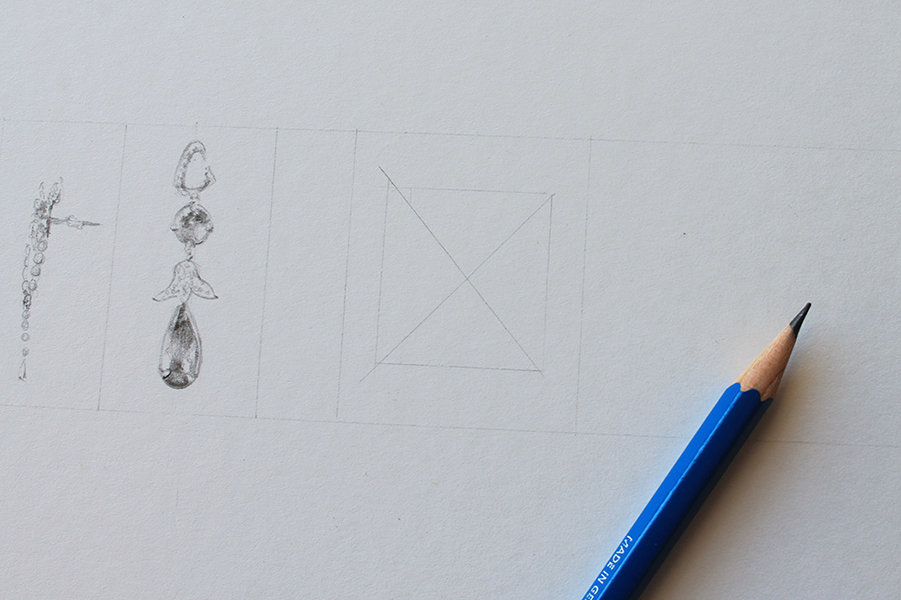
Step 4.
For more symmetrical designs, like a heart-shaped stud earring, you can follow a similar technique but this time instead of drawing a rectangle we will use a square and draw a cross in the middle to divide it into equal parts.
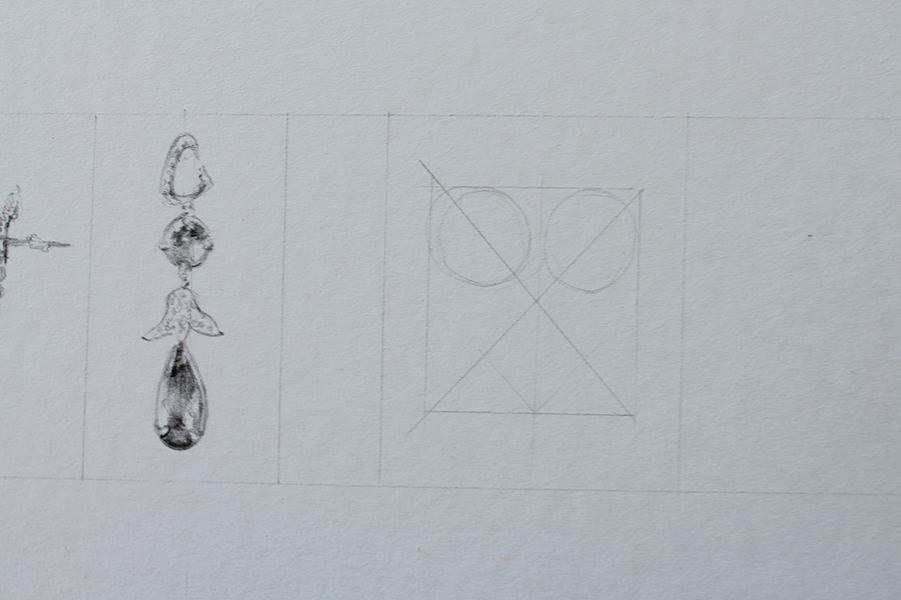
Step 5.
Draw the same circles and lines you see above to create the basic heart shape. You can also use this technique for drawing hearts in earring designs made up of more components that also feature a small heart-shaped stone.
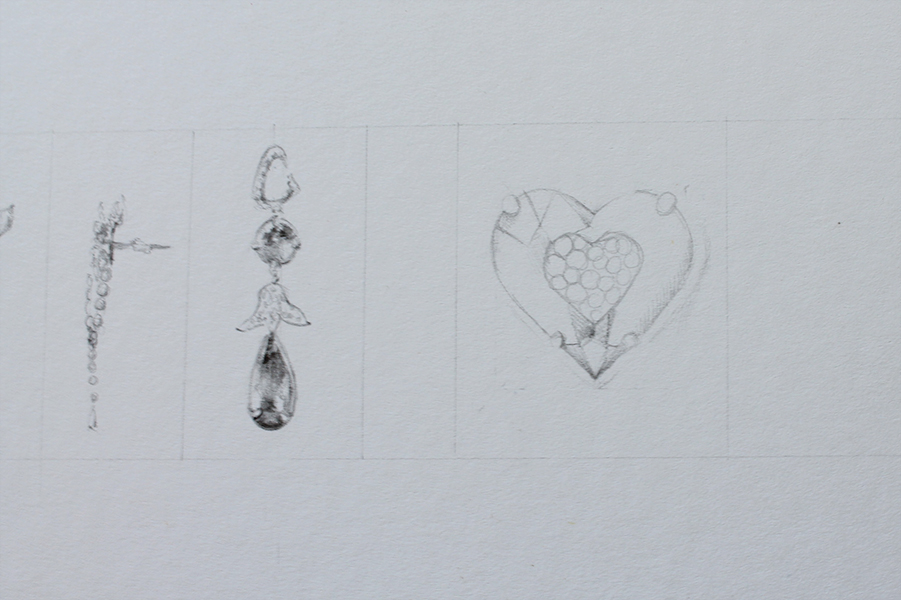
Step 6.
Then, you want to fill up your basic shape with gems, crystals or anything else you wish. In this case, I chose to create an outer frame made out of a faceted crystal and the center filled with small diamonds.
 There you have it! Some examples of how to draw earrings. You can apply all of these techniques to your own designs and ideas.
Share tips, start a discussion or ask one of our experts or other students a question.
No Responses to “Designing and Drawing Jewelry: How to Draw Earrings”