
Flowers are a beautiful subject that can be explored on so many different levels. With a little instruction, you too can draw stunning floral blooms — the possibilities are endless, your only limitation is your own creativity.
Discover how to draw flowers with this simple step-by-step tutorial!
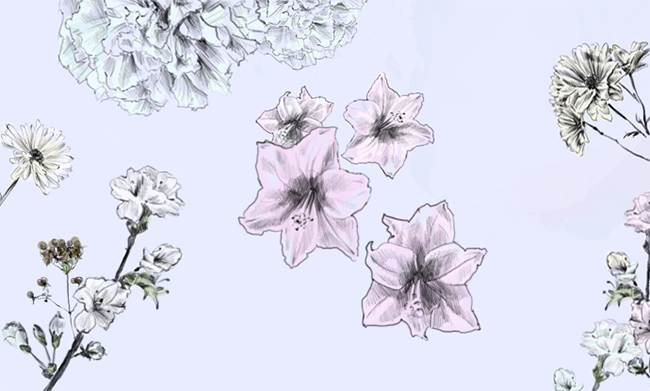
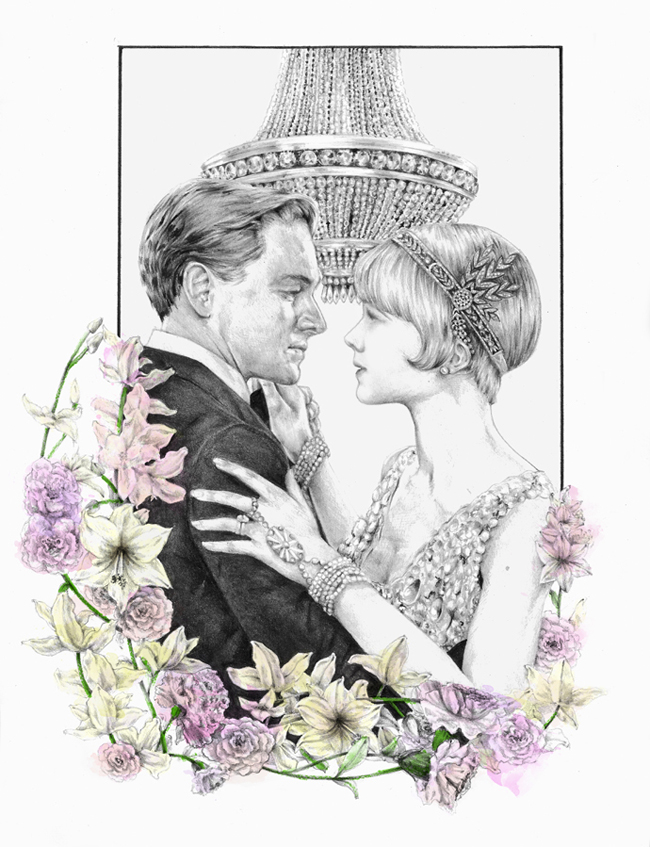
Flowers can be the sole component of a painting, they can be used in a composition within an illustration like the example below, or they can be used to create a simple or complex pattern for fabric designs or wallpapers like the example above.
In this tutorial I will show you four easy stages for you to follow whenever you draw flowers. Practice these steps with different types of flowers, like roses, peonies, gardenias, carnations, etc., and you will find yourself mastering all kinds of floral arrangements in no time!
The way I like to break down this 4-part drawing process is: proportions, contour, details and shadows. Maintaing this structure with any type of flower will provide a simple and easy-to-remember guide to help you create beautiful drawings.
Let’s begin!
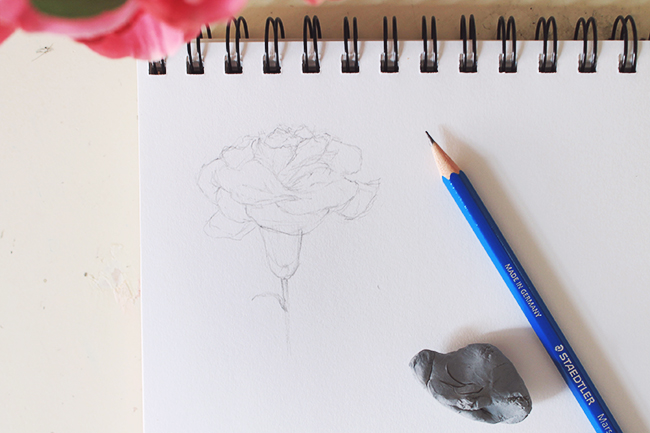
Step 1. Proportions:
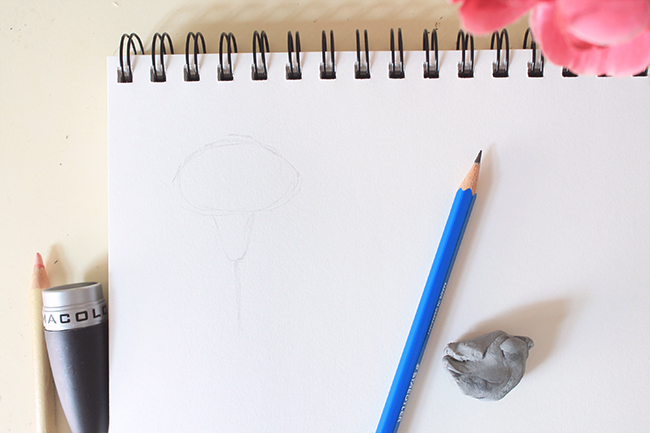
To start off the drawing, block in the basic shapes of the flower, making sure you maintain all vertical and horizontal correlating proportions between all the parts of the flowers. Usually, all flowers can be summed up into a circle or oval due to their naturally organic and curvaceous shapes. In this case, we are drawing a carnation, and the sum of it’s petals can be represented by and oval.
Step 2. Contour:
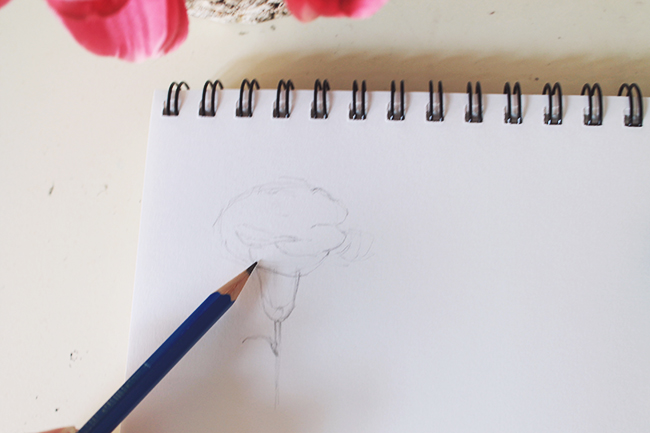
In this step focus on finding the contour of the flower on your page. Begin to give those loose geometric shapes more defined lines and start drawing the outside lines of the carnation with slightly more detail and precision.
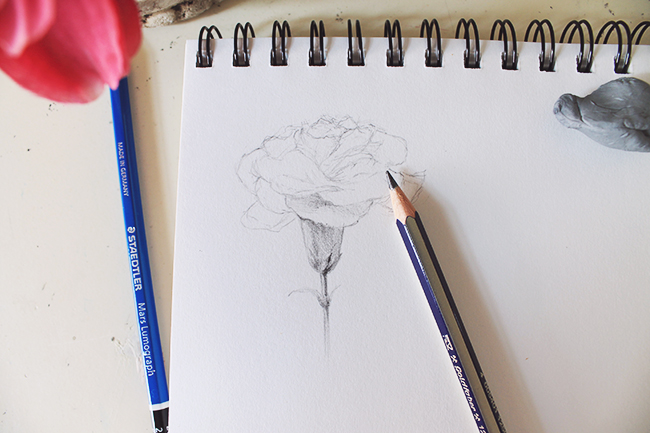
Step 3. Details:
Now that we have arrived at a basic proportional outline of our flower we can start adding details on the inside of the drawing. Have a good look at the layer of overlapping petals and start drawing them from the bottom up. Begin by drawing the petals closest to the stem, working your way up to the top of the flower. This will help you focus on one small area at a time and prevent you from feeling overwhelmed by so many intersecting and overlapping sets of petals.
Step 4. Shadows:
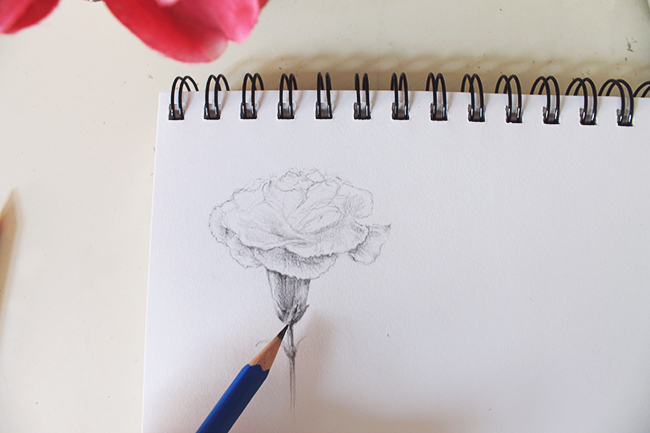
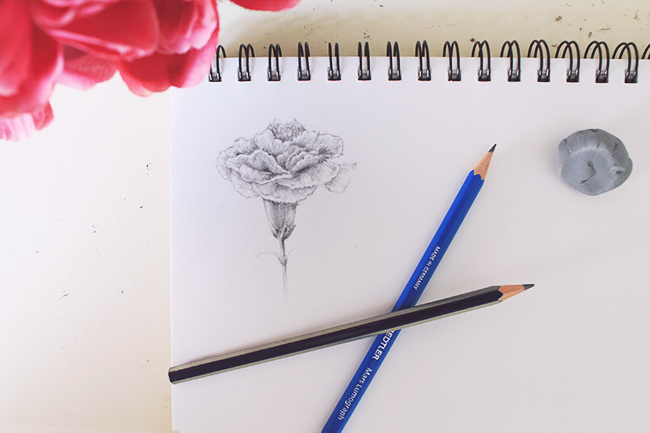
Once you finish drawing all of the major details of the flower, it is time to move on to shading your drawing. Throughout this whole process I have been using a 2B pencils, an ideal option both for drawing and for laying the most important shadows. This is the step that will start bringing your drawing to life. Remember that well rendered shadows can make any drawing pop right off the page.
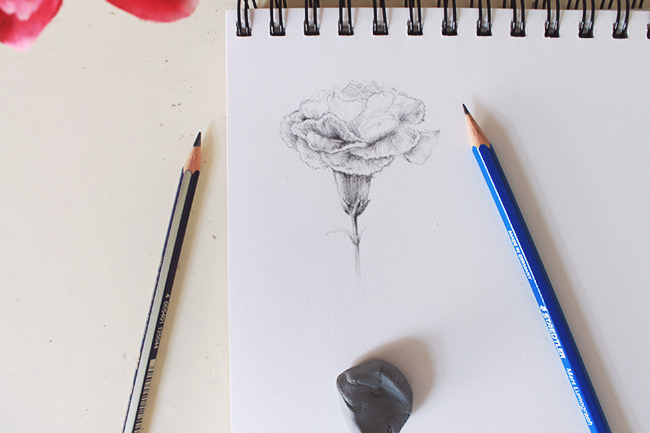
Continue shading all of the petals on your flower. At this point it is a good idea to bring in a second pencils to add some of the darker shadows right under the front petals. In this case I used a 4B pencil to add a slightly darker tone of grey on the stem, under the wholes set of petals and right underneath the front petals of this carnation.
There you have it, four stages you can follow with all your favorite flowers to create simple and beautiful floral drawings.
Share tips, start a discussion or ask one of our experts or other students a question.
No Responses to “Blooming Garden: How to Draw Flowers in 4 Simple Steps”