
Anybody can eat fruit. But do you know how to draw fruit? Even for the beginning artist, fruit is an accessible drawing subject matter, since at its heart, it’s just a matter of refining simple shapes.
Photos and illustrations via CakeSpy
While some fruits might strike you as incredibly complex in shape and form, this tutorial breaks them down into several easy and manageable steps that are perfect for beginners. This doesn’t mean it will be a snooze for seasoned artists, though: you can explore deeper complexity by further refining and applying advanced drawing techniques to create more realistic shapes.
So break out your favorite drawing supplies: pencil, pen, colored pencil or a combination of mixed media, and let’s get to the business of making some fresh art.
Notes and considerations
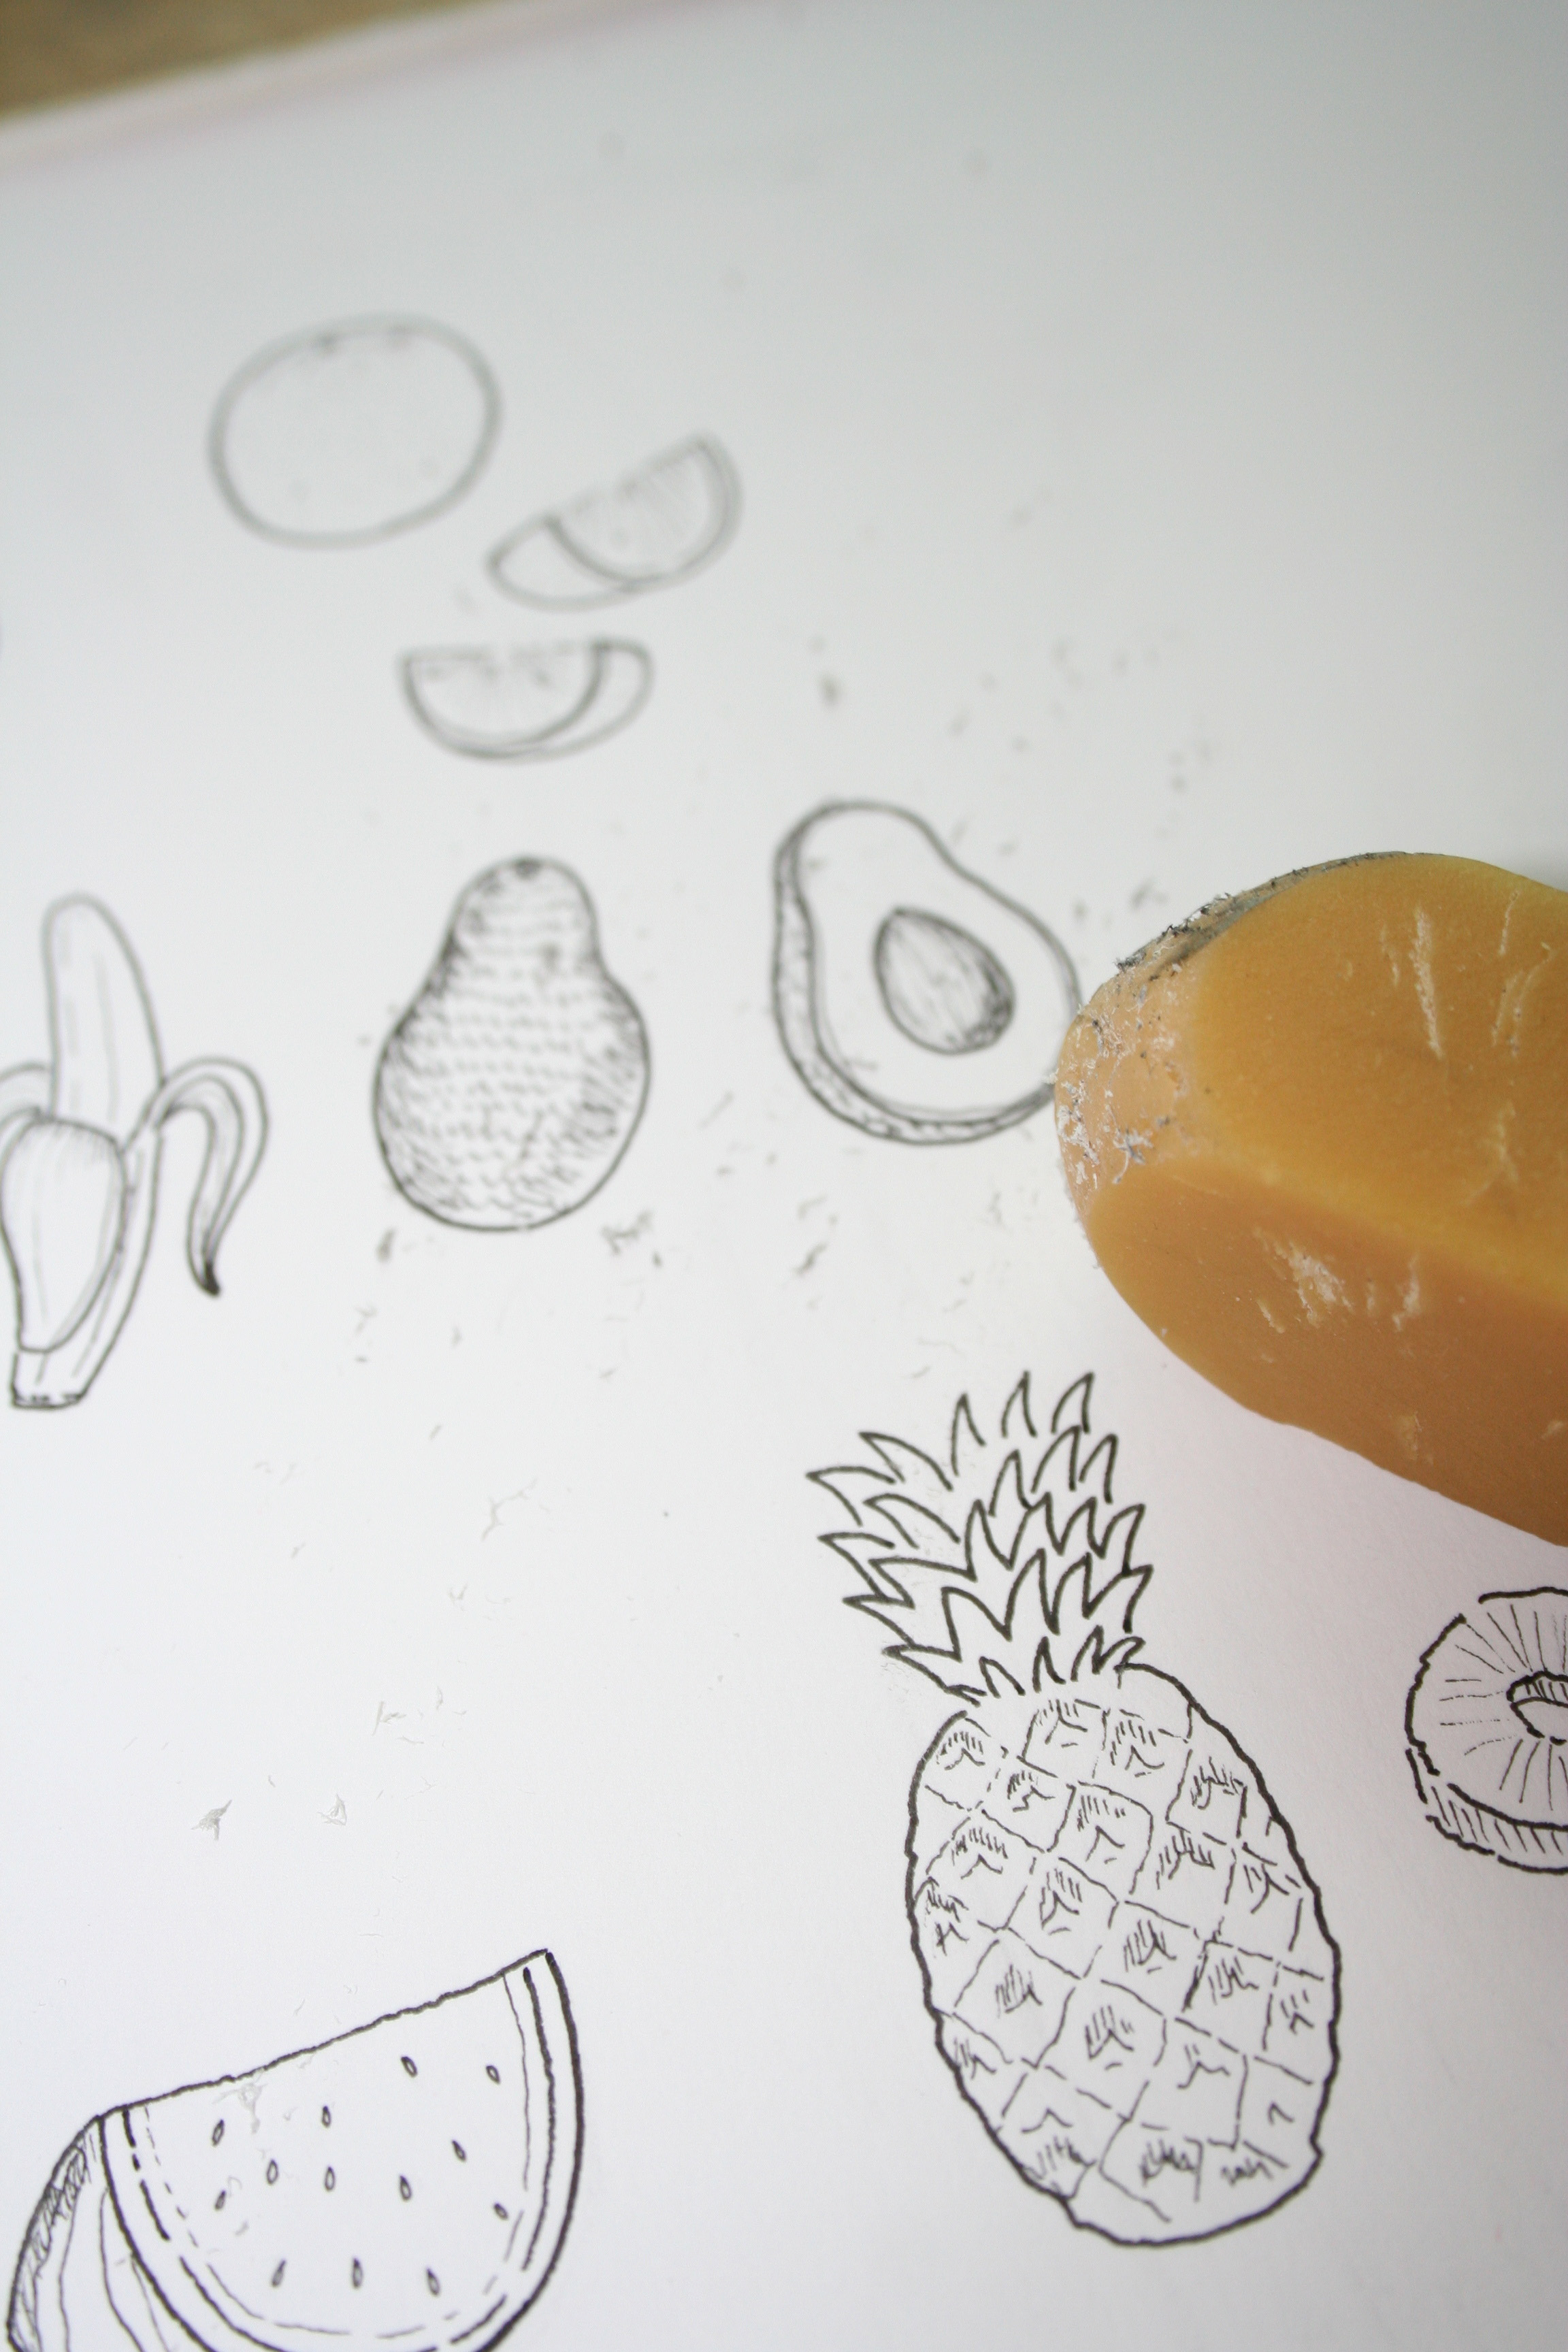
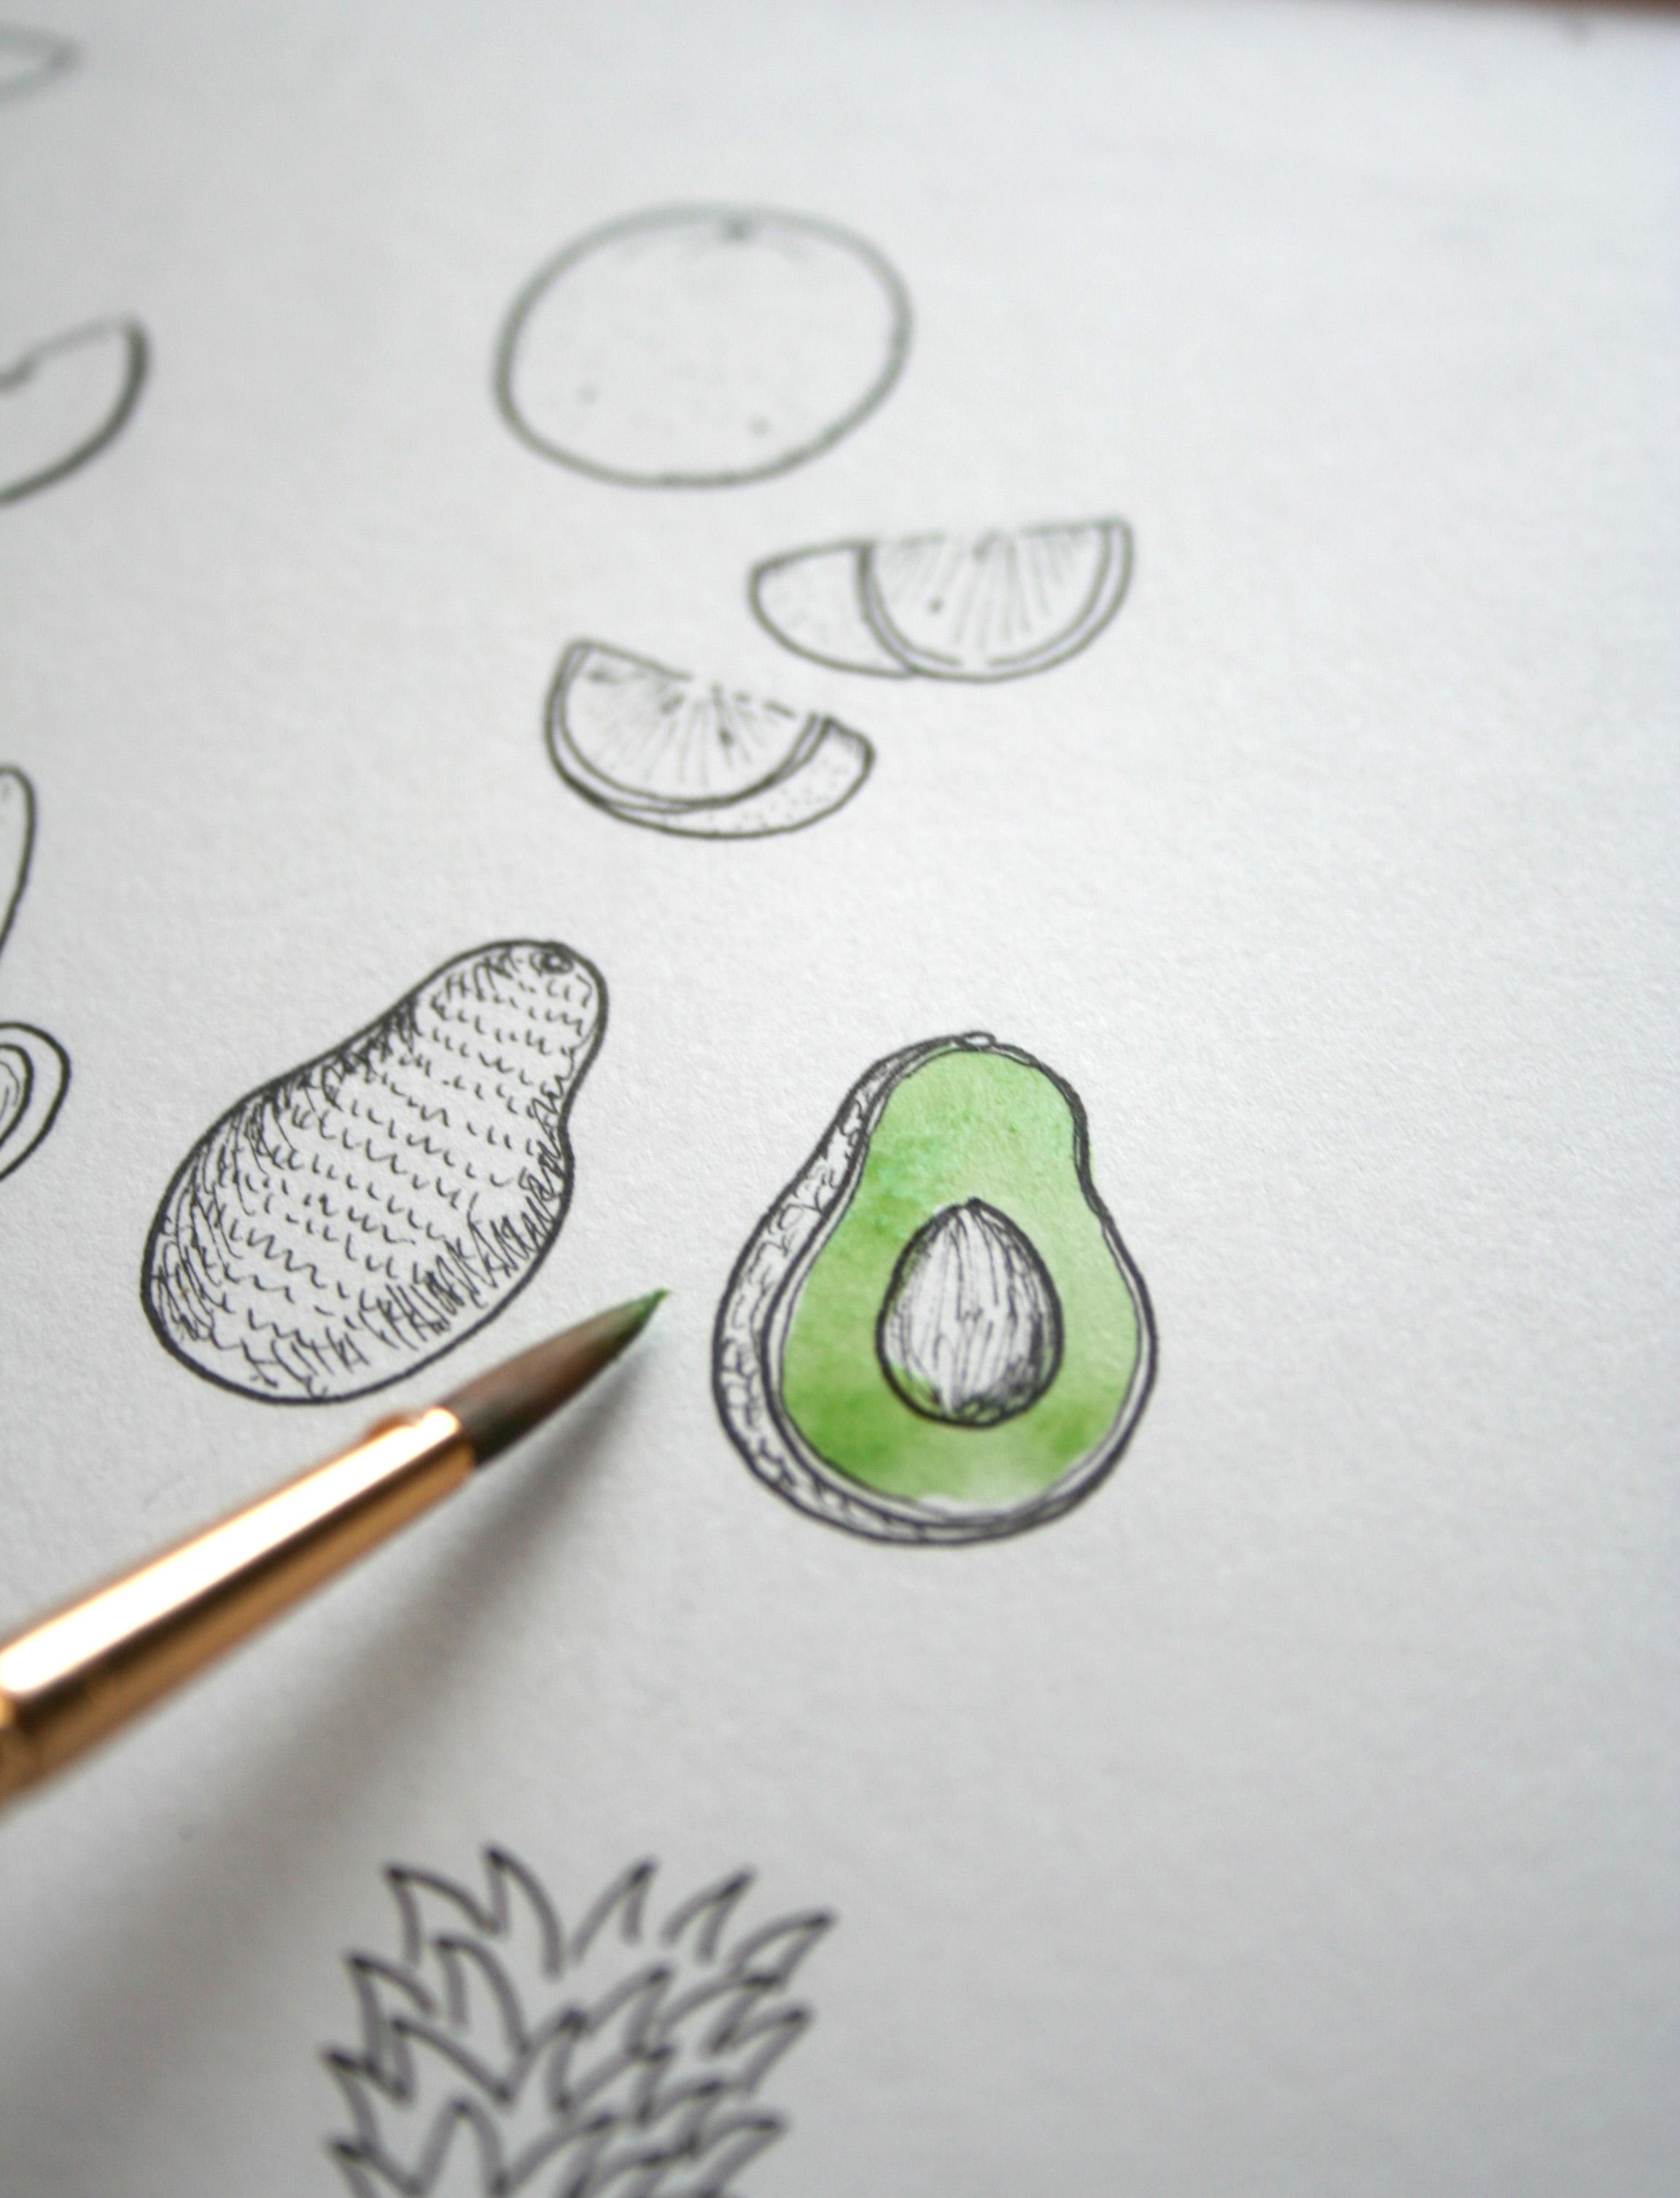
- Consider how you will draw the fruit. Certain presentations (cut, peeled, etc.) might make the fruit more appetizing and recognizable. For instance, it’s tough to draw a whole avocado (yes, it is a fruit) that looks like much other than a green blob. But by slicing it so that you can show the pit inside, it is instantly recognizable.
- By mastering just a few fruit shapes, you’ll be able to draw many different types of fruit because so many of them share similar forms. For instance, once you learn to draw an apple, drawing pears is a cinch. Once you’ve mastered drawing an orange or orange slices, you’ll already have a leg up on drawing lemons, limes and grapefruit.
- This tutorial is shown using pencil, pen and watercolor, but it can be adapted to just about any medium or series of media that you prefer.
How to draw fruit
You’ll need:
- Reference images, or actual fruit to refer to as your reference
- Paper
- A pencil
- An eraser
- Pens, paint or any other desired media
Step 1:
Choose which fruits you’d like to draw, and how you’d like to draw them — Peeled or cut? Whole? Consider that certain presentations might make the fruit more appetizing and recognizable like a slice of watermelon versus a whole one, or orange segments versus the whole fruit.

Step 2:
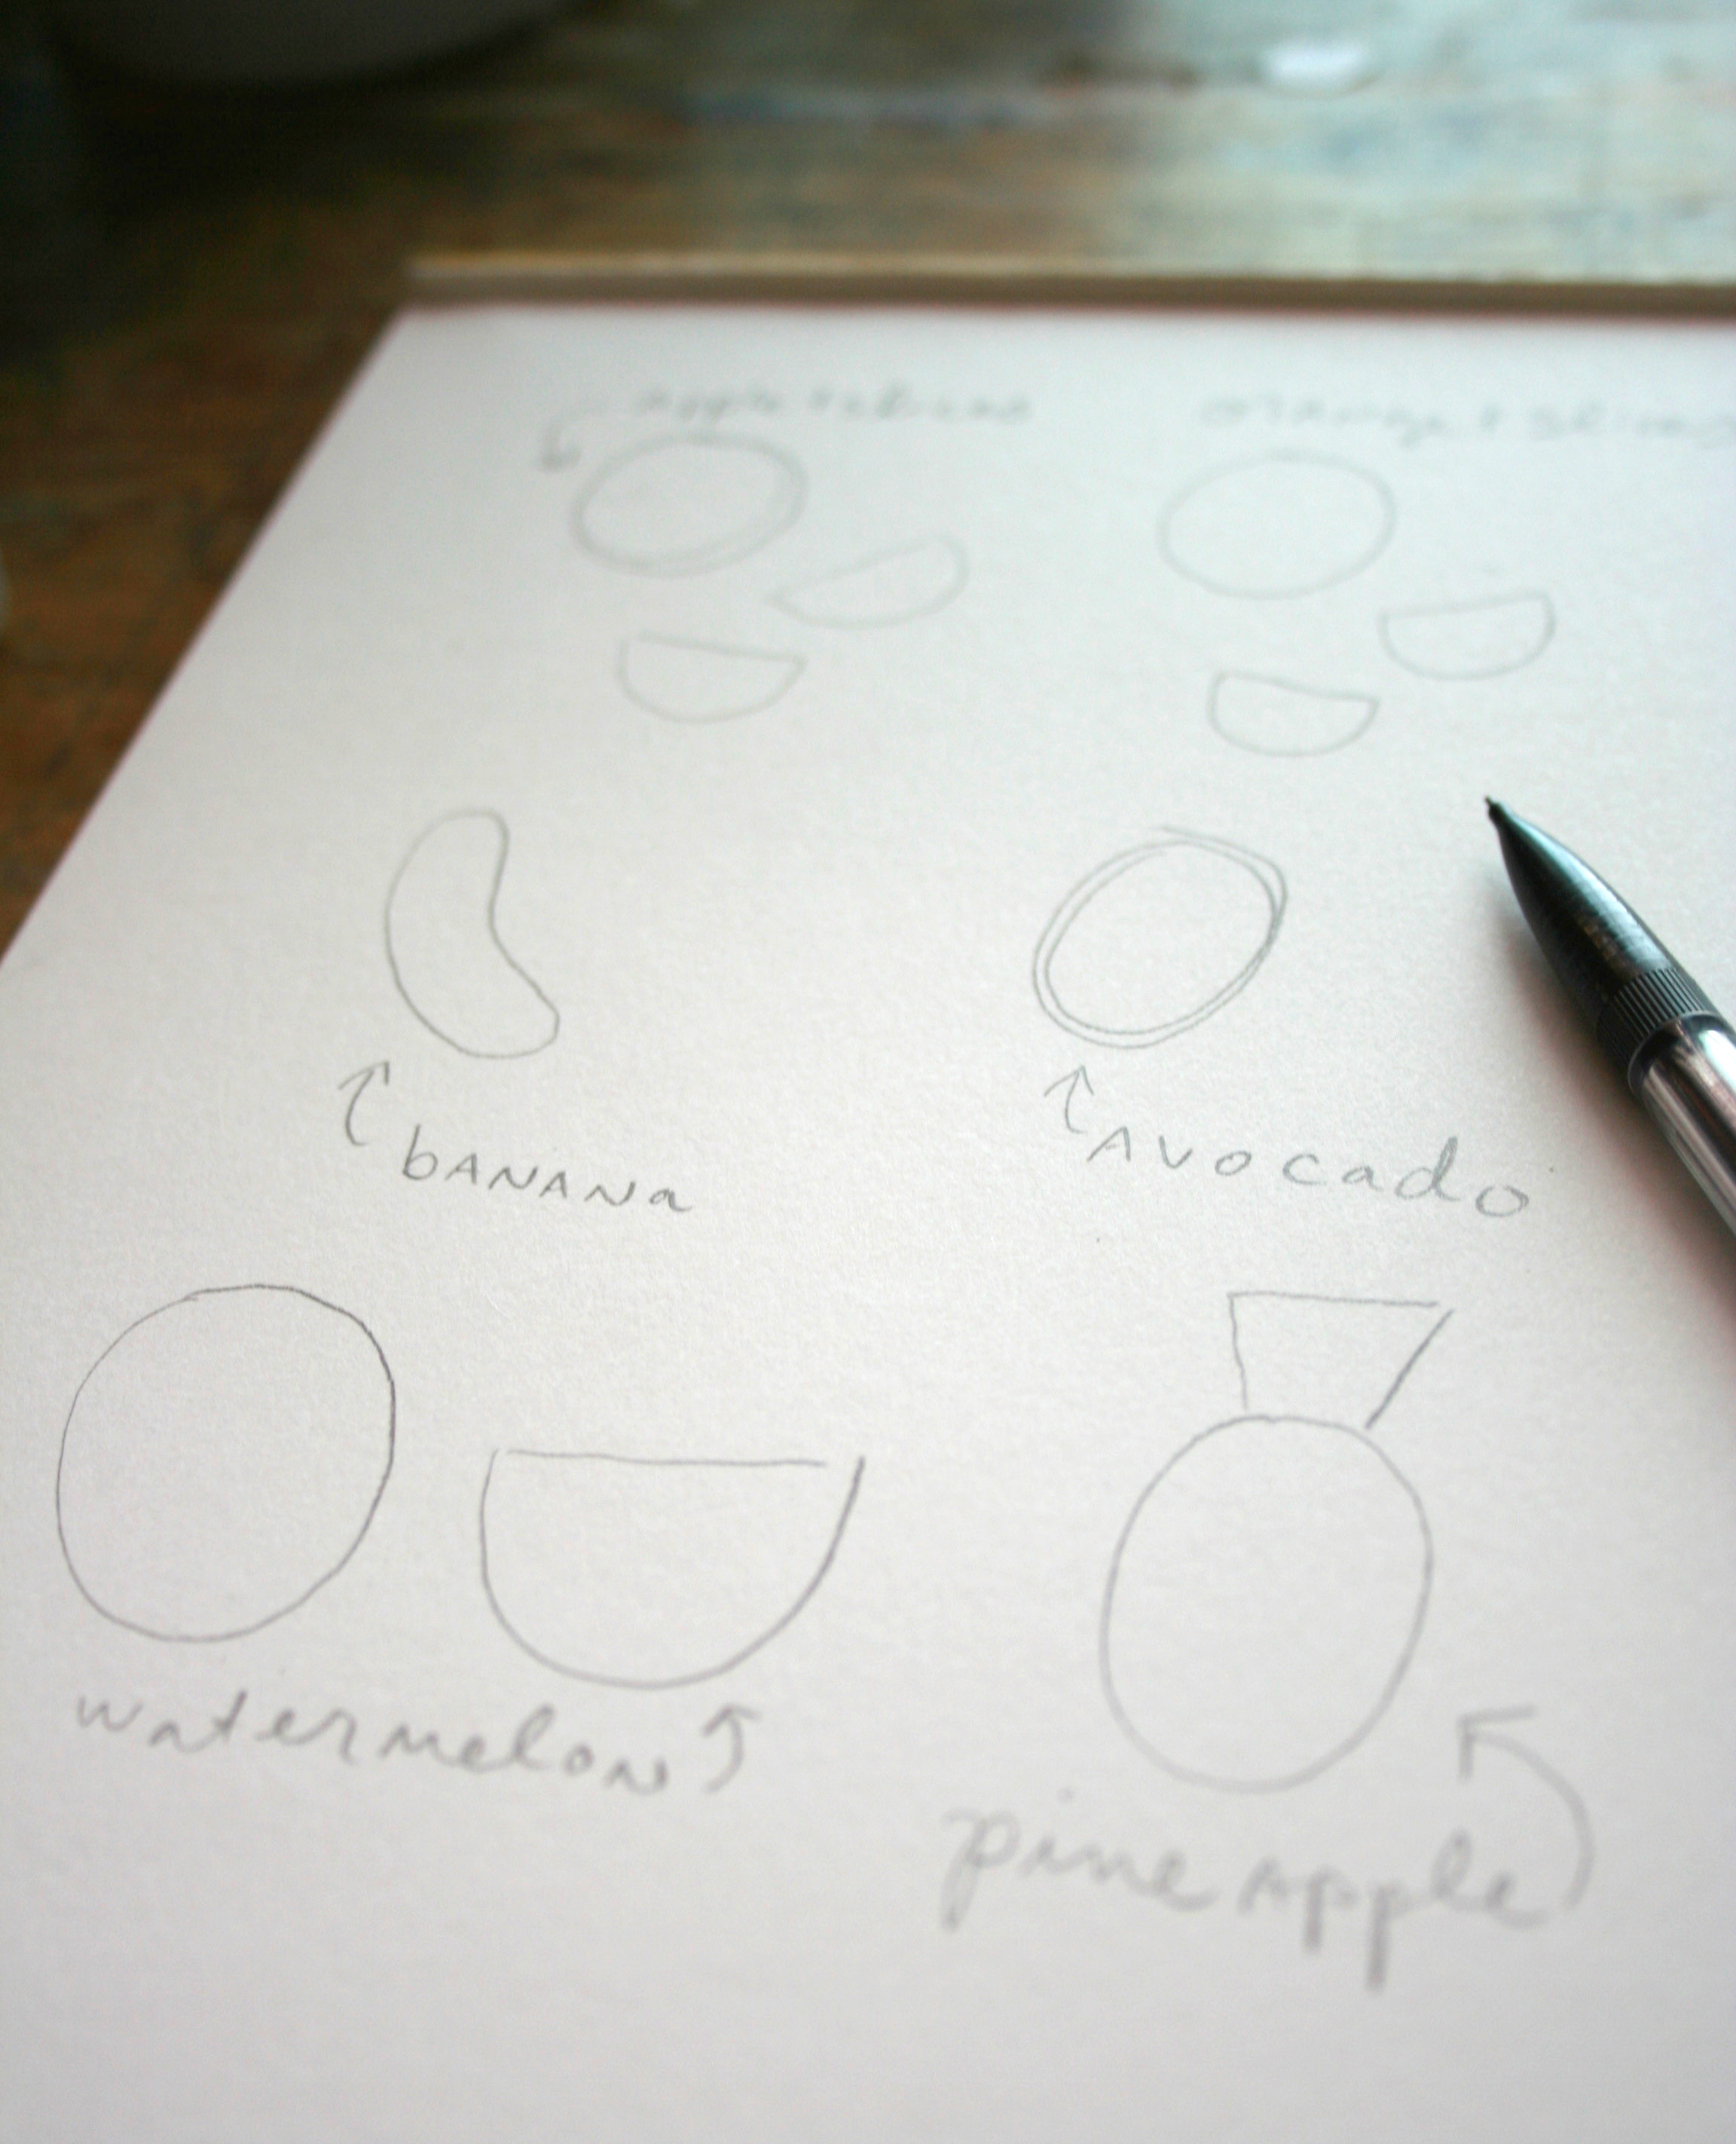
Analyze the fruit for dominant shapes. Draw the key shape to start. For instance, a whole apple or orange could start as a circle, whereas sliced versions could begin as semi-circles. An avocado or pear could start as an oval. A pineapple could start as an oval with a triangle on top.
Step 3:
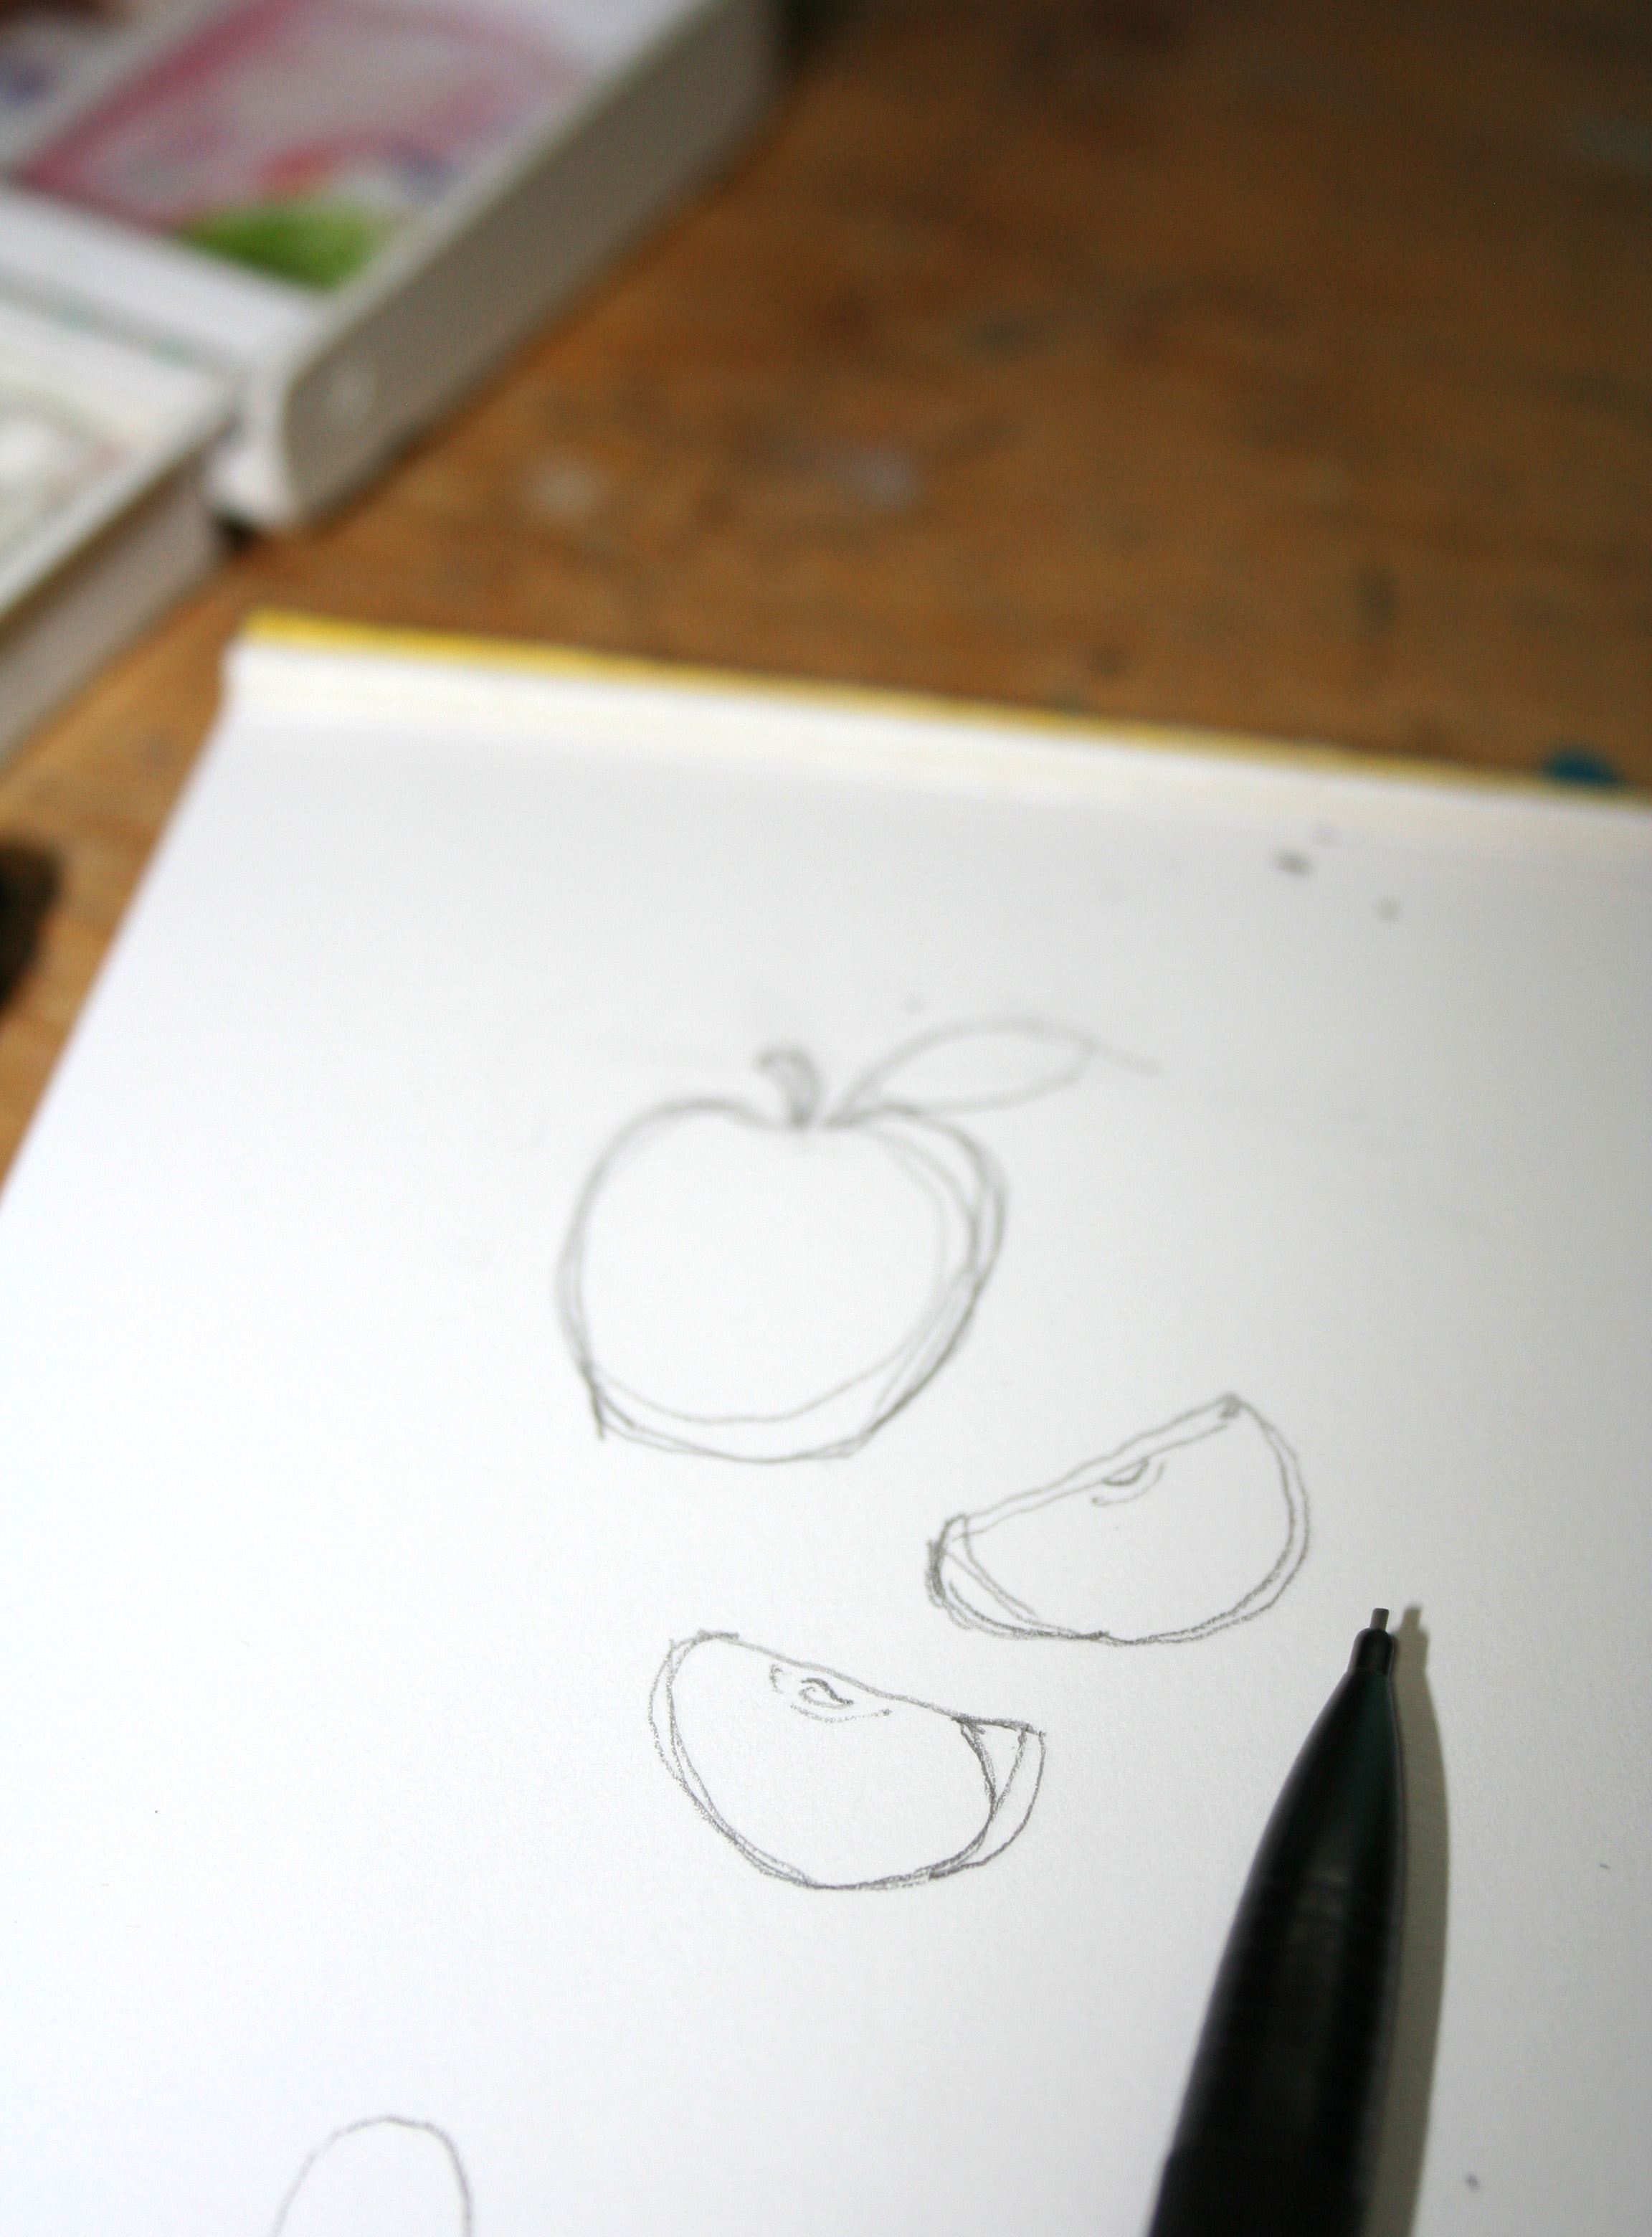
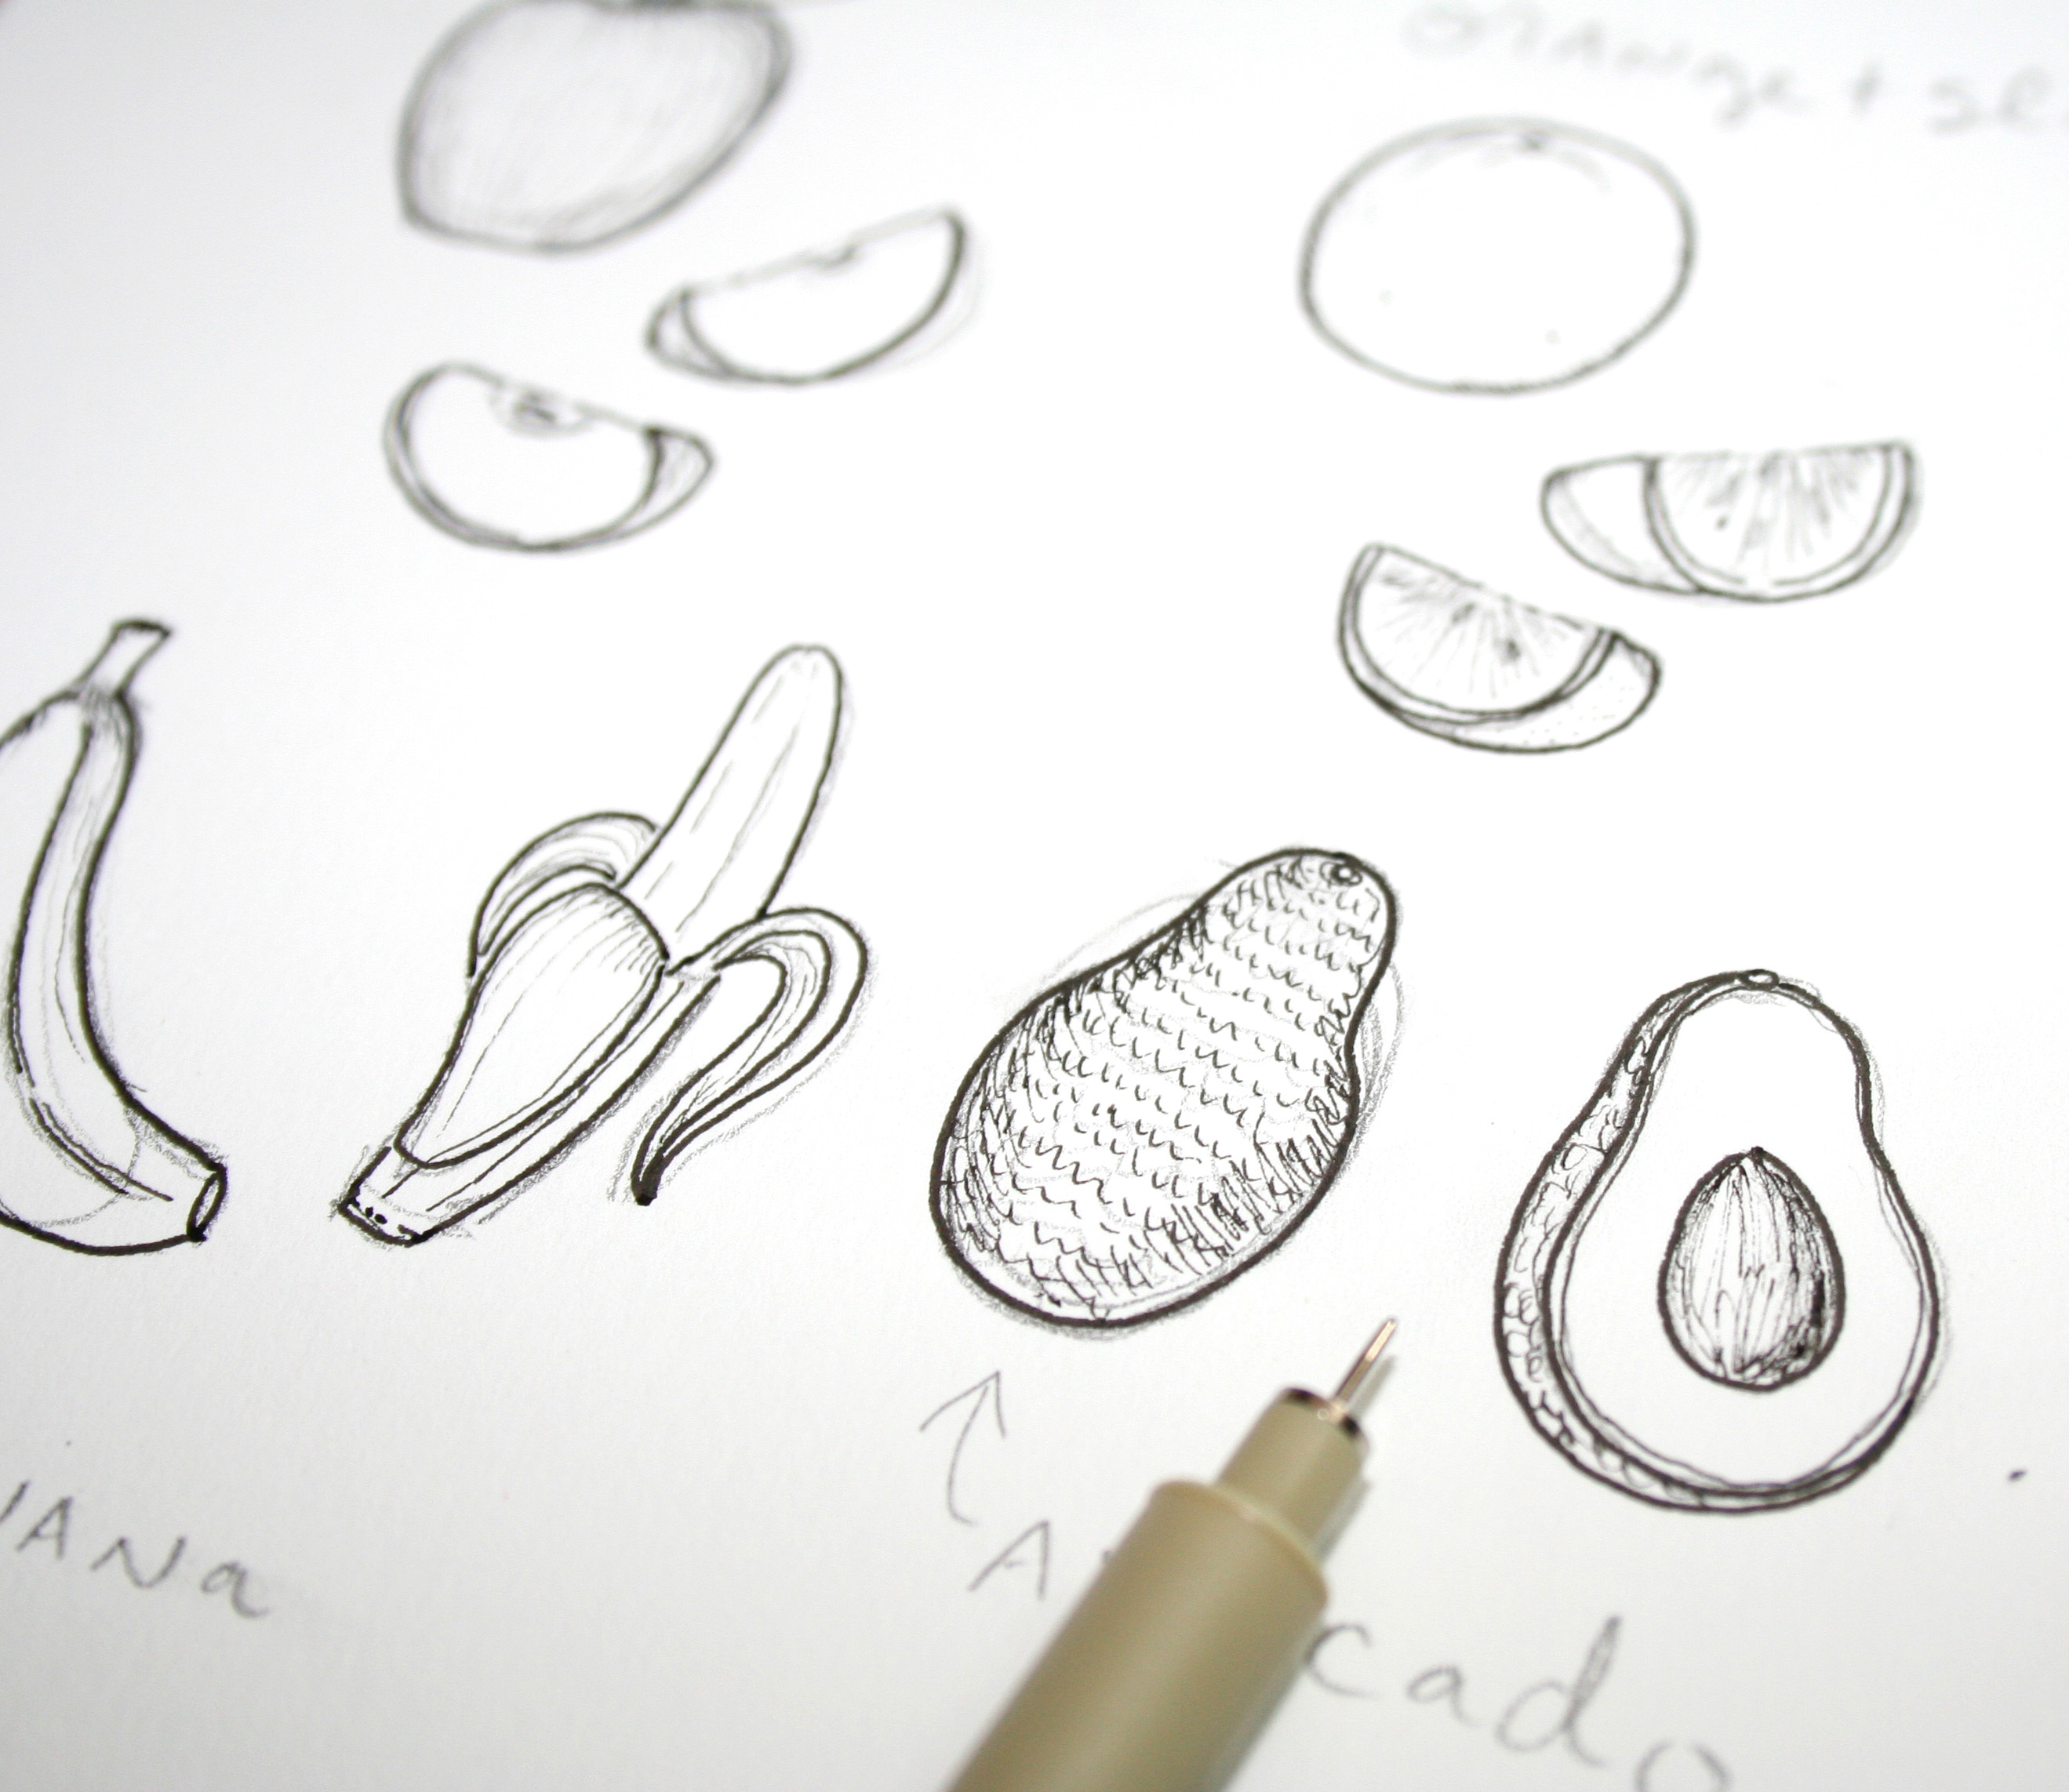
Using the basic shape as your guide, begin to make refinements to make them shaped more like each individual fruit. Taper edges, add rougher ends, etc. It’s almost as if you’re whittling away at that initial form to create a more exacting, specific shape. Refer to your reference material as needed.
Step 4:
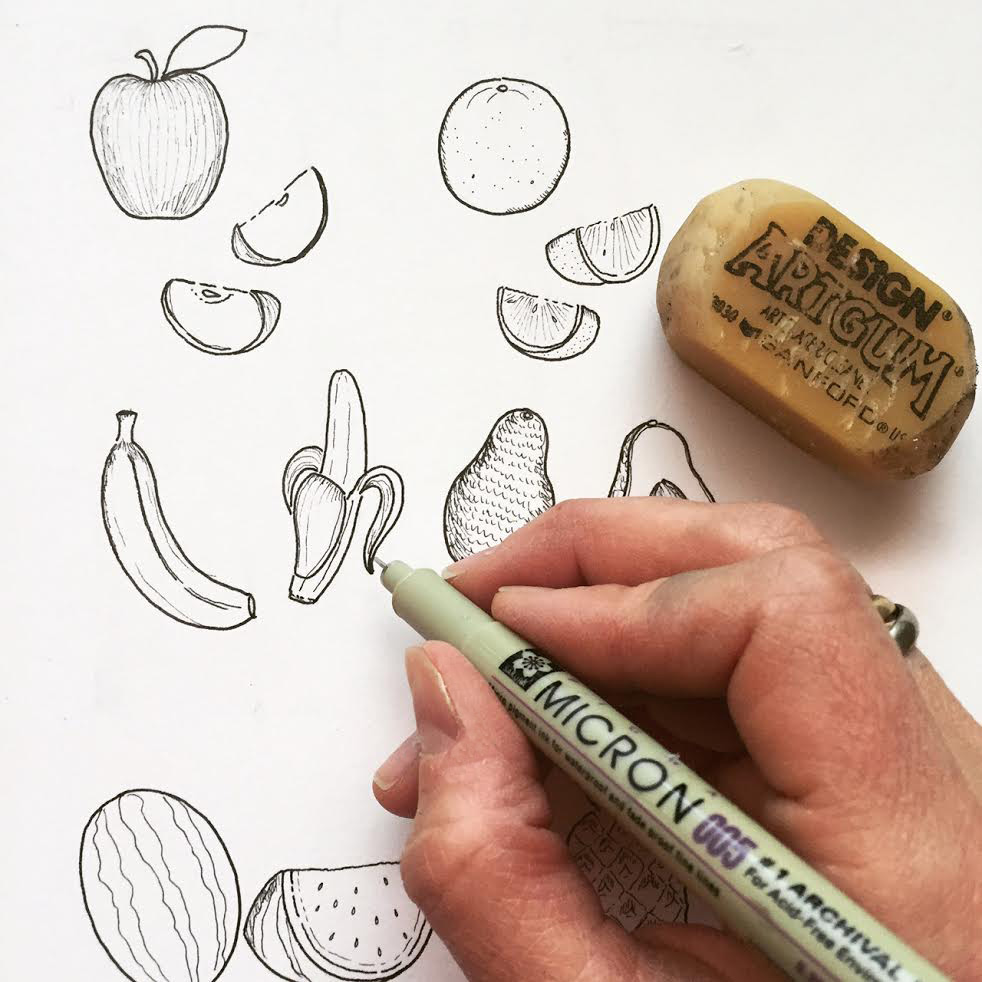
Begin adding texture and details. You can do this continuing in pencil, or by switching to another medium.
For the drawings shown, this is when I switched from pencil to pen. I used a variety of pen tip sizes and methods to create the basic shapes and then finer textures, such as light scumbling to create the nubbly exterior of an avocado, hatching to show the dimension and shading on oranges and apples, and fine line work to show the texture and variations on the surface of a pineapple.
Step 5:
If applicable, erase the pencil lines from under the pen, or if you are using pencil, erase any extraneous lines you don’t need anymore.
Refine further as desired, by adding additional lines or details.
Step 6:
How about adding color? Since so much of the visual appeal of fruit is in its colors, you may choose to add color to your drawing. As an added bonus, adding the color really makes the fruit recognizable. I like to begin by adding a base of the most dominant color in the fruit in watercolor, and then layer on color incrementally until I have reached my desired effect. Refer to your reference material, because sometimes you’ll find hints of unexpected colors in a piece of fruit.
Step 7:
Add highlights, shadows or additional color as you see fit.
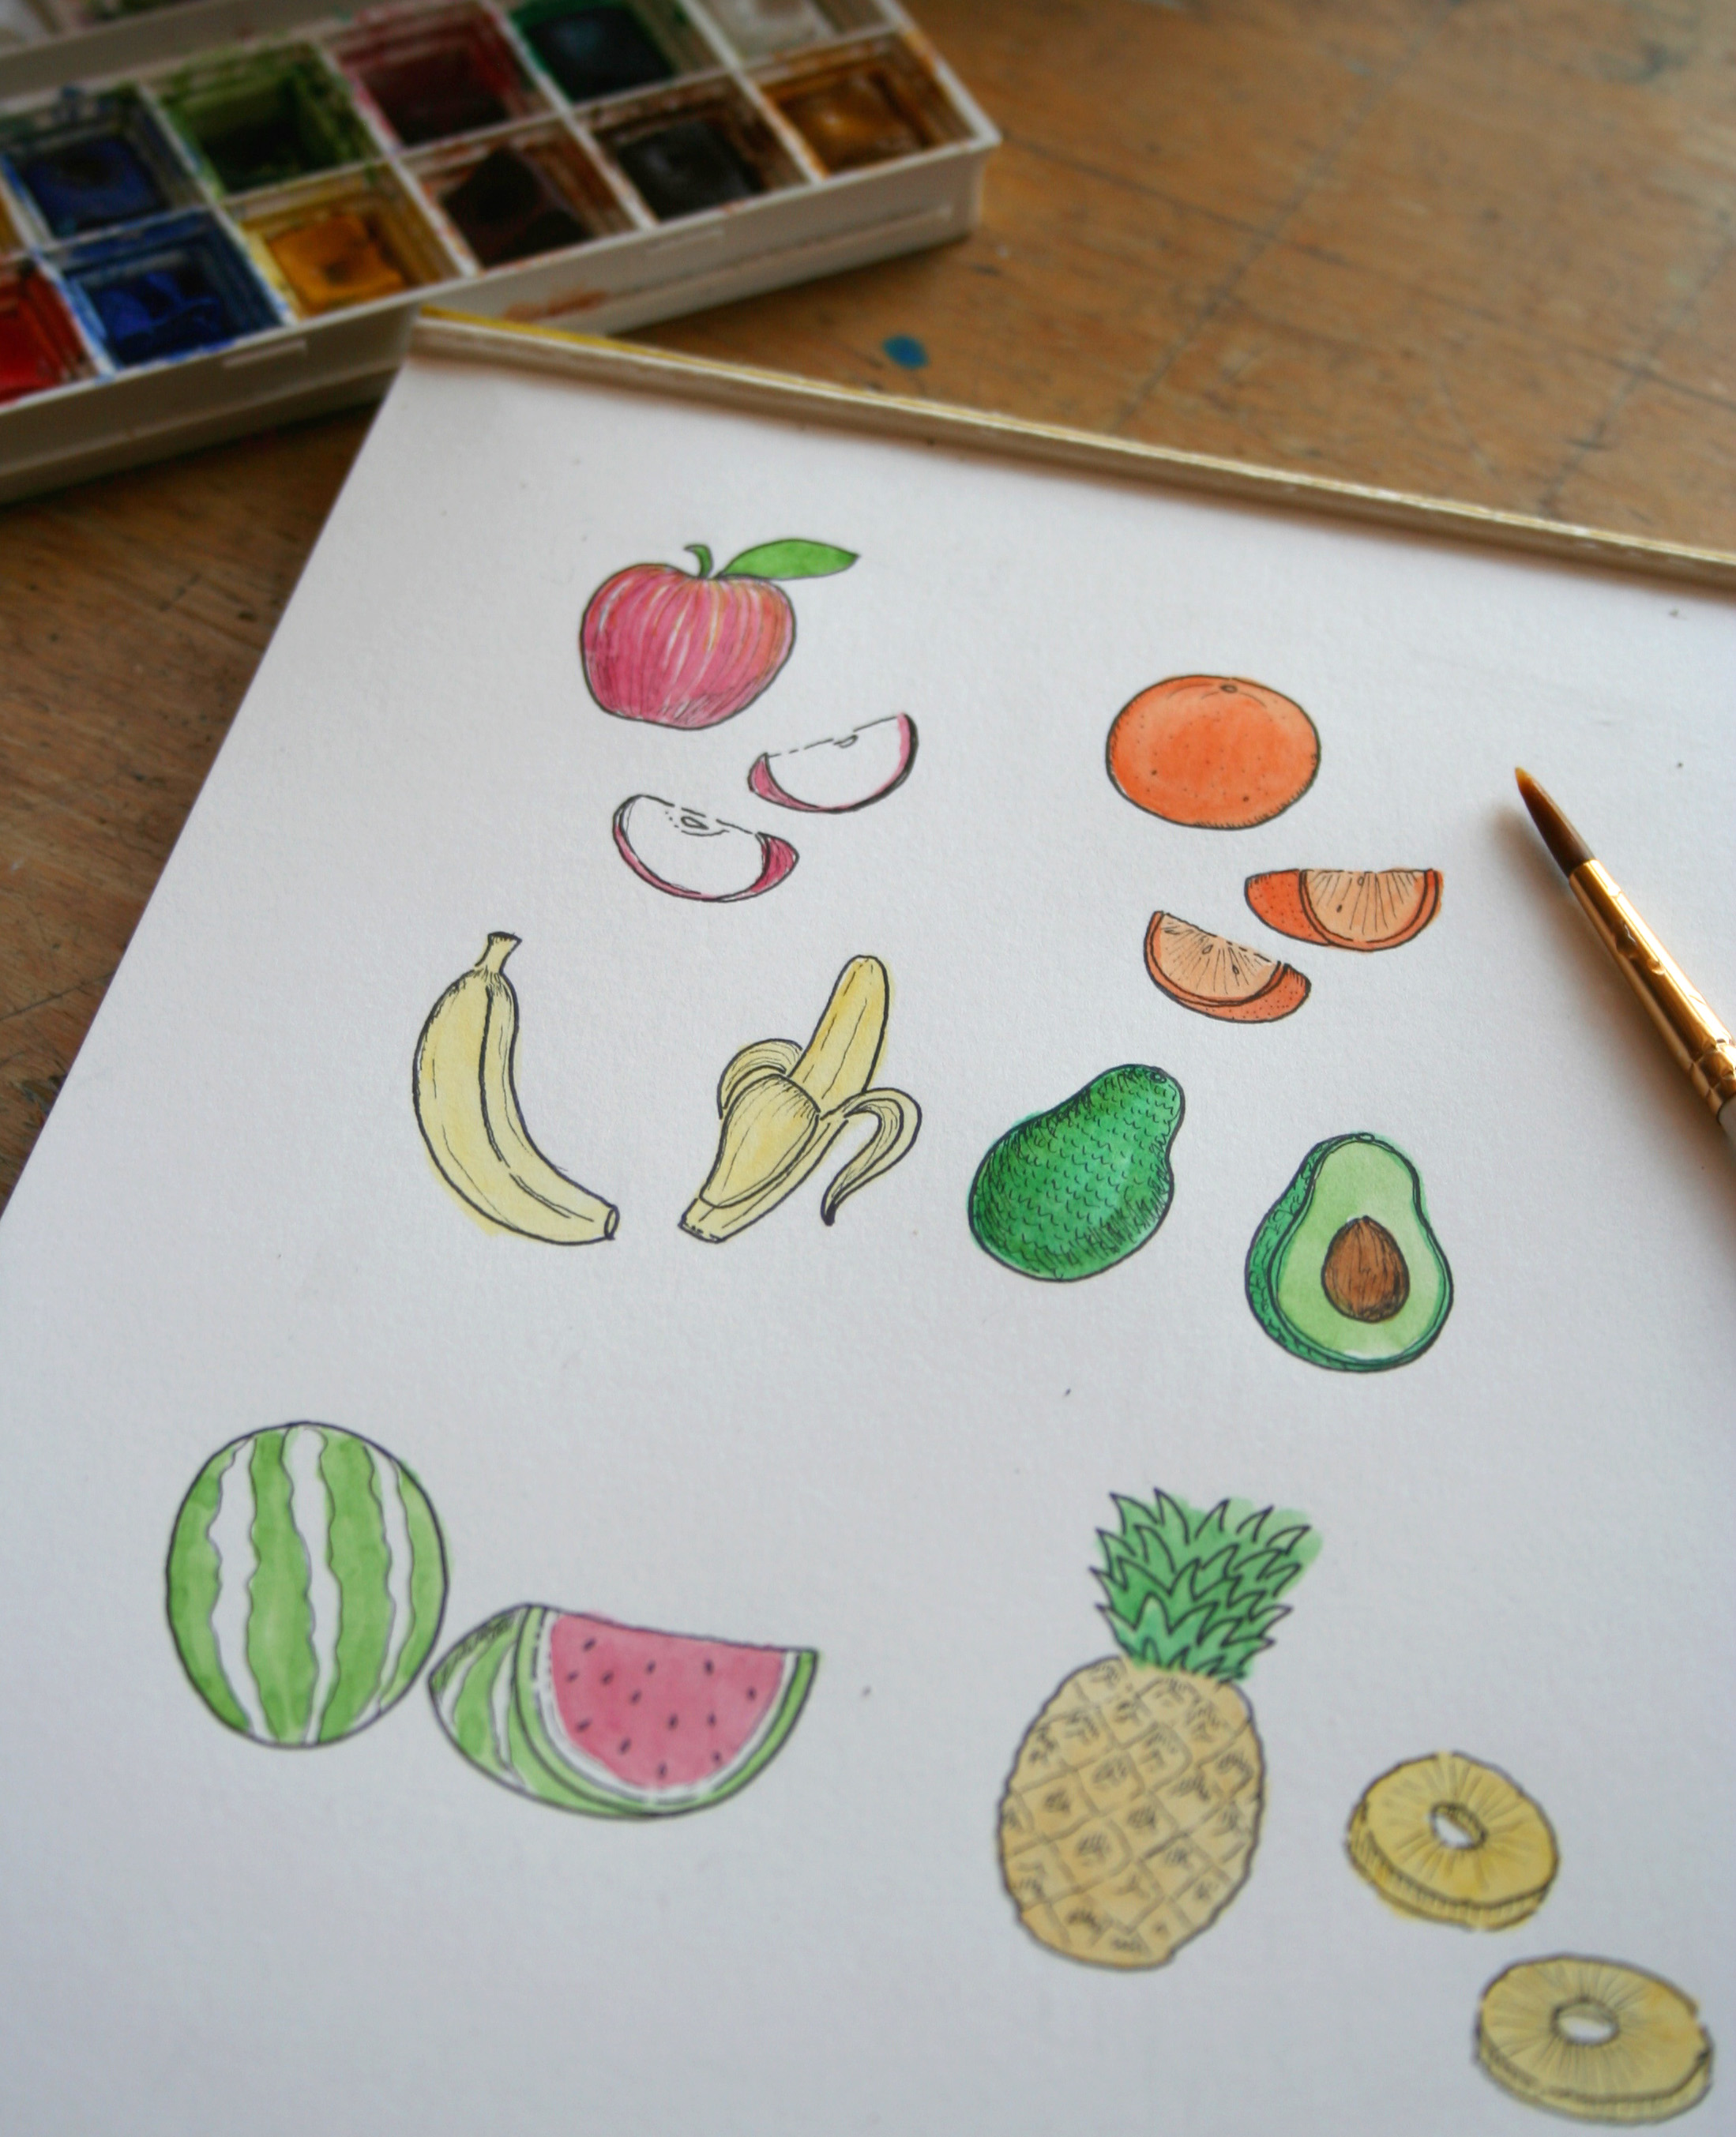
Enjoy your delicious (and healthy) art! Be sure to master the art of drawing vegetables, too.
Share tips, start a discussion or ask one of our experts or other students a question.
No Responses to “Fruits of Your Labor: How to Draw Fruit”