
Hats are an interesting accessory to wear, but they can also be an interesting detail in your artwork. You may feel challenged when you need to draw them, but this tutorial will give you enough pointers to help you on your way.
While hats can be fun to draw (and wear), there is a learning curve for drawing them (not so much for wearing them). That’s especially true for hats that are very specific in their construction. Once you learn how to draw hats five different ways, though, you will have enough confidence to execute any style of hat. Practice will make perfect!
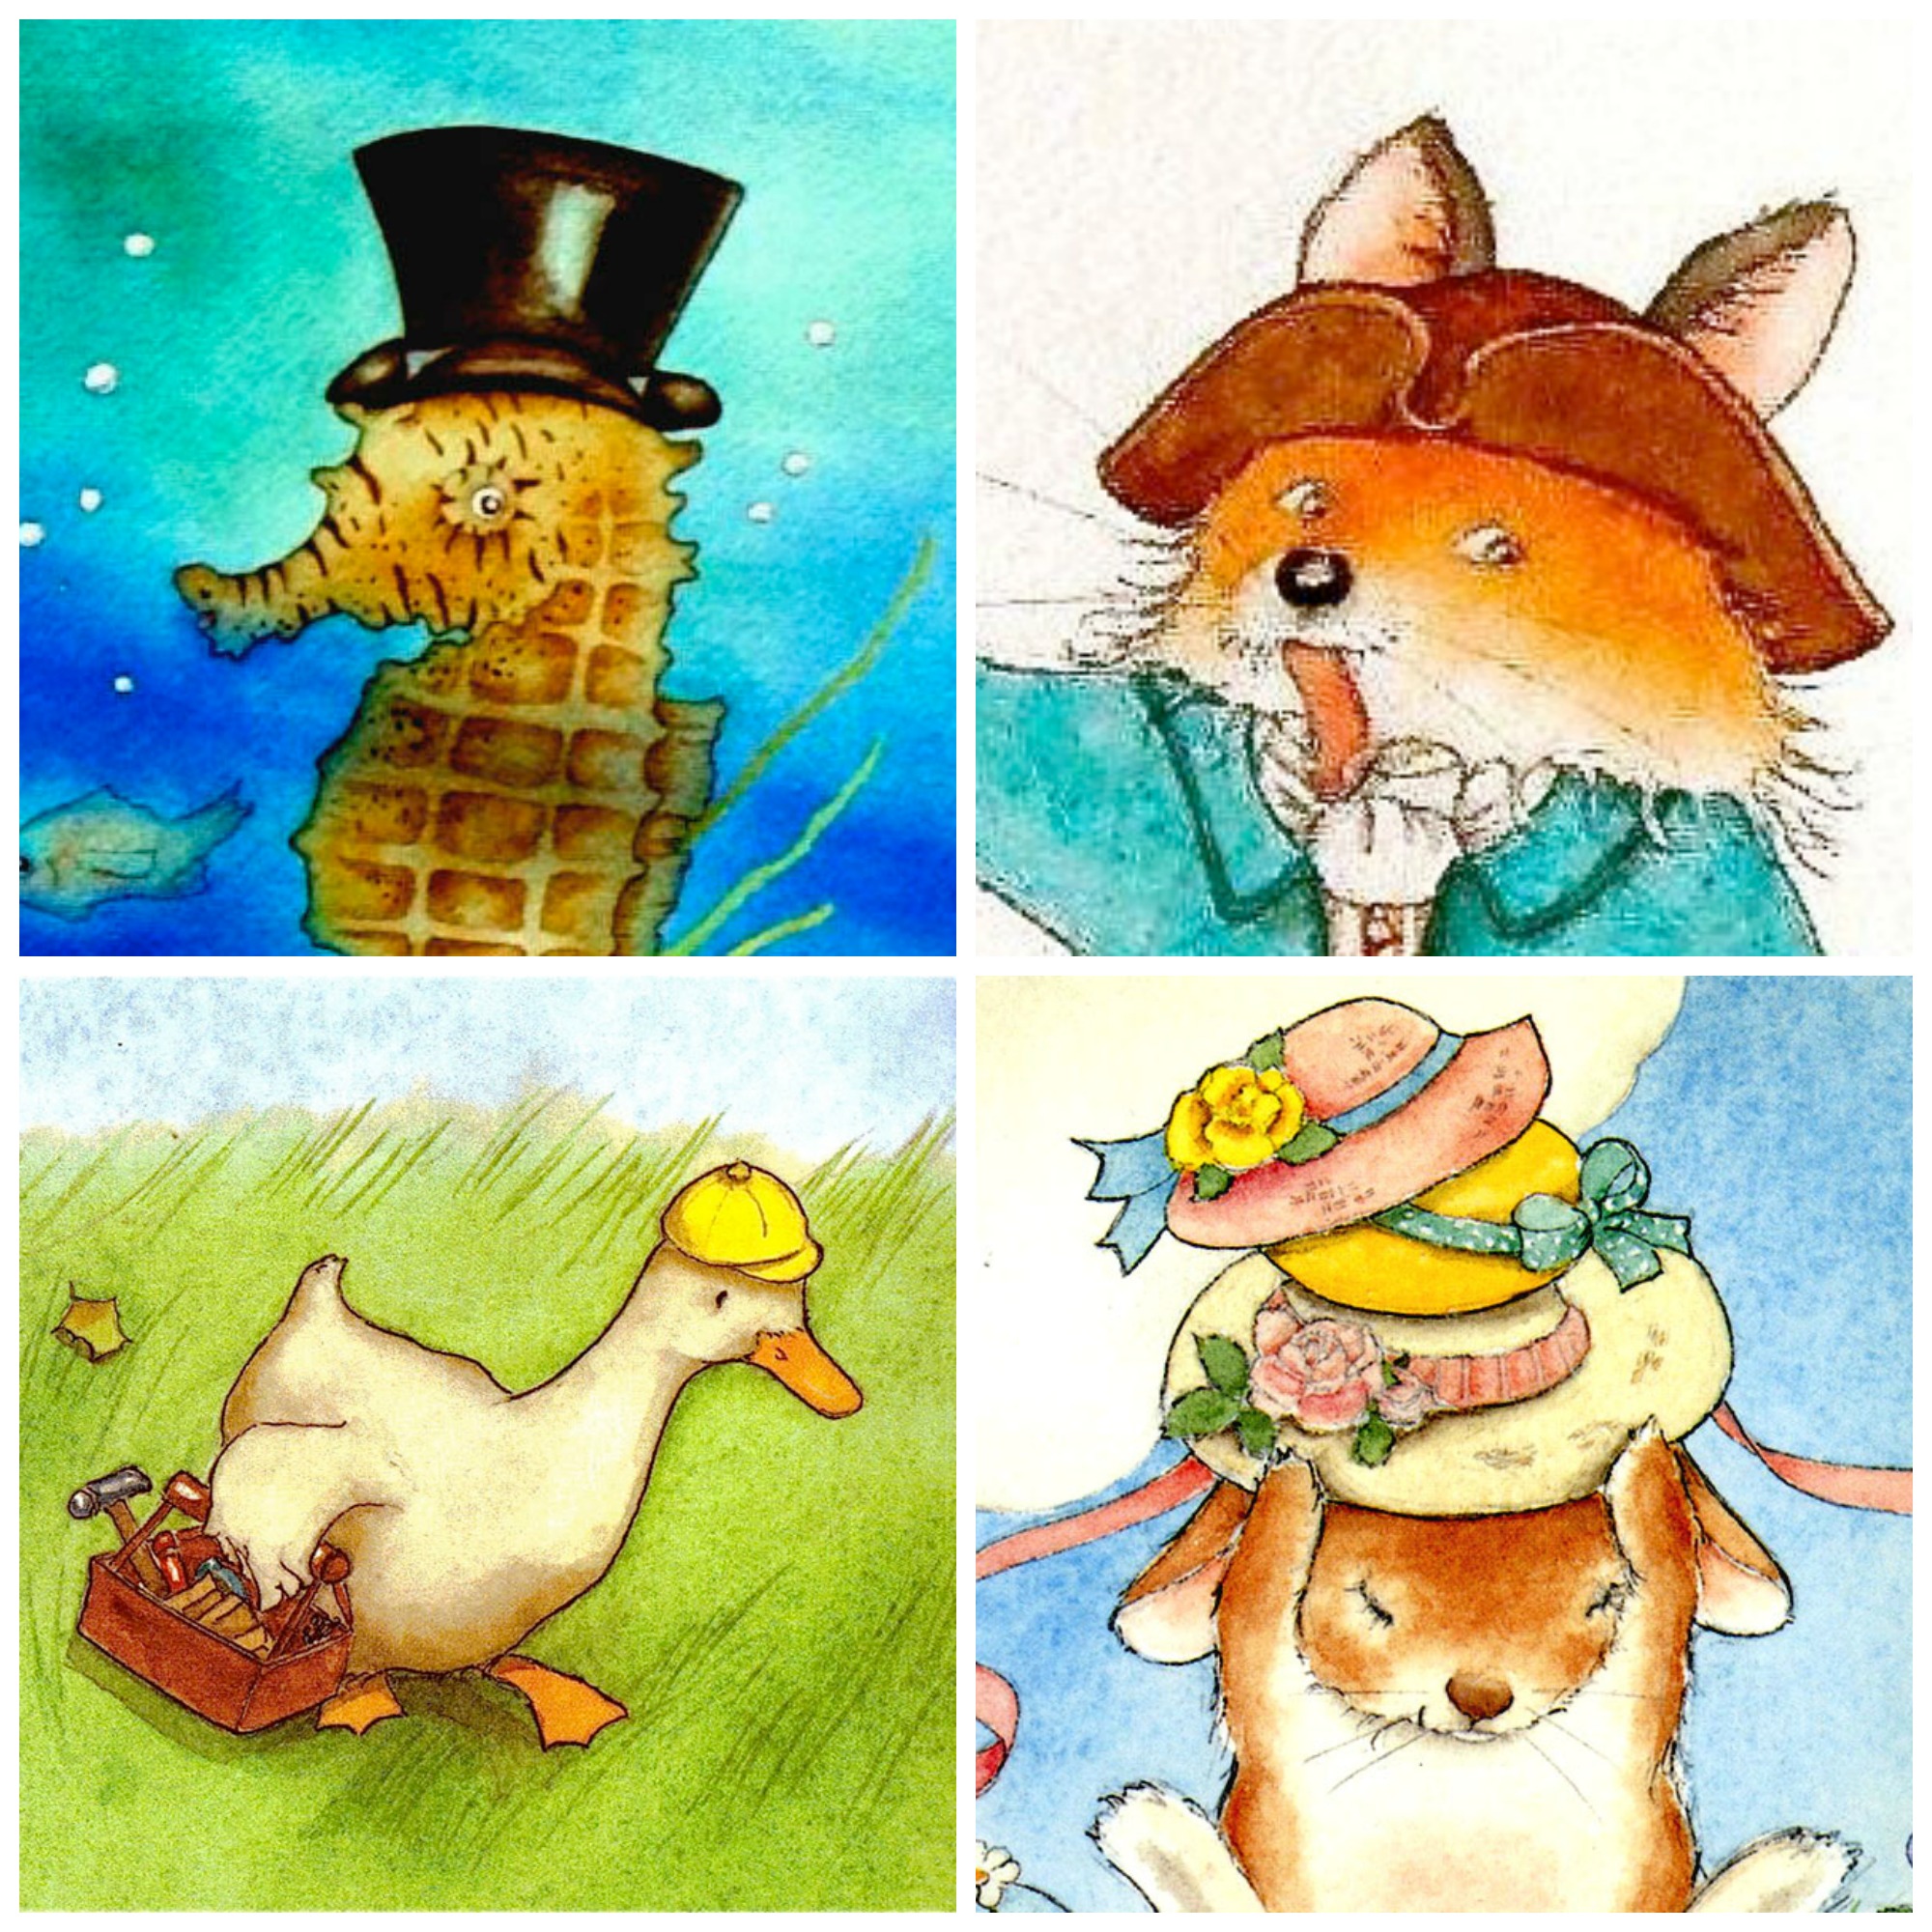
Put those hats on some people!
Learn to develop and draw original characters brimming with personality for picture books that kids (and adults!) can’t put down.
Top hat
Drawing a top hat requires a little precision and good proportions. But with small steps, you will be surprised how easy it is to be precise.
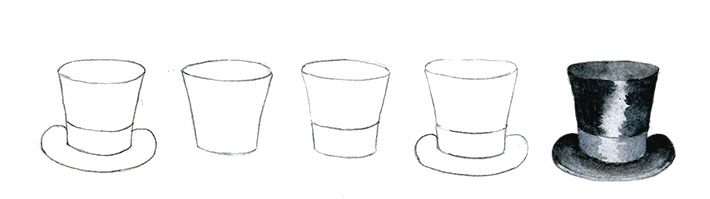
Step 1:
Draw a simple, inverted trapezoid shape with an oval at the top.
Step 2:
About a third of the way up from the bottom line of the trapezoid, draw a line following the curve of the shape. This is the ribbon on the hat.
Step 3:
Draw a half-doughnut shape around the bottom of the trapezoid, starting and ending at mid-ribbon. Your hat is complete — it was that easy!
Step 4:
Paint the whole hat with a medium wash of the color of your choice. Dab a little extra saturation on the top.
Deepen the color of the sides of the hat, leaving the center lighter to create a shine. Only lightly shade the sides of the ribbon — you want the ribbon to stay lighter and contrast with the rest of the hat.
Deepen the color of the brim at the sides and near the bottom of the ribbon.
A wool cap in 3-D
A wool or knit cap is a great place to start with practicing to draw a hat. And as with any hat, the angle you draw it in will depend on the pose of the subject wearing it. Here’s a little practice for a few common angles.
It is good to stretch your skills by drawing anything from different angles. You will be surprised by how your remember and can apply it to other objects.
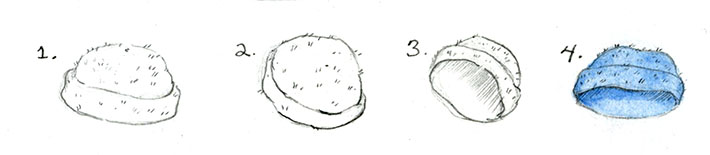
Sketch 1:
To sketch this simple, straight-on profile of a wool cap, start by drawing a slightly curvy half-circle on a slight angle. Draw a second line below the half-circle. It should extend a little farther than the half-circle and come in to touch the sides of the half-circle about a third of the way up.
Sketch 2:
For a side-view-from-behind angle, draw an oval on an angle, as shown above. Then, draw a second line to create the brim (just like in the first sketch); however, the brim on this hat should not be as wide, to create the correct perspective of the angle.
Sketch 3:
This is the way you would draw the hat if you were looking at the subject’s front from the side. Notice the half circle of the hat’s top is now the same width as the folded band of the hat?
Sketch 4:
Paint the hat unevenly in saturation to create some depth to it. The tiny pencil flecks give it the fuzzy or wooly effect.
The ever-lovely straw hat
Sketch 1:
For a straw hat, draw the dome or top at the angle you want the hat placed. As in the study for the wool cap above, you will draw the second line for the brim starting and ending at the sides of the hat.
The “straw” pattern I used was just zigzagged lines along the curves of the hat. You can put a little of this detail or add more. I do less to keep more contrast.

Sketch 2:
If you prefer to draw a basket weave pattern on your hat, draw a row of alternating horizontal and vertical pairs of parallel lines (like equal signs), starting with the horizontal. Make them fairly uniform in length (figure A). For the next row (figure B), starting at the center of the first horizontal pair of lines, alternate the pattern with vertical horizontal order. Start the third row the same as the first row, the fourth row the same as the second and so on.
TIP: Make your basket weave detailing easier by drawing light lines along the curve of the hat to guide your detailing.
Sketch 3:
For a floppy hat, simply make your brim line very curvy. I have used the basket weave for this hat.
Give you hat a nice pale brown ochre shade, dabbing more saturation in a few spots or in the lower parts of the curves. For more detailing of the basket weave with paint (figure A), add a deeper saturation in the little openings of the weave.
The reenactment hat
The tricorn hat is very interesting. It has three corners and a rounded dome top.

Step 1:
Draw a semi-circle curve (don’t complete it with a straight line). Then, draw a triangle that starts and stops just above both sides of the semi-circle. Give the triangle sharp but rounded corners and slightly curved edges.
Step 2:
Make a line along each curve of the two forward triangle lines, creating height. Be patient with this process — even I have to erase and redraw the lines many times to make them look equal.
Step 3:
Draw a second line along the top outside brim of the hat to create a ribbon-like trim. Paint the hat one color, shading in the deep sections around the dome.
The always sweet cloche hat
The Cloche hat was a 1920s favorite. It has a certain sweetness about it, maybe because it is shaped like a bell?

Step 1:
Draw a bell shape with a slightly curved bottom. One side should be longer than the other at the bottom.
Step 2:
To form the ribbon, draw two lines close together about a third of the way up up from the bottom.
Step 3:
Draw a flower or ornament on the longer side of the hat.
Step 4:
Paint the whole hat, including the ribbon and ornament, one hue. Shade around the folds, under the ribbon or ornament and on the shorter side of the hat.
Put those hats on some people!
Learn to develop and draw original characters brimming with personality for picture books that kids (and adults!) can’t put down.
Share tips, start a discussion or ask one of our experts or other students a question.
No Responses to “5 Kinds of Hats to Top Your Character Illustrations”