
Artists have taken inspiration from mountains since … forever. Whether up close or far away, covered in snow or in trees, rounded or jagged, they tend to symbolize something vast and vital. And when you draw them, you want that feeling to come to life on the page. Here’s how.
Good to Know: These tips works no matter what medium you’re using — graphite, pen and ink, colored pencil or painting.
1. Determine the Horizon Line
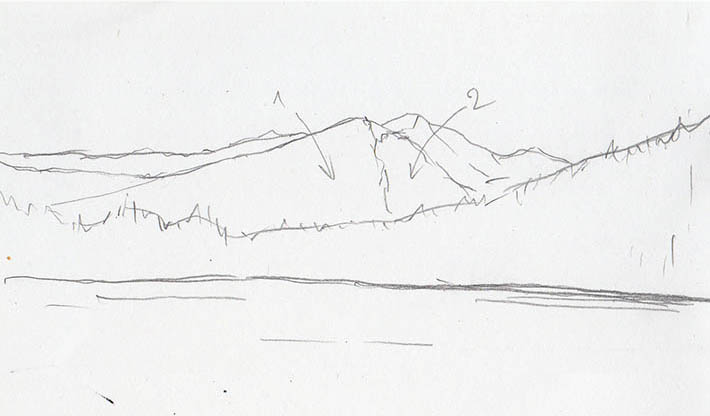
First, figure out where you want the horizon line to be on your page and draw the outline of a mountain range above it. Usually a mountain range has a layered appearance, with peaks overlapping each other. The more distant the mountains, the simpler and lighter they look.
2. Divide Each Peak into Two Major Plains
Divide your mountains into two plains to create volume: light and dark. Shade the darkest areas first, building contrast between the foreground and background to make the picture more eye-catching.
Photographs can be great reference tools, or you can work en plein air if you live in a mountainous area. If you’re working from photos (or taking your own to reference later), use images that convey a lot of information, showing the depth of field as well as the ideal lighting conditions.
3. Determine Distance and Textures
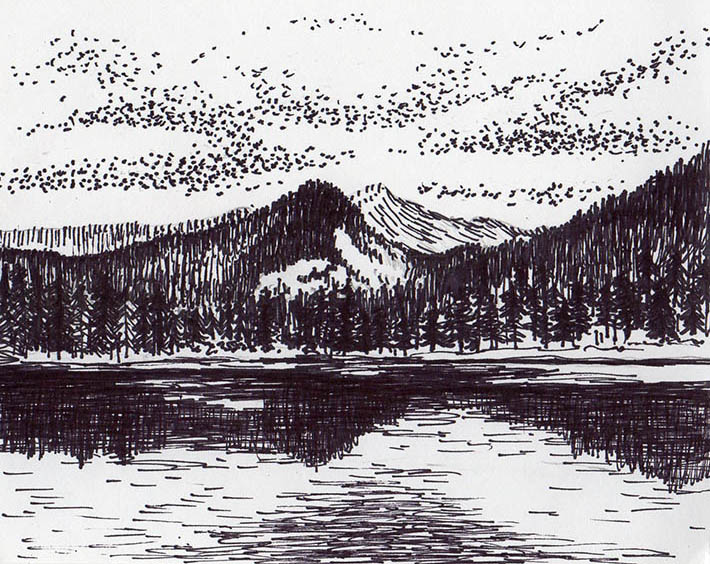
In the drawing above, the mountains are sketched with an ultra-fine black felt-tip marker. Notice that every area has a unique stroke direction. For far-away mountains, use parallel strokes to suggest distant trees and rock surfaces. To depict up-close mountains, try contour and scribble lines or crosshatching to give the impression of greater detail.
The same approach applies to your use of values. The up-close mountains should be darker, brighter and more vividly detailed than those in the distance. Take the drawing above: the nearest mountains sit low and have a bit of vegetation, while the mountains in the distance have no detail and are lighter in value.
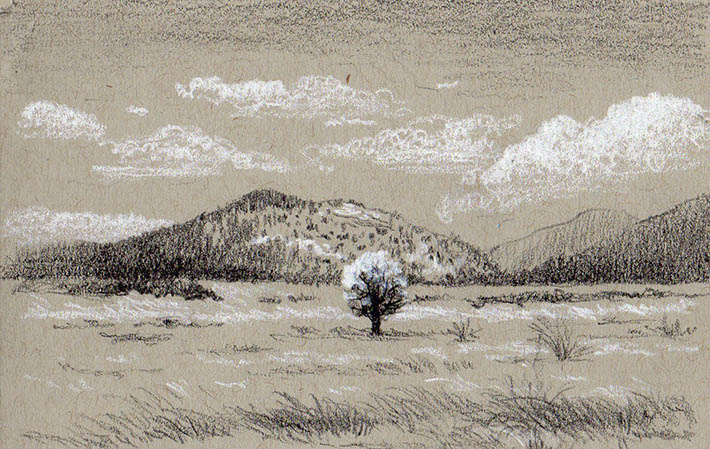
4. Sketch in Graphite
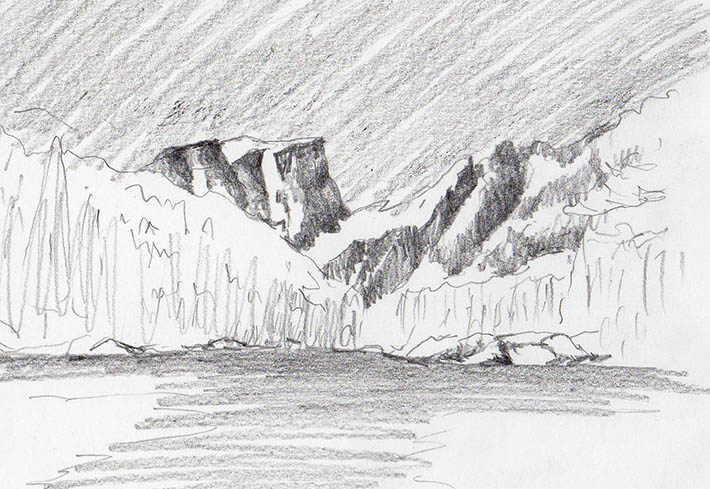
After placing the biggest elements and differentiating between light and dark areas, use broad pencil strokes to mark the general position of the darkest values and fill in the sky (and water, if your landscape has any). It’s best to do this in graphite, so you can easily erase as needed.
5. Add the Details
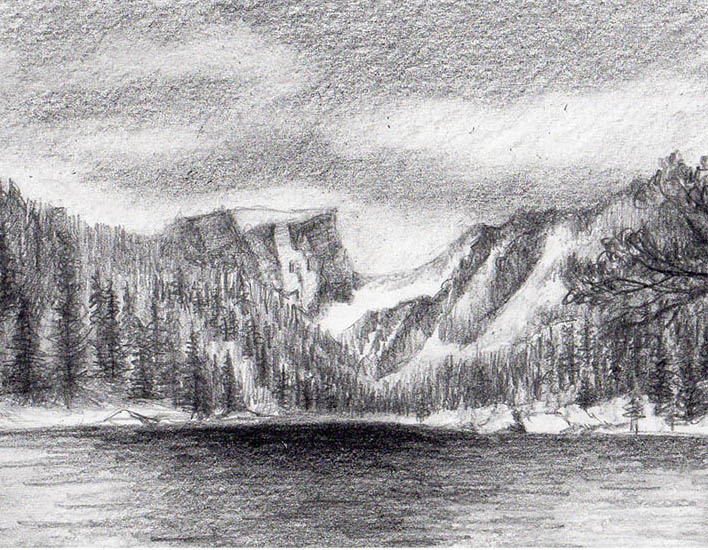
Finally, add any extra elements — trees, snow, reflections in the water. Keep the sky soft to contrast the trees and sharper angles of the mountains.
<!–Draw Better Landscapes With Simple Techniques

Capture the beauty of any natural scene you choose! Learn foundational techniques for drawing landscapes with lifelike dimension, texture and detail.
The drawing for “draw in graphite” and “add the details”... is that Bear Lake in Rocky Mountain National Park??