
Have you ever looked at a gleaming metal object and wondered how you could draw it? Such an object — with curves, shapes and glare — can be daunting to capture. But never fear! I’ll take you step-by-step, showing you how to draw shiny metal in perfect detail. By the end, it’ll appear that the object is jumping off the page and into your hand.
This tutorial will show you how to draw a spoon’s reflective surface.
First, let’s consider the object and what it is we’re drawing. The spoon is glossy and light reflects off of it. We’ll focus on the contours of the reflections rather than capturing the texture of the spoon because there’s no tactile surface that we can see. So, to give the object depth, we’ll replicate the highlights and lowlights.
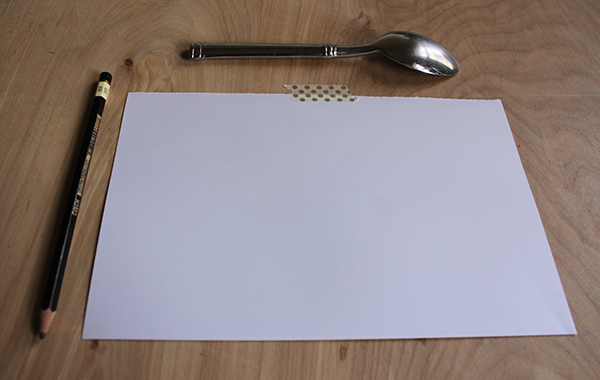
What you’ll need:
For this project, you only need a few essential drawing tools. Here, I have my spoon, smooth drawing paper (I wouldn’t recommend any paper that’s textured), and a 3B drawing pencil. The graphite is on the softer side and produces some nice rich, dark tones. I’m also using my trusty white eraser.
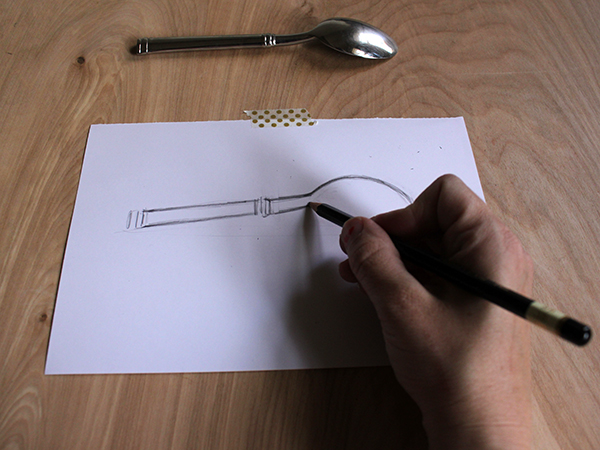
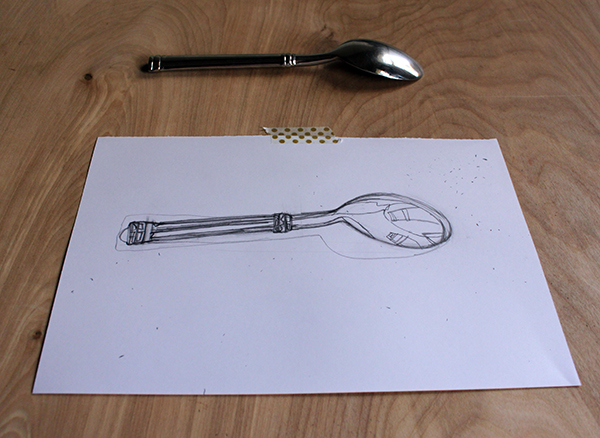
Step 1: Start drawing!
Begin by drawing a basic outline of the object.
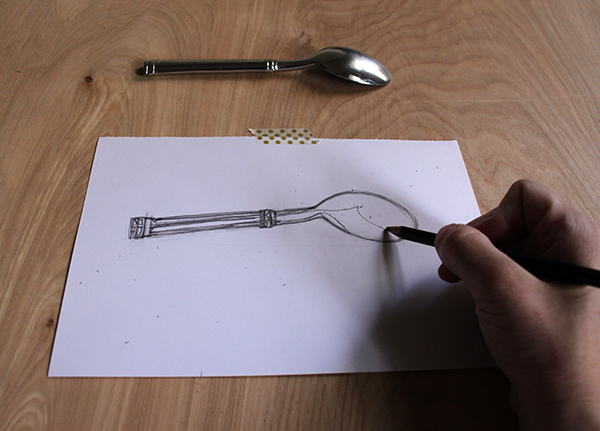
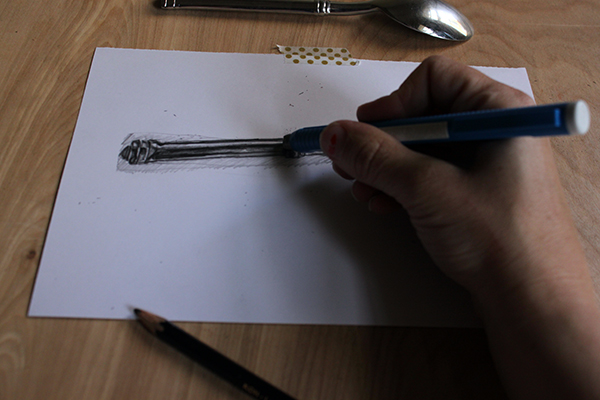
Step 2: Record every little shape.
Once you have a solid outline, it’s time for the most important part of this tutorial — drawing the contours of the highlights, shadows and reflections that you see on your spoon. Notice that light bends around this object: It’s how this glossy surface is given volume. Take your time to carefully record every tiny shape that you see. Don’t worry about coloring in the spoon for now.
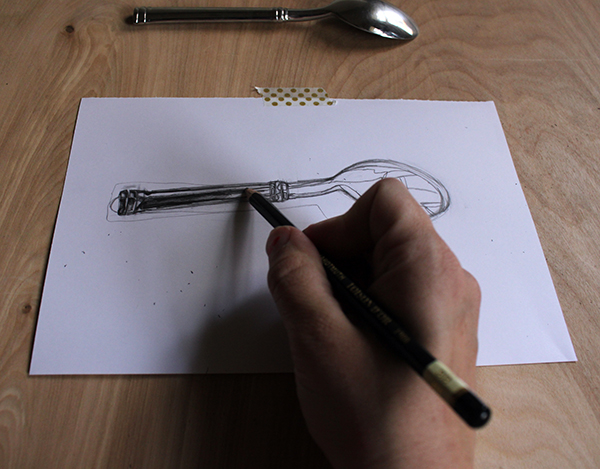
Step 3: Time to fill in the shapes!
After you have the shapes and reflections drawn, it’s time to start filling these areas in with values. Where are the dark areas, and where are the light? For the brightest parts of the spoon, don’t fill in any pencil at all. Work from light to dark and focus on the brightest areas of the object and eventually move on to the darker ones.
Try to shade evenly to enhance the illusion that this spoon is a smooth surface. Sometimes, you’ll want to diffuse the edges of shapes together, depending on how hard or soft the light it. It’s okay to blend in these cases.
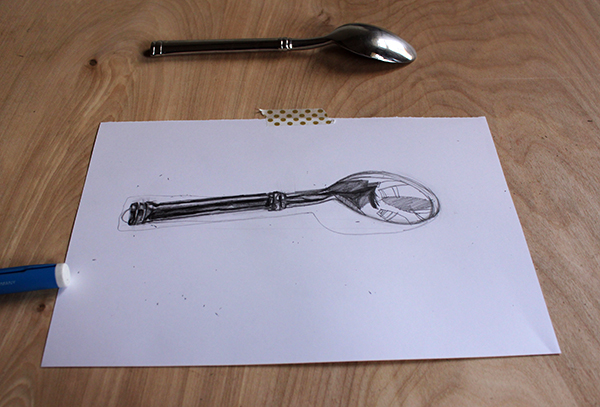
Step 4: Remember to vary your dark and light.
While we want areas that are soft, we also want parts of the drawing that look sharp and are high contrast. This makes the metal look shiny, so be sure that your drawing has a good mix of dark and light to give the object a 3-D quality. The edges of the spoon’s handle, in particular, are very bold with a highlight that spans the length of it.
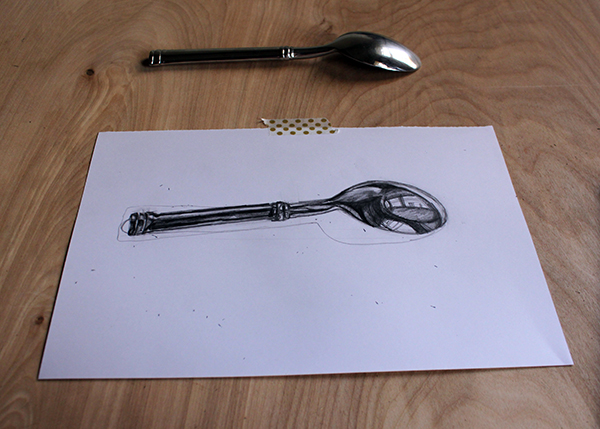
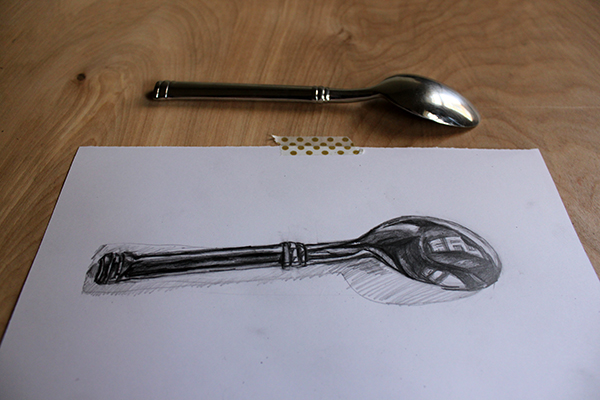
Step 5: Lastly, refine and define.
So, after my first attempt to fully shade and draw the spoon, I decided that it needed a little fine tuning. That’s okay. Metal objects are tricky, so don’t be scared to go back and refine your drawing after the initial go-around.
I went back and blended some of my shading, erased some smudges and defined more highlights. Keep in mind that while you want it to look accurate, you also want to look like a spoon, not a jumble of abstract shapes. If you feel like you should blend or shade an area more than you actually see it, use your judgement to do so.
With some practice, your spoon will be jumping off the page and into your cereal bowl in no time!
Share tips, start a discussion or ask one of our experts or other students a question.
No Responses to “Be Brilliant: How to Draw Shiny Metal in 5 Easy Steps!”