
Anybody can learn how to draw trees. All you need is a pencil or pen and an eraser, and within five minutes you’ll not only be drawing trees, but creating forests.
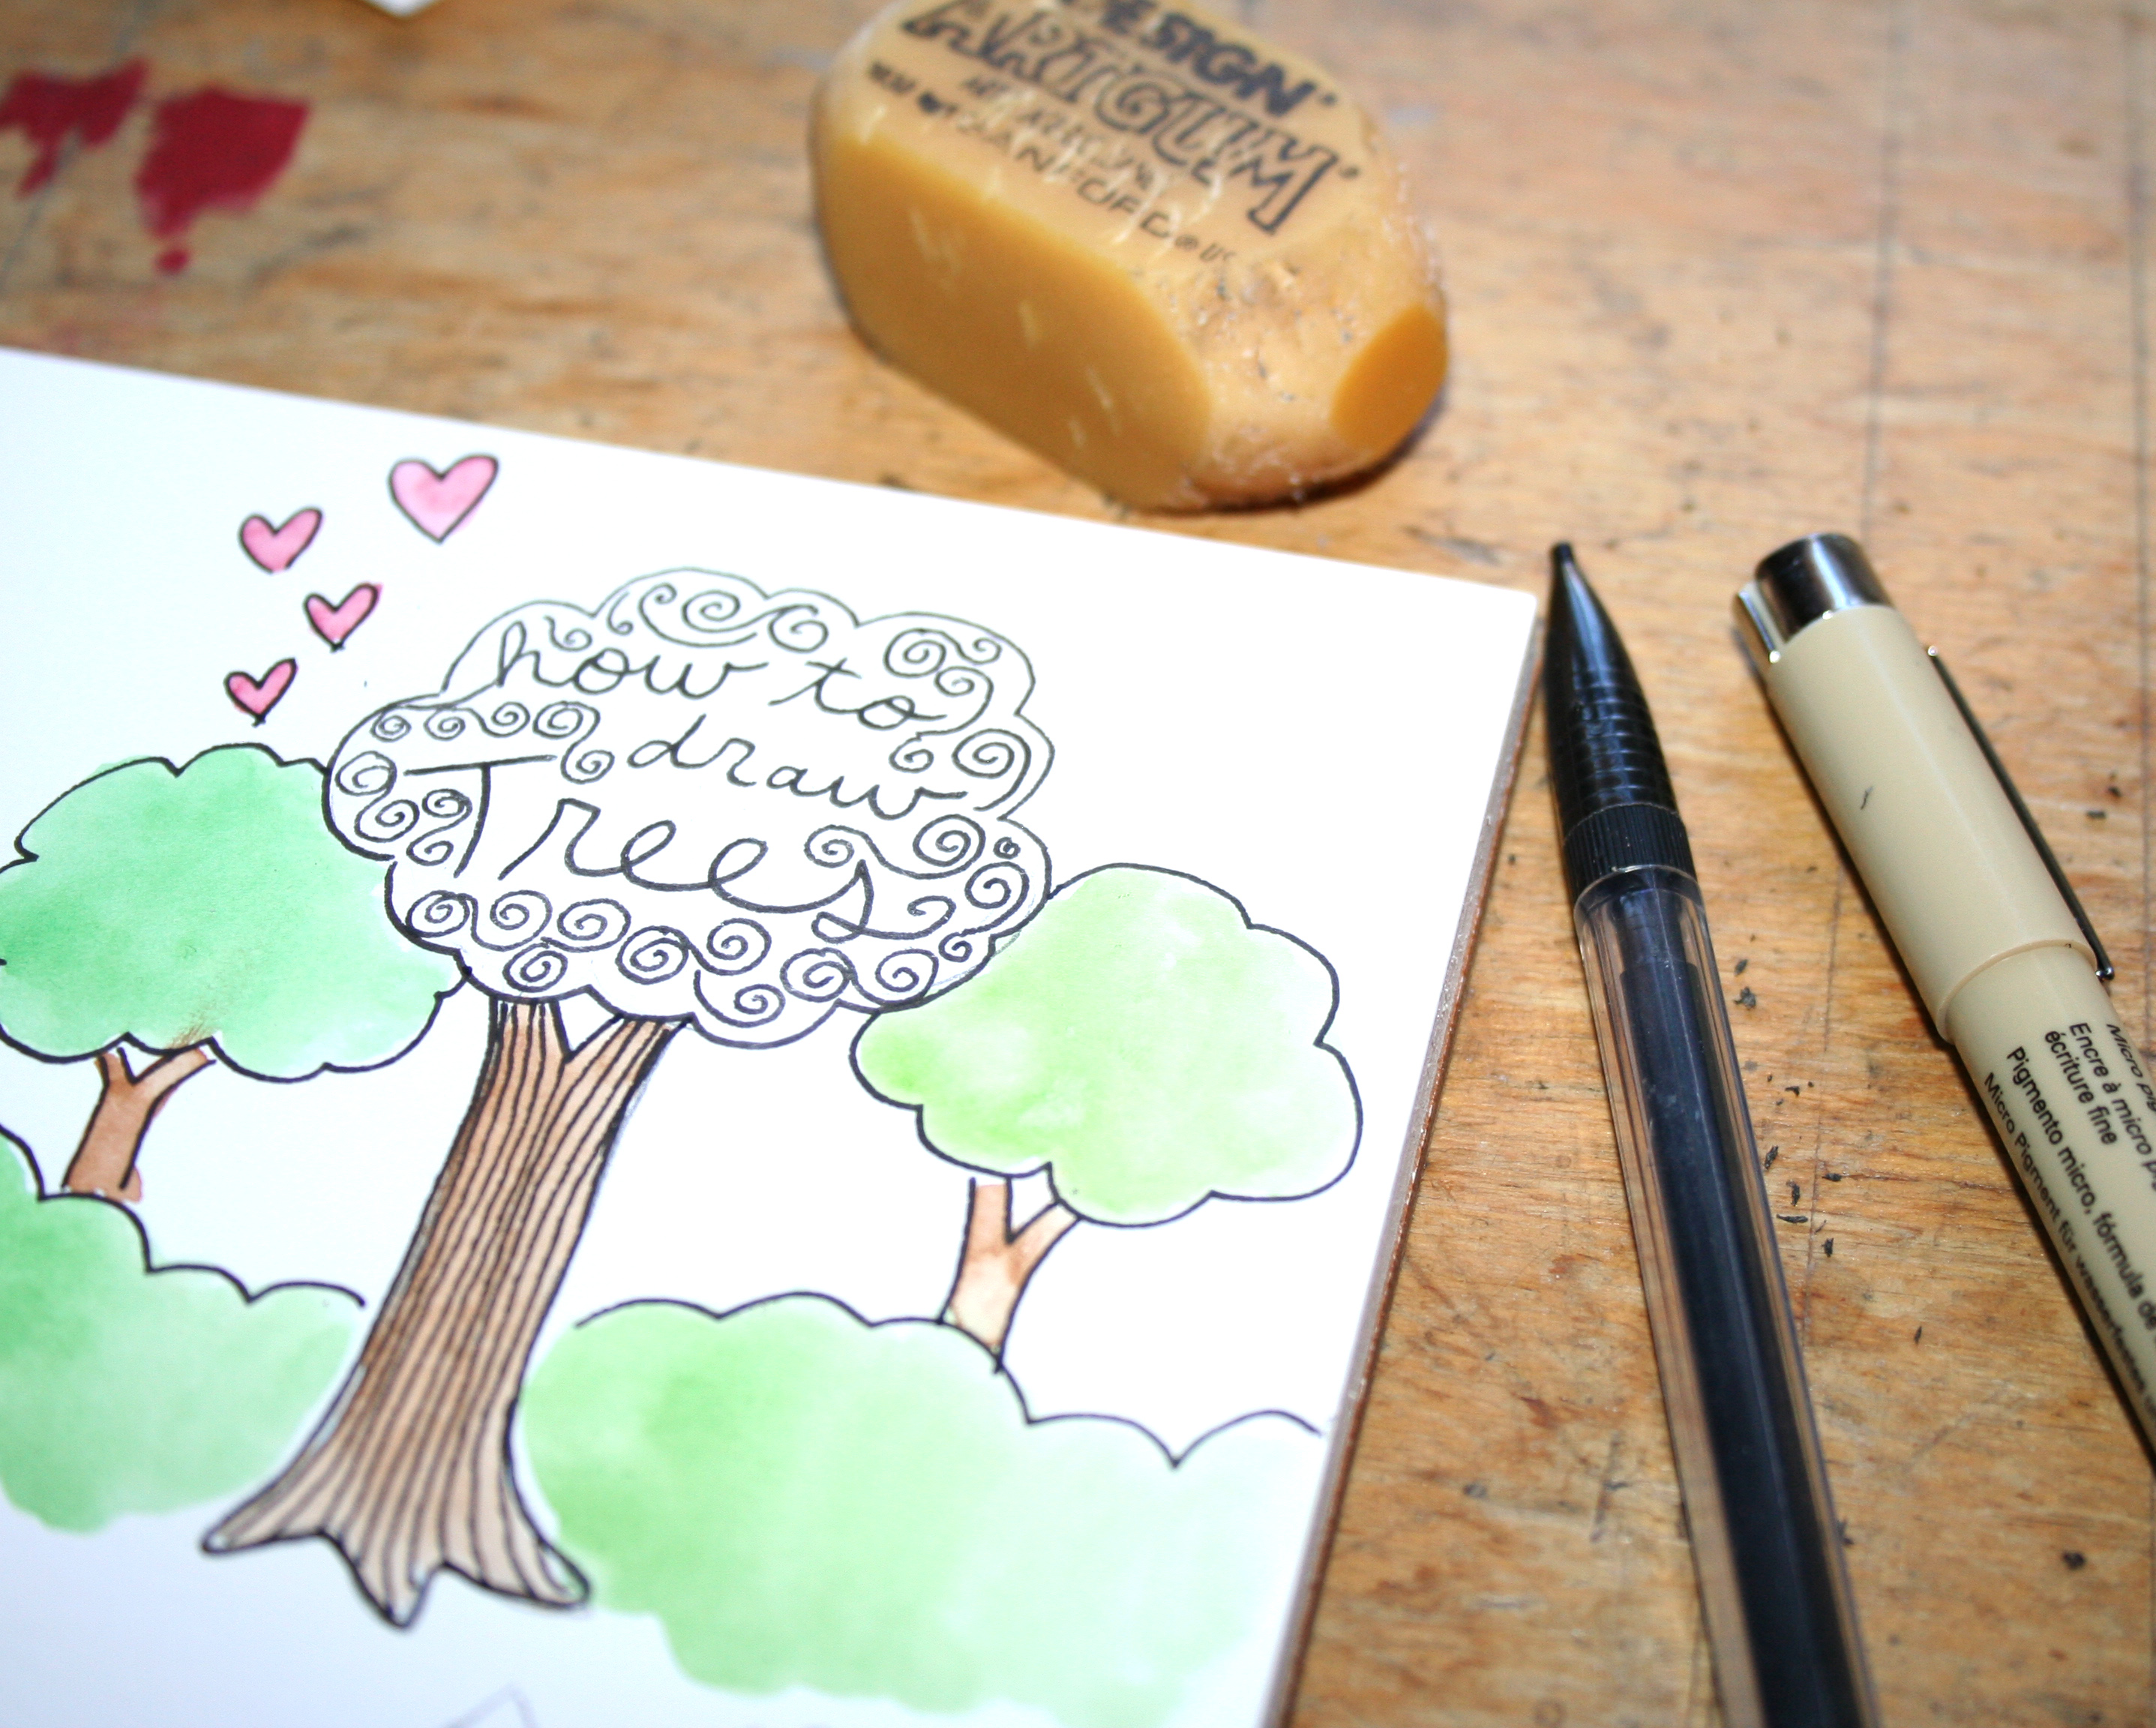
Photos and illustrations via CakeSpy
It’s absolutely true: trees can be drawn at any level of artistic training. This post will teach you how to draw two types of trees, with optional more advanced variations, allowing you to make your trees as simple or complicated as you’d like.
Method 1: Classic tree shape
This is an easy tutorial for a simple and classic tree shape, which is suitable in a variety of settings, from a front yard to a park to a cheerful background shape.
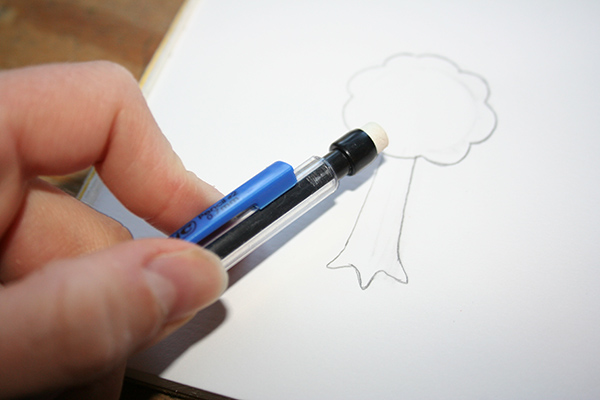
Step 1:
Start by drawing a circle with a line beneath it. It will kind of look like a lollipop.

Step 2:
Expand on these shapes by making the circle into a cloud, and making the line beneath a trunk with irregular ends (these are your roots).

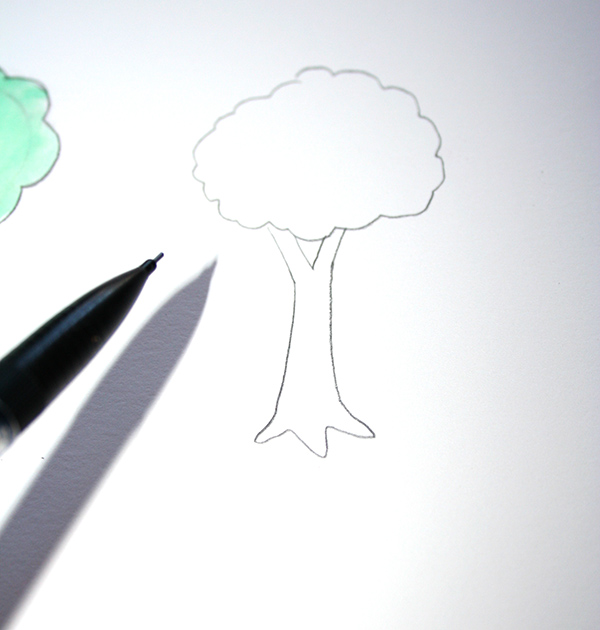
Step 3:
Erase the simple lines that you started with. See? You have a tree already. You could stop here, or you could move forward with the following optional steps.
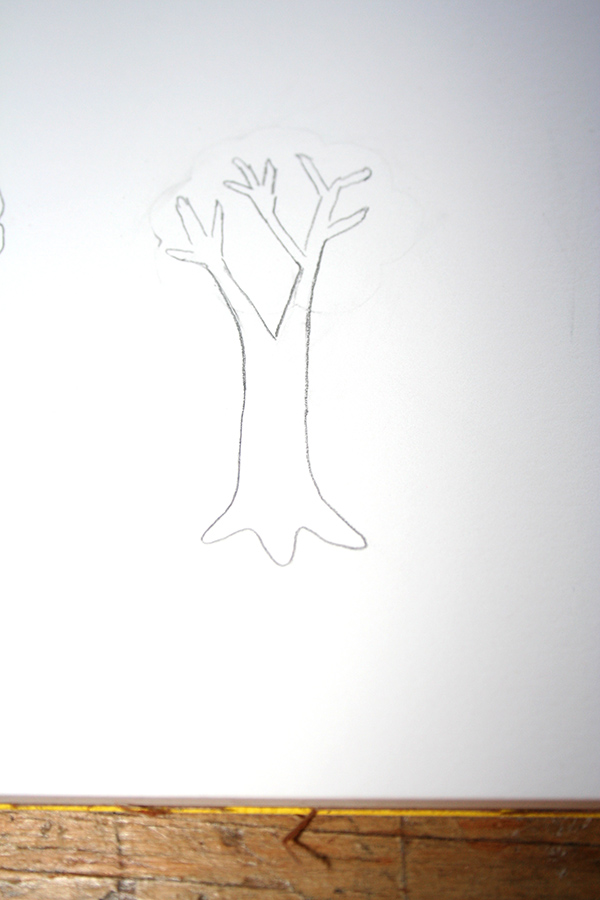
Step 4:
Add some refinements to the tree, such as a “v” at the top of where the trunk meets the leaves, to indicate that under those leaves, there are branches.
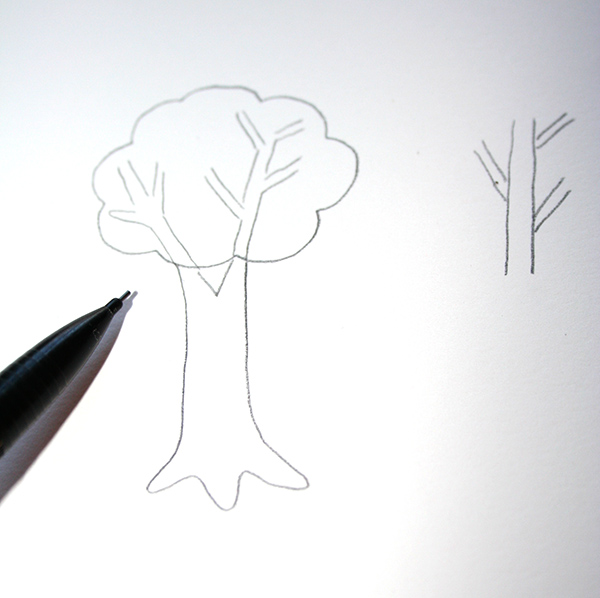
Step 5:
To create a more realistic tree, follow steps 1-4, but create the skeleton of branches beneath the cloud-like shape of the leaves. This photo includes how you can use the cloud-like shape as a guide for how far to extend the branches, as well as a closeup of the branch shape, which is basically made of two parallel lines with irregular vertical lines shooting off of either side.
Step 6:
Erase the cloud-like shape of the leaves. Now, you have the shape of a leafless tree, which is perfect for a winter scene.
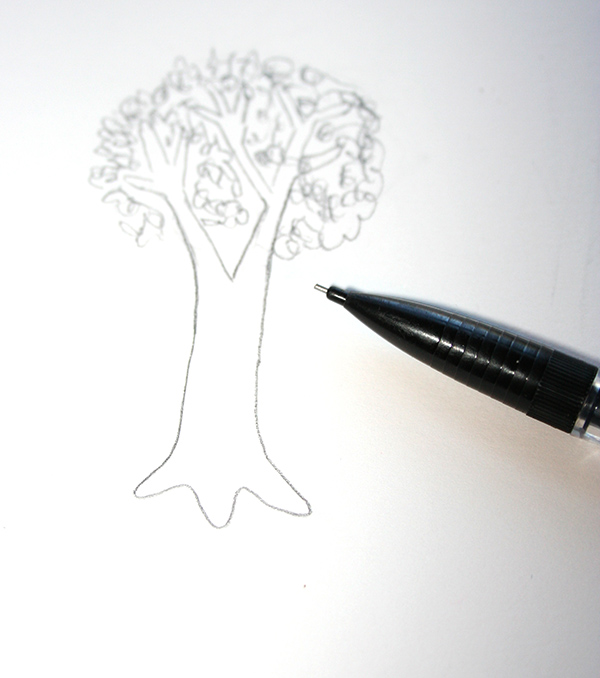
Step 7:
Progress even further by adding scumbling or irregular markings to indicate the presence of leaves between the branches. This will give you a more lifelike look for your tree, and affords you the opportunity to create trees that look like they are in springtime bloom.
Method 2: Evergreen tree shape
It’s helpful to have a simple evergreen tree style in your drawing repertoire. This is the type of tree you’ll draw for Christmas trees or snowy forest scenes.
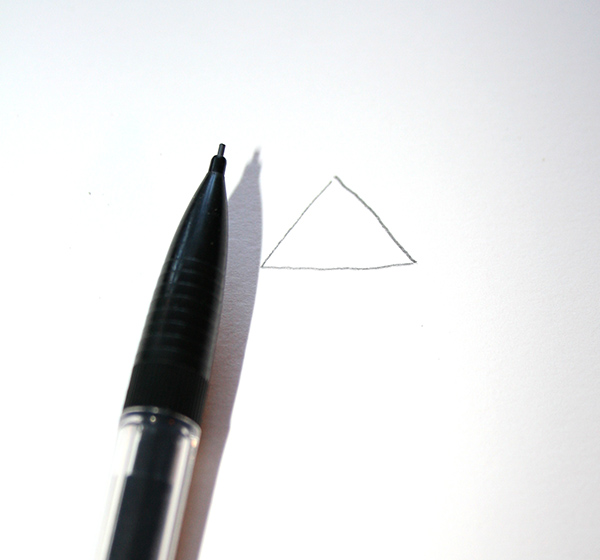
Step 1:
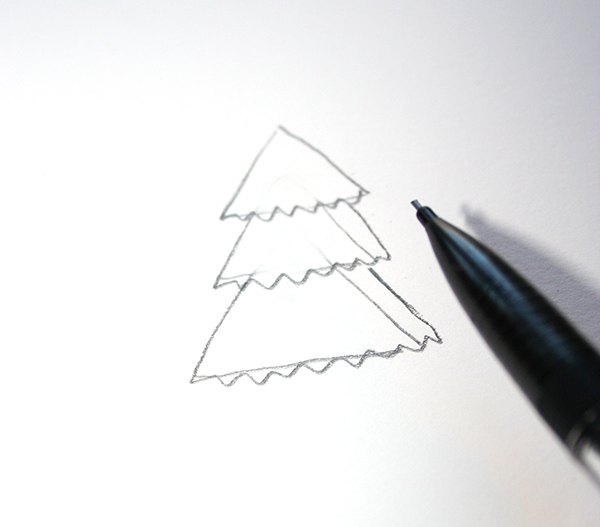
Start by drawing a triangle. Easy.
Step 2:
Overlap two triangles below it, with each one either the same size or slightly larger in size.
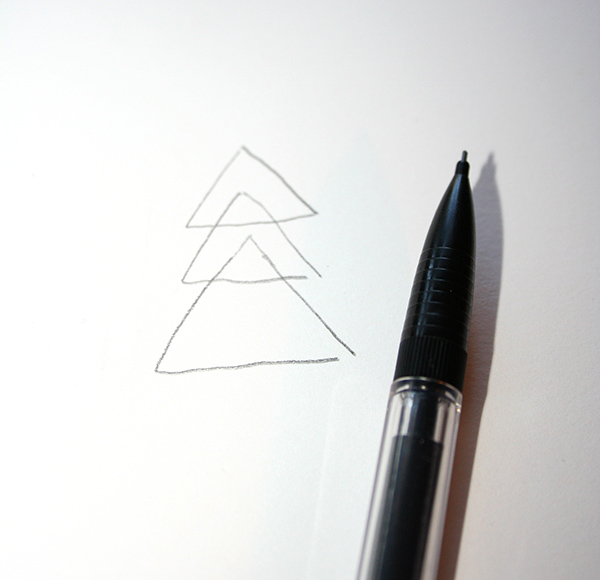
Step 3:
Erase the overlapping portions of the triangle. Make the bottom of each of the triangles slightly rippled. This could be where you call it a complete tree, or you could move forward with the following optional steps.
Step 4:
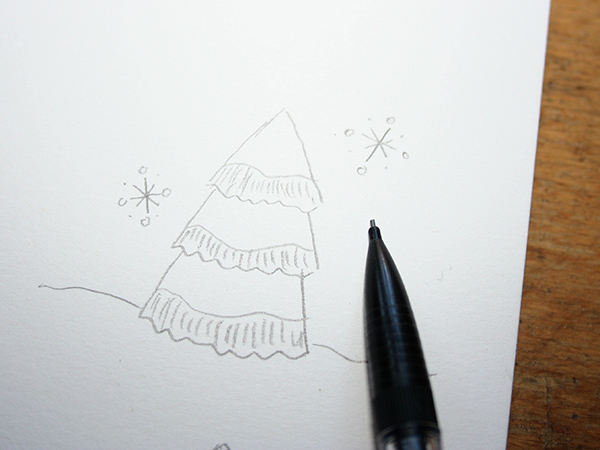
Use hatching or fine lines to create texture on the layers of the tree (like little pine needles). Add a small trunk if desired.

Step 5:
You can also make your tree snowy by only applying the textural lines on the bottom portion of each section of the tree, so that the top portion of each segment is left white, as if there is snow on top.
Share tips, start a discussion or ask one of our experts or other students a question.
No Responses to “Learn How to Draw Trees With 2 Simple Methods”