
Anybody can eat their veggies. But have you ever wondered how to draw vegetables? Happily, they’re an easy and fun drawing subject matter to master, and artistically rendered veggies will never be overcooked.
Photos and illustrations via CakeSpy
While the shapes and textures of vegetables might seem complicated, by breaking them down into several easy steps in this tutorial, you’ll see that they become a very accessible subject for your artwork.
So break out your desired supplies: pencil, pen, colored pencil or a combination of mixed media, and let’s get to the business of making some very healthy art.
Notes and considerations for drawing vegetables
- Keep in mind that certain versions of food can represent better in drawings. For instance, carrots with greens on top look more iconic than cut carrots or carrots with greens removed, even though that might be the type that is more readily found in your fridge.
- Many vegetables are quite similar in shape, so by mastering just a few veggie shapes, you’ll be well prepared to draw even more types. For instance: if you master carrots, you’ve got parsnips down. If you learn to draw rutabagas, then drawing turnips or even radishes will be a cinch.
How to draw vegetables
You’ll need:
- Reference images or actual vegetables to refer to for reference
- Paper
- A pencil
- An eraser
- Pens, paint or any other desired media
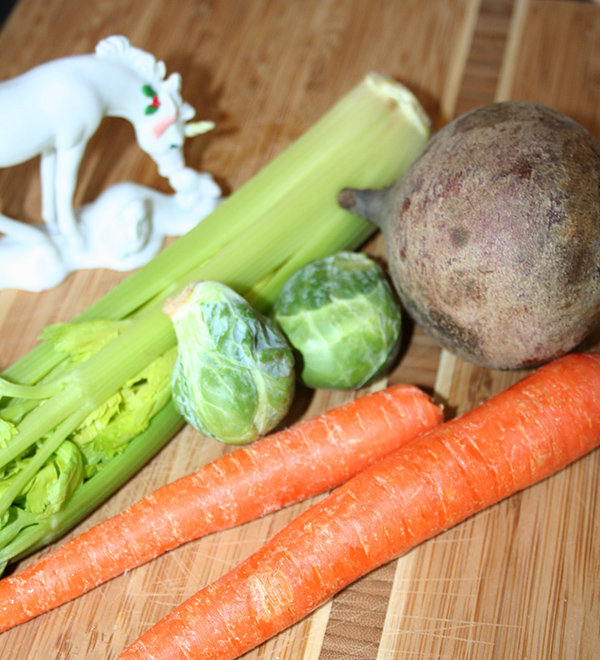
Step 1:
Choose which vegetables you’d like to draw. Gather up reference images or even reference vegetables to keep yourself inspired. As a bonus, spending all this time with vegetables might just inspire healthy dinner choices.
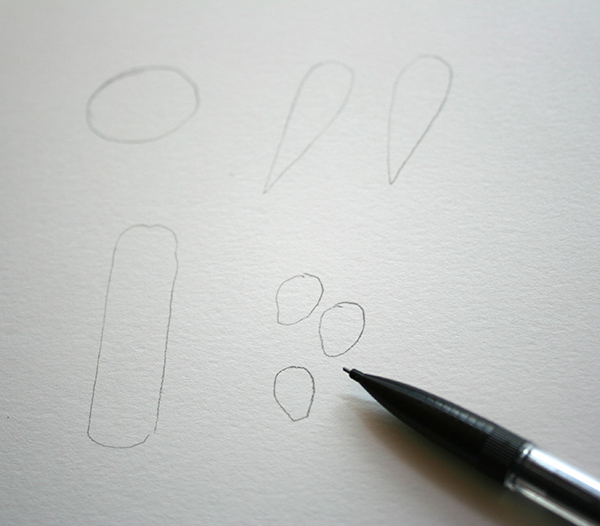
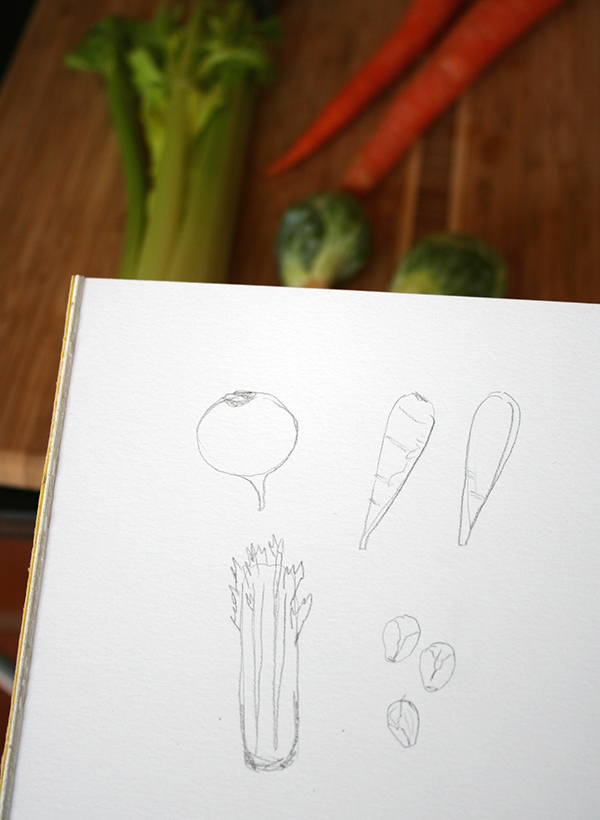
Step 2:
Start by zeroing in on the basic shapes of the vegetables. For instance, a cloud and a tube for broccoli, an oval for a squash, little circles for brussels sprouts, or teeny tiny circles for peas. Create the basic shape for each vegetable you’d like to draw.
Step 3:
Refine the shapes. Taper edges, add rougher ends, etc. It’s almost as if you’re whittling away that initial coarse form into a more exacting, specific shape. Refer to your reference material as needed.
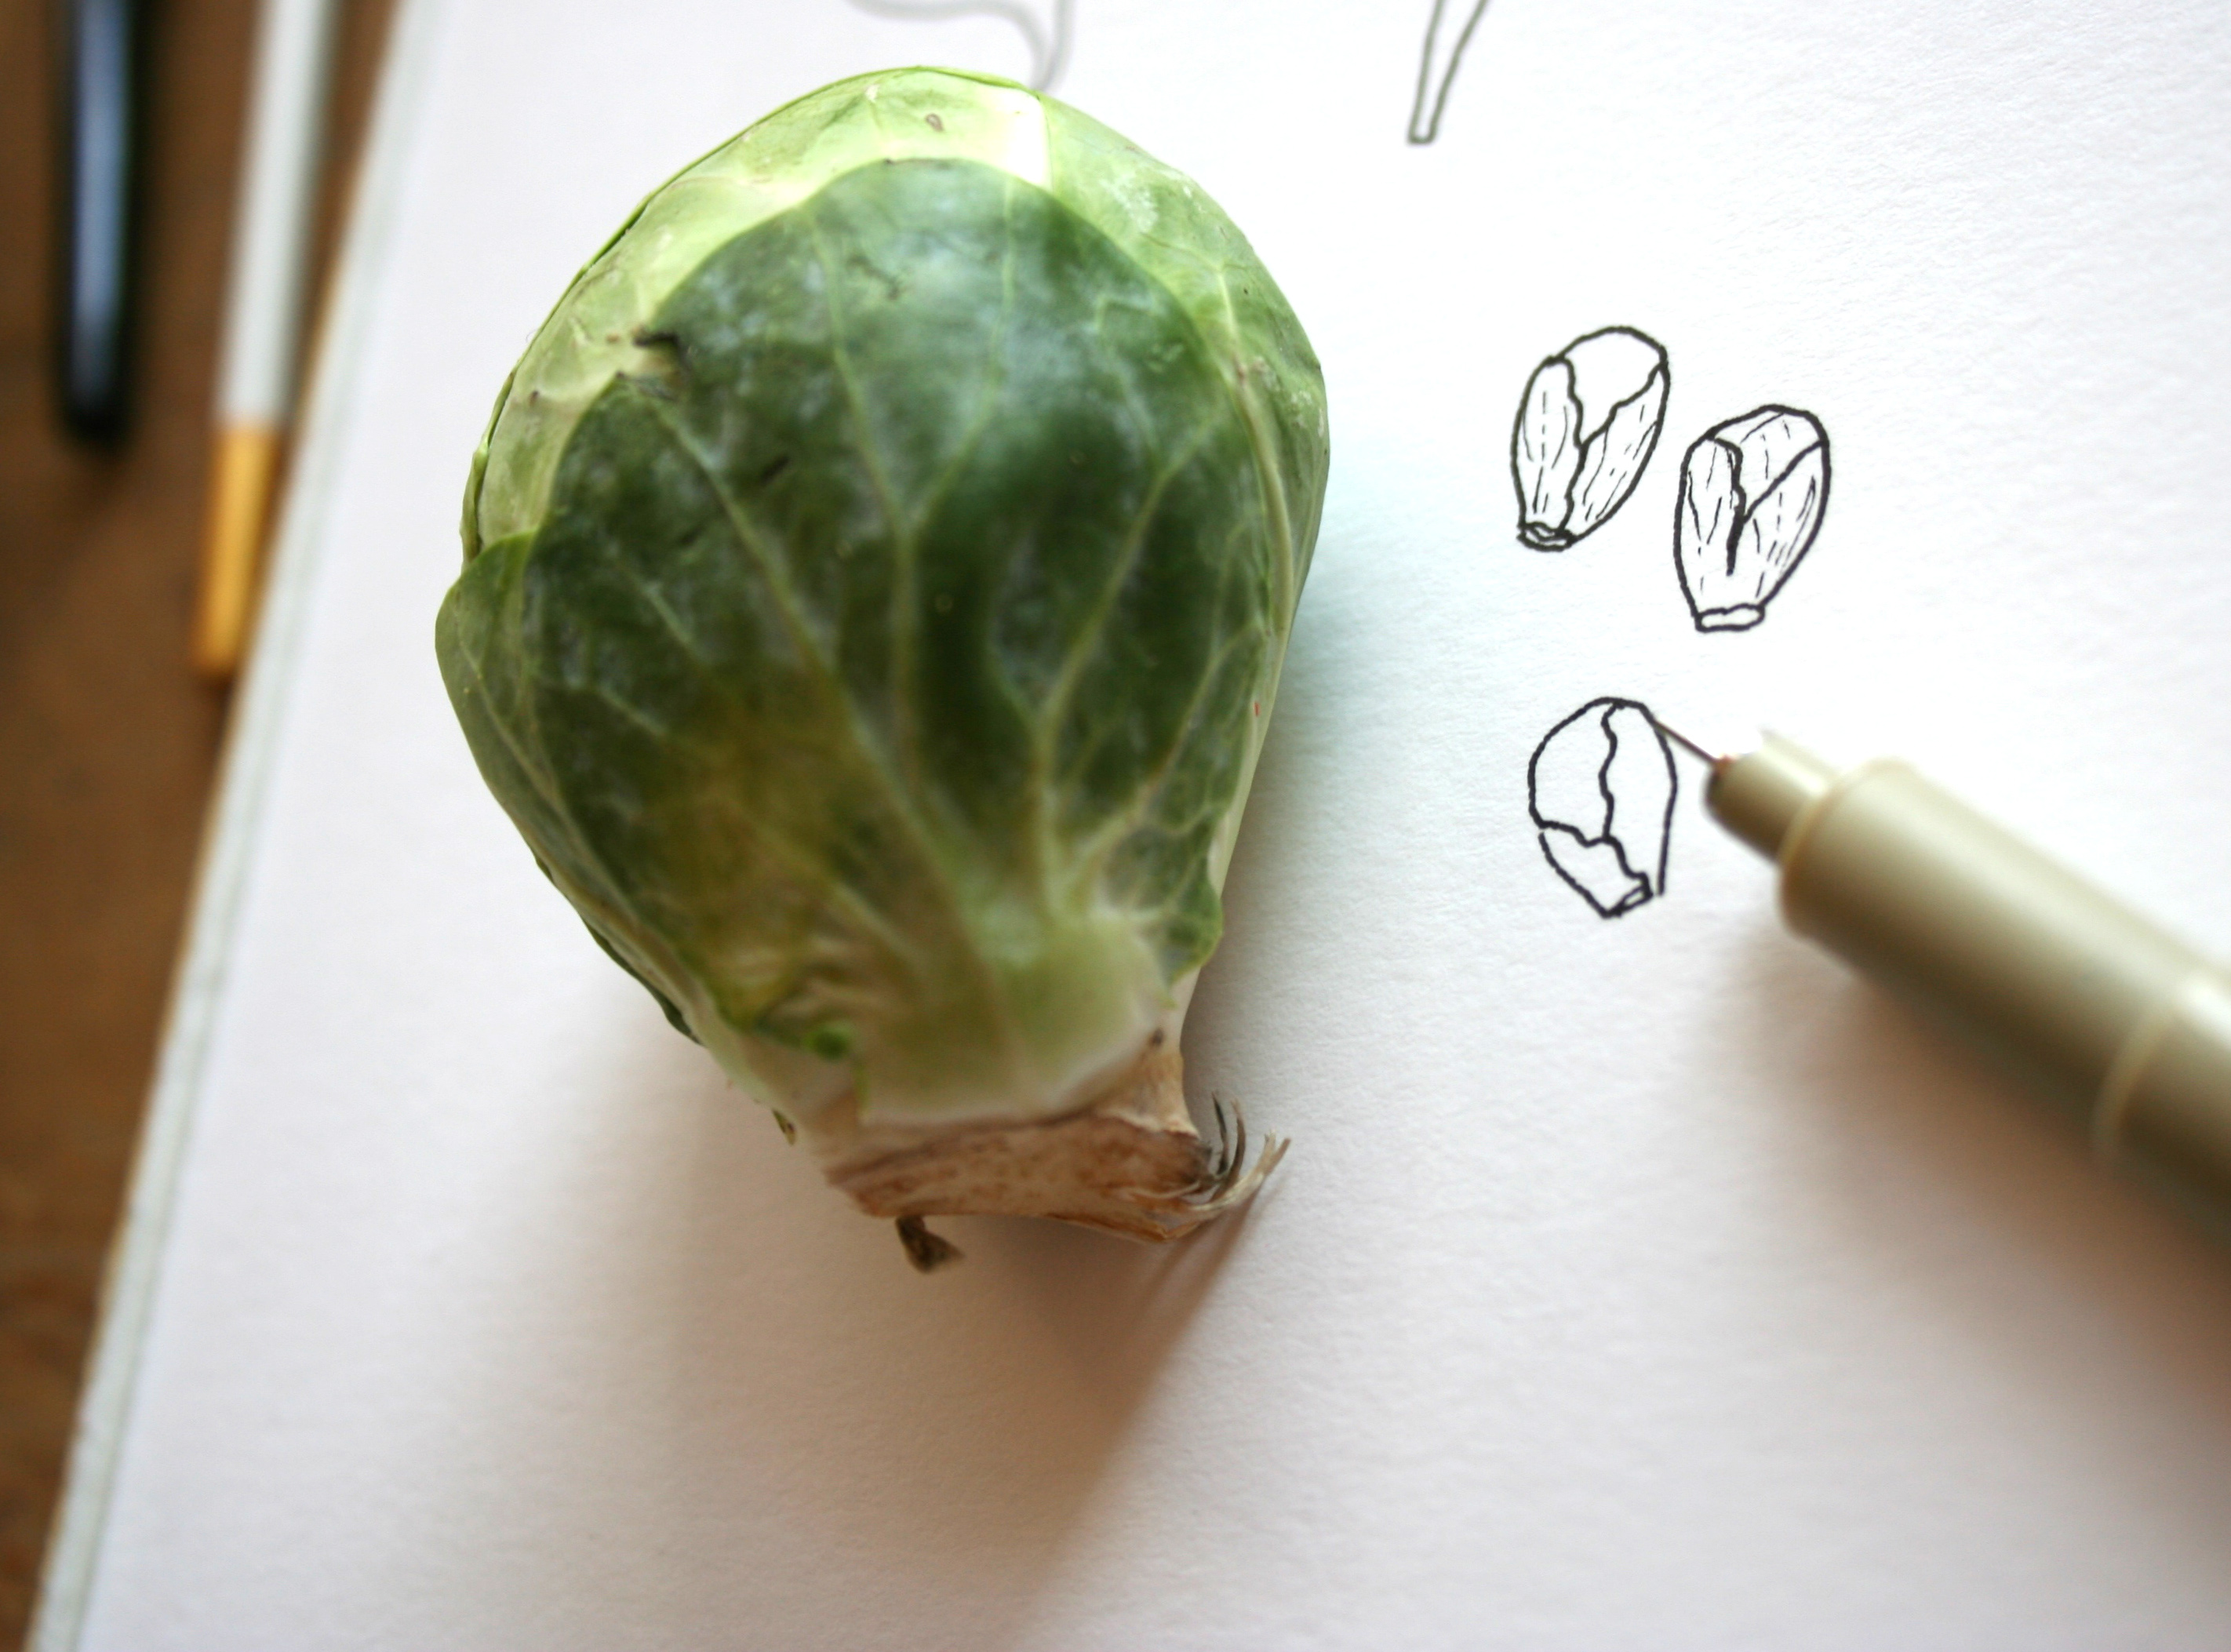
Step 4:
Begin adding texture and details. You can do this continuing in pencil, or switch to another medium.
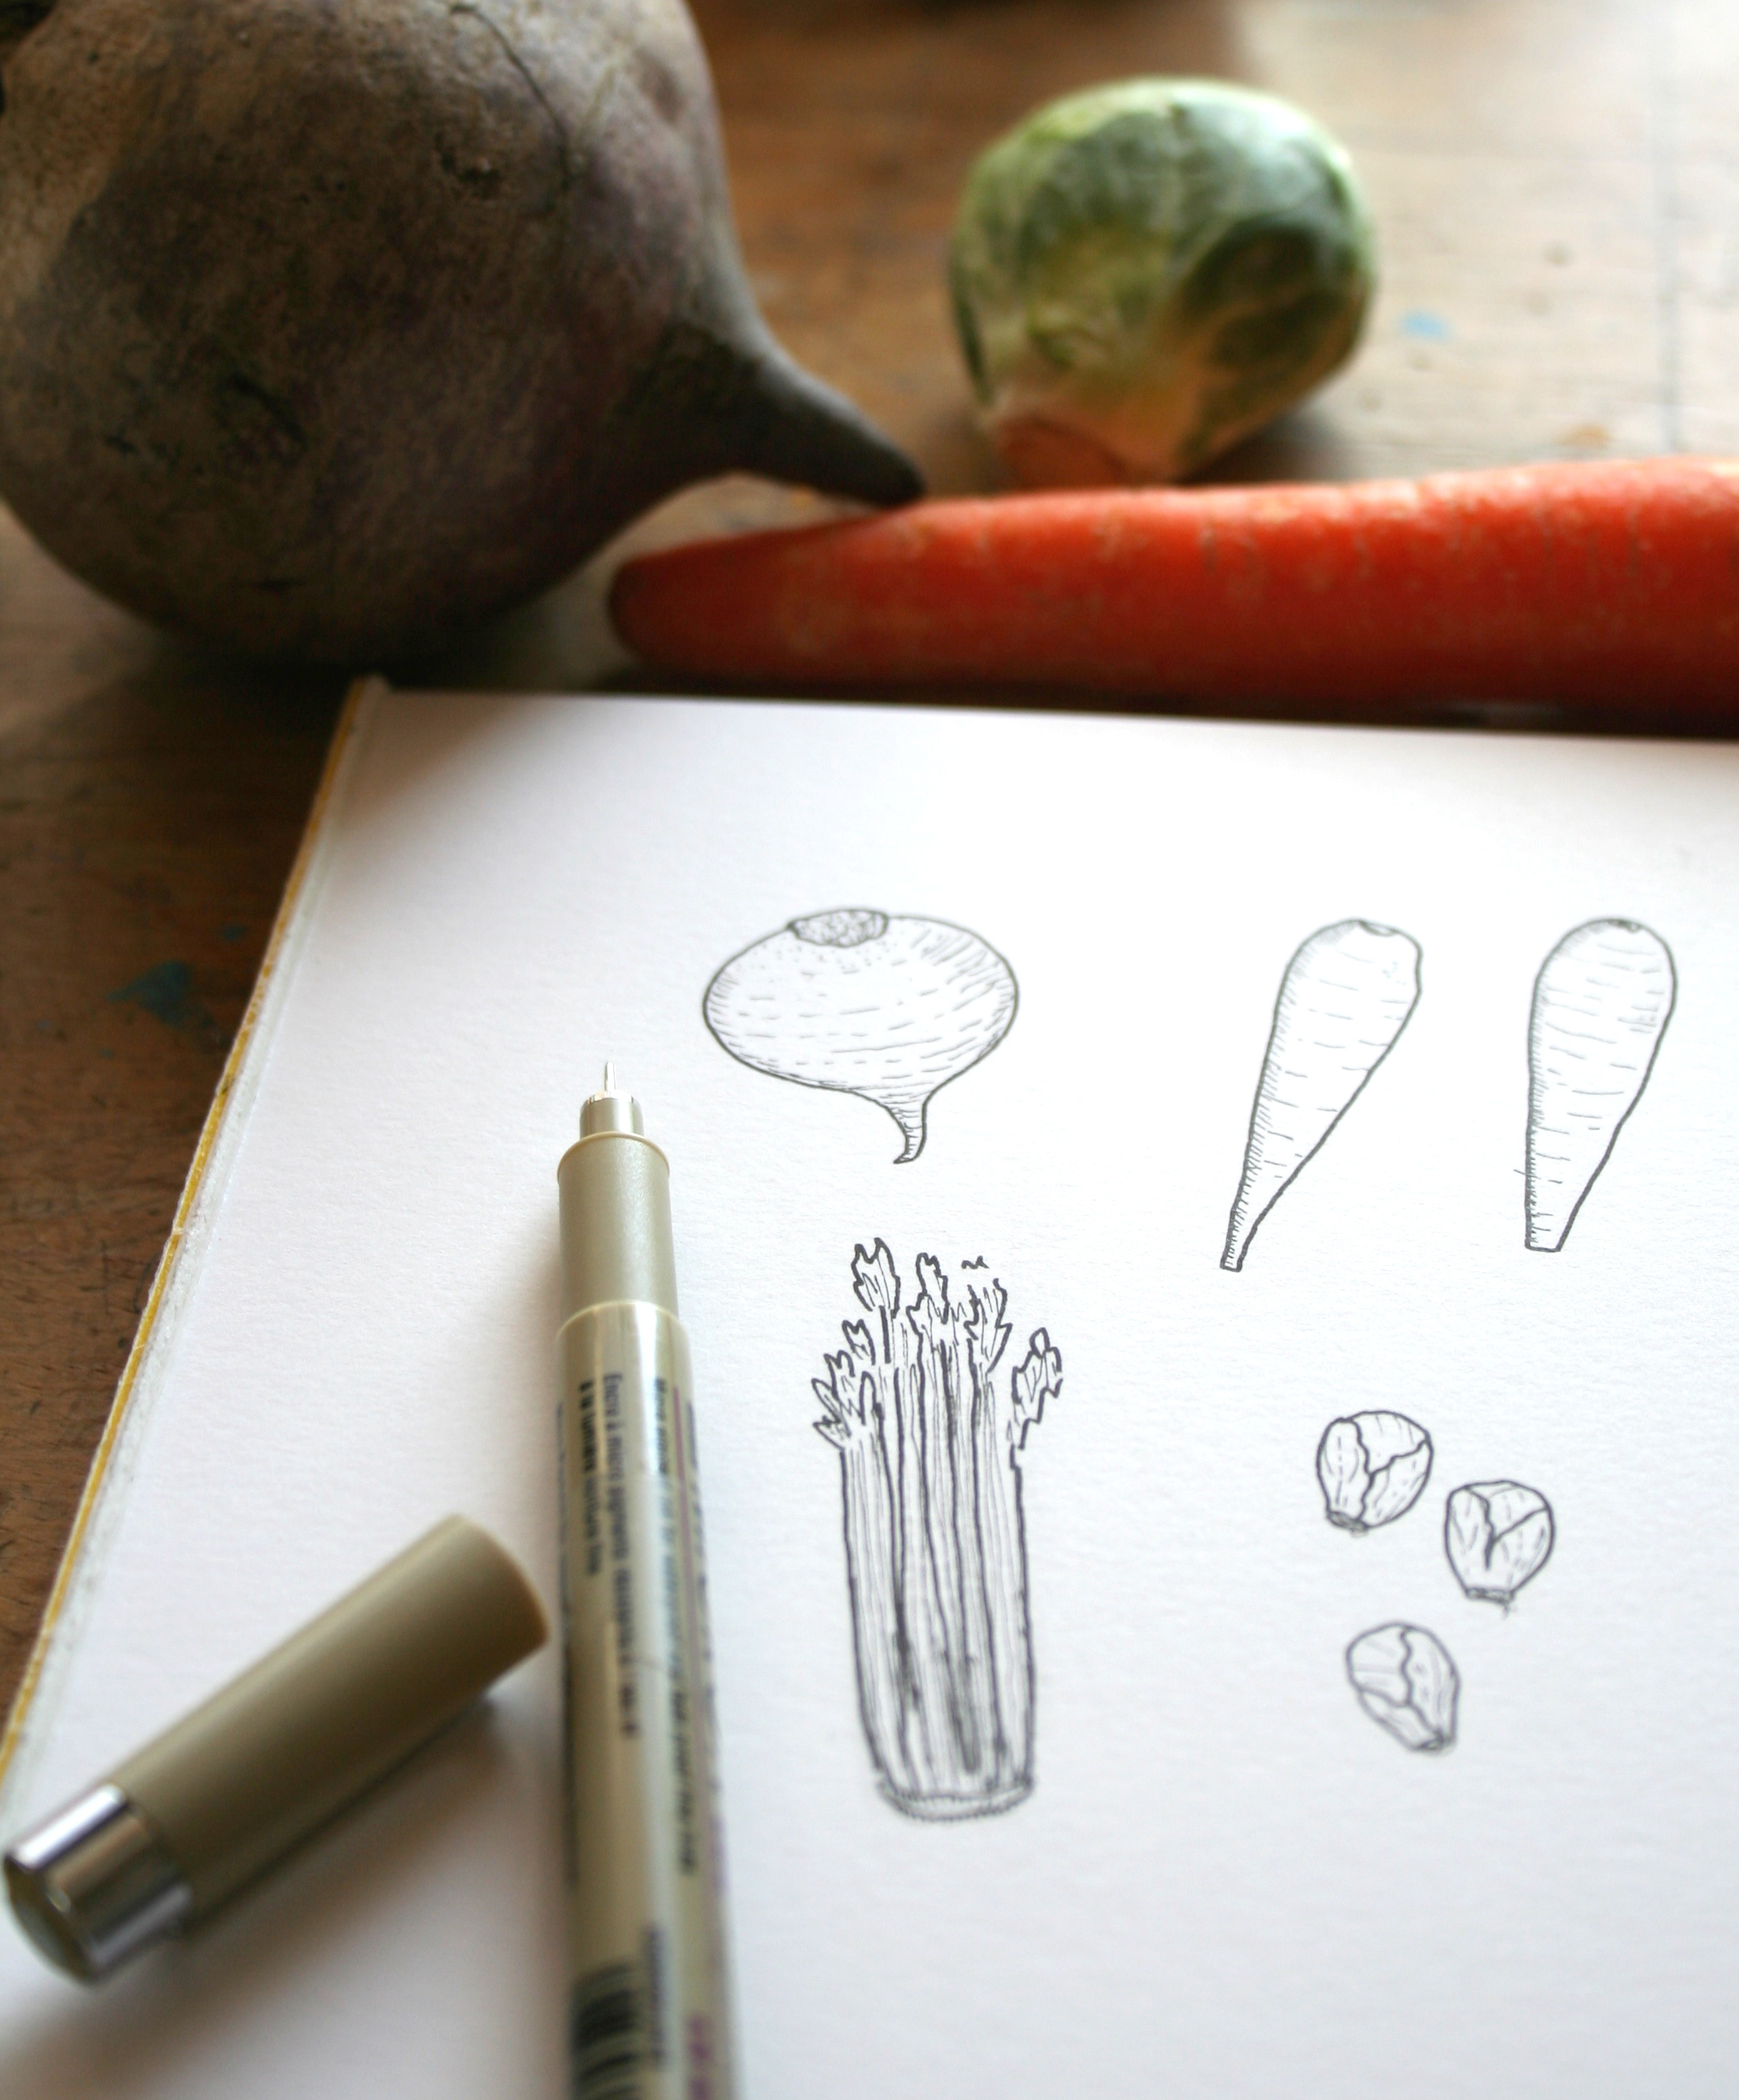
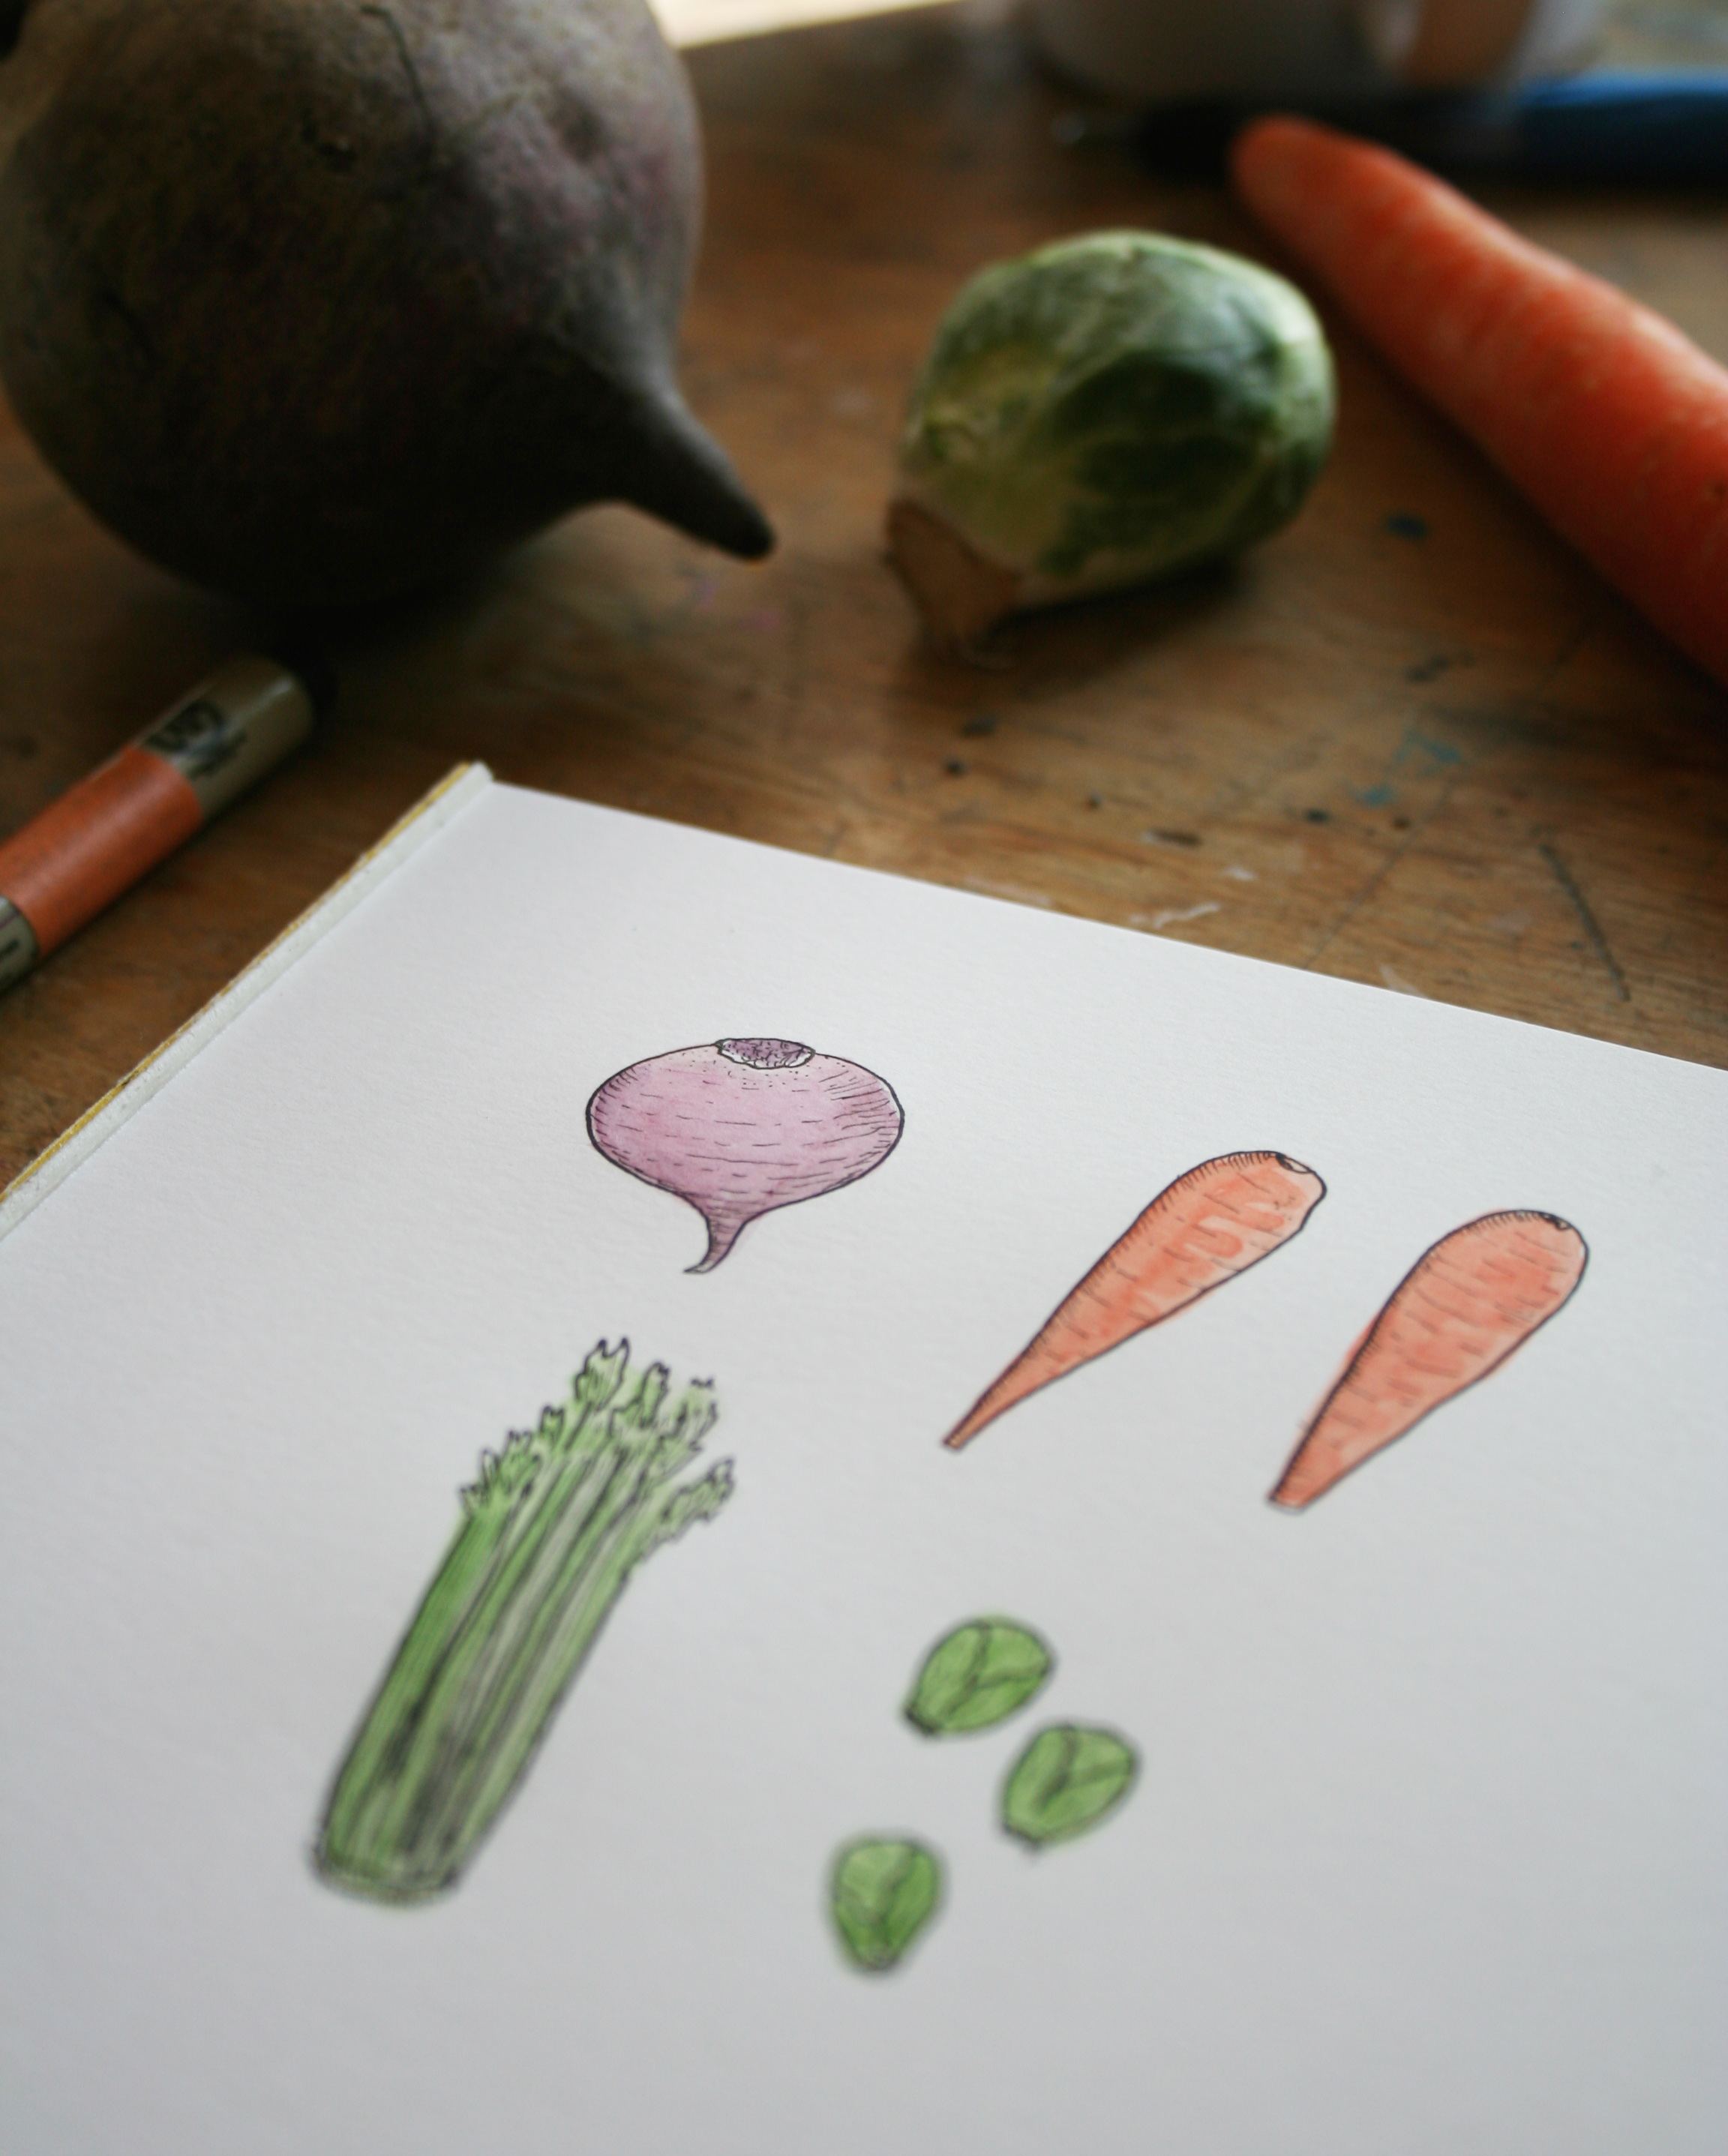
For the drawings shown, this is when I switched from pencil to pen. I used a variety of pen tip sizes and methods to create the basic shapes and then finer textures, such as light scumbling to create the fuzzy texture on the top of a rutabaga, hatching to show the dimension and shading on a carrot, or fine veins on the leaves of brussels sprouts.
Step 5:
If applicable, erase the pencil lines from under the pen, or if using pencil, erase any extraneous lines you don’t need anymore.
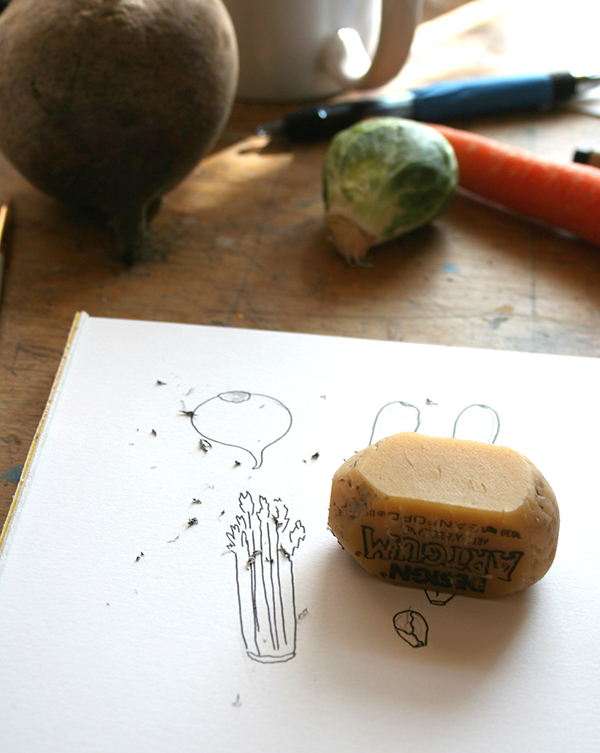
Refine further as desired, by adding additional lines or details.
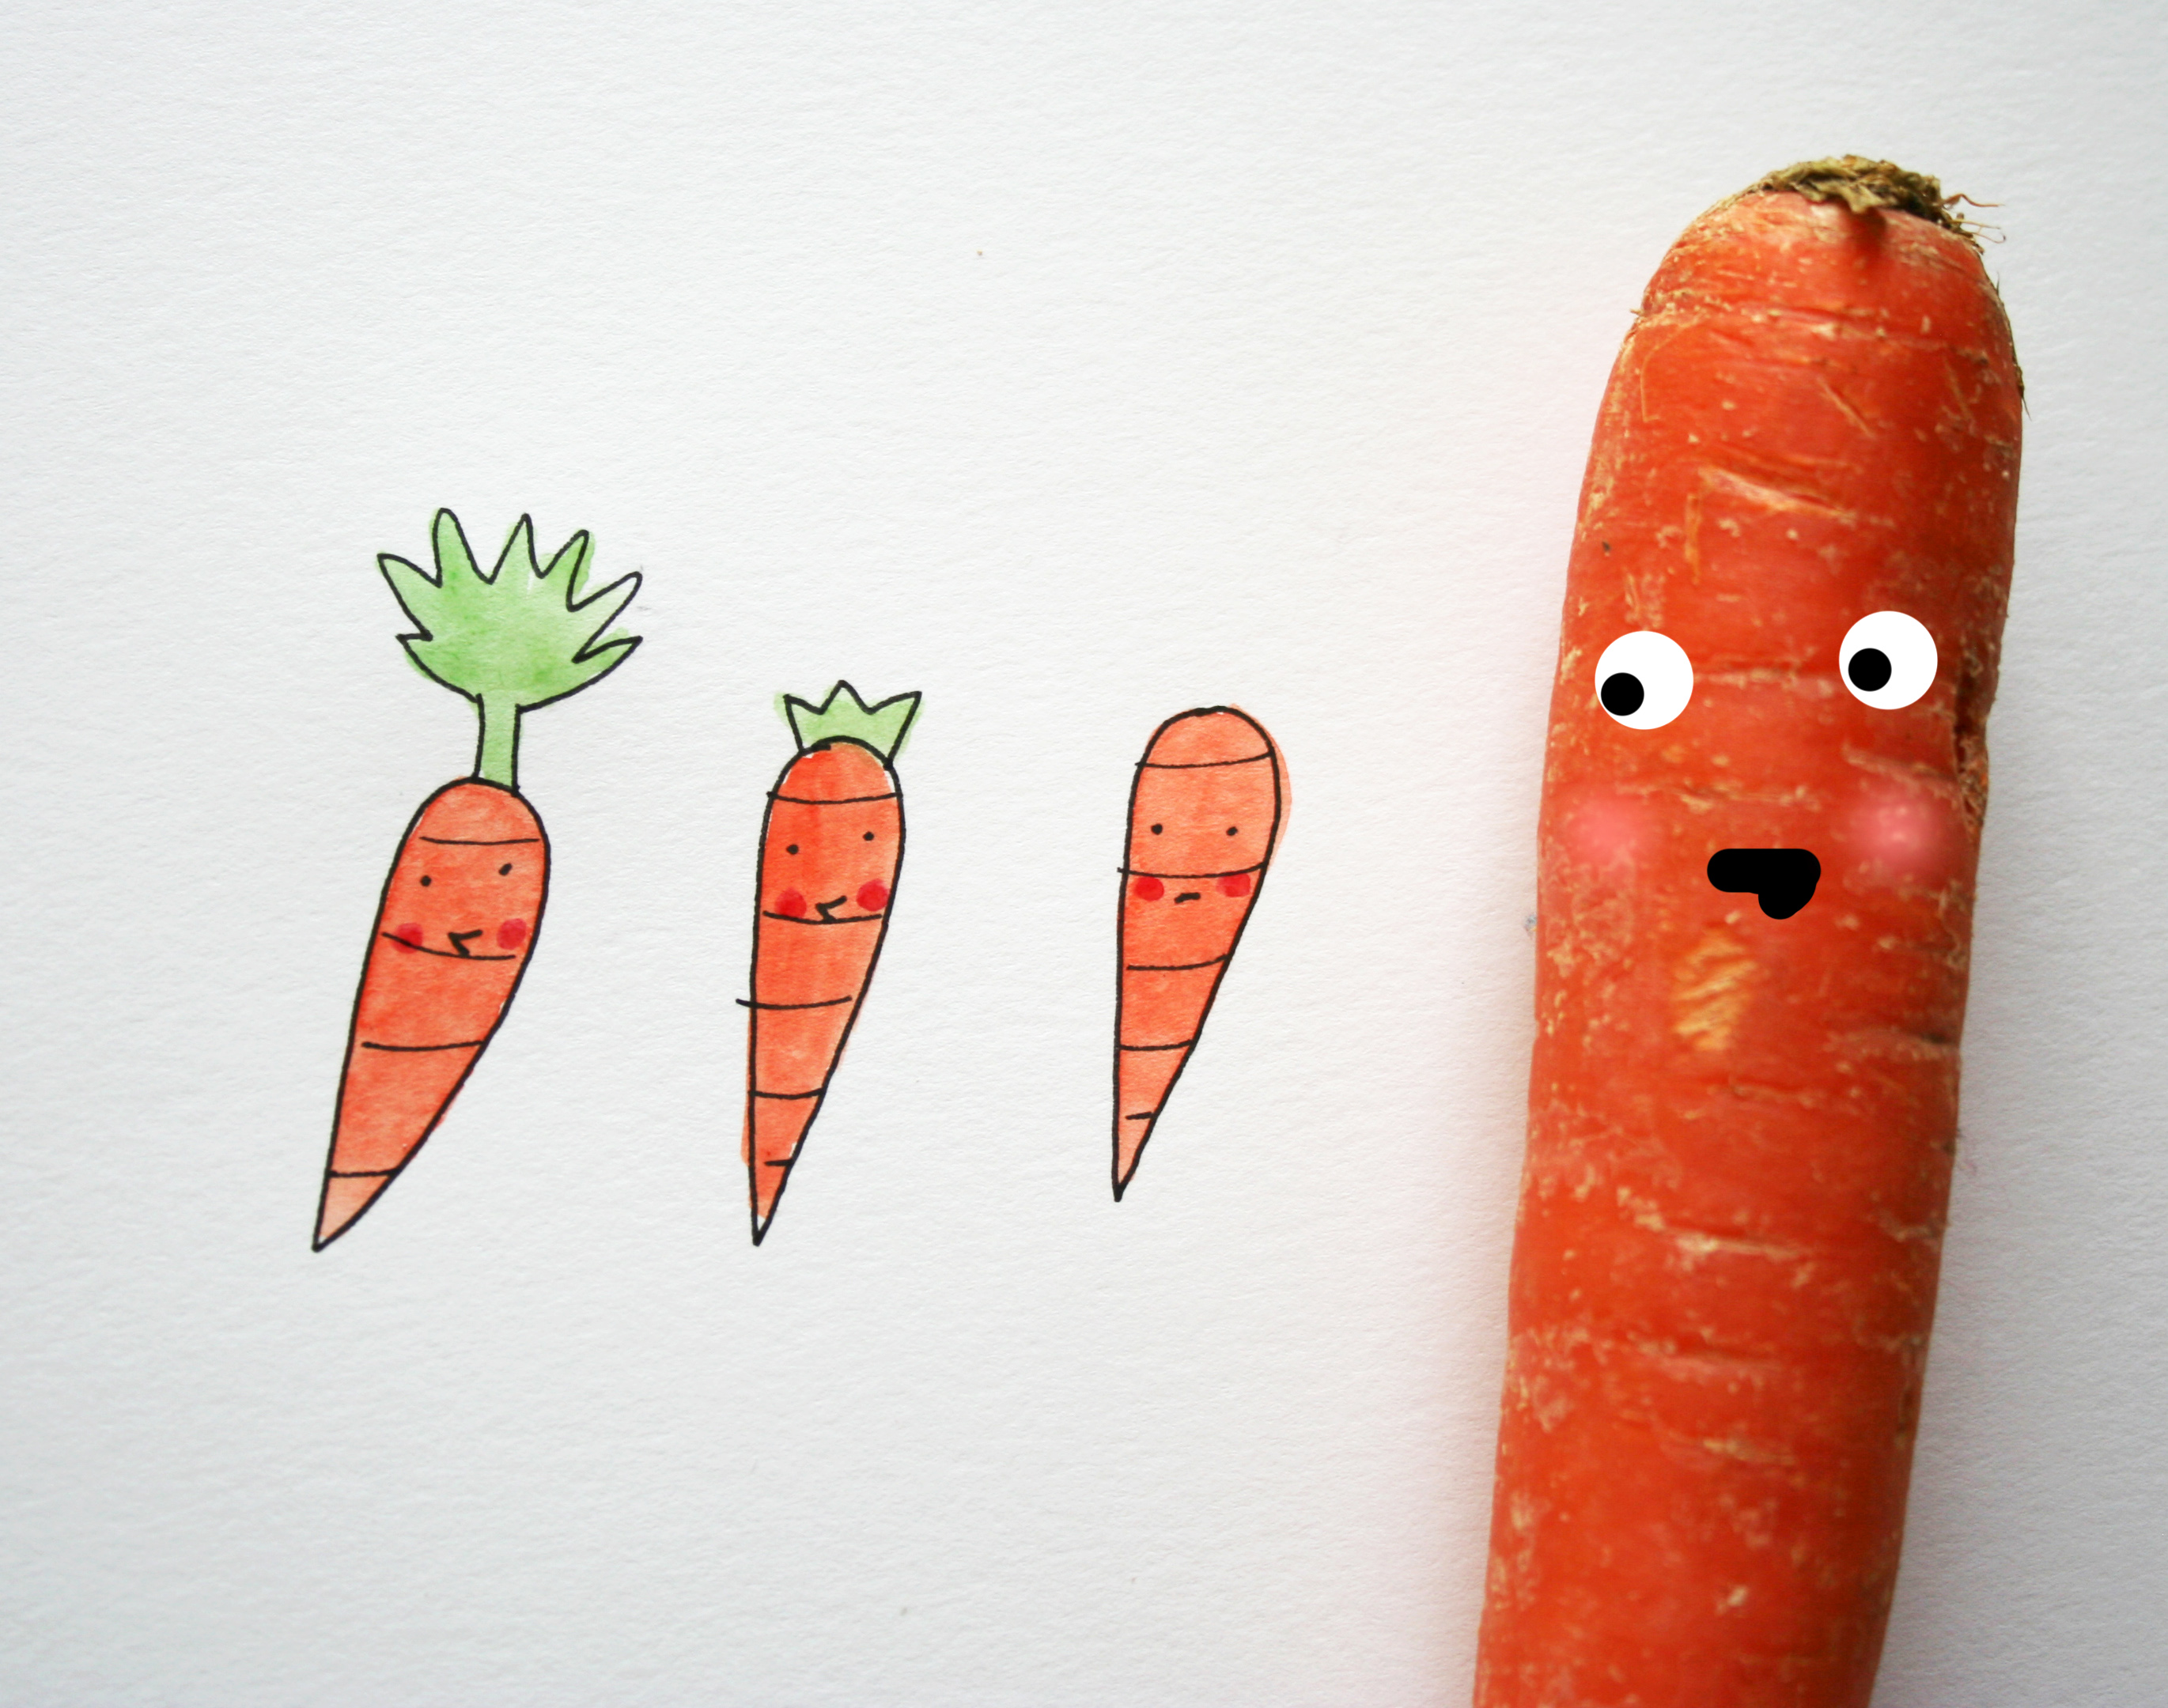
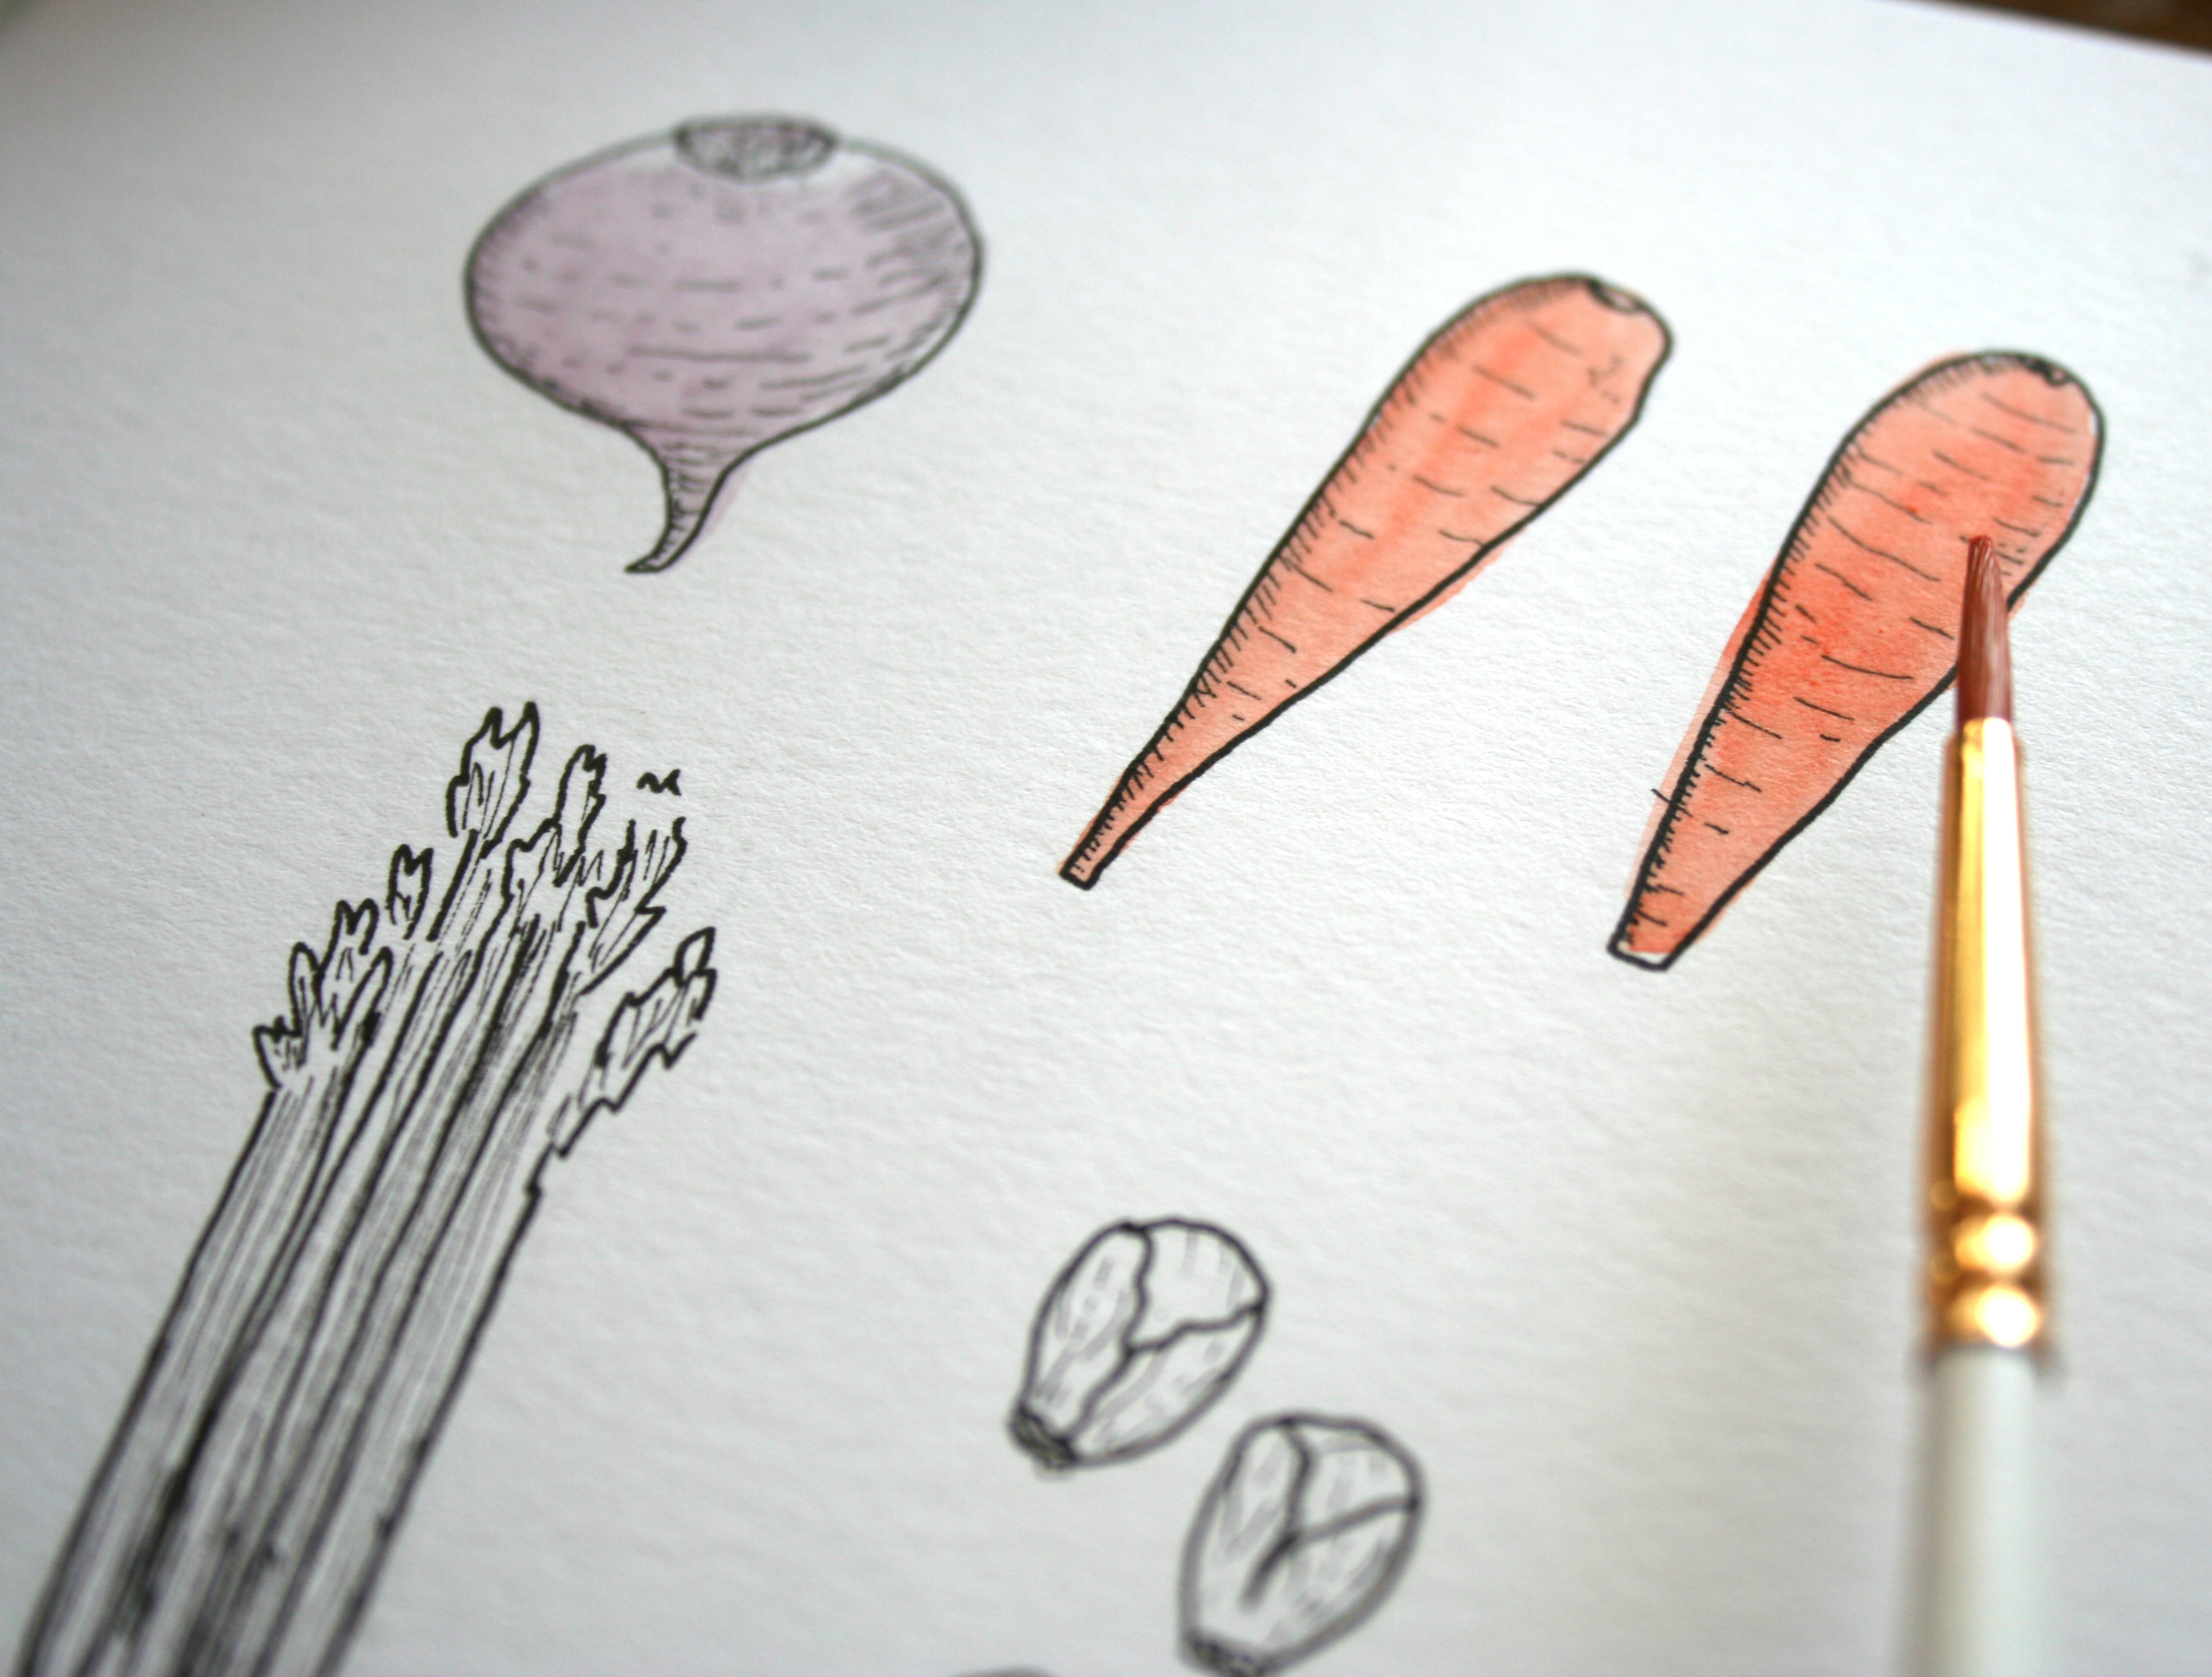
Step 6:
What about color? It can be very helpful with vegetables, and can really make them recognizable, so it’s very possible you might want to incorporate color into your drawing. I like to begin by adding a base of the most dominant color in the vegetable, and then to layer on color incrementally, until I have reached my desired effect.
Step 7:
Refine further as desired, adding highlights or shadows or more lines as you see fit.
Enjoy your delectable art! Now, it might be time to learn how to draw bunnies to go with your carrots.
Share tips, start a discussion or ask one of our experts or other students a question.
No Responses to “Learn How to Draw Vegetables With These Bite-Sized Steps”