
Embossing by hand could be one of the easiest and simplest ways to create designs. In the Digital Age, a lot of what we produce is the creative world is not done by hand anymore, so learning how to emboss paper by hand is a sort of a nice throwback.
I’m excited to share with you how simple embossing by hand (commonly referred to as “dry embossing”) can be. Here are my 5 top tips for how to emboss paper by hand. Use these to create one-of-a-kind paper crafts projects, from card making to scrapbooking!
1. Lighting is key
It’s very important when embossing to find a place with natural light or to purchase a light box that’s used for stencil drawing and such. If you are wanting to stay thrifty, a well lit window will work perfectly for embossing.
You will need to tape the stencil (brass or thick plastic stencils work the very best) and paper down in order to keep them from moving around. Don’t forget to place the stencil facedown so that you will see the reversal of the image you are portraying on the light box or window — this is especially important if you have text of any kind. Skip the frustration of discovering all of your text being backwards by remembering this quick tip!
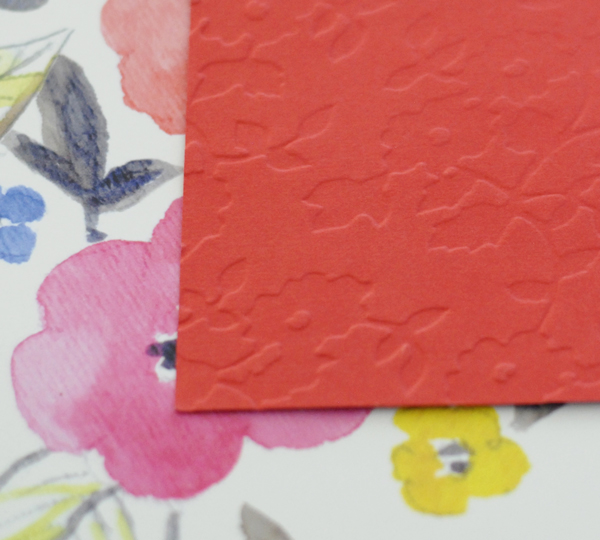
2. The paper matters
As you select which patterns and colors of paper you will use (for me, its typically florals and polka dots!), make sure to also select a paper like card stock or vellum. Anything thinner than card stock will possibly get punctured during embossing (oh no!), and anything much thicker will cause the design to possibly not show up so well because it can take a lot more strength to be able to make an impression on it. The right weight of paper will allow the stencil to make a darker shadow under the light box, making it easier to follow the stencil’s pattern.
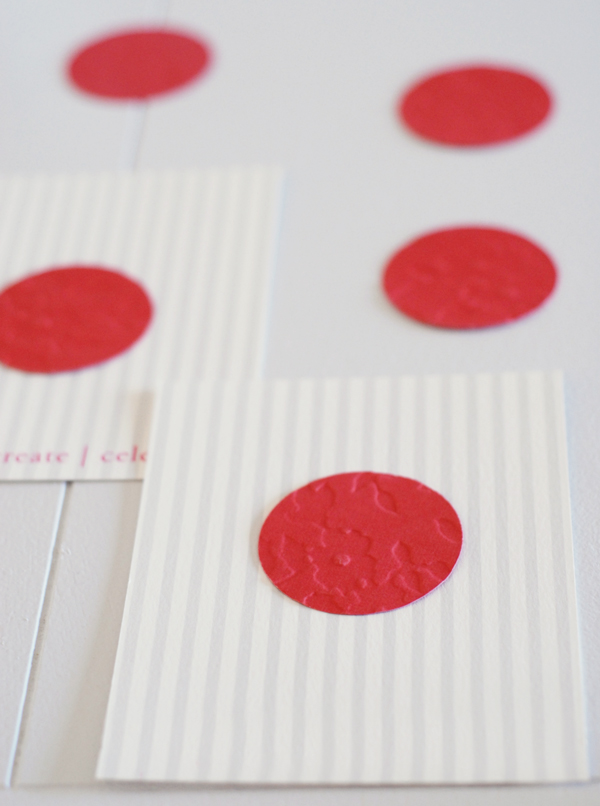
3. You can always have layers
Don’t want to feel narrowed down during embossing? It’s important to know you can select many different colors/patterns of paper to make your creation. Let’s say for an example you are doing a cool chevron pattern and would like a few of the stripes a different color and/or pattern. Very easily you can select a different piece of card stock, emboss that part of the stencil, cut out and then glue it accordingly to the original embossed paper.
4. You can recycle
Don’t have a fancy embossing pen to work with? No worries! An old mechanical pencil (no lead, please!) or a nail with a small head will work wonders! Both will create the same amount of pressure as a typical embossing pen would. It’s also important to remember that you may need several sizes of embossing pens or the recycled versions to create the details of the stencil. The finer details will require a smaller head to work with (think the small nail) and larger parts of the details will require a bigger head (mechanical pencil).
5. Practice makes perfect
If you don’t feel like wasting expensive card stock, you can always practice on printer paper. You will not even need a light box or window, as long as you’re near a lamp, you should be able to see the stencil. Just remember to be careful when embossing on printer paper, it can easily tear!
Share tips, start a discussion or ask one of our experts or other students a question.
No Responses to “5 Top Tips for Embossing Paper by Hand”