
Long before the cake decorating can begin, we need to make sure we have a strong, clean base or in other words, a well-constructed cake. We begin with filling our cakes with yummy goodness. Follow this step-by-step tutorial to learn how to fill a cake for perfect results every time.
How to fill a cake
Note: You’ll want to torte your cake before filling it.
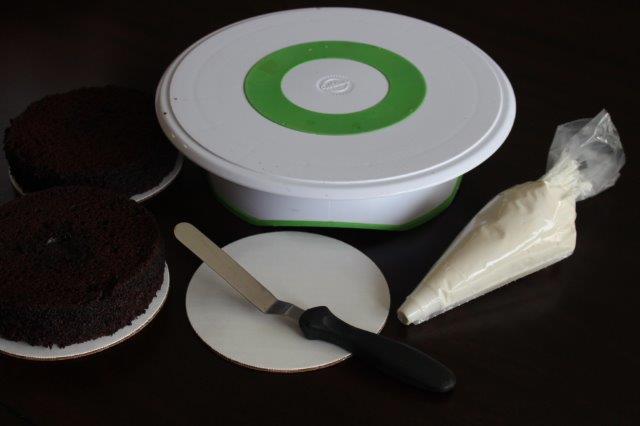
Materials you’ll need:
- Turntable
- Cake board the size of your cake
- Off-set spatula
- Piping bag filled with the icing, ganache or buttercream of your choice
- Large round tip #12 or no tip, just the coupler on the piping bag
- Filling of your choice
- At least two layers of cake
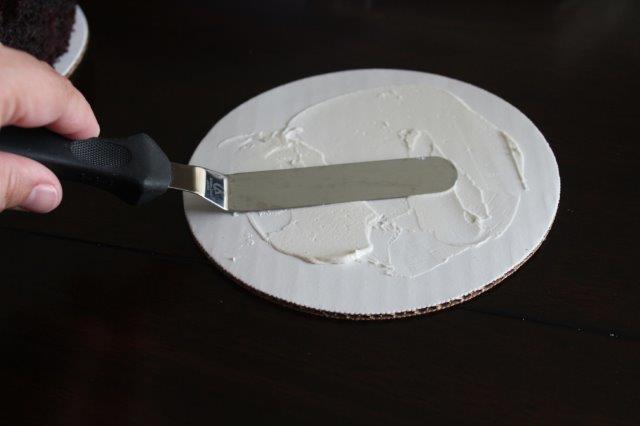
Step 1:
Begin by placing a thin layer of buttercream on your cake board. This will help adhere the cake to the board and limit the amount of movement or sliding.
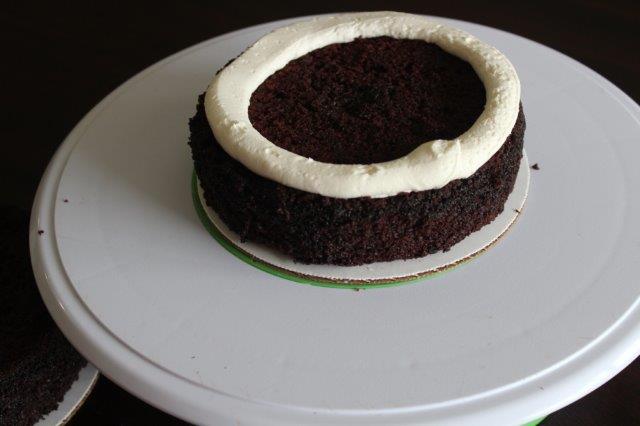
Step 2:
Place the bottom layer on the board. Then, using your piping bag, pipe a thick line of icing around the outside edge of the cake. This creates a dam, which seals the edge and stops the filling from leaking out of the cake.
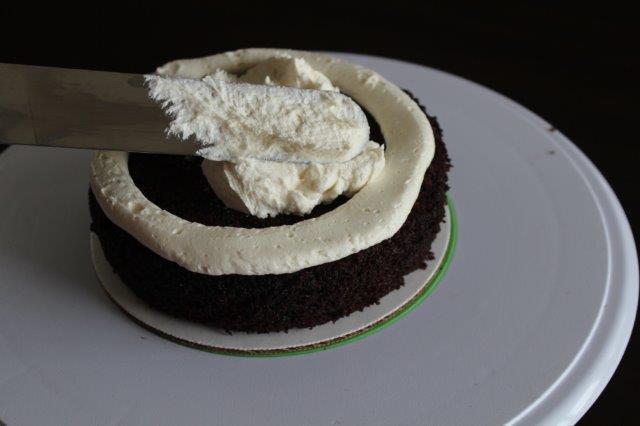
Step 3:
Once your dam is complete, fill the cake with either the same buttercream or ganache or a different filling completely.
If needed, continue with the next layers in the same way.
For truly inspiring cake flavor combinations, check out Jenny McCoy’s Craftsy class Creative Flavors for Cakes, Fillings & Frostings.
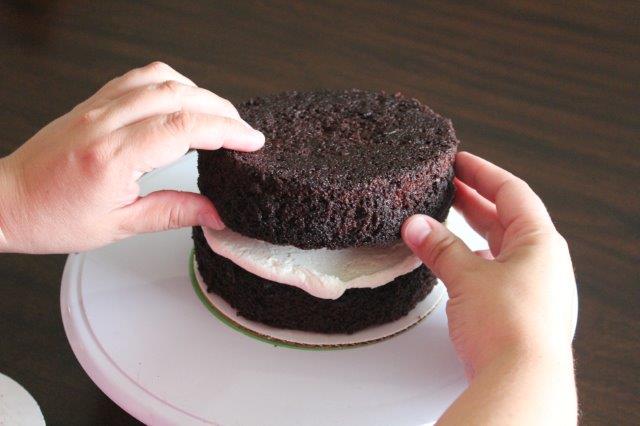
Step 4:
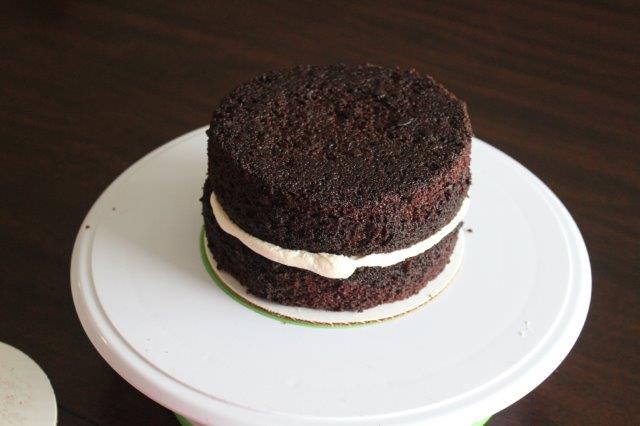
When placing the top layer of cake on, make sure to flip the cake upside down so the bottom of the cake is now on the top. This helps reduce crumbs in the crumb coat.
Now that your cake is stacked you are ready for a beautiful crumb coat!
Here are a few more tips for filling cakes:
- If you plan to leave your cake out of the refrigerator once it is finished, make sure your fillings do not need to be refrigerated.
- Avoid using fresh fruits or berries unless you plan to keep your cake refrigerated at all times.
- Many professionals advise mixing jams and jellies with buttercream for a fluffy fresh filling.
- Use extracts and flavorings to develop creative cake flavors. A little lemon extract and a drop of yellow food coloring go a long way to developing a delicious lemon buttercream.
- Do not overfill your cakes. I know it looks beautiful to have thick, luscious layers of buttercream between thin layers of cake, but once the cake is left out, gravity takes over and the buttercream can weaken, causing the decorations or fondant to sag.
- Many decorators prefer using canned pie filling as cake filling. This may be an easy alternative to making your own fillings.
- Remember: food safety ALWAYS comes first! If you are worried that a filling won’t last in the heat or even at room temperature for the length of time needed, don’t push it. Make safe choices that will bring everyone back for more cake!
"Note: You’ll want to torte your cake before filling it." Some explanation for this note would be helpful.