
Few things are as rewarding as the first bite of something you grew yourself. Unfortunately, however, not all of us have as green a thumb as we might like. So for beginner gardeners, I like to recommend plants that are practically failproof. One such plant is the potato.
Potatoes are so easy to grow, that I end up with “accidental” potatoes every year! Just a few weeks ago I was helping my friend turn her compost pile and we found several potato plants growing simply from skins she’d thrown in the pile the season before. There was enough accidental potatoes in her compost pile we were able to make up a big pot of mashed potatoes that night for dinner, and those free, accidental potatoes fed the whole family!
How to grow potatoes
When to plant
For the greatest yield, you will want to plant 1-2 weeks after your last frost, however, you can really plant potatoes anytime, because a single potato scrap or start is likely to grow at least a few potatoes no matter when or where you happen to toss it in the ground.
What you need
- Potato starts: Either buy them, or, if you’re as forgetful as I am, check your fridge — you may find a bag of potatoes that have been in there long enough to sprout eyes of their own
- Shovel
- Soil, water and sunlight
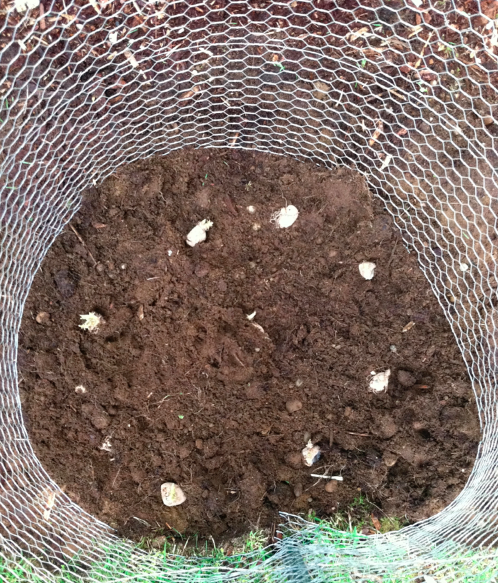
Step 1: Prep your ground and your potato starts
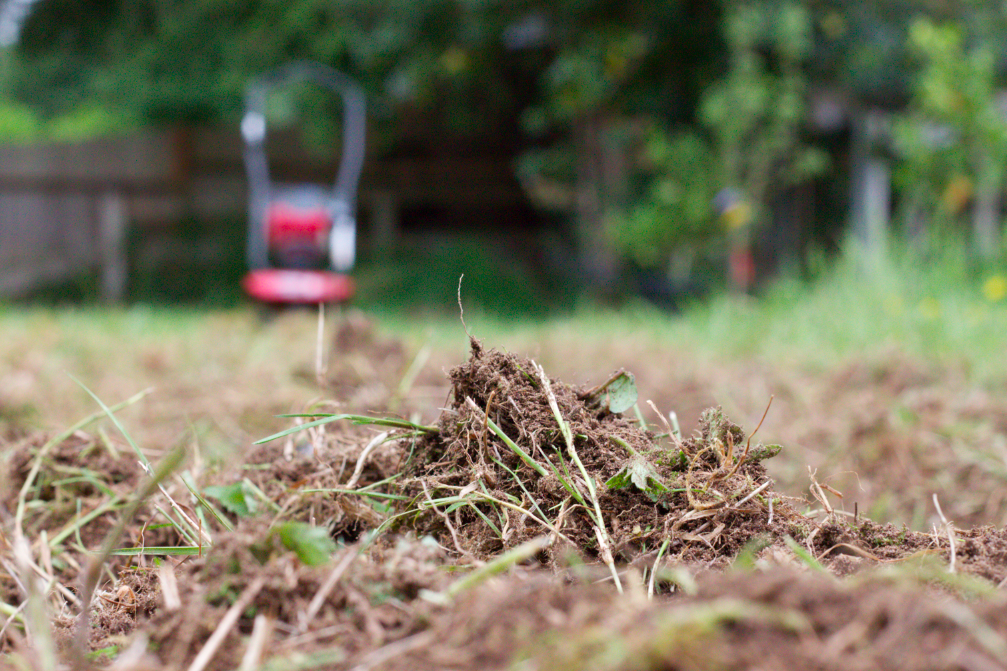
Your ground prep can be as simple as digging a 3-inch deep hole for a single potato plant or tilling a whole field for lots of potato plants. I was lucky enough to have a neighbor who lent me his gas powered roto-tiller, which made my job a lot easier, since I’m trying to reclaim a grassy, weedy field and turn it back into a garden. I tilled the soil in a long strip until the soil was loose at least 3 inches along the length of the strip.
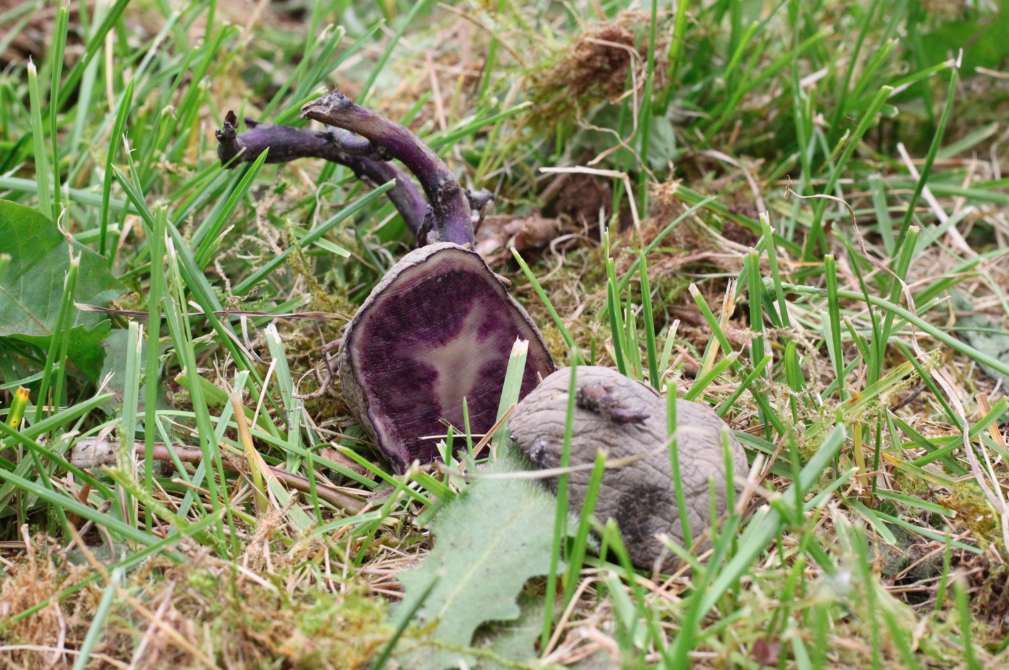
A plant will grow from a single eye. Lots of potato starts will have multiple eyes. You can multiply your starts simply by cutting the potato into chunks, each with one eye. Some eyes may not develop, so I like to leave at least two eyes on each chunk I plant. Regardless of the number of eyes, I try not to cut a single potato into more than four pieces because the potato itself contains the nutrients the new plant will need to get started. The more flesh there is, the more nutrients will be immediately available to the new plant, and there’s no such thing as “too many eyes” — each eye represents a single chance for a plant to grow.
If you do cut your starts, it is best to do so a day or two before you plant them so they can grow a protective film over the newly exposed flesh, which will make your start more rot-resistant. This is never too hard for me to do, since I usually get distracted halfway through my planting projects anyway, then come back a few days later to finish.
Step 2: Plant
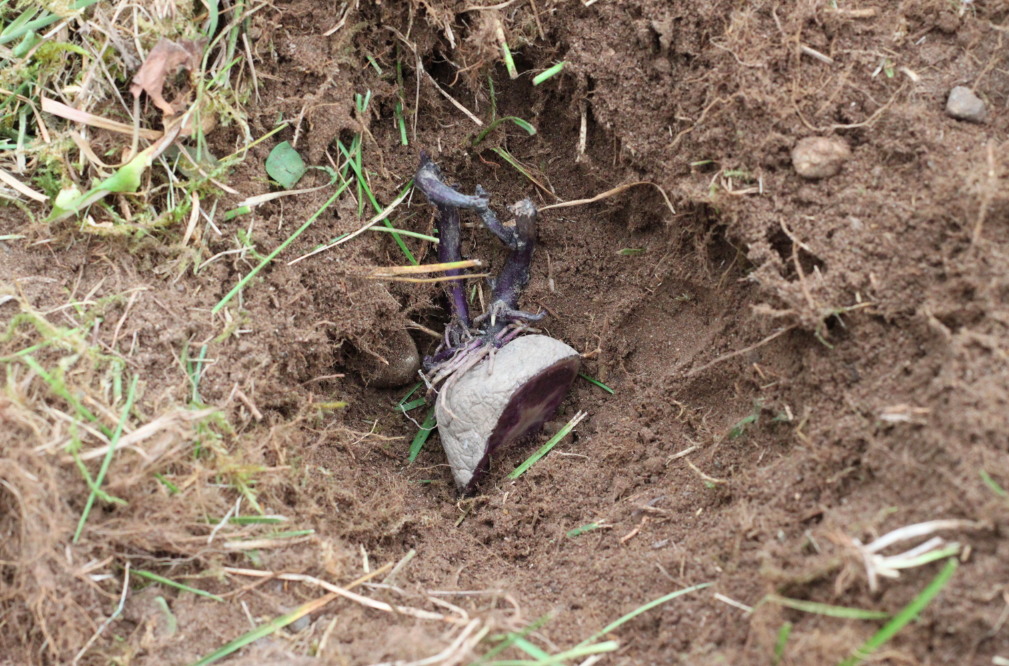
Next, place your start in the soil about 3 inches deep with the eye facing up toward the sky. The eye is the baby plant, and you want it to grow up out of the soil, not down into it. More than likely, the eye will find it’s way up regardless of how you place your start in the dirt, but we like to give our baby plants the best chance possible to survive.
Cover the start with dirt, pack the soil tightly around it and step back, your work is done.
Step 3: Regularly water
Once you’ve finished planting, the sun and soil will do their work as long as you keep the soil around your potatoes moist. For some, that means daily watering, for others, like me in rainy Seattle, I usually plant my potatoes in April, dust off my hands, and come back to harvest through the summer. In late July and August, I usually need to give the potatoes a light sprinkling of water every few days to keep them producing.
Step 4: Hill your potatoes
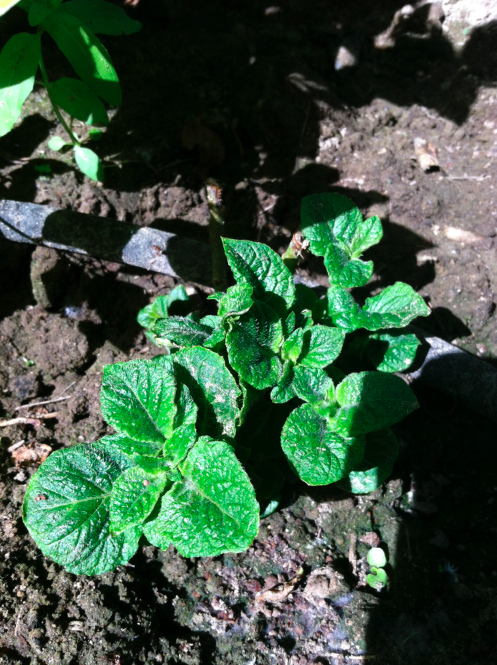
To increase each plant’s production, there is a process that can be done called “hilling.” This just means heaping dirt up around the plant as it grows. This allows more loose soil to gather around the plant and thus gives more places for baby potatoes to form. I’ve successfully done this by tossing some hay around my plants every few weeks throughout the summer (which also helps keep moisture in and lessens the need for watering). Don’t bury the greenery with your hilling, just add a few inches of soil, straw or mulch every time the plant grows another 6 inches or so.
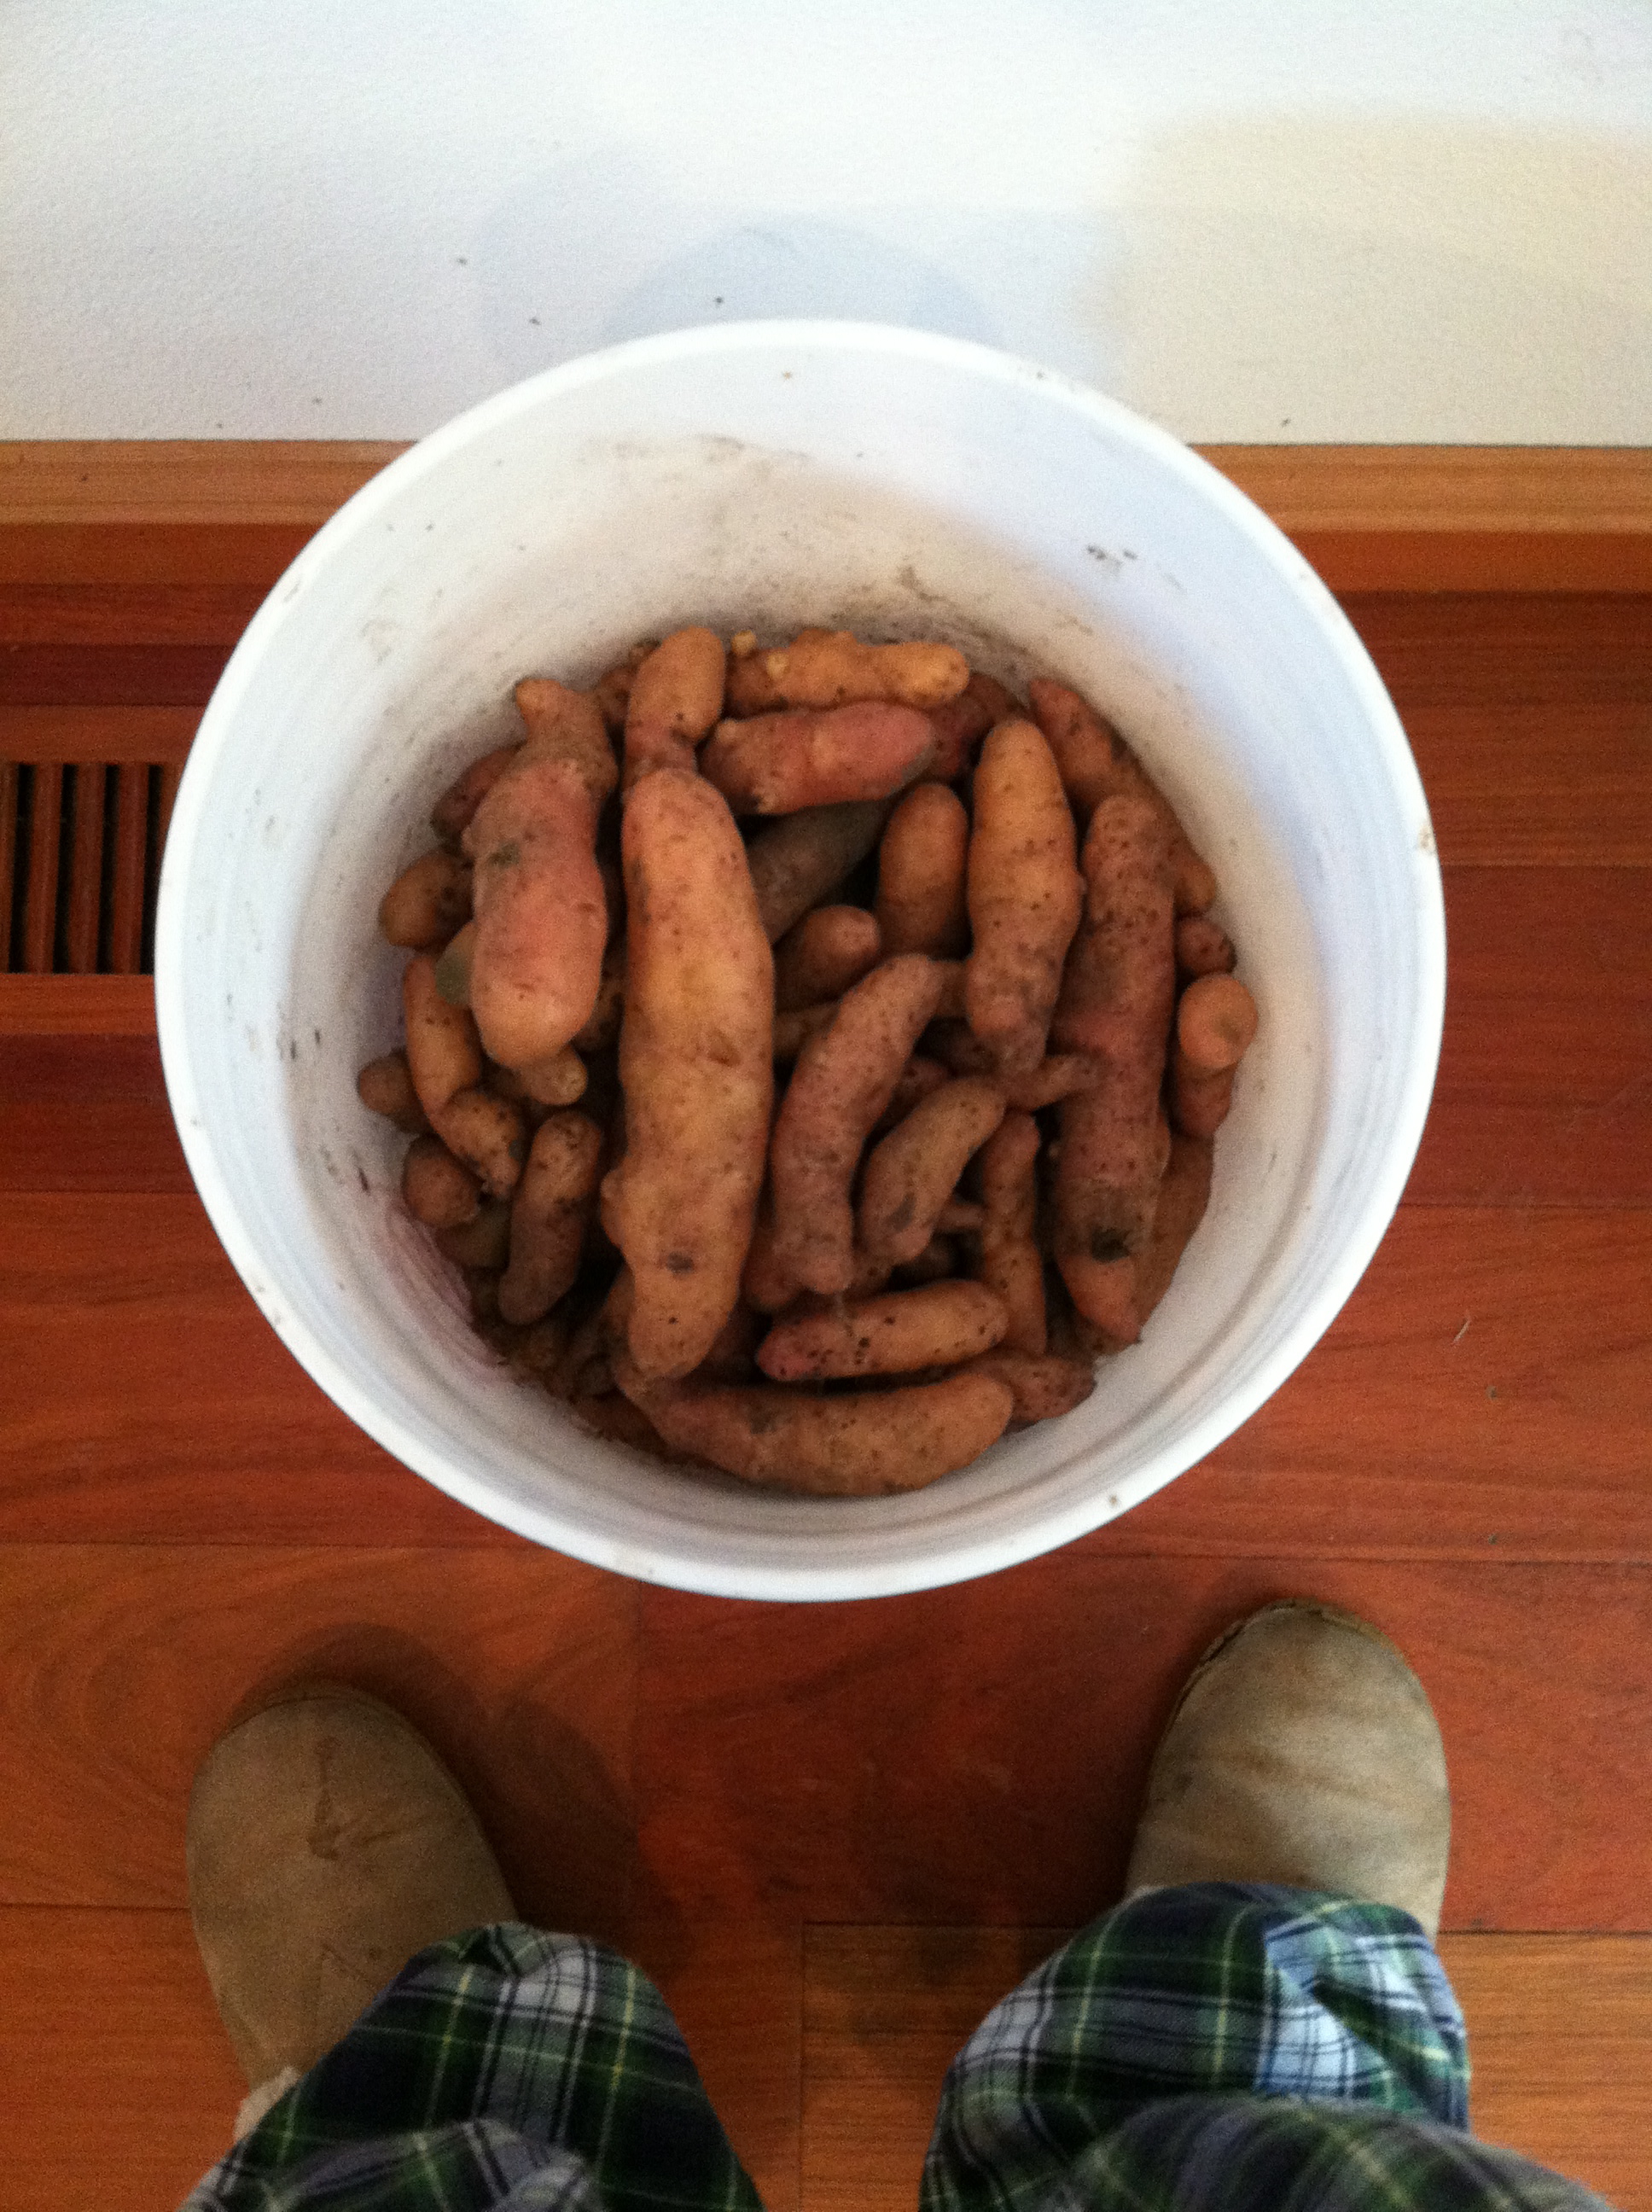
Once your plant is about 12 inches high, you can bet there are already some baby potatoes down in the soil. You can start harvesting then or wait until fall. If you are growing your potatoes in the ground, you can leave them in the soil until you are ready to eat them. When you have a large crop, this is very helpful because keeping them in the soil will help keep them from rotting. And, as it turns out, most of our farm crops are ready all at the same time so it’s nice to leave a little snack in the ground for later.
And there you have it, you can grow your own potatoes, anywhere, in any old container, in a raised bed, in the field, or in your compost pile. Slugs and blight aside, if you have viable starts, soil, sun and water, you can’t go wrong with potatoes.
Grow a Bounty of Delicious Vegetables — Fast!

Enjoy lifetime access to your HD video lessons and learn from expert gardener Doug Green in Vegetable Gardening: Smart Techniques for Plentiful Results.Enroll Now »
Share tips, start a discussion or ask one of our experts or other students a question.
No Responses to “How to Grow Potatoes in 4 VERY EASY Steps”