
A row of overhand knots is a perfectly serviceable finish for a woven piece, but there are drawbacks. Placing those knots so they’re even and snug against the weft can be difficult, and knots can be bulky. When you want a smooth, sturdy finish for your weaving, hem stitching is the way to go. Hem stitching is flat, looks nice and holds everything in place so you can trim your fringe as short as you’d like. Here’s how it’s done.
Hem stitching at the beginning of a piece
Step 1: Warp your loom and separate the warp as usual
Hem stitching is easiest to do on the loom where everything is under a good bit of tension. You’ll probably want hem stitching at both the beginning and end of something like a scarf, so we’ll start at the beginning. For this first row, I’m going to go from left to right.
Step 2: Leaving a long tail, weave a few picks
You’ll need at least an inch for stability. I usually go ahead and fill in my whole open weaving area so I can advance the warp immediately after finishing the hem stitching, but you don’t have to. The most important thing is to leave a nice long tail at the beginning of your first pick, since this is what we’ll be using to sew the hem stitch. I like to go with about four times the width of my fabric.
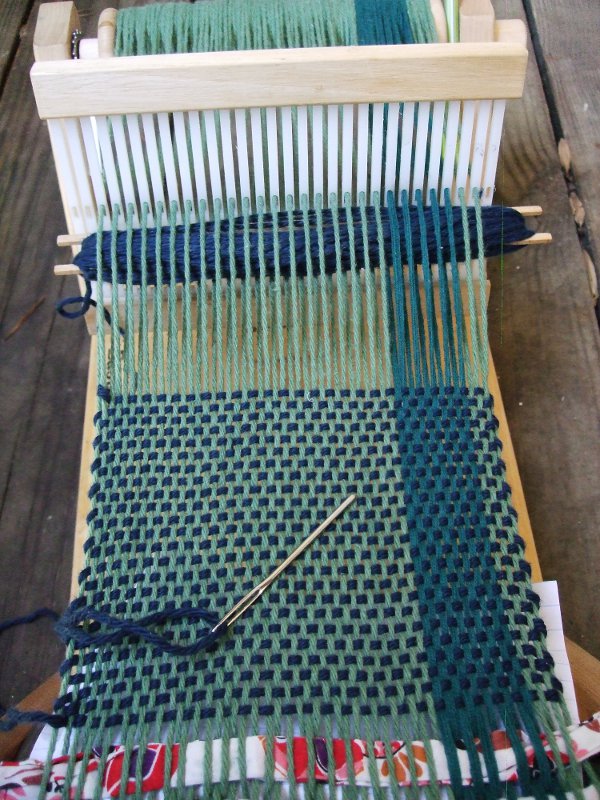
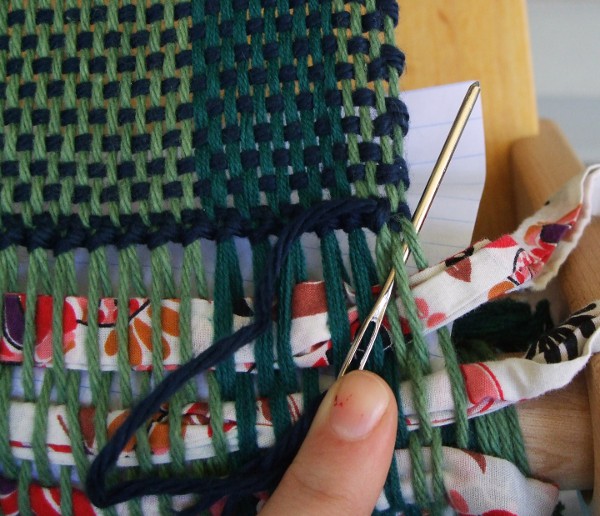
Step 3: Thread the needle and insert from back to front
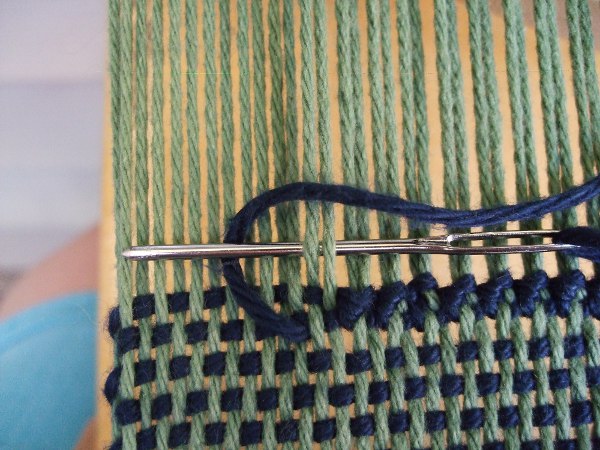
At this stage, you’ll have to decide how many threads you want to include in each stitch. Just like in elementary school geometry, you’ll have a rise (the number of weft picks) and a run (the number of warp threads). As you can see in the photo above, I’ve gone with two of each. I almost always go with two by two hem stitching because, due to the hole/slot structure of rigid heddle weaving, I know my warp threads will always be divisible by that number (so I don’t have to do any math). You can use whatever groupings you’d like (one by one, three by two, four by four). Thinner yarns can tolerate larger groupings without looking bulky better than thicker yarns, but it’s up to you.
Once you’ve decided, thread your long tail on a darning needle and insert it from under the cloth. Just count over the number of warp threads and up the number of weft picks and poke the needle into the space between them. Pull the yarn through — it doesn’t have to be all the way, but you want enough slack to work with.

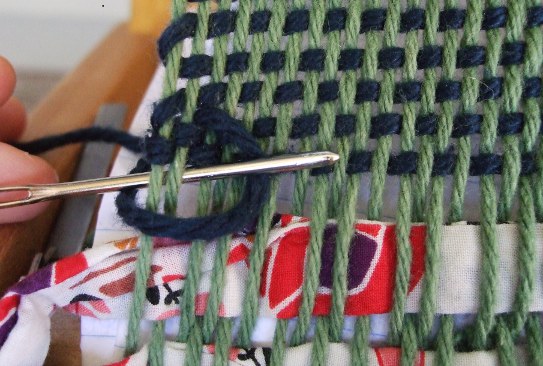
Step 4: Make a backwards C with the yarn
The curve of the C should point in the direction you’re stitching with the open end facing the stitching you’ve completed.
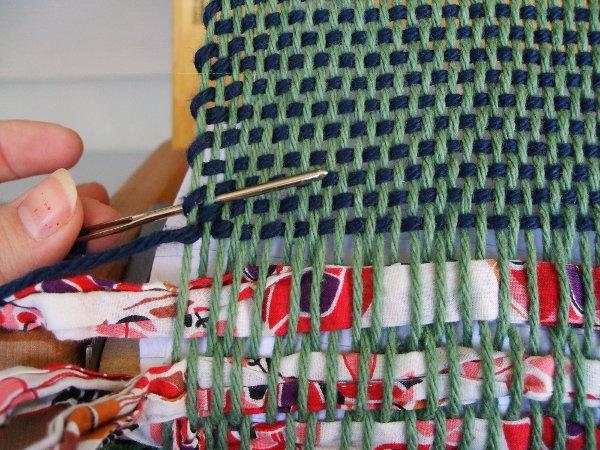
Step 5: Insert the needle under the warp threads and over the C
Count over the number of warp threads you decided on in Step 3 and insert the needle under those threads and over the C you made in the previous step.
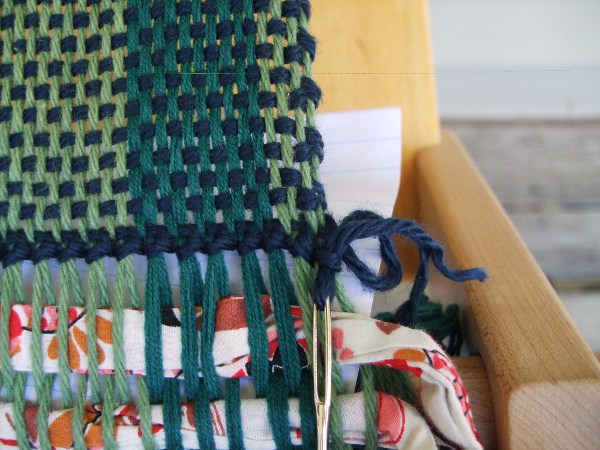
Step 6: Pull snug and repeat
Pull the yarn up toward the rest of the weaving until everything is nice and snug. Repeat until you have a nice little row of stitches.
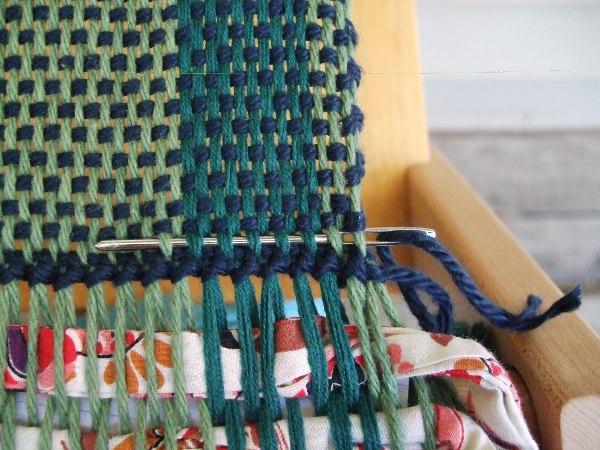
Step 7: The last stitch
When you get to the end of the row, you’ll find you have run out of warp picks to count up for your needle placement. Insert the needle under the last two warp threads, ignoring the weft entirely for this last stitch. Make the backwards C and continue the stitch as usual.
Step 8: Finishing
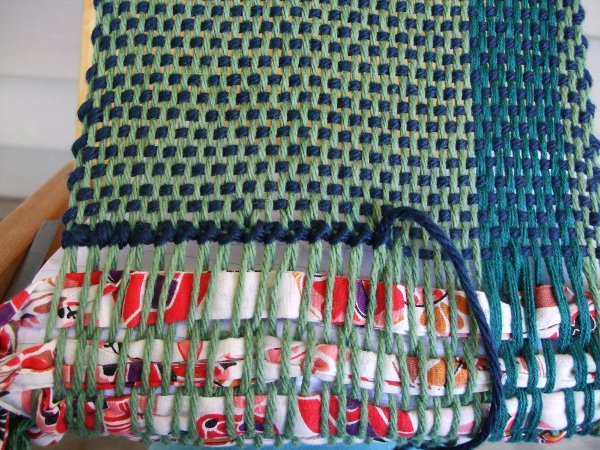
You have two options for dealing with the leftover yarn tail. If your warp and weft are the same yarn in the same color, you can insert your needle through the last stitch as below and pull it through, resulting in an extra fringe stand.
If you’re using different colors for warp and weft, as I am here, or you don’t want an extra fringe strand, you can weave the tail into the weft as below.
Hem stitching at the end of the piece
Continue weaving until you get to either the end of your warp or your desired finished length of weaving. Trim your working weft to about four times the length of the fabric, as before. Then follow the steps as above (and we’ll go from right to left this time).
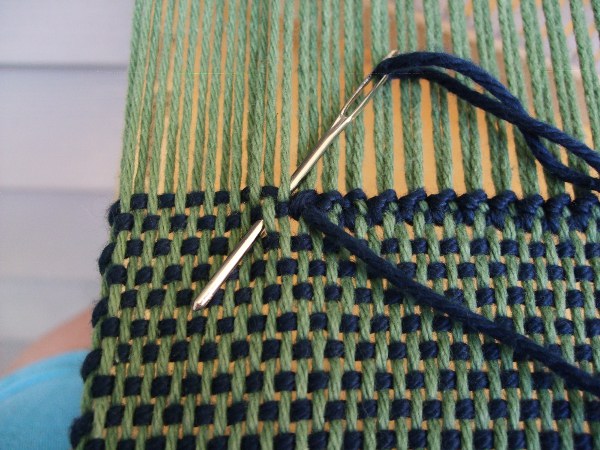
Step 1: Thread the needle and insert from back to front.
Instead of going up and to the right, you’re going to count warp threads to the left and weft picks down. Insert the needle as before.
Step 2: Make a C with the yarn
Remember, the curve of the C points in the direction you’re working, and the open side faces your finished stitches. This means that when working from right to left, you’re actually going to be making a proper C instead of a backwards one.
Step 3: Insert the needle under the warp thread and over the C
Just as before, count the number of warp threads, this time to the left, and insert your needle under the warp threads and over the C you made in the previous step.
Step 4: Pull snug and repeat
Just like you did at the beginning of the piece, pull the yarn snug. Repeat for the rest of the warp threads.
Step 5: Ignore weft picks for the last stitch
When you get to the end of the row, insert the needle under the last group of warp threads and complete the stitch as usual. Again, since you have no more weft picks after those threads, just ignore them for the final stitch.
Step 6: Finish as before
Either thread the extra yarn through the last stitch for an extra fringe strand or weave it into the weft.
And there you have it! If you’d like to see this technique in action, you can learn this and a range of other finishing techniques in the Craftsy class Rigid Heddle Weaving, taught by expert weaver and designer Angela Tong.
A video would have been nice to see. The pictures aren't very good at showing the stitches to someone who has never done a hem stitch.