Stripes are one of the most basic patterns out there. And there are a couple of fun ways you can incorporate stripes into any knitting project.
The quickest, easiest way to knit stripes is to use self-striping yarn. Self-striping yarns are exactly what they sound like, yarns designed to end up in a stripe pattern. They’re different from variegated yarns, where the yarn color changes throughout, because the color changes are more regularly spaced out on a self-striping yarn. A lot of sock yarns are self-striping so you can have striped socks without the hassle of yarn changes with all of their ends to weave in.
Self-striping yarns do have the advantage of not requiring you to change yarns every 10 rows or so, which does mean fewer ends. But you don’t have control over where the stripes change and it can make switching to the next skein of yarn a bit of a pain if you really want it to match up to the stripe pattern you’ve already established.
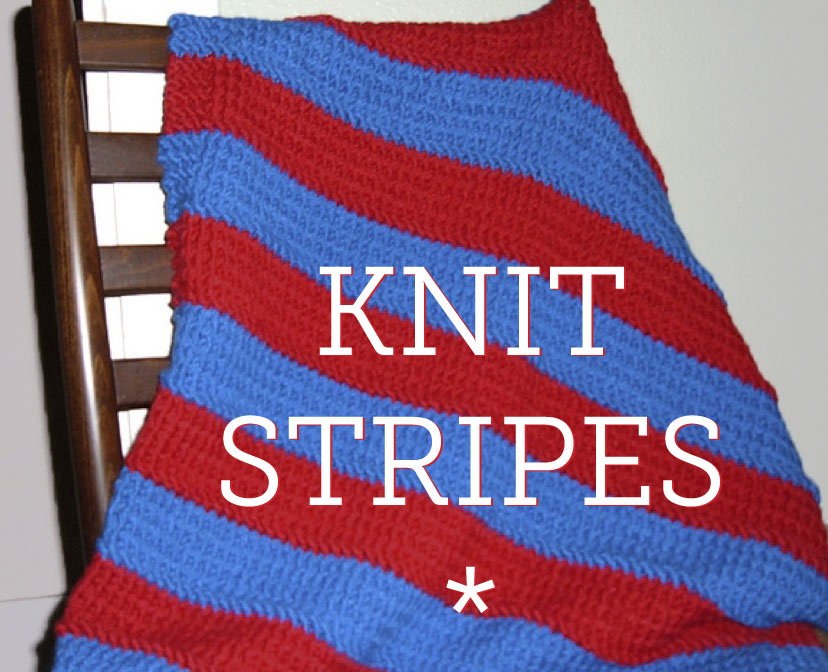
So if you want a really proper, clean stripe, you’ll have to use multiple yarns of different colors. Of course, the advantage with this method of knitting stripes is that you get to select exactly the right colors. For example, as I did with the pictured blanket, featuring my beloved Kansas Jayhawk crimson and blue. I recommend using two yarns of the same type for the smoothest look, though theoretically you can find two different yarns of the same weight that will work together.
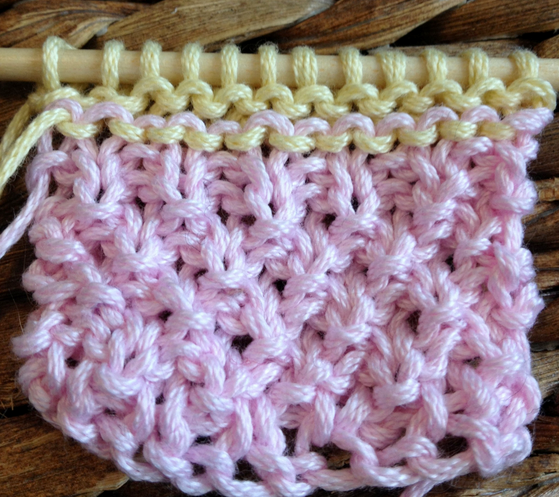
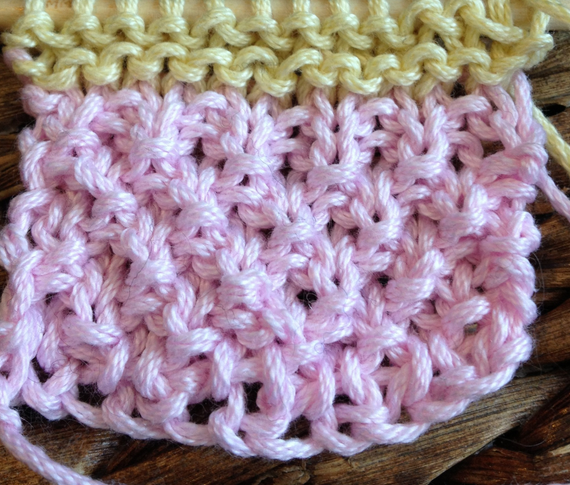
When you knit stripes, you will have a right side and a wrong side, no matter what pattern you’re using. This is why:

No matter whether you’re knitting in stockinette, garter, or any pattern, the row where you begin knitting with your new color will have this line where the new color shows up underneath the old color. You want to make sure that line, then, is always on the same side. Basically, this means your stripes should always be an even number of rows, so you’re always starting a new row on the same side of your knitting. The right side of your knitting will not have that line:

There’s no great way for beginning the first row of a new color stripe. Your yarn will be loose because it’s not connected to anything. One trick I have developed over the years is to knit that tail when I come back to that edge on the second row of my stripe. When I get to that last stitch on the second row of the stripe, I’ll hold the tail with my working yarn. This helps secure the tail. Then as I continue knitting, I like to loosely tie the tail of the old color to the tail of the new color, just to make sure everything holds.
In the end, all of your loose tails will be tightened down when you weave in those ends. Knitting stripes leaves you with lots of ends to weave in, and they’re the kind of ends that you want to be really thorough with. But it will be worth it when you have a bright, colorful finished product.
How do you like to incorporate stripes into your knitting?
In case you missed it yesterday, enjoy a tutorial for blocking your knits (including a giveaway!). And come back to the Craftsy blog on Tuesday to discover helpful tips for tackling intarsia knitting.

Share tips, start a discussion or ask one of our experts or other students a question.
No Responses to “How to Knit Stripes”