
When you first pick up a pair of knitting needles, it’s likely you’ll start at square one: the garter stitch. The stitch pattern is easily identifiable by its ridges, and is ideal for newbie knitters because it lies flat and is by far the most beginner-friendly because you just knit every row. But even with its simplicity, there are a few things to keep in mind when working a garter stitch.
Getting Gauge With Garter Stitch
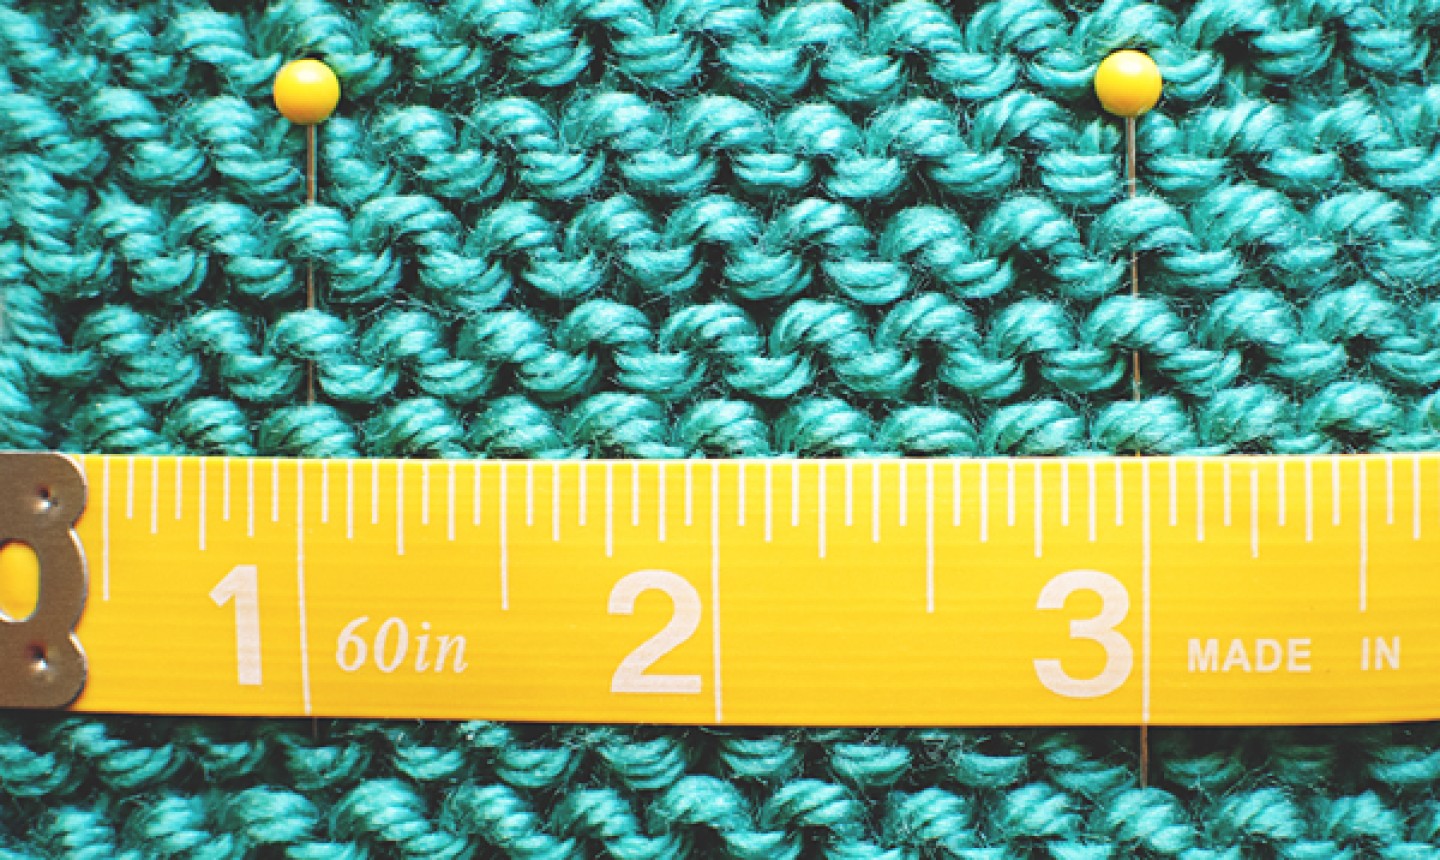
Measuring gauge in garter stitch is much like measuring it in other patterns. It’s easier to do if you mark 2-4″ across a row and pull the ridges apart to see the stitches more clearly.
When counting your row gauge, keep in mind that one garter ridge is equal to two rows. Usually, garter stitch will be shorter and wider than other stitches when relaxed, with fantastic lengthwise elasticity. (Some patterns may even call for a ribbing that is actually sideways garter stitch.)
The gauge in the garter stitch above is 9 stitches and 8 rows = 2″.
Pro Tip: If you plan on blocking your project, it’s best to block your swatch before you measure gauge.
Changing Colors
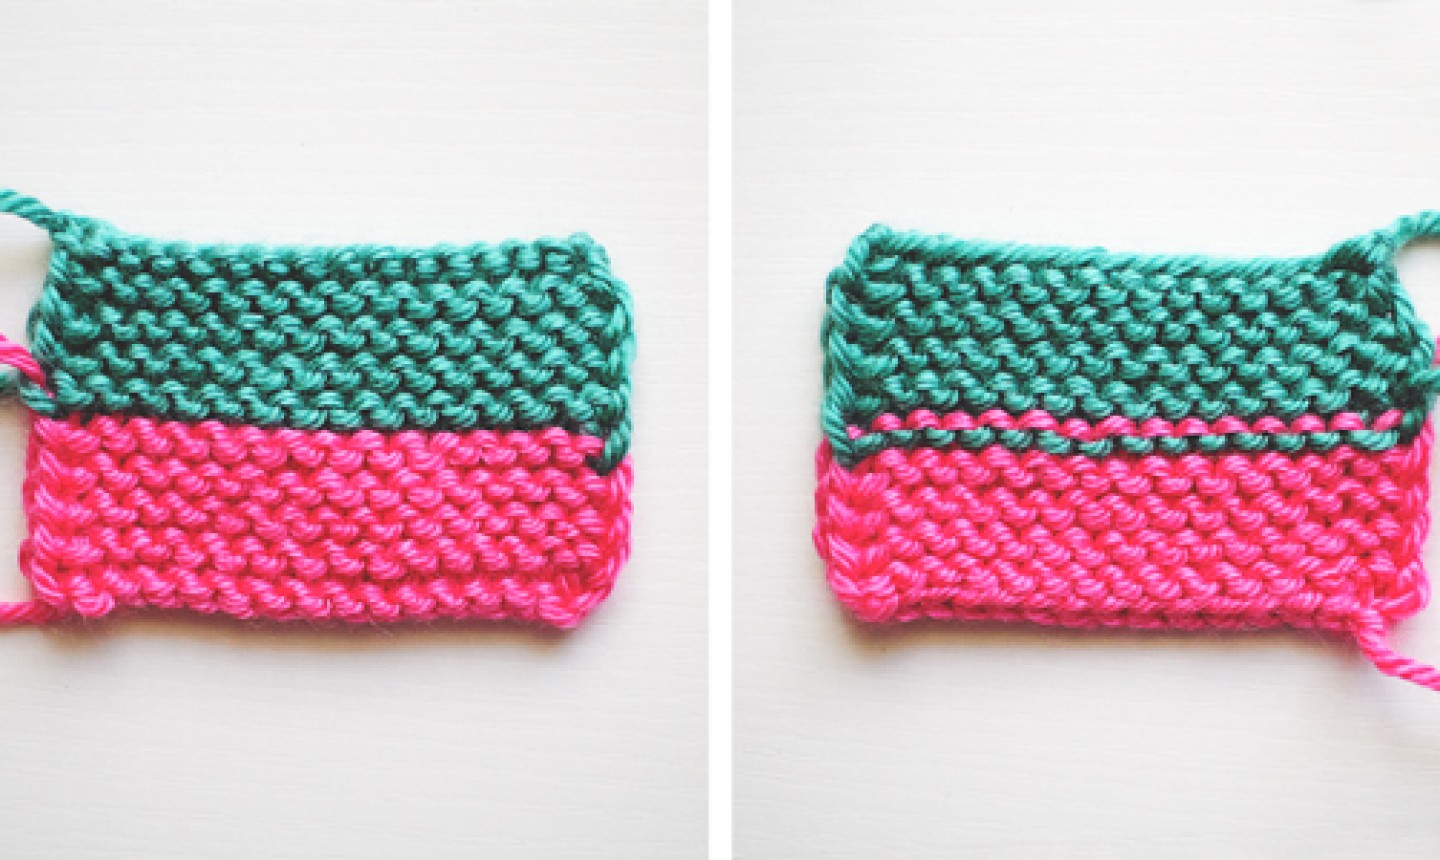
When knitting a garter stitch, make sure to change your colors on a right side row to give your project a seamless look. There will be a line across the wrong side where you can see the loops of stitching connecting the yarns together.
Increasing and Decreasing
When it comes to increasing and decreasing in a garter stitch project, you have an advantage: the natural ridges tend to hide any bumps that may result from increasing.
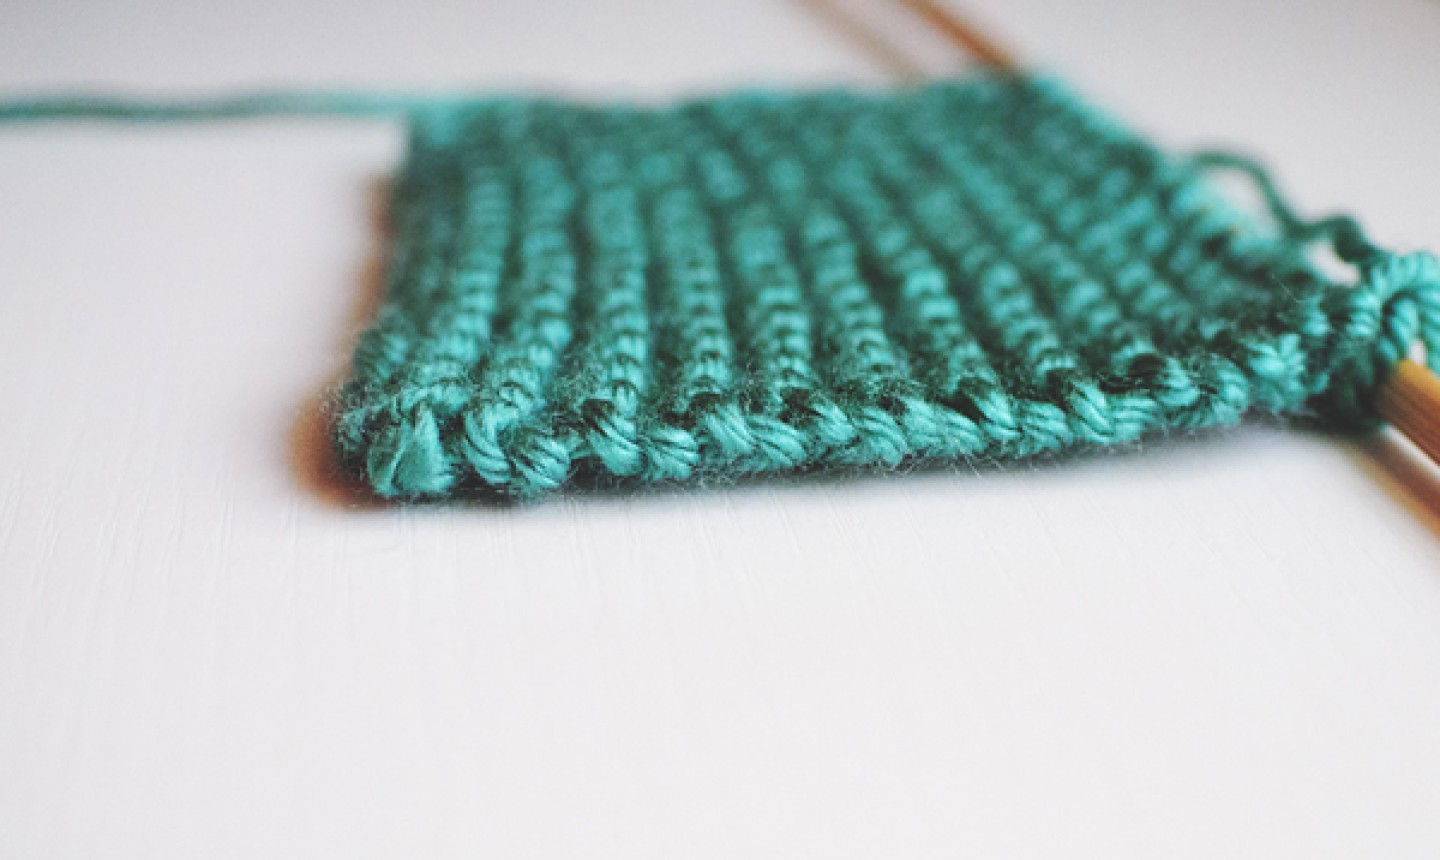
Working in the Round
Here’s the thing: garter stitch is the simplest when worked flat. If you’re working in the round, the method is a bit different. You’ll need to knit one row, purl the second, then keep alternating. If you knit every row in the round, you’ll end up with stockinette stitch.
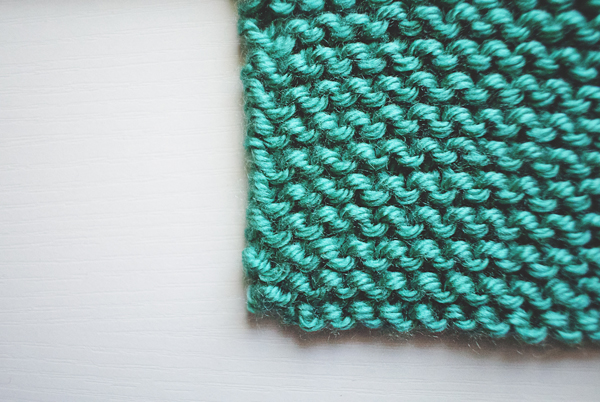
Sewing Garter Stitch Edges Together
If you take a look at the garter stitch edge, you’ll notice the end of each ridge is composed of two loops. These will guide you in creating a seam that is only very faintly visible.
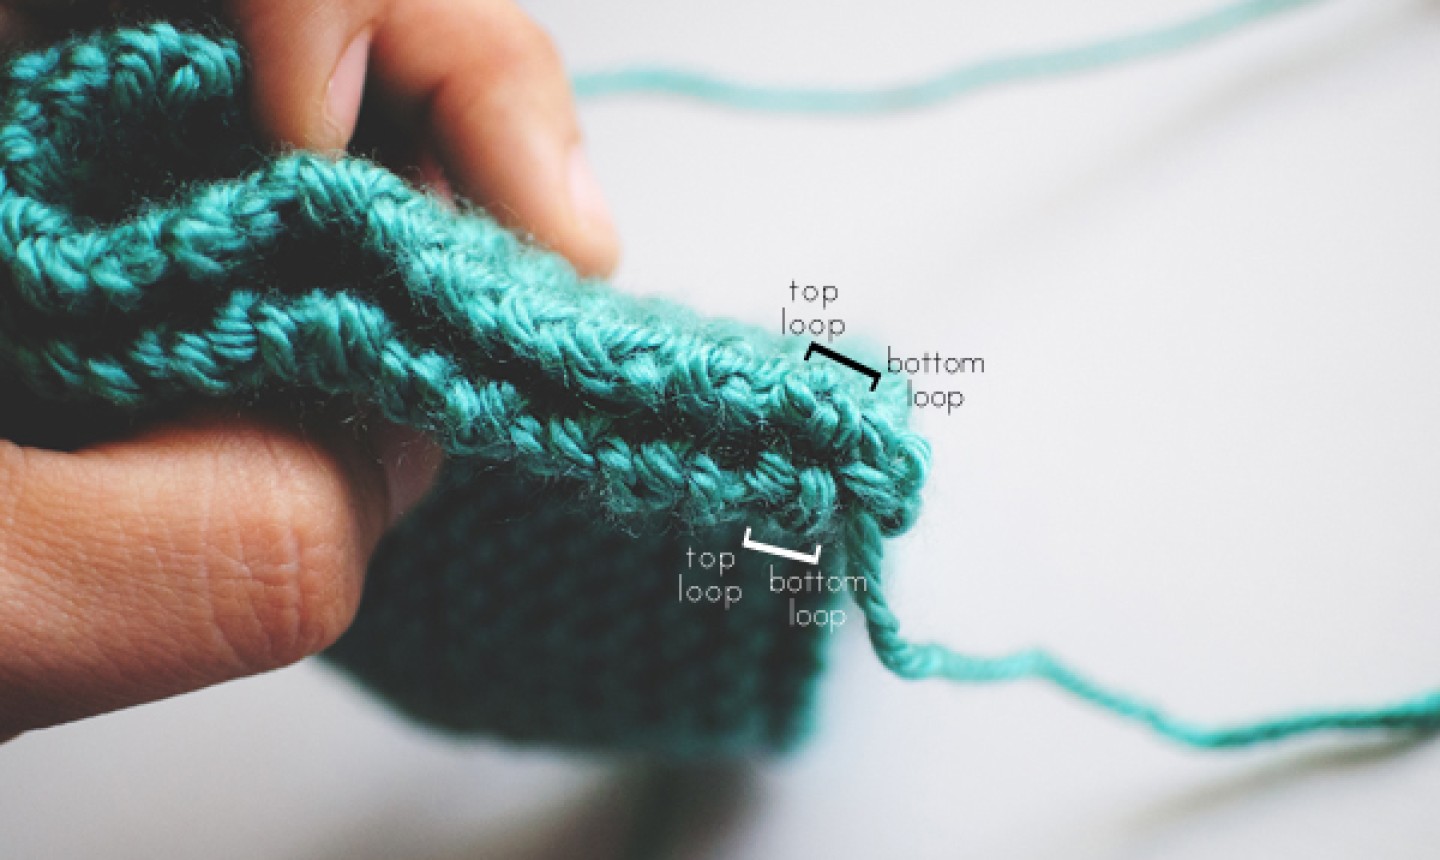
You can either lay your pieces flat next to each other with right sides facing, or pick them up and hold the pieces together. Choose the bottom or top loop of the ridge on one edge, and the opposite loop in the other edge, then sew through these. For example, if you stitch through the top loop on one edge, stitch through the bottom loop on the second edge. Once you begin, don’t switch the loops!
If you have a long enough tail from your cast-on edge, you can also use this to sew the pieces together. To do this, insert your needle from back to front through the first stitch on the opposite piece, then back to the front on the first stitch of the first piece (that has the long tail).
If you’re using a scrap piece of yarn that isn’t connected, bring it from the back to the front of one piece, then back to front of the second. Use about two feet of yarn at a time, leaving a long enough tail to weave in afterward.
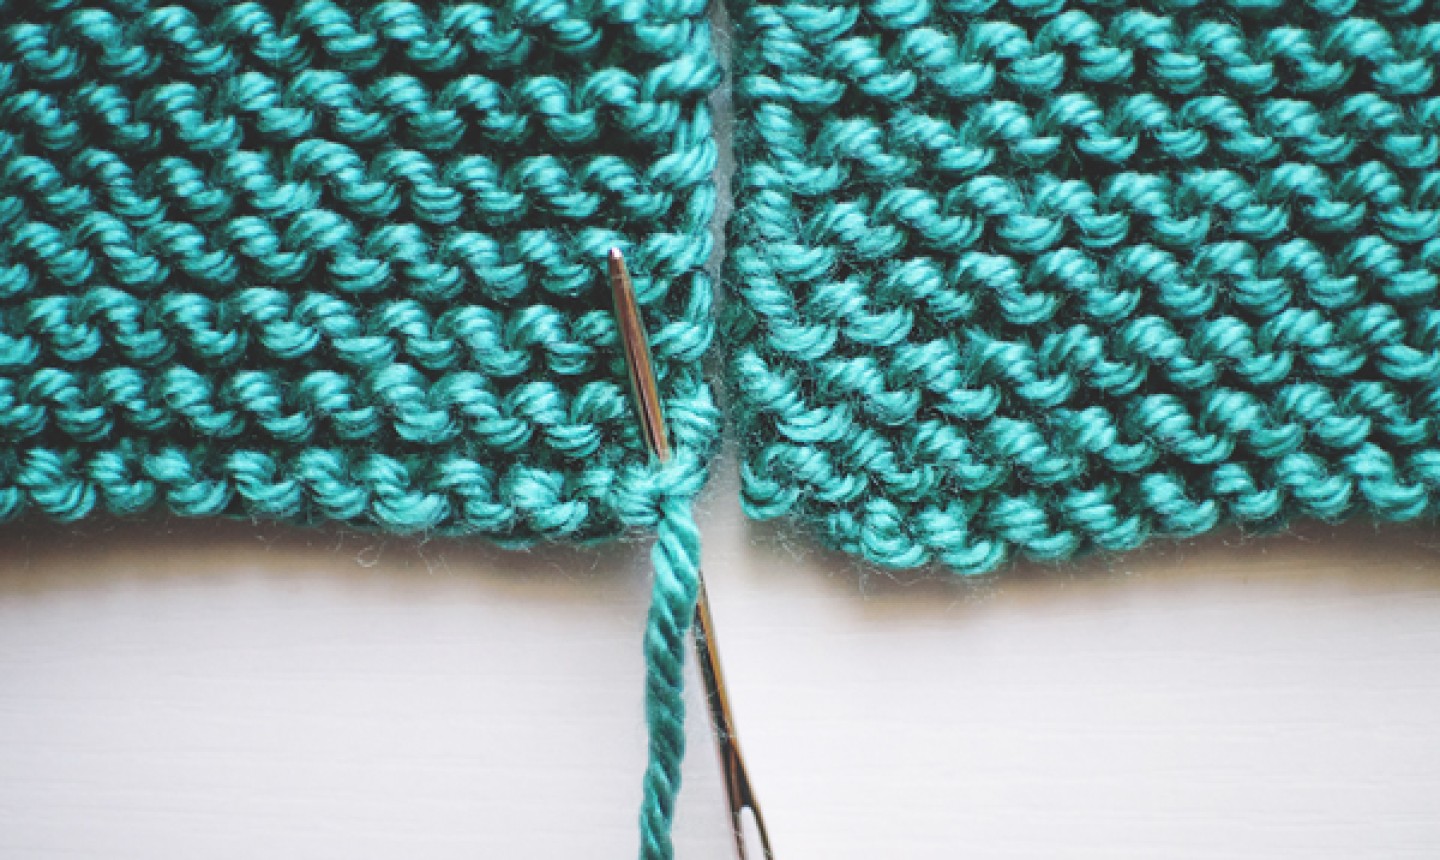
Once you have the start of the seam, join the ridges by sewing opposite loops on both edges (as detailed above — through the top loop of one edge and bottom of the other, for example). Keep working across your project until the whole piece is sewn together.
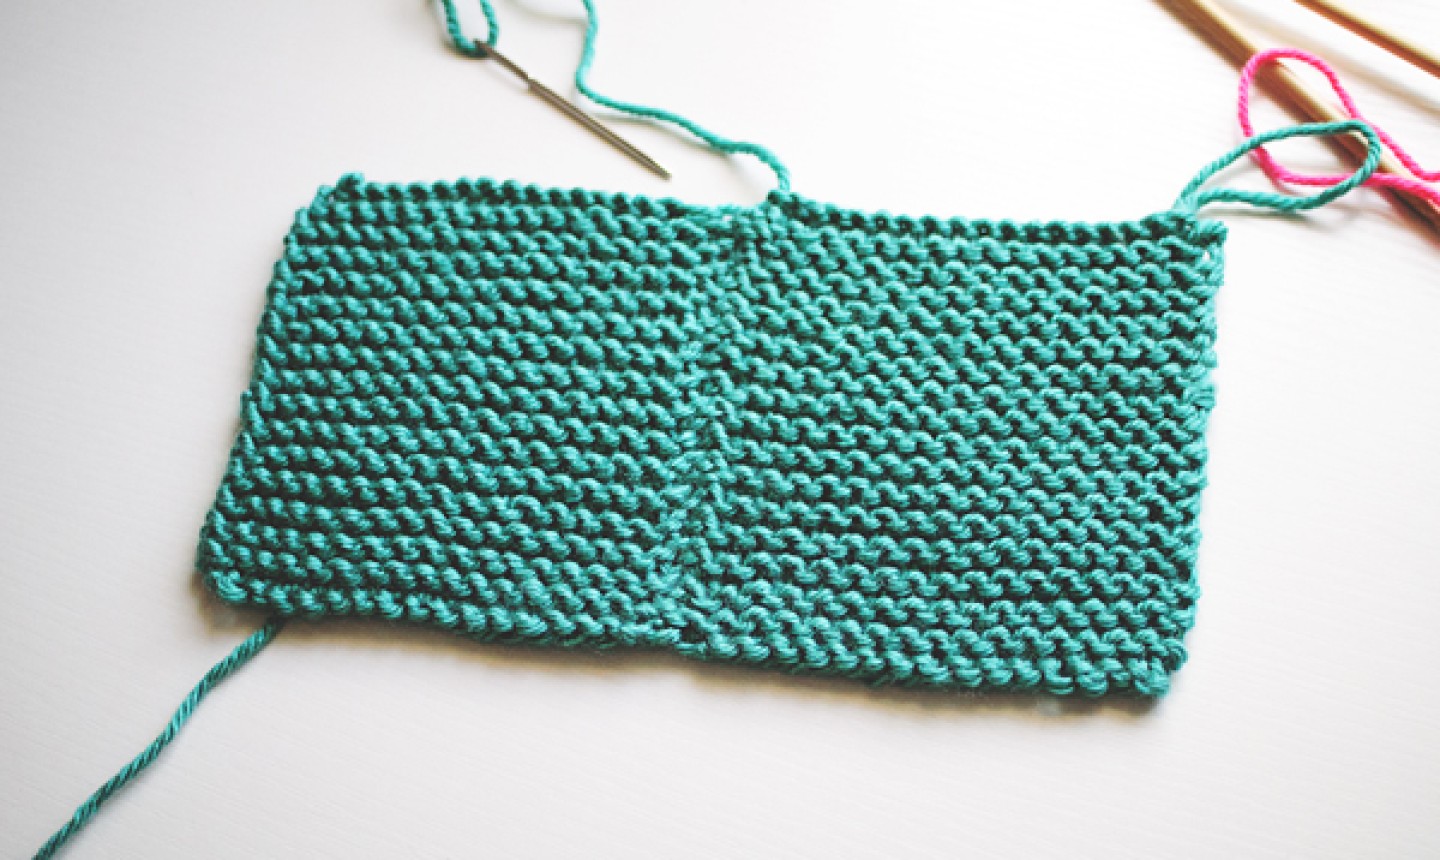
You may still be able to see the seam, but you won’t be able to feel it. And when the pieces are stretched (like in garments or hats), the seam nearly disappears. If you work slowly and meticulously, you can make this join nearly invisible.
Share tips, start a discussion or ask one of our experts or other students a question.
Already a member? Sign in
No Responses to “Everything You Need to Know About Knitting the Garter Stitch”