
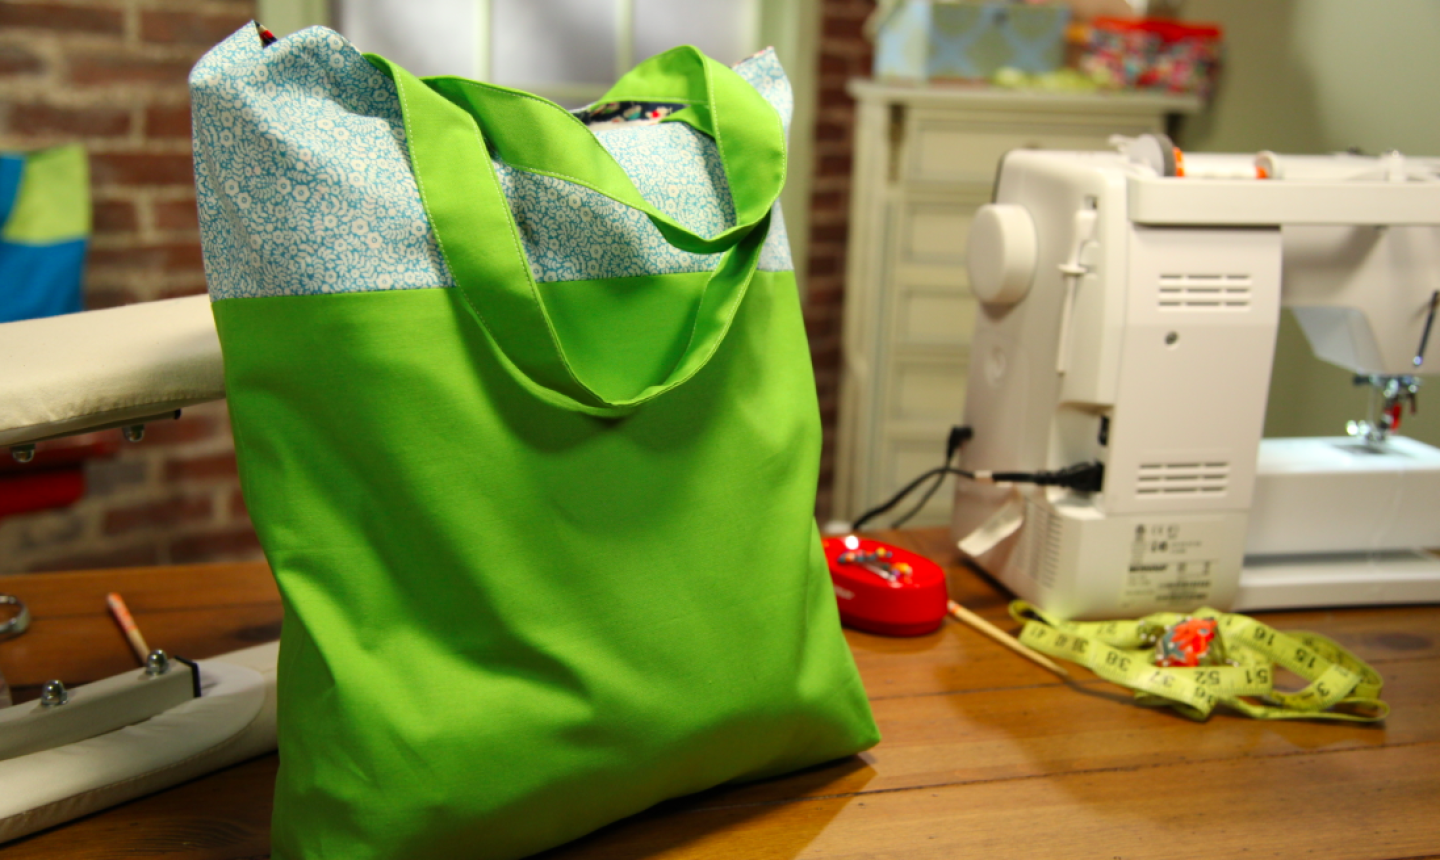
Sewing your own tote bag is instantly gratifying. It’s one of those fast and easy projects that require hardly any fabric or tools, and it makes for a pretty impressive gift. But you know what makes it even more impressive? Adding a lining. Not only will the bag look way better, but a lining will help it last longer. Who can say no to that?!
How to Join Lining to a Tote Bag
Level: Easy
What You Need
Good to Know: How you plan to use your tote dictates what kind of lining you’ll want to use. If you’re making a reversible tote bag, choose a fabric you can rock on the outside, too. If your bag will be holding wet swim clothes, opt for a water-resistant lining. And if it needs to hold large or heavy items, pick a sturdy lining fabric, such as canvas, that can handle the wear and tear.
Instructions
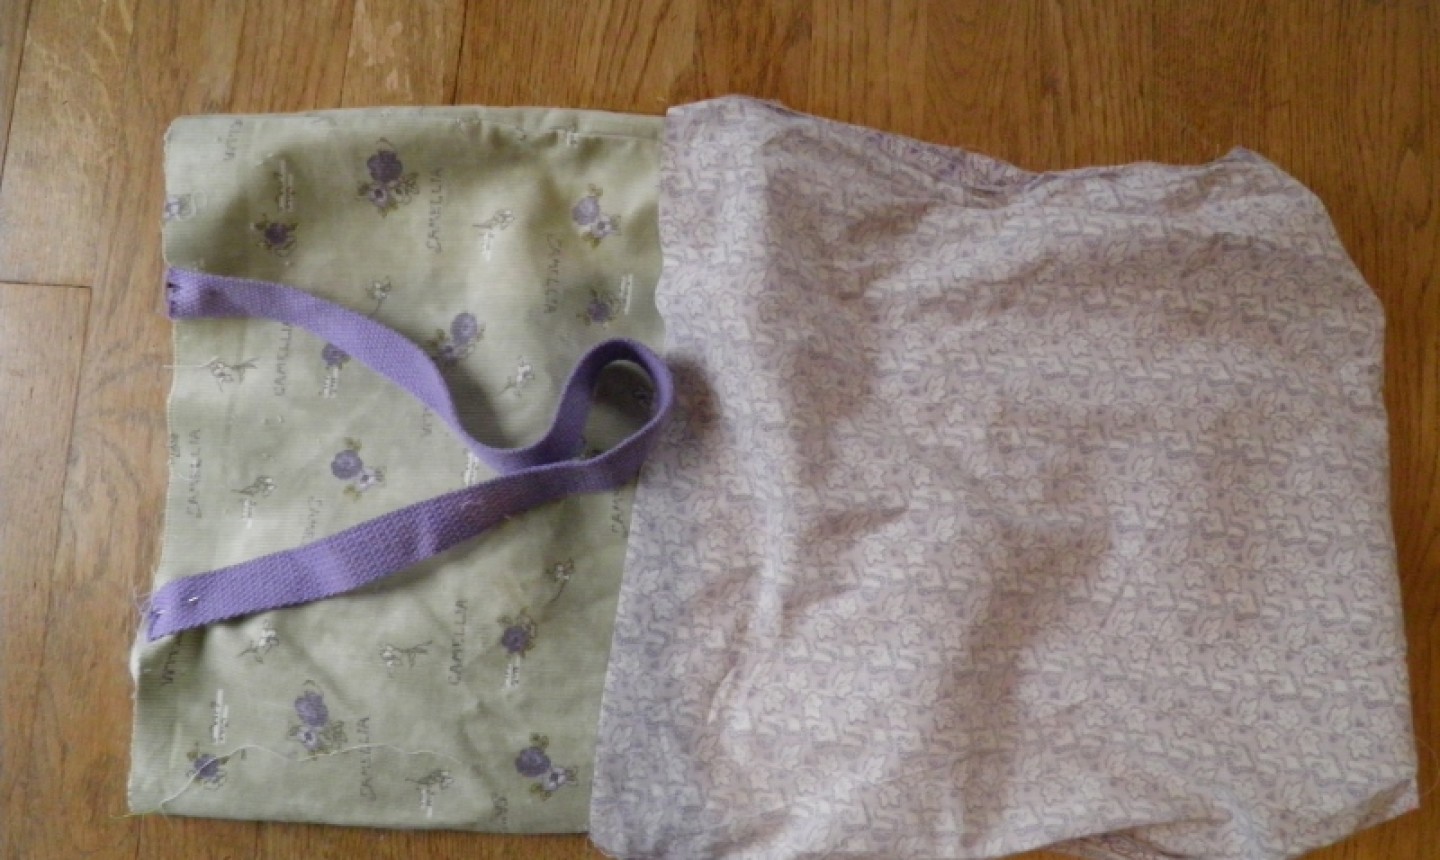
1. Cut Out the Lining
Cut your lining using the same pattern pieces you used to cut out the main bag. You’ll usually have two simple pieces — one for the front of the bag and one for the back.
Pro Tip: Think about how to make your bag even more useful and cut pieces for that as well. For instance, adding a simple patch pocket would be handy for holding your cell phone or wallet.
2. Assemble the Lining
If you’re adding a pocket, turn the top edge of the pocket under twice and top stitch the fold in place. Turn the remaining edges of the pocket under and press in place with an iron. Place the pocket right side up on the right side of either the front or back lining piece, and topstitch around three edges, leaving the top of the pocket open.
Stitch the front and back lining pieces together in the same way you stitched the main bag’s body. Leave an opening at least 3″ long in the bottom seam.
3. Pin and Stitch
With the bag’s body right side out, pin the handles to the fabric to the outer fabric, aligning the raw edges of the handles with the raw edge of the bag body.
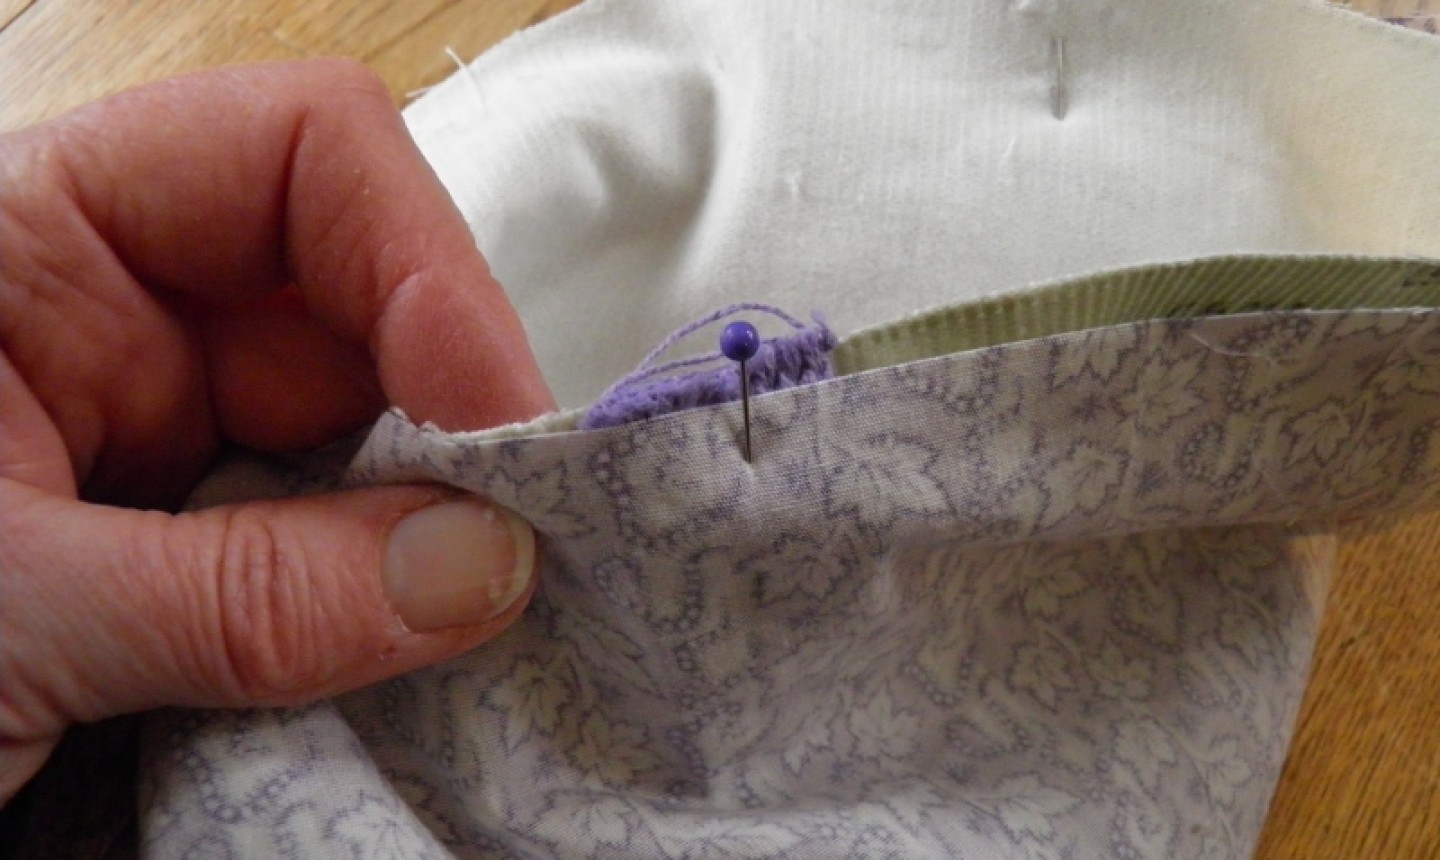
Slip the lining over the main bag so the right sides are together. Match all the seamlines and pin the lining to the main bag body. The handles should be sandwiched between the two fabrics.
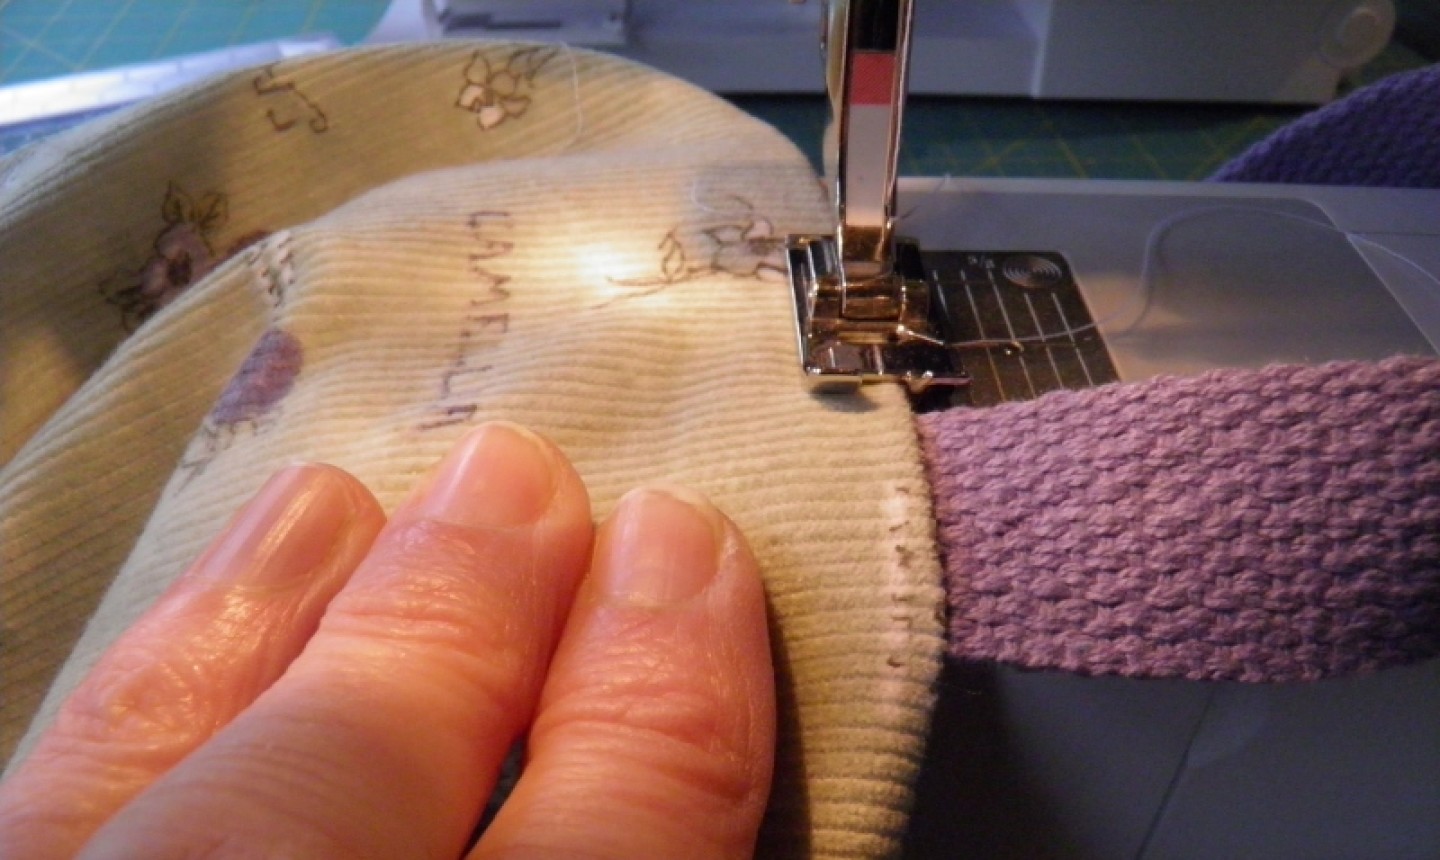
Stitch along the top edge of your bag with a ¼” seam allowance, all the way around.
4. Stitch the Bottom Closed

Reach into the hole at the bottom edge of the lining and pull the bag through.
At the opening on the bottom of the bag, fold the raw edges of the lining to the inside and stitch these edges closed. Backstitch at both ends, then push the lining down into the bag’s body.
5. Topstitch
Finish your bag by top stitching along the top edge. Make sure to keep the handles away from the bag body and the topstitching.
Enjoy the new lining in your bag!
Thanks for the help. It’s been a long time and I needed a freshener.