
Sleeves can be adjusted in many ways for both fit and fashion. Creating a two piece sleeve from a standard one piece sleeve pattern piece allows for both fit adjustment and adding a design change to your garment. Sleeves can be fitted with a bicep adjustment but here is a different method allowing for both fitting or embellishment.
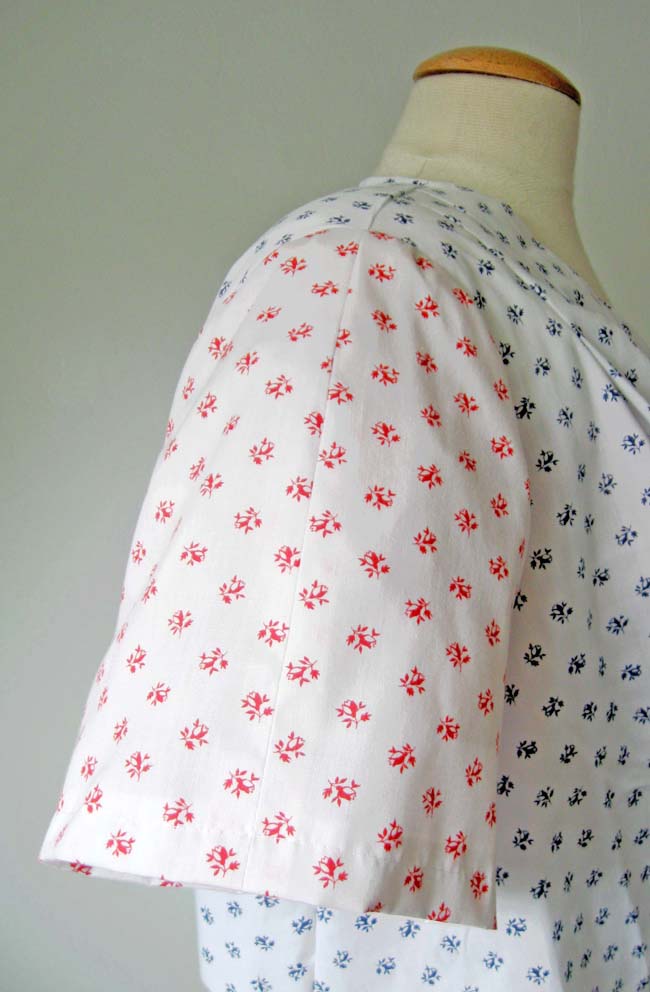
Learn how to sew a sleeve with no change to the sleeve cap.
Step 1: Trace and mark the sleeve pattern piece
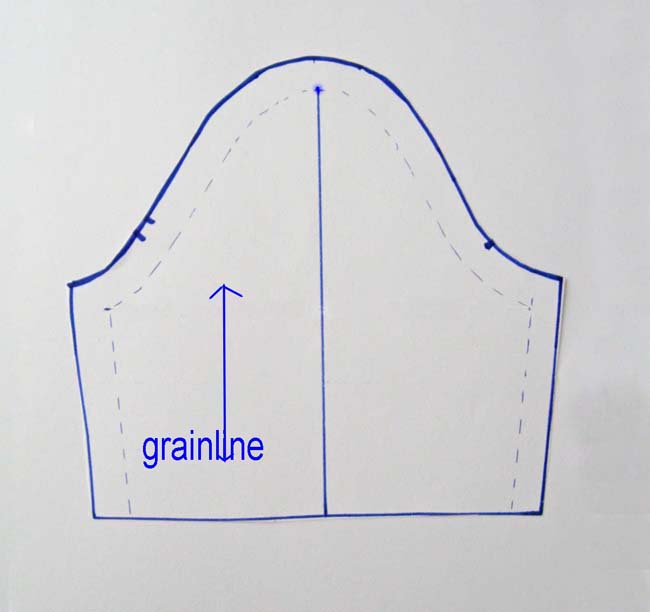
Trace the sleeve pattern piece on paper, and mark a horizontal line Parallel to the grainline, from the top of the sleeve to the bottom hem. This will be the actual seam on the outside of the sleeve, so you want it to match up to the shoulder seam at the top. If the shoulder seam is not where the dot on the pattern is, then you may need to move the vertical line where you will create the seam.
Step 2: Determine the amount to add
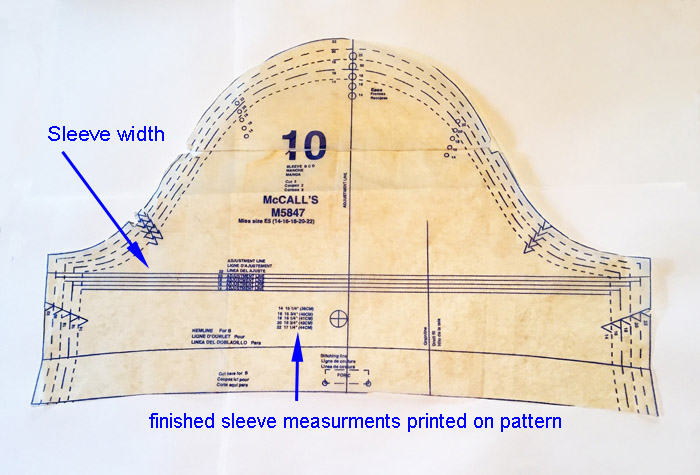
Measure your arm at the bicep and calculate how much to add to your sleeve circumference. For a woven fabric 1.5 – 2 inches of ease (the amount of the sleeve circumference over your arm circumference) is preferable. If you are sewing a knit fabric you may want to have a bit less ease.
Step 2: Cut the sleeve pattern in half and add in the center
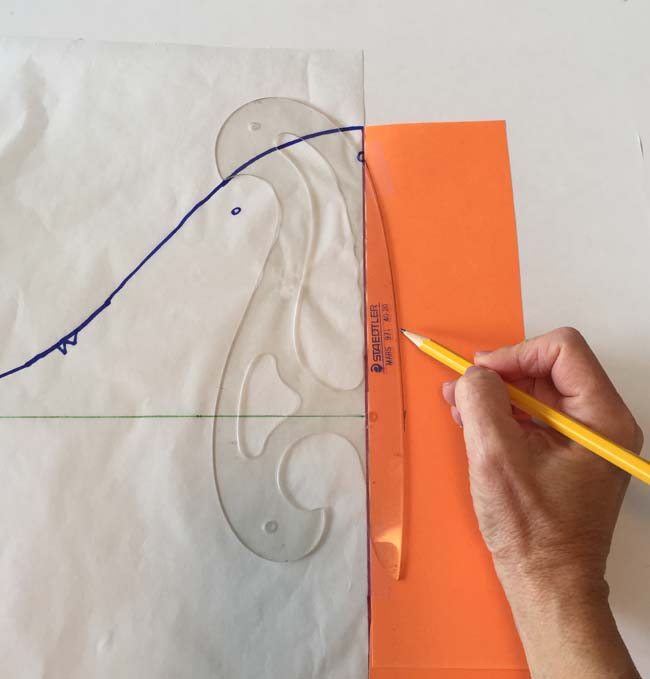
Cut the sleeve pattern piece in half along the line you have drawn. Add pattern paper to each of these pattern pieces along the center edge. Using a curved ruler, starting at the seam allowance, add to the center edge of your sleeve pattern pieces the amount you wish to increase the sleeve circumference. The area parallel to the underarm is where you will want to add the most and then taper away back to zero above that point. You can taper back to zero at the wrist as well, or take away some at the inner arm seam to create a more fitted sleeve at the bottom. Once you have added the amount needed, use the first side to create the same addition on the other side.
Step 3: add the seam allowances
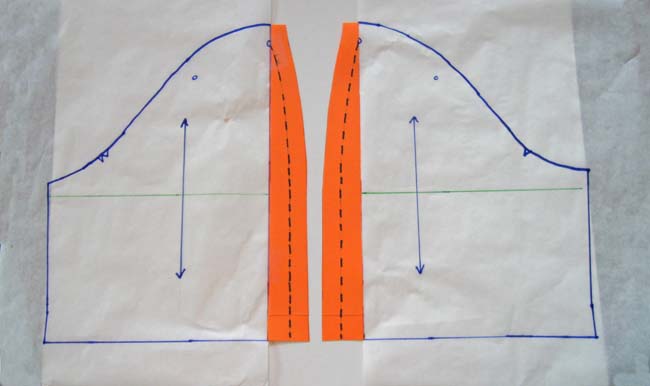
Add the seam allowances along the new edge. Check that the new front and back sleeve pieces match in seam length and make sure you have a grain line on each of your new sleeve pieces.
Step 4: Test your new sleeve design
Make a muslin sleeve and test the fit. One trick I sometimes use is to make up the body of my garment in the fashion fabric, reserving some of the fabric uncut and then I try out a test sleeve in muslin just to make sure I like the fit and design of any new sleeve. Once you are happy with the new design you are ready to go with cutting out the new sleeve in the fashion fabric.
A two piece sleeve is a great opportunity for an easy fit adjustment as well as a place to add piping, trim or topstitching to make your garment distinctive.
Share tips, start a discussion or ask one of our experts or other students a question.
No Responses to “Sleeve Fitting: How to Make a 2-Piece Sleeve”