
It is so much fun to measure a child’s growth as they reach benchmarks in their life. Measuring the height of a child is a pleasure that both the child and adult can look forward to and marvel at the progress.
How fun would it be to make a growth chart keepsake quilt? It would surely be a treasure the child could keep as they grow up.
Here’s is a simple tutorial you can complete in just a few hours! Feel free to have fun deviating from it with your own creativity and imagination to suit your little one’s personality.
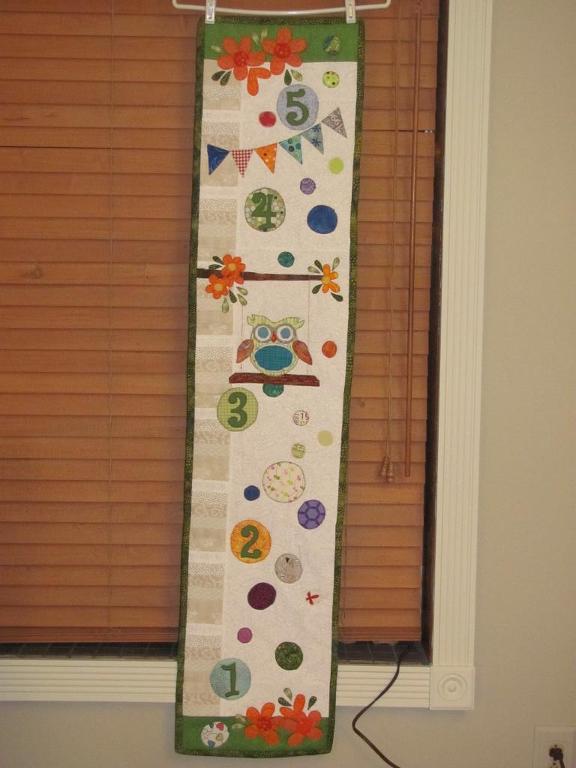
Growth chart via Craftsy member Sunny’s Creations
How to make a fabric growth chart
Step 1:
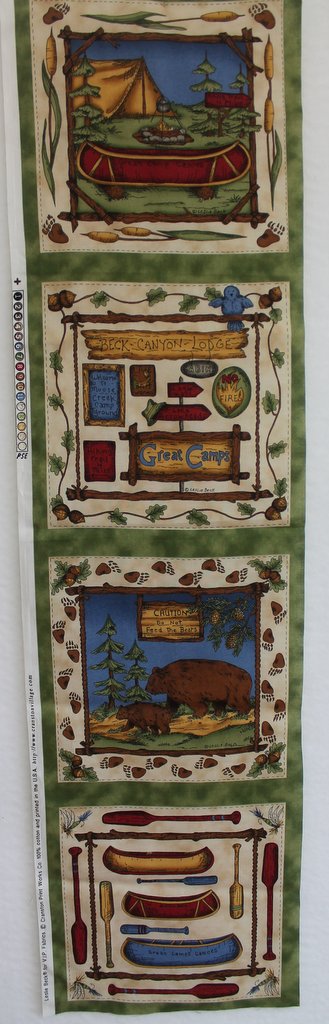
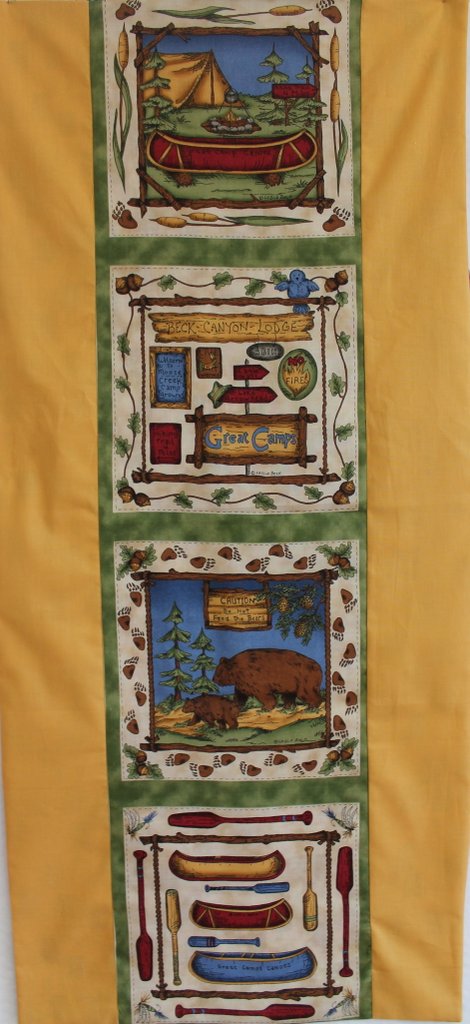
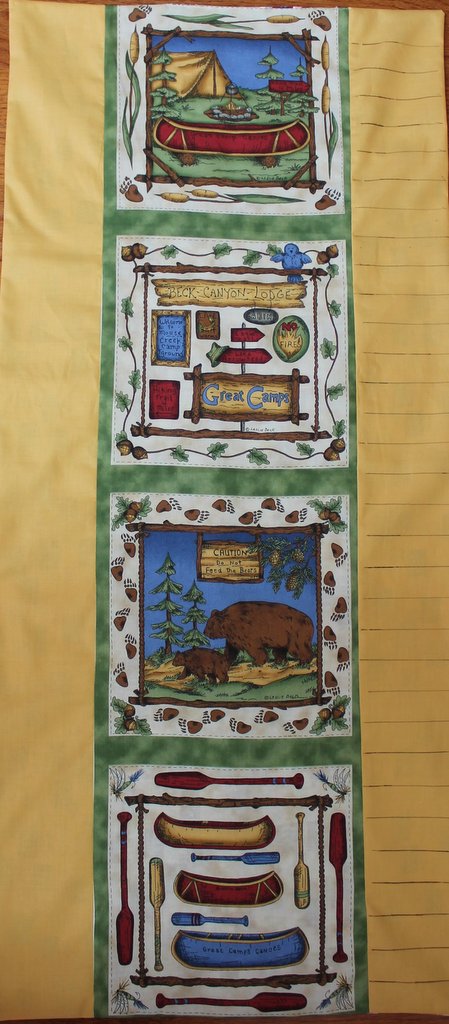
Find a pattern or design that you like that is approximately 12″ wide. You can use blocks or a panel or even just plain fabric.
Step 2:
Cut the length of 36″ for your center. You can make it any length, keep in mind that your chart doesn’t have to start right from the floor but can start 12″ off the floor.
Step 3:
From solid light fabric cut 4″ x 36″ for borders.
Step 4:
With right sides together, sew the border on either side of the blocks/panel.
Step 5:
Layer the top right side up with batting, and then backing right side down. Pin.
Step 6:
To quilt, you can use the measurements as quilting lines as shown below.
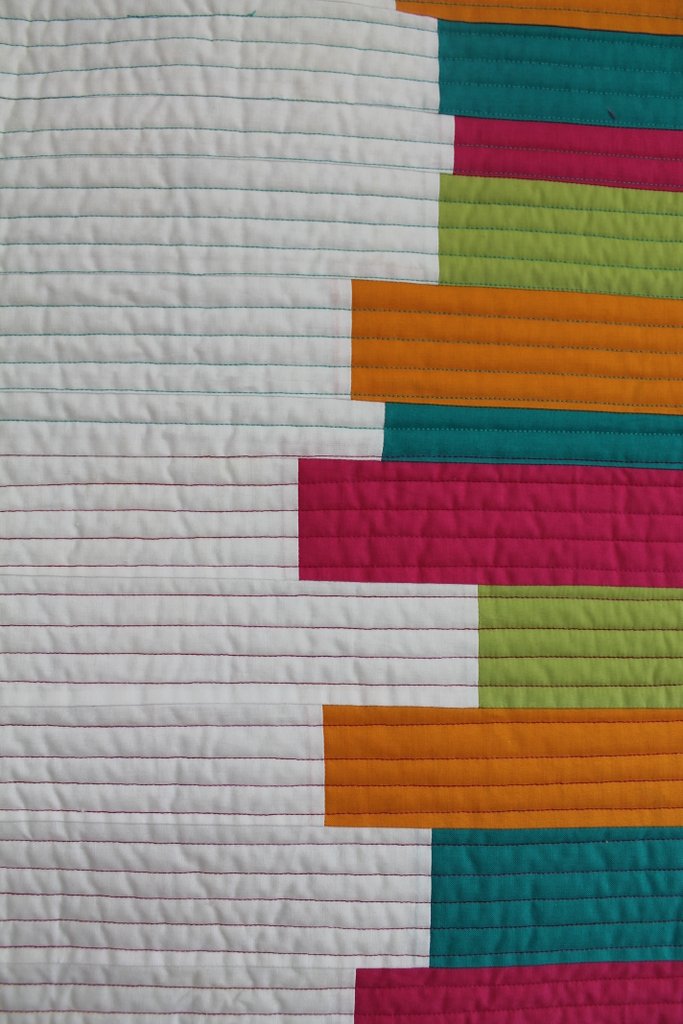
If you prefer you can quilt any design and then mark with permanent markers the 1/2″ or 1″ measurements.
Step 7:
Once quilted as desired, trim and bind. Decide if it is going to start from the floor or raised above. Then you can put your numbers in.
Need more inspiration? Check out these fun fabric growth charts made by talented Craftsy members!

Height chart via Craftsy member marinescistacey

Quilted growth chart via Craftsy member Sarah Becker
Get started on your growth chart today! Be sure to post on your project page, we can’t wait to see what you create!
Love this