
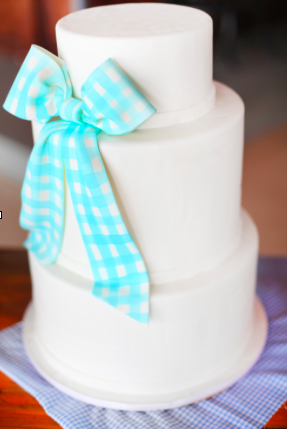
From large to small, modern to shabby chic, bows are a great embellishment to use in your cake decorating. So here is a quick guide for how to make fondant bows to get you started on a life full of sugar bows and ribbons!
Fondant bows can be made of fondant of course, but for delicate or larger bows it is best to go with gum paste. Bows can also be made of modeling chocolate, but for the purposes of this tutorial we are going to stick with fondant bows.
If you’re just getting starting and seeking inspiration for your bows, check out Marina Sousa’s techniques for working with fondant (including texturing and shaping) in her Craftsy class, Advanced Fondant Techniques.

How to make fondant bows
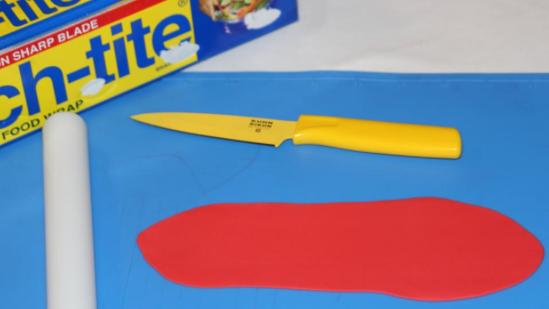
First you will need a few supplies:
- A mat
- fondant of your choice
- A knife or fondant cutter
- A fondant roller
- Plastic wrap
- A toothpick (optional)
- A fondant tool with a thin point (optional)
It is best to make bows a few days in advance to let them set. If you are in a pinch, they can still be made the day of the cake, but it is ideal to give them a few hours to dry before placing them on the cake.
First, we want to roll out the fondant very thinly. If you want to give your bow some texture using a texture mat, now is the time to do so.
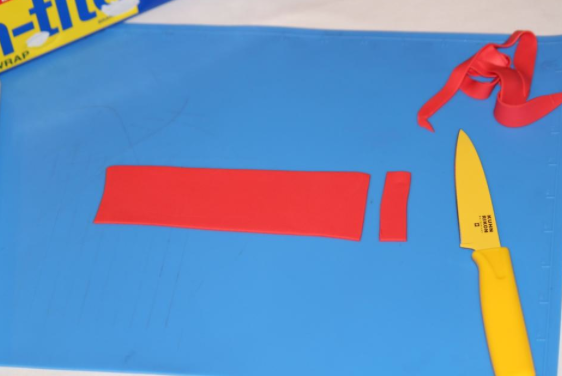
After that, cut a long rectangle. Use a fondant cutter and measure your rectangle, or at times, free handing it works just as well. Make sure to cut a small long rectangle as well. This will be the ribbon for the center of the bow.
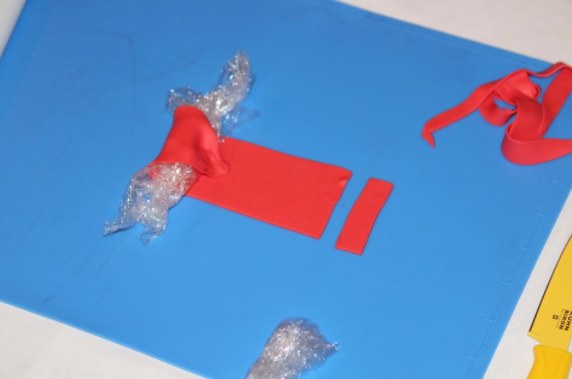
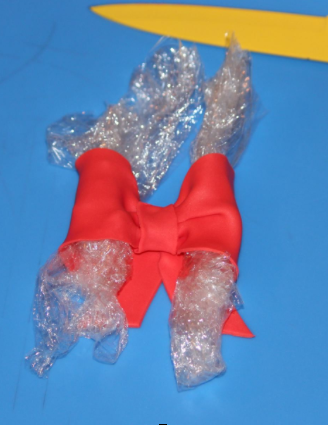
Now, take one side of the rectangle and gather the end as you would to gather fondant to make ruffles. Then place a small amount of squashed plastic wrap on your bow; gently fold the gathered end over the plastic wrap and press it to the fondant in the center of the rectangle.
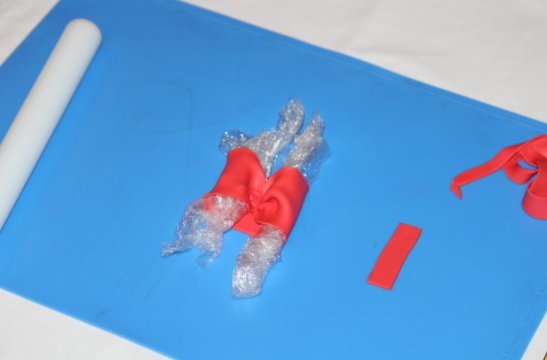
Repeat on the other side.
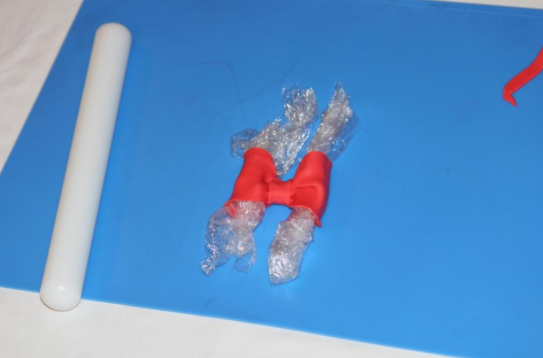
Now, gently pick up your bow and gather the back, so that it matches the front. Then, wrap the extra piece of fondant around the center of the bow making sure the center of the small piece becomes the front of the bow.

Adding Ribbon
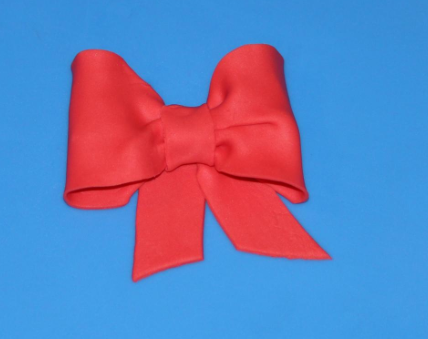
Once your bow has been formed, roll out the remaining fondant and cut it to make the ribbon tails.
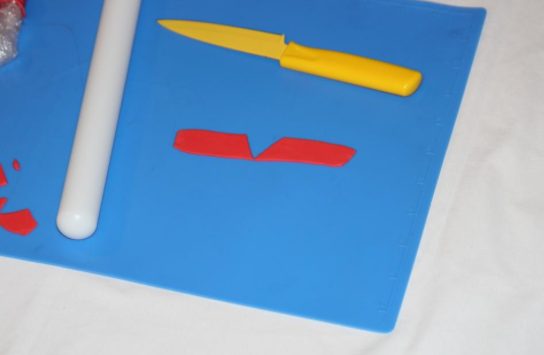
I have found it is best to cut a long strip and then cut a V in the middle. This will give you the classic cut for the tails of a ribbon.
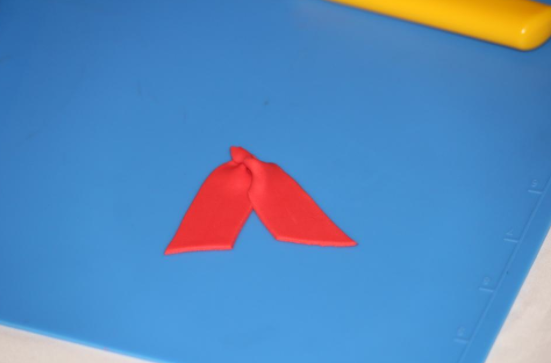
Gather the straight ends and arrange the tails.
Then let it dry. If you are planning to have the bow standing up on the cake or on the front of a tier, it is best to place the tails on the cake so they can bend and look more realistic. Also, it is good to be aware of the placement of the bow on your cake. Sometimes a bow may look beautiful laying down, but then you try to arrange it on your cake and because it has dried a certain way, it just won’t fit. So, plan ahead. Isn’t that the cake decorator’s mantra? Always plan ahead!
There’s another great cake decoration to add to your bag of fondant techniques. These bows really do make a great addition to a cake for any occasion, from birthdays to weddings, and you can always get creative with how you add them!
Share tips, start a discussion or ask one of our experts or other students a question.
No Responses to “How to Make Fondant Bows”