Every birthday and anniversary milestone deserves a big number on top to remind the celebrant of how far they’ve come.
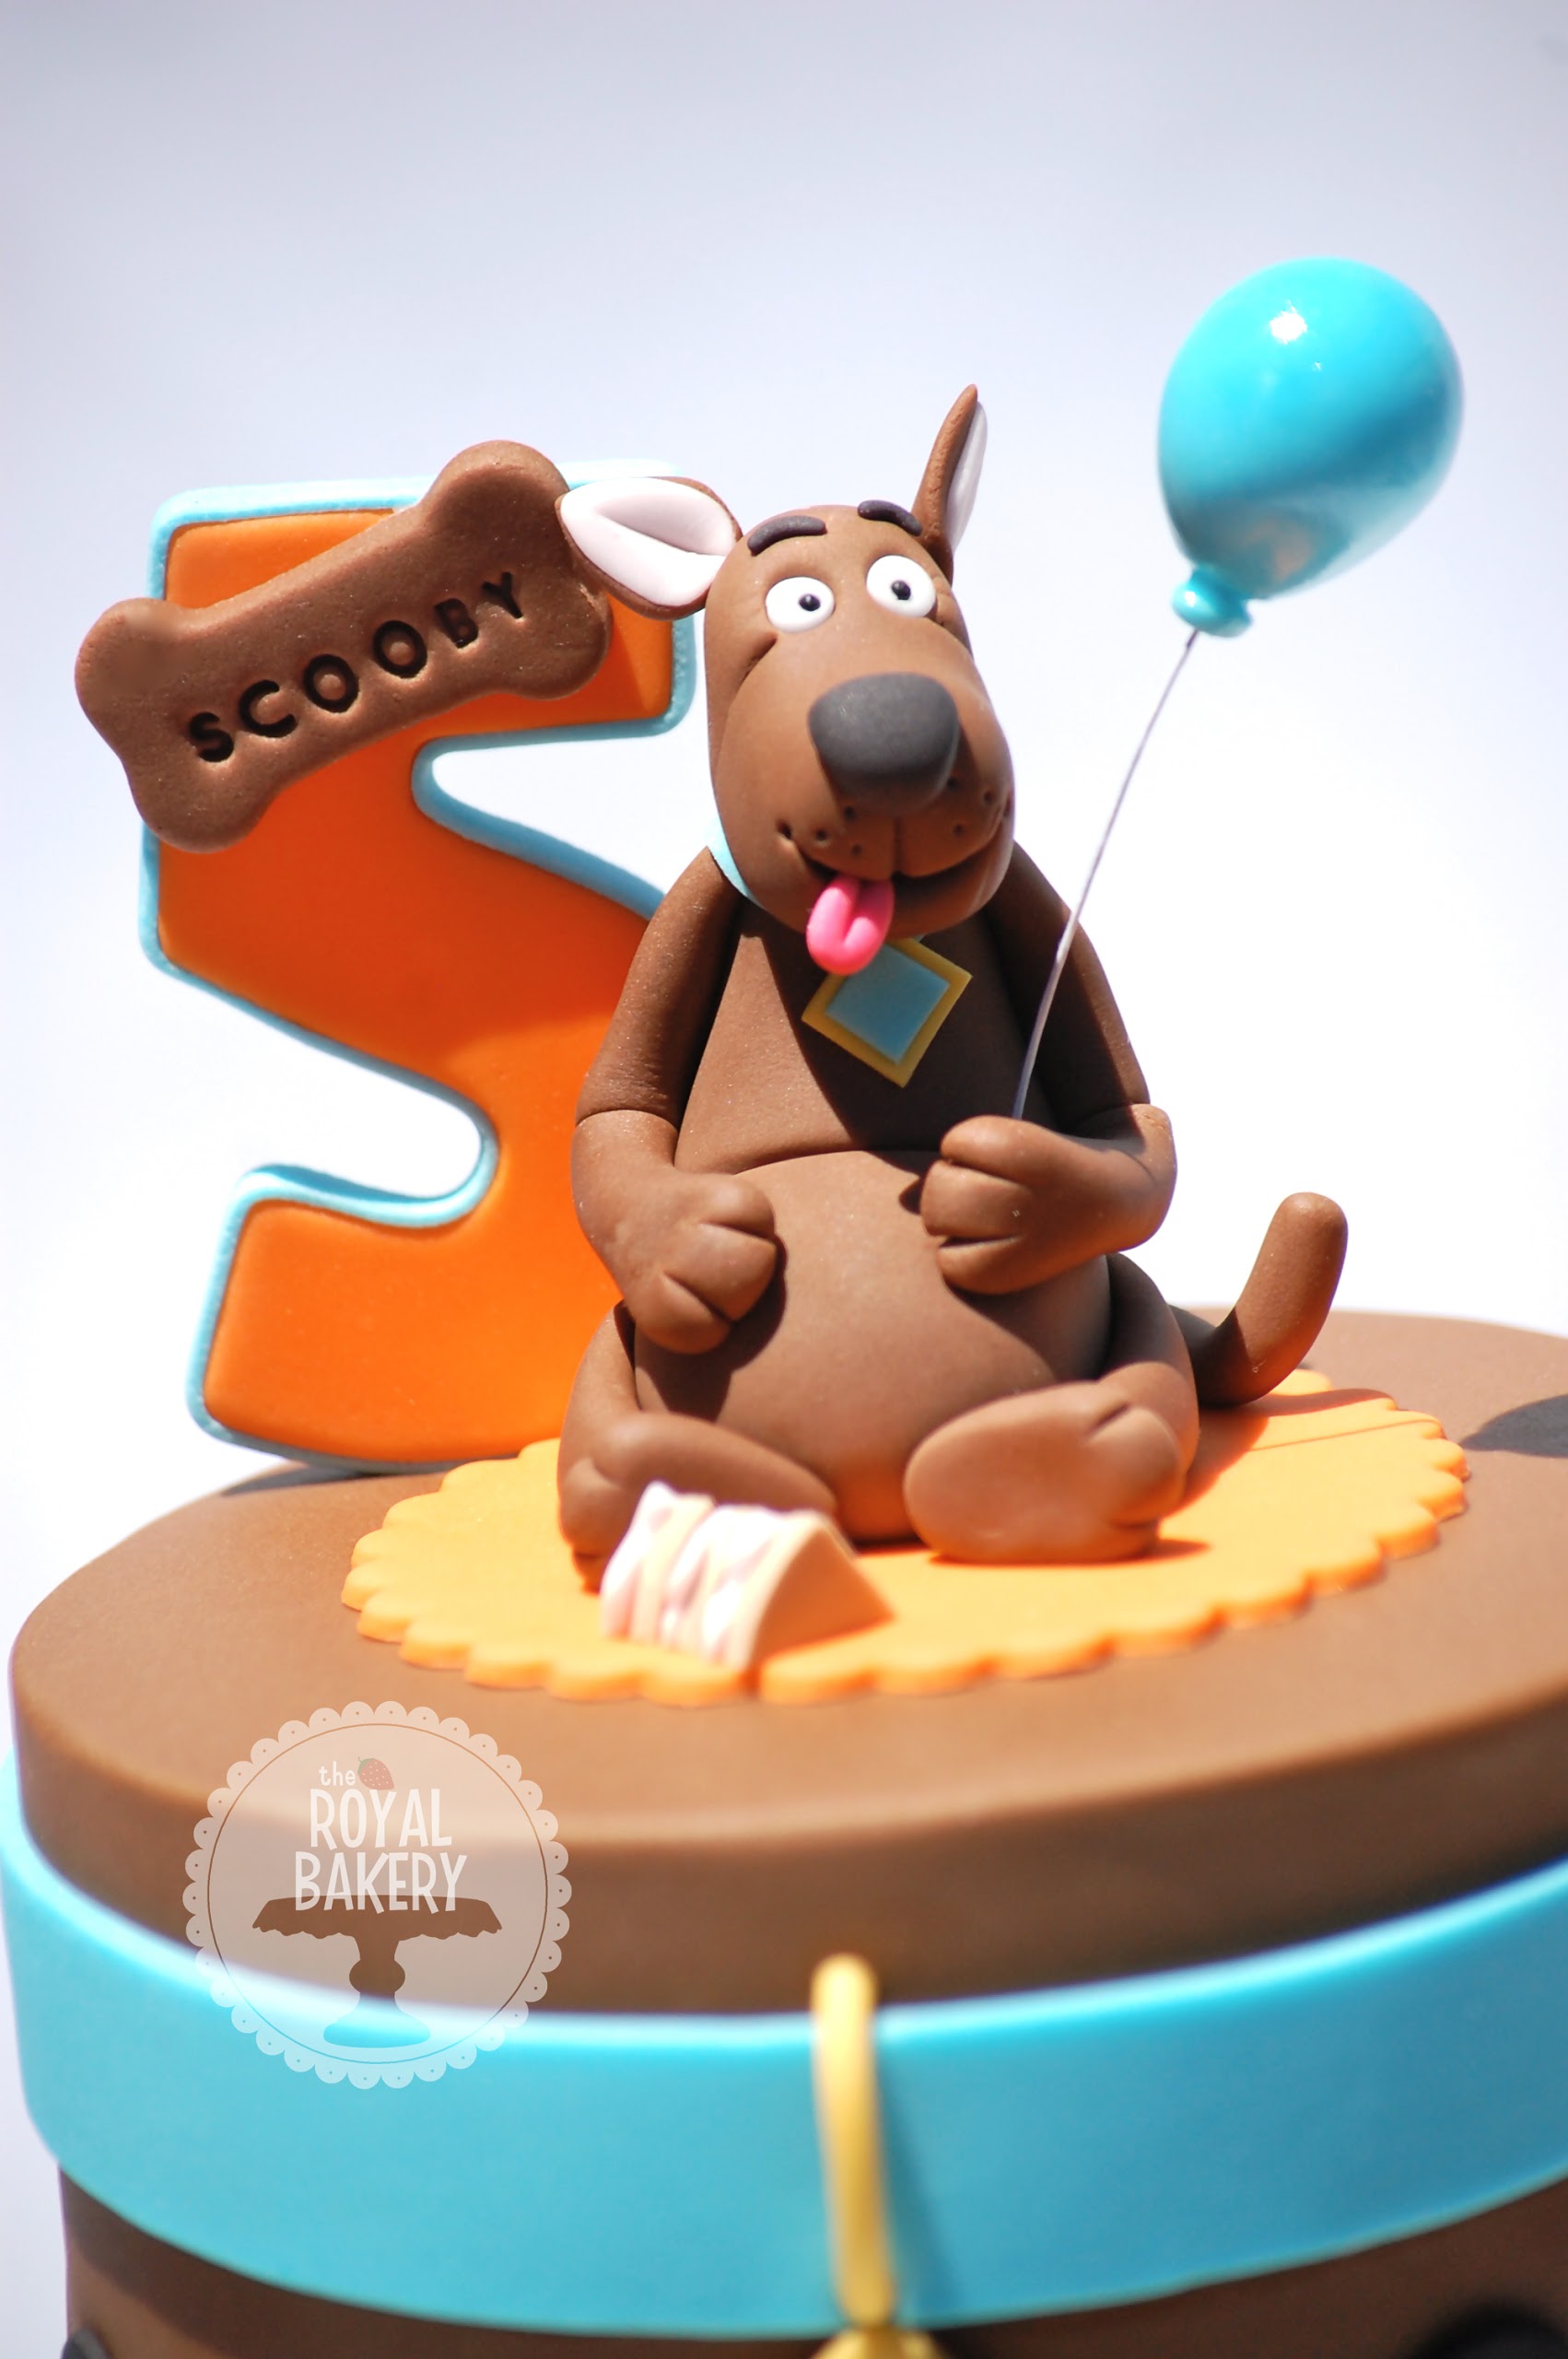 Photo via The Royal Bakery
This tutorial shows you how to make a fondant number topper.
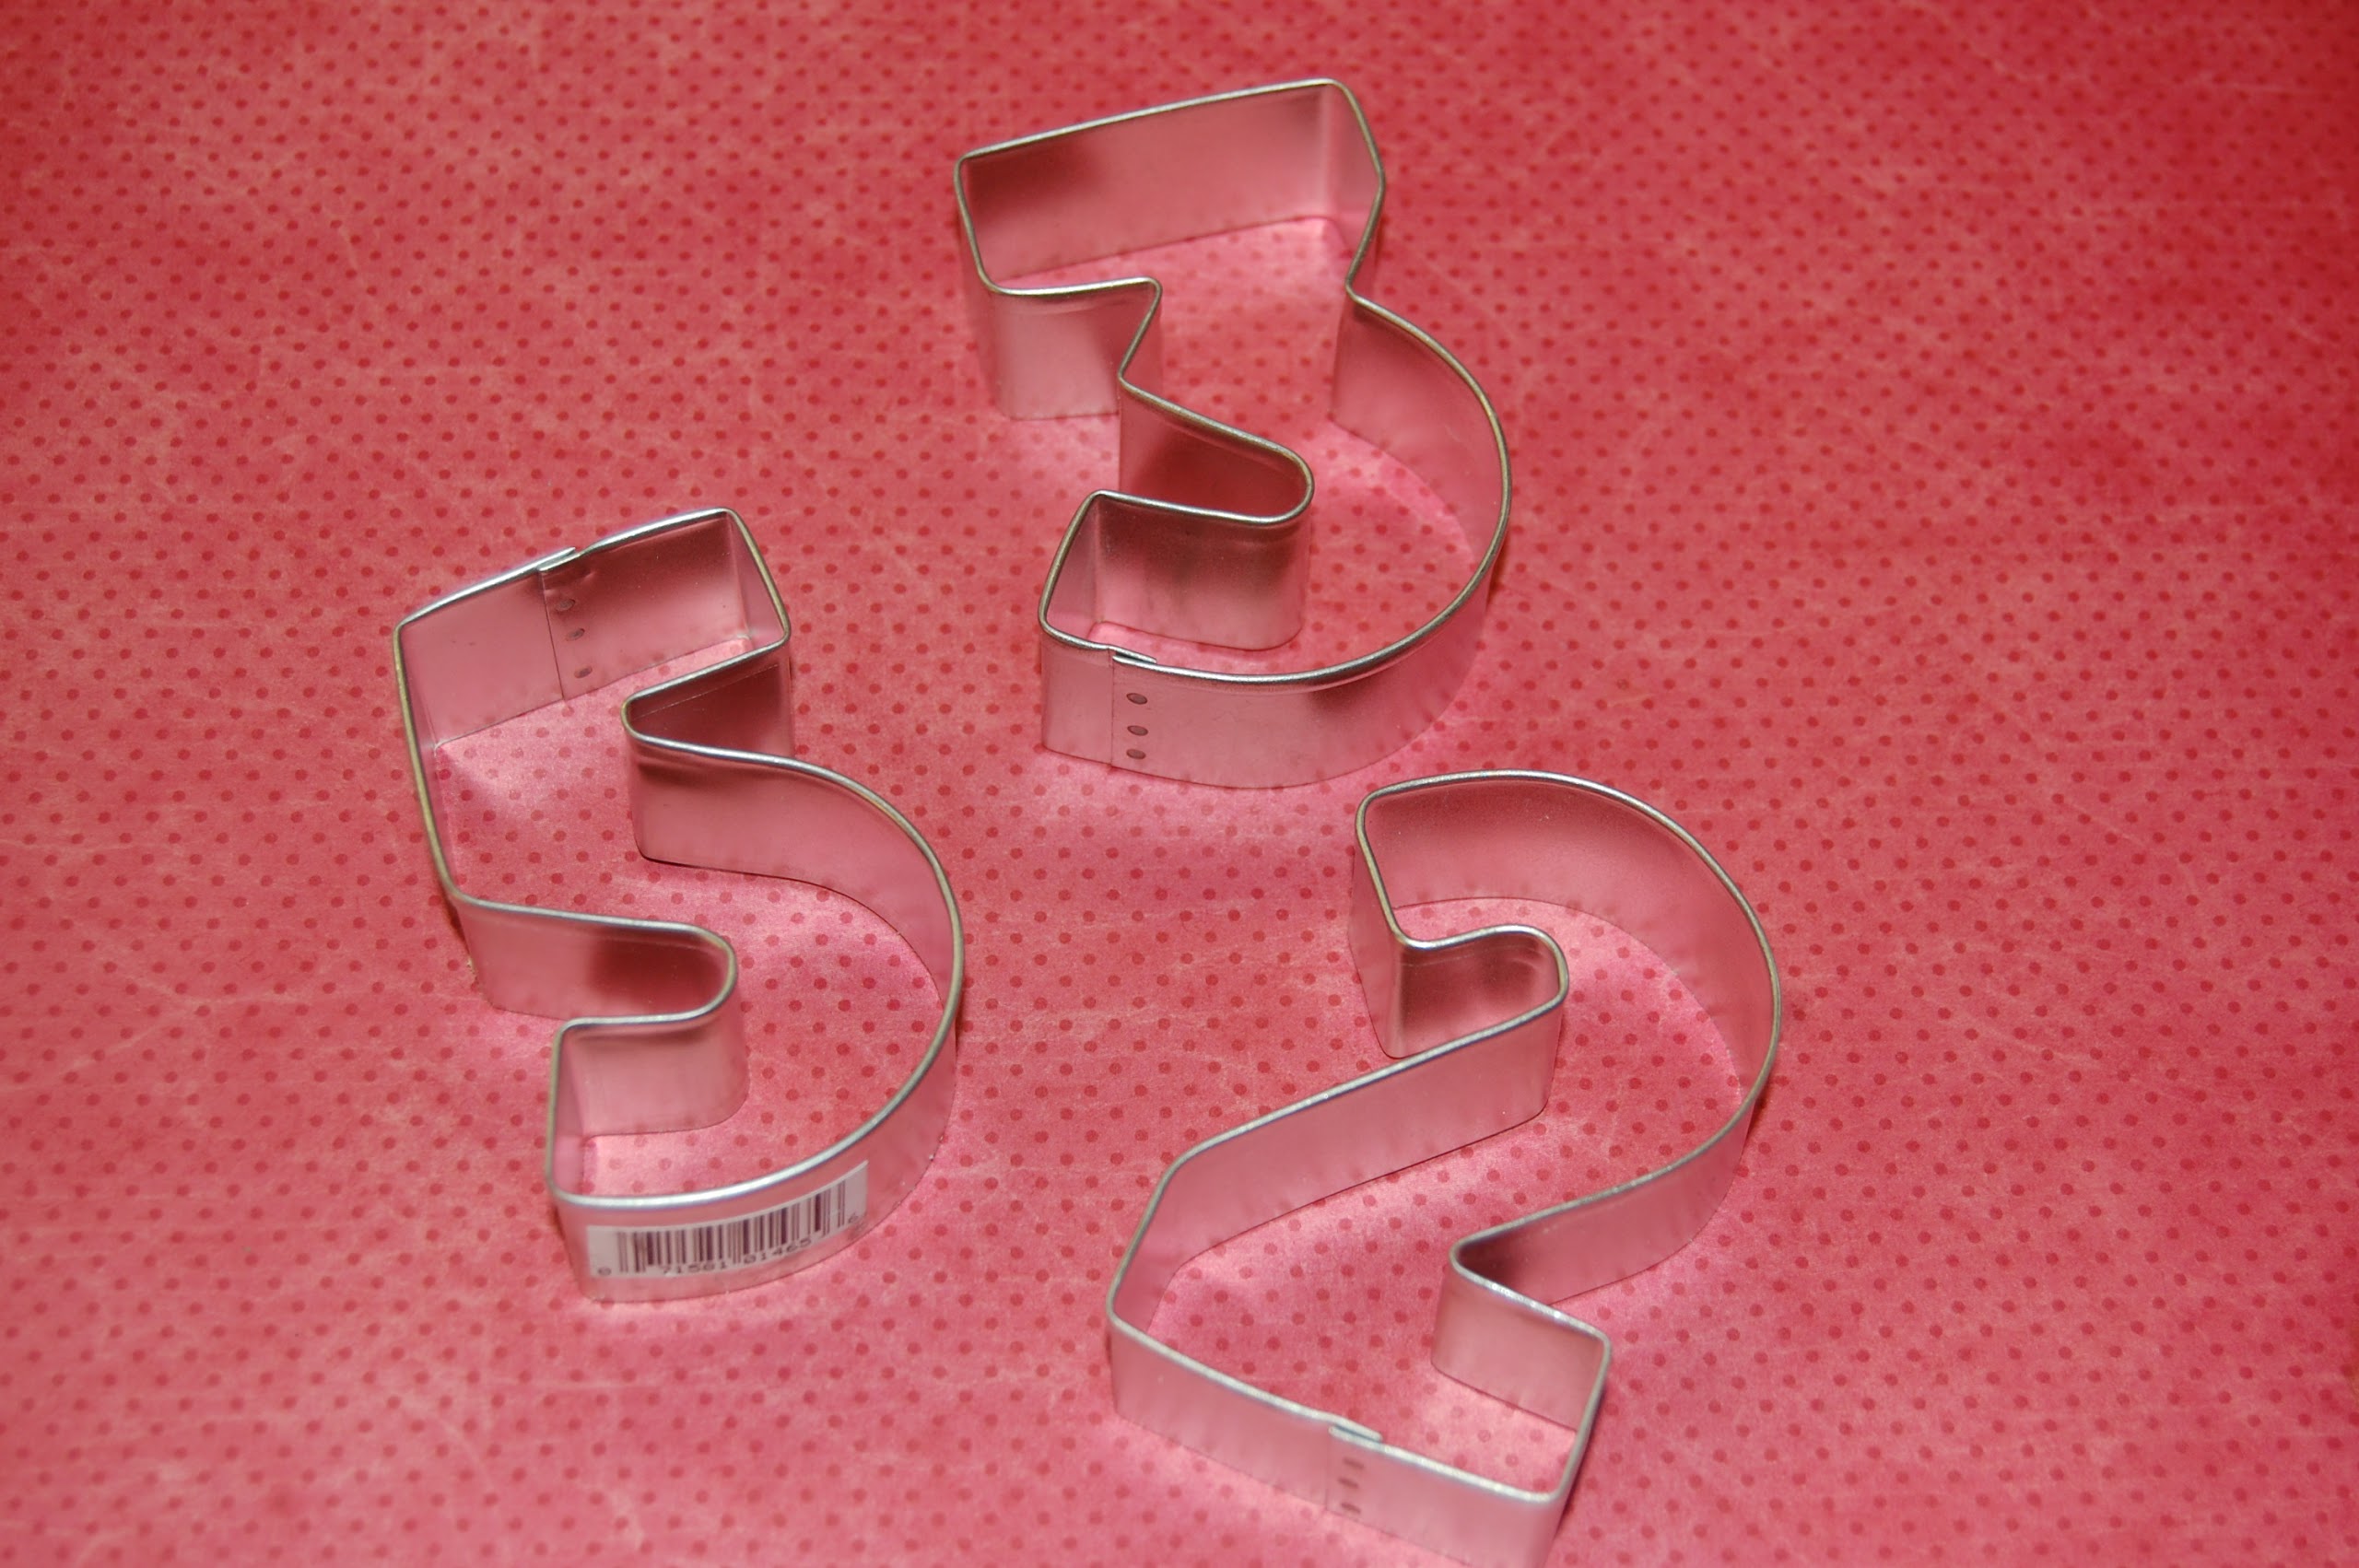
I use number cookie cutters I bought from a local kitchen store. They are about 3″ in height. Any size cutters can be used.
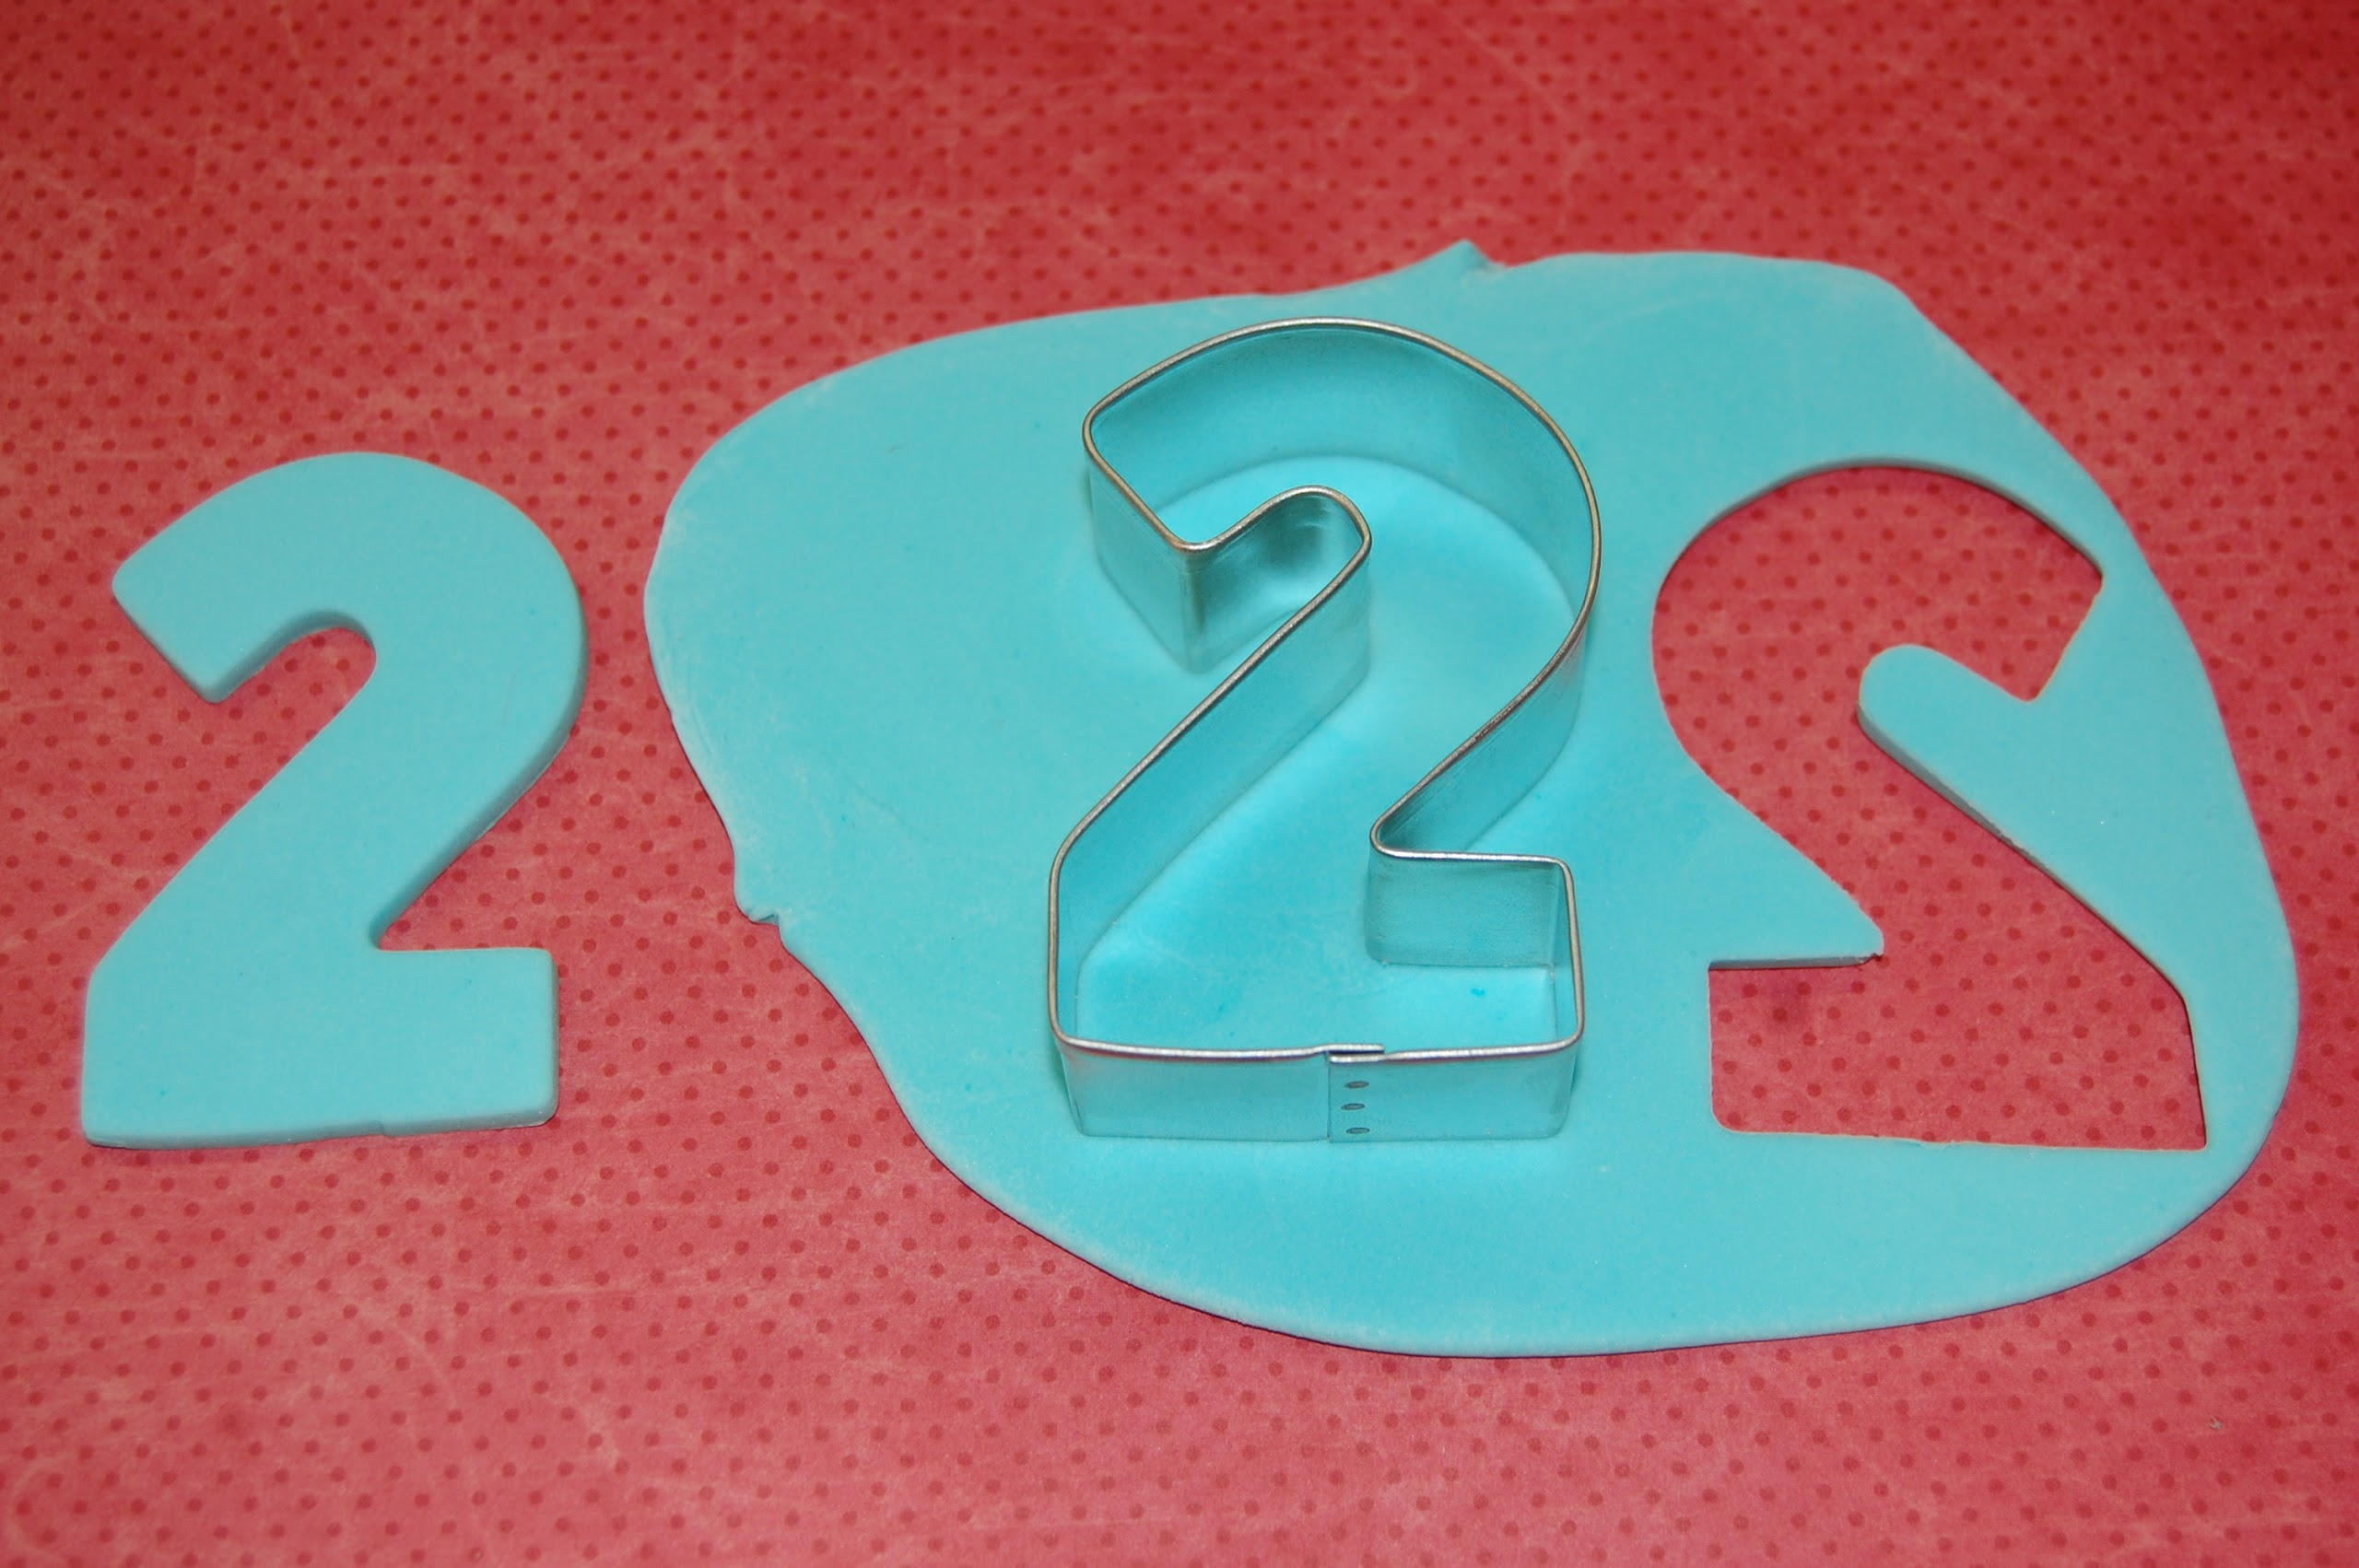
Step 1:
Roll out your fondant around 1/8” thick. I use Wilton brand, which is nice and firm, so you may need to add Tylose Powder/CMC to your fondant. Cut out one number. Flip the fondant over, and cut the second number.
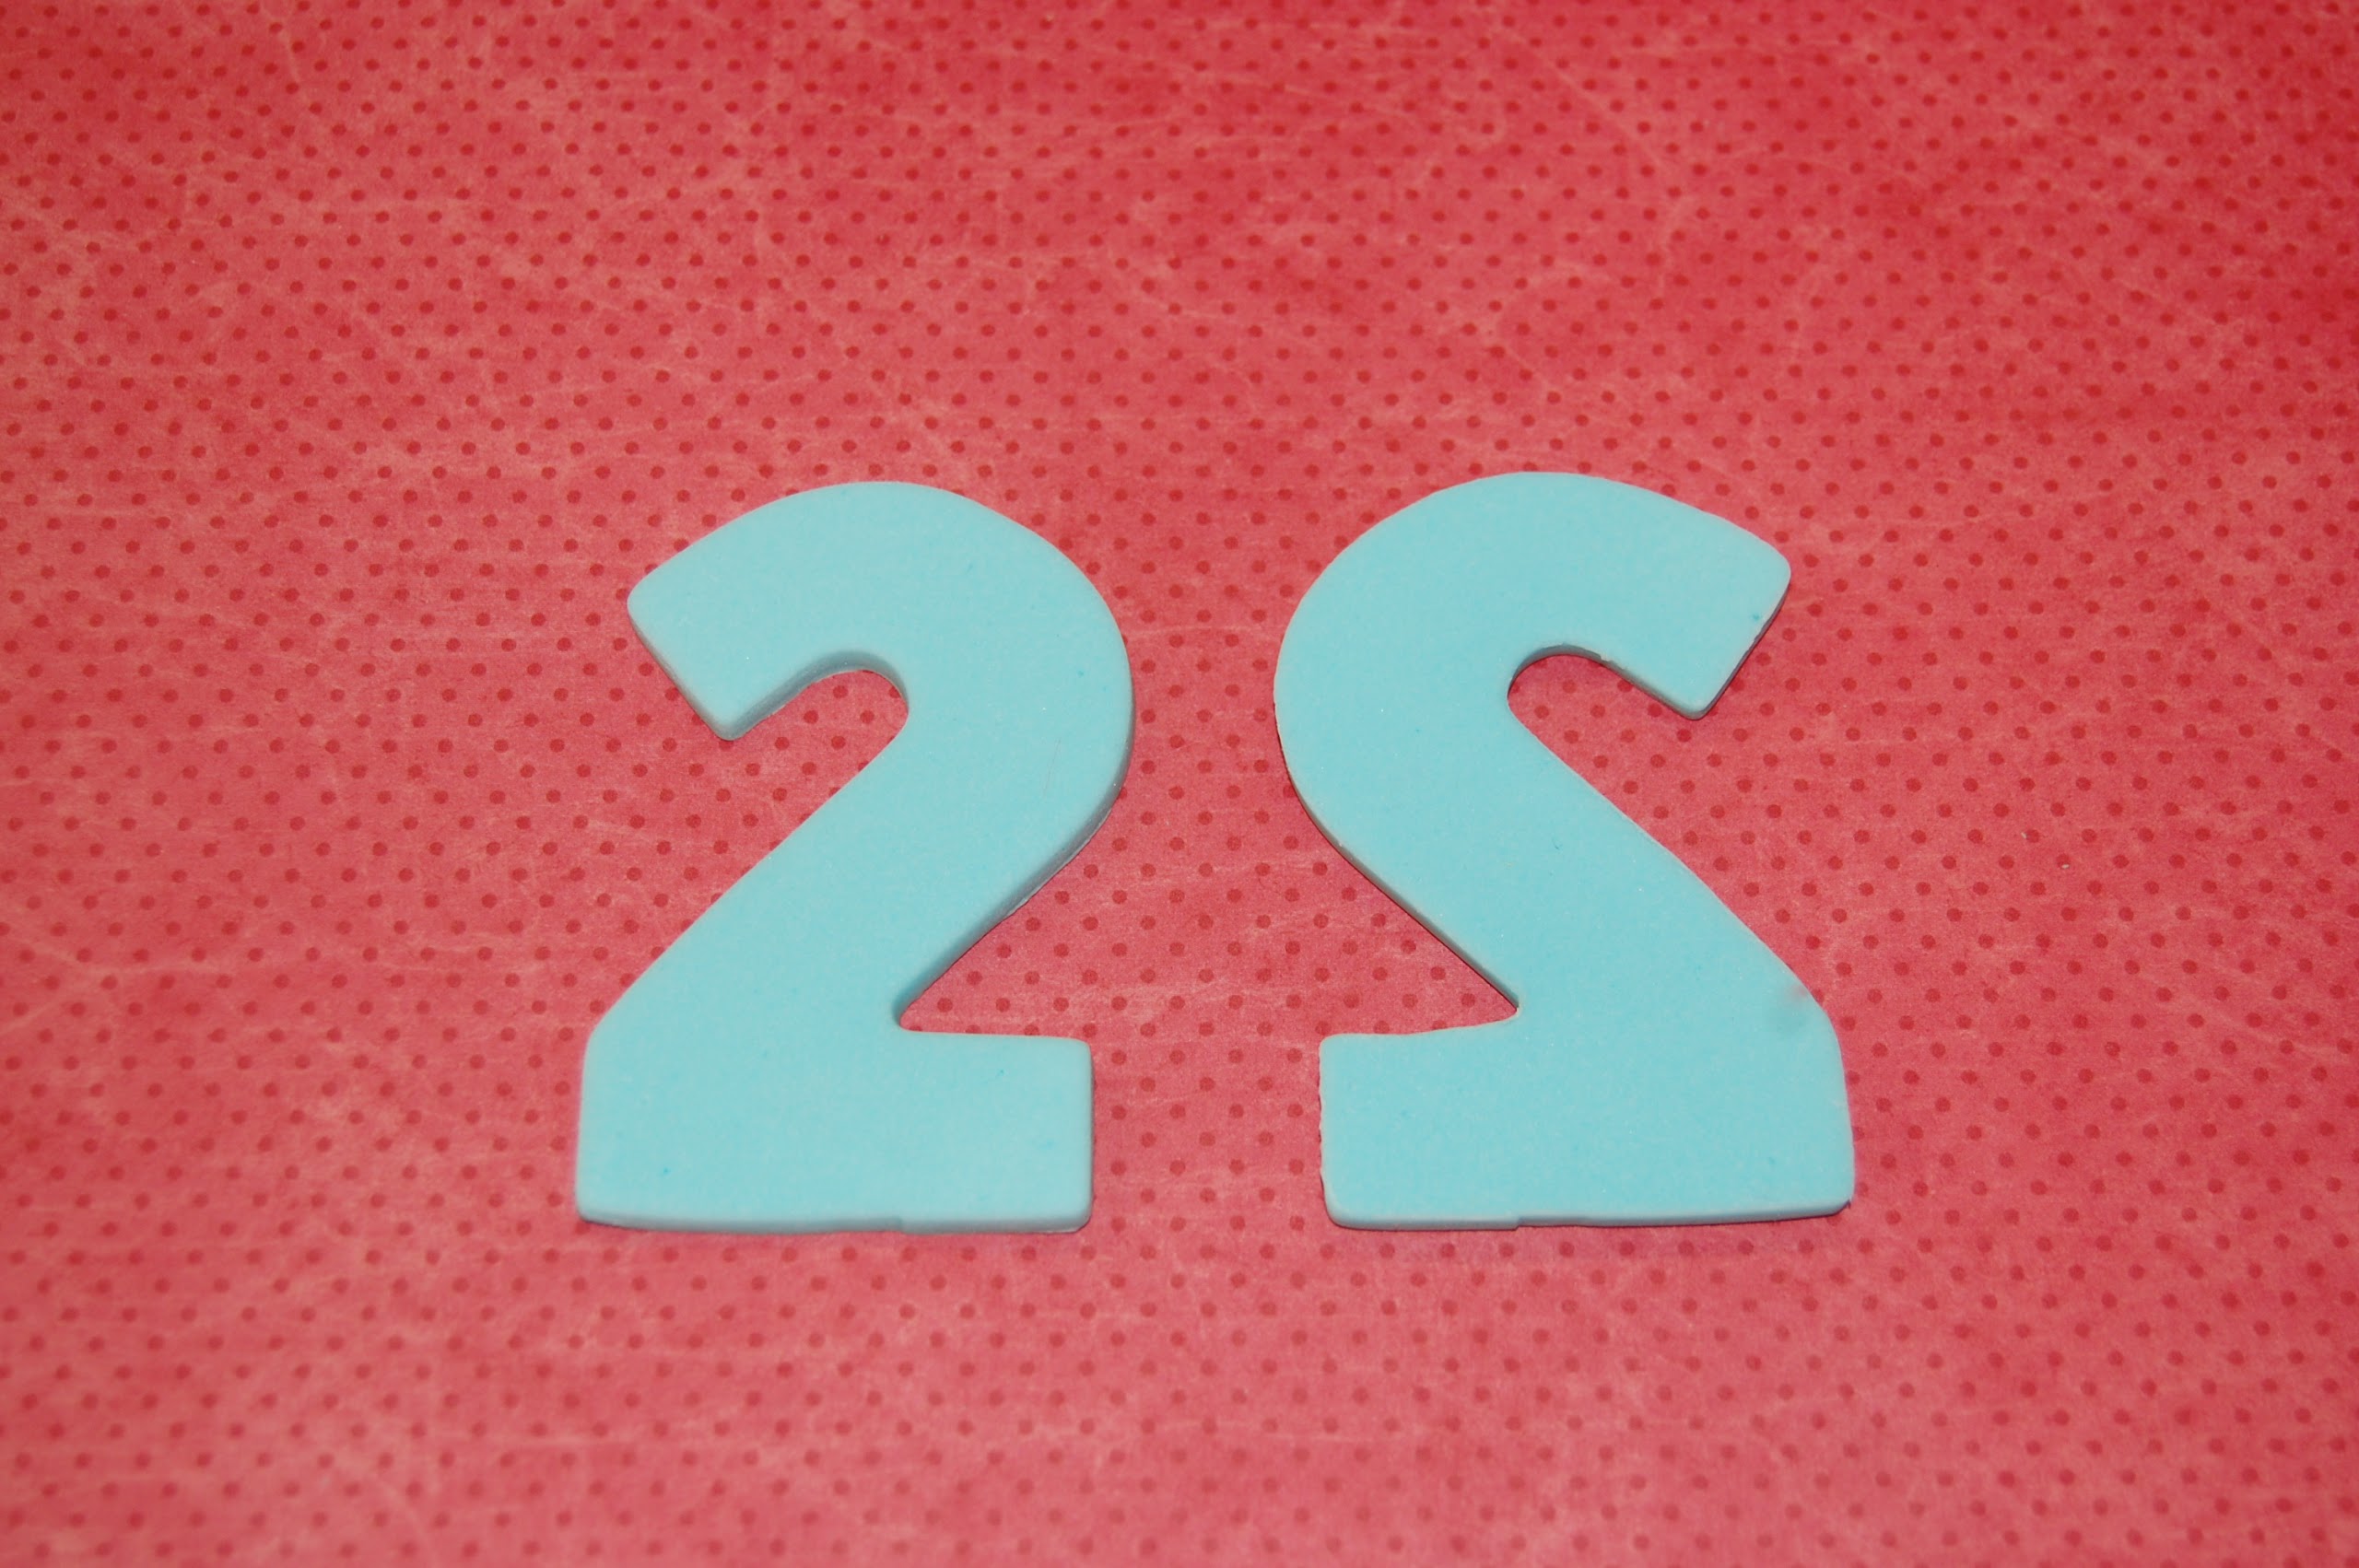
Step 2:
Flip the second number right-side up, so you now have a mirror image of the original.
Step 3:
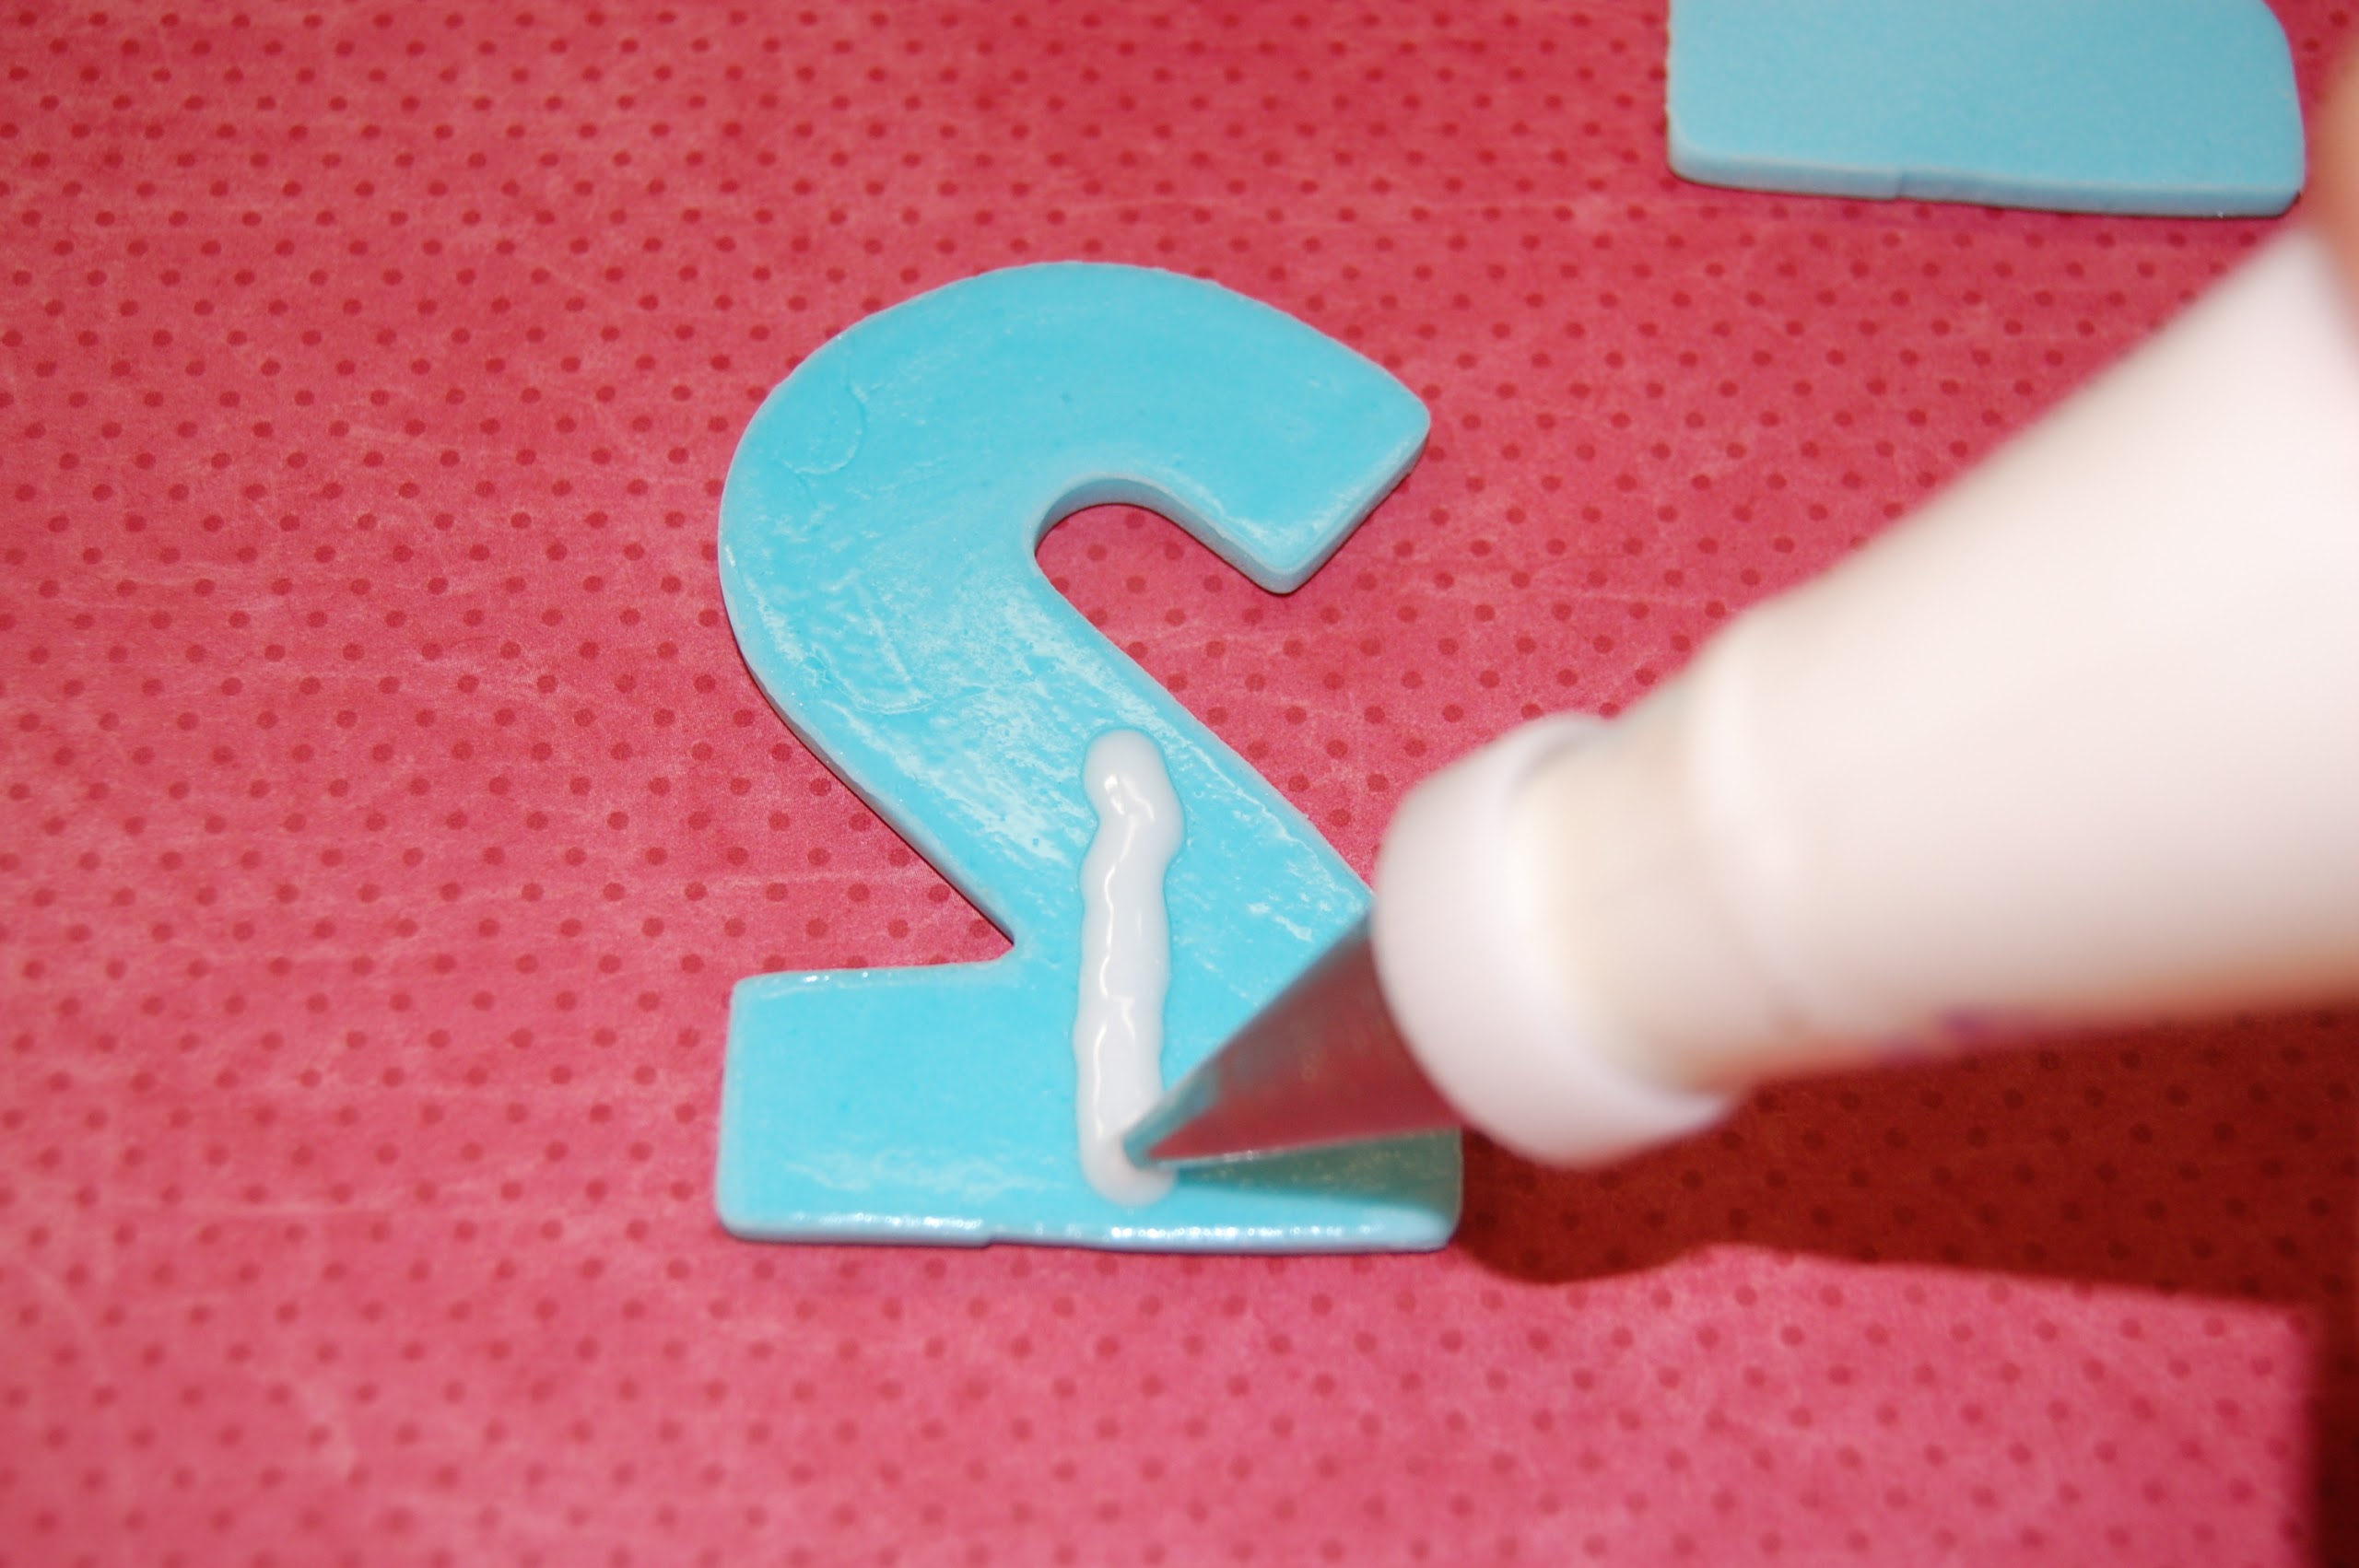
Moisten the back of your first number with a little water. Pipe a line of royal icing down the center. *See Note.
Step 4:
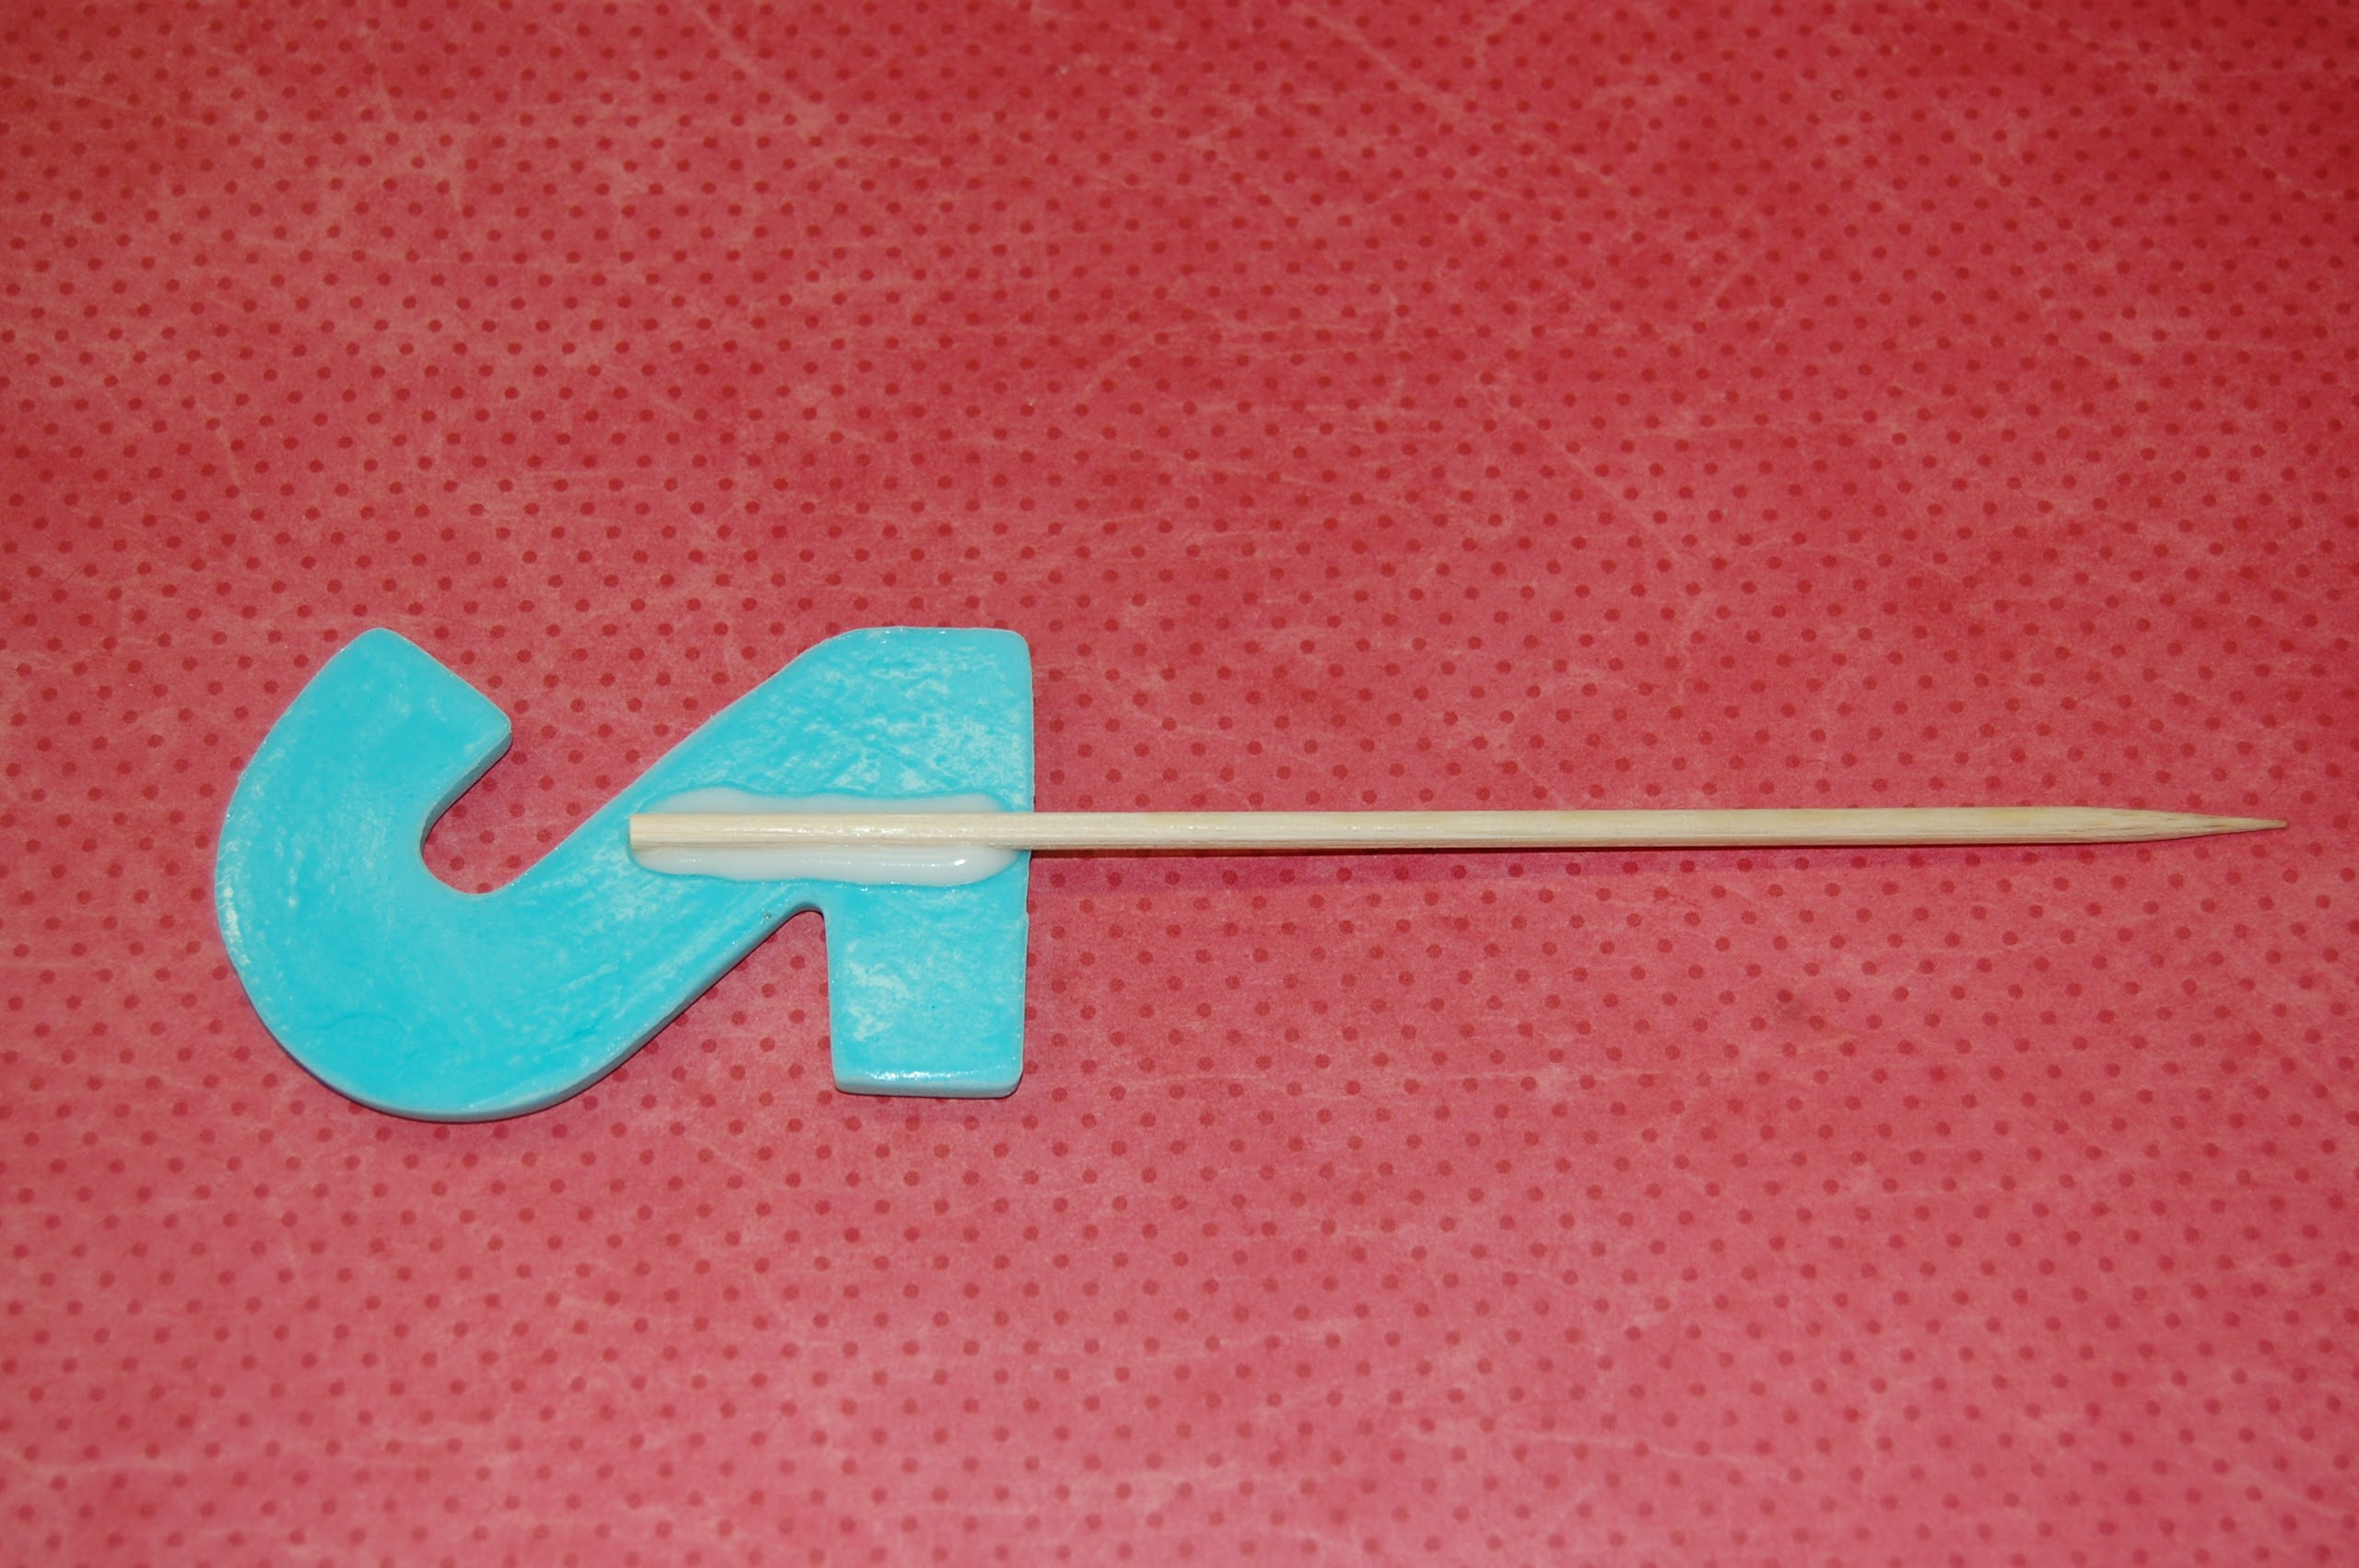
Lay a bamboo skewer on top of the royal icing. It is not absolutely crucial to use royal icing, but it does add some extra stability.
Step 5:
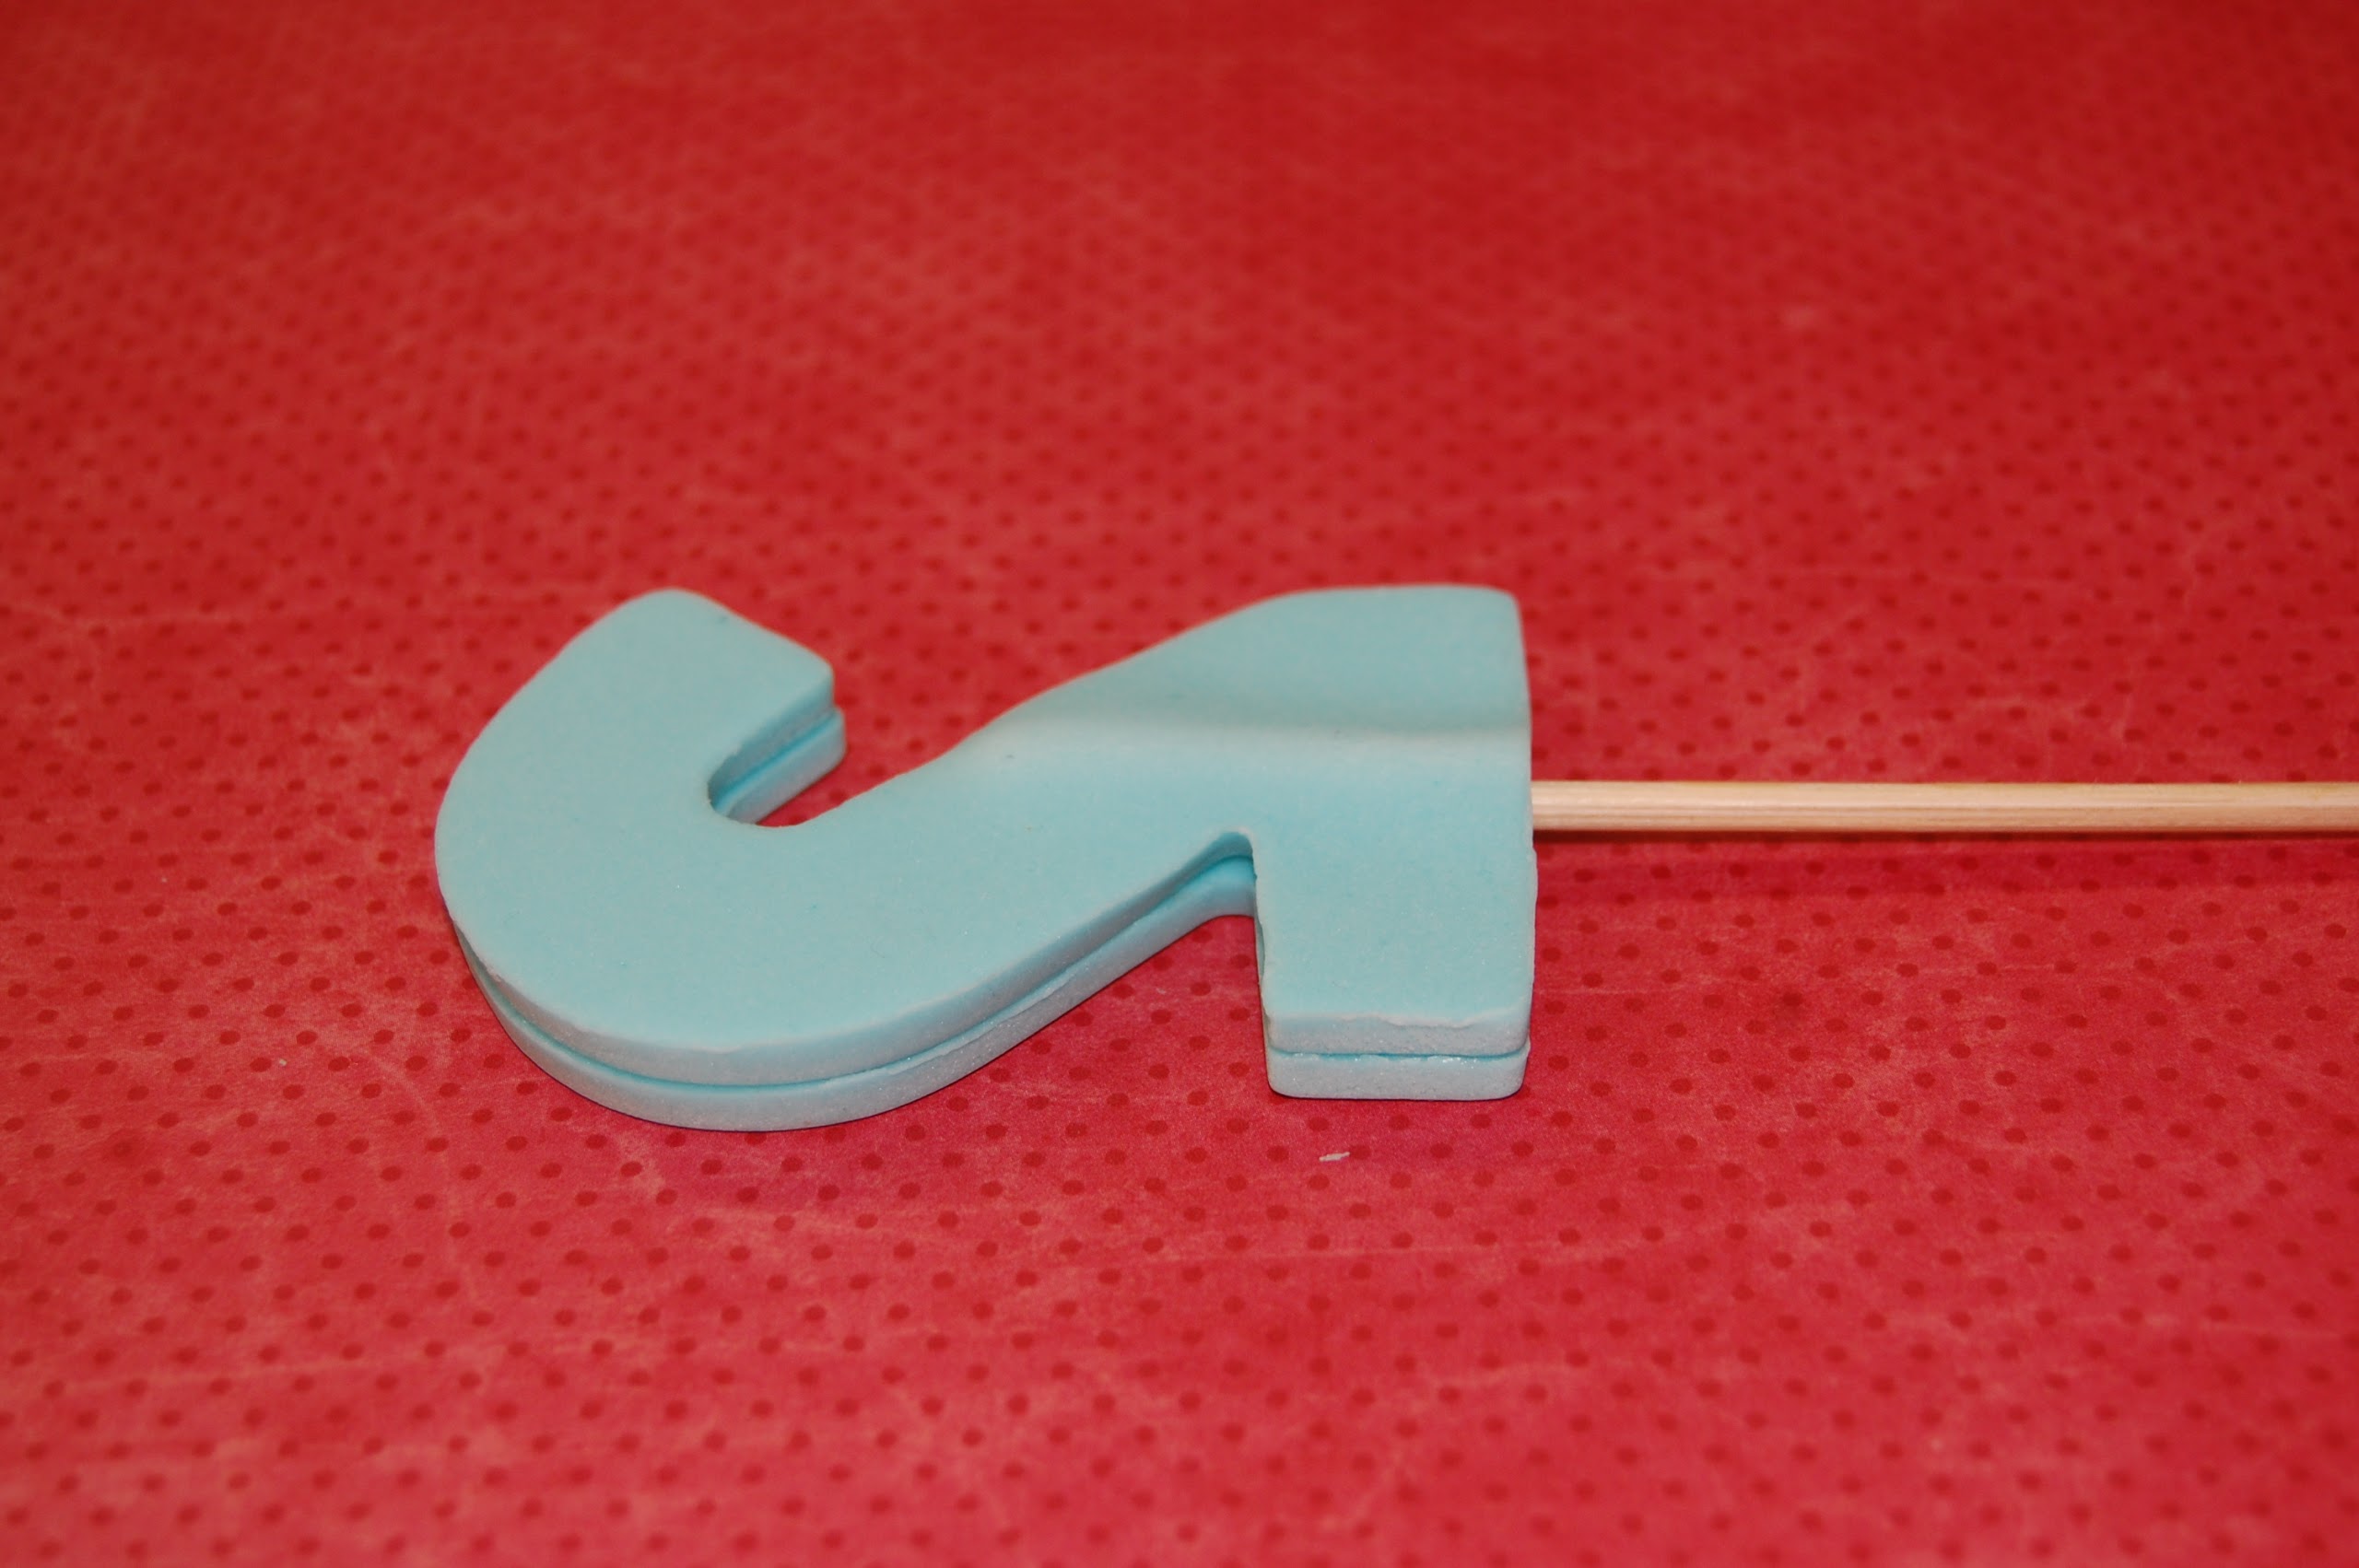
Moisten the reverse of the second number and lay that on top of the first, pressing down gently to seal the edges of the two numbers together. Make sure the edges line up all the way around. It is important to keep the number facedown at this point. This ensures the bulge from the skewer is only ever visible from the back of the number and not from the front.
You could leave the number to dry facedown and use it as it is. However, I prefer to finish it off with a contrasting edge using a fondant extruder and some other extra decorations. I wait for the number to dry, however, so that it is easier to handle. Make sure you dry the number facedown so that the bulge from the skewer doesn’t show at the front.
Step 6:
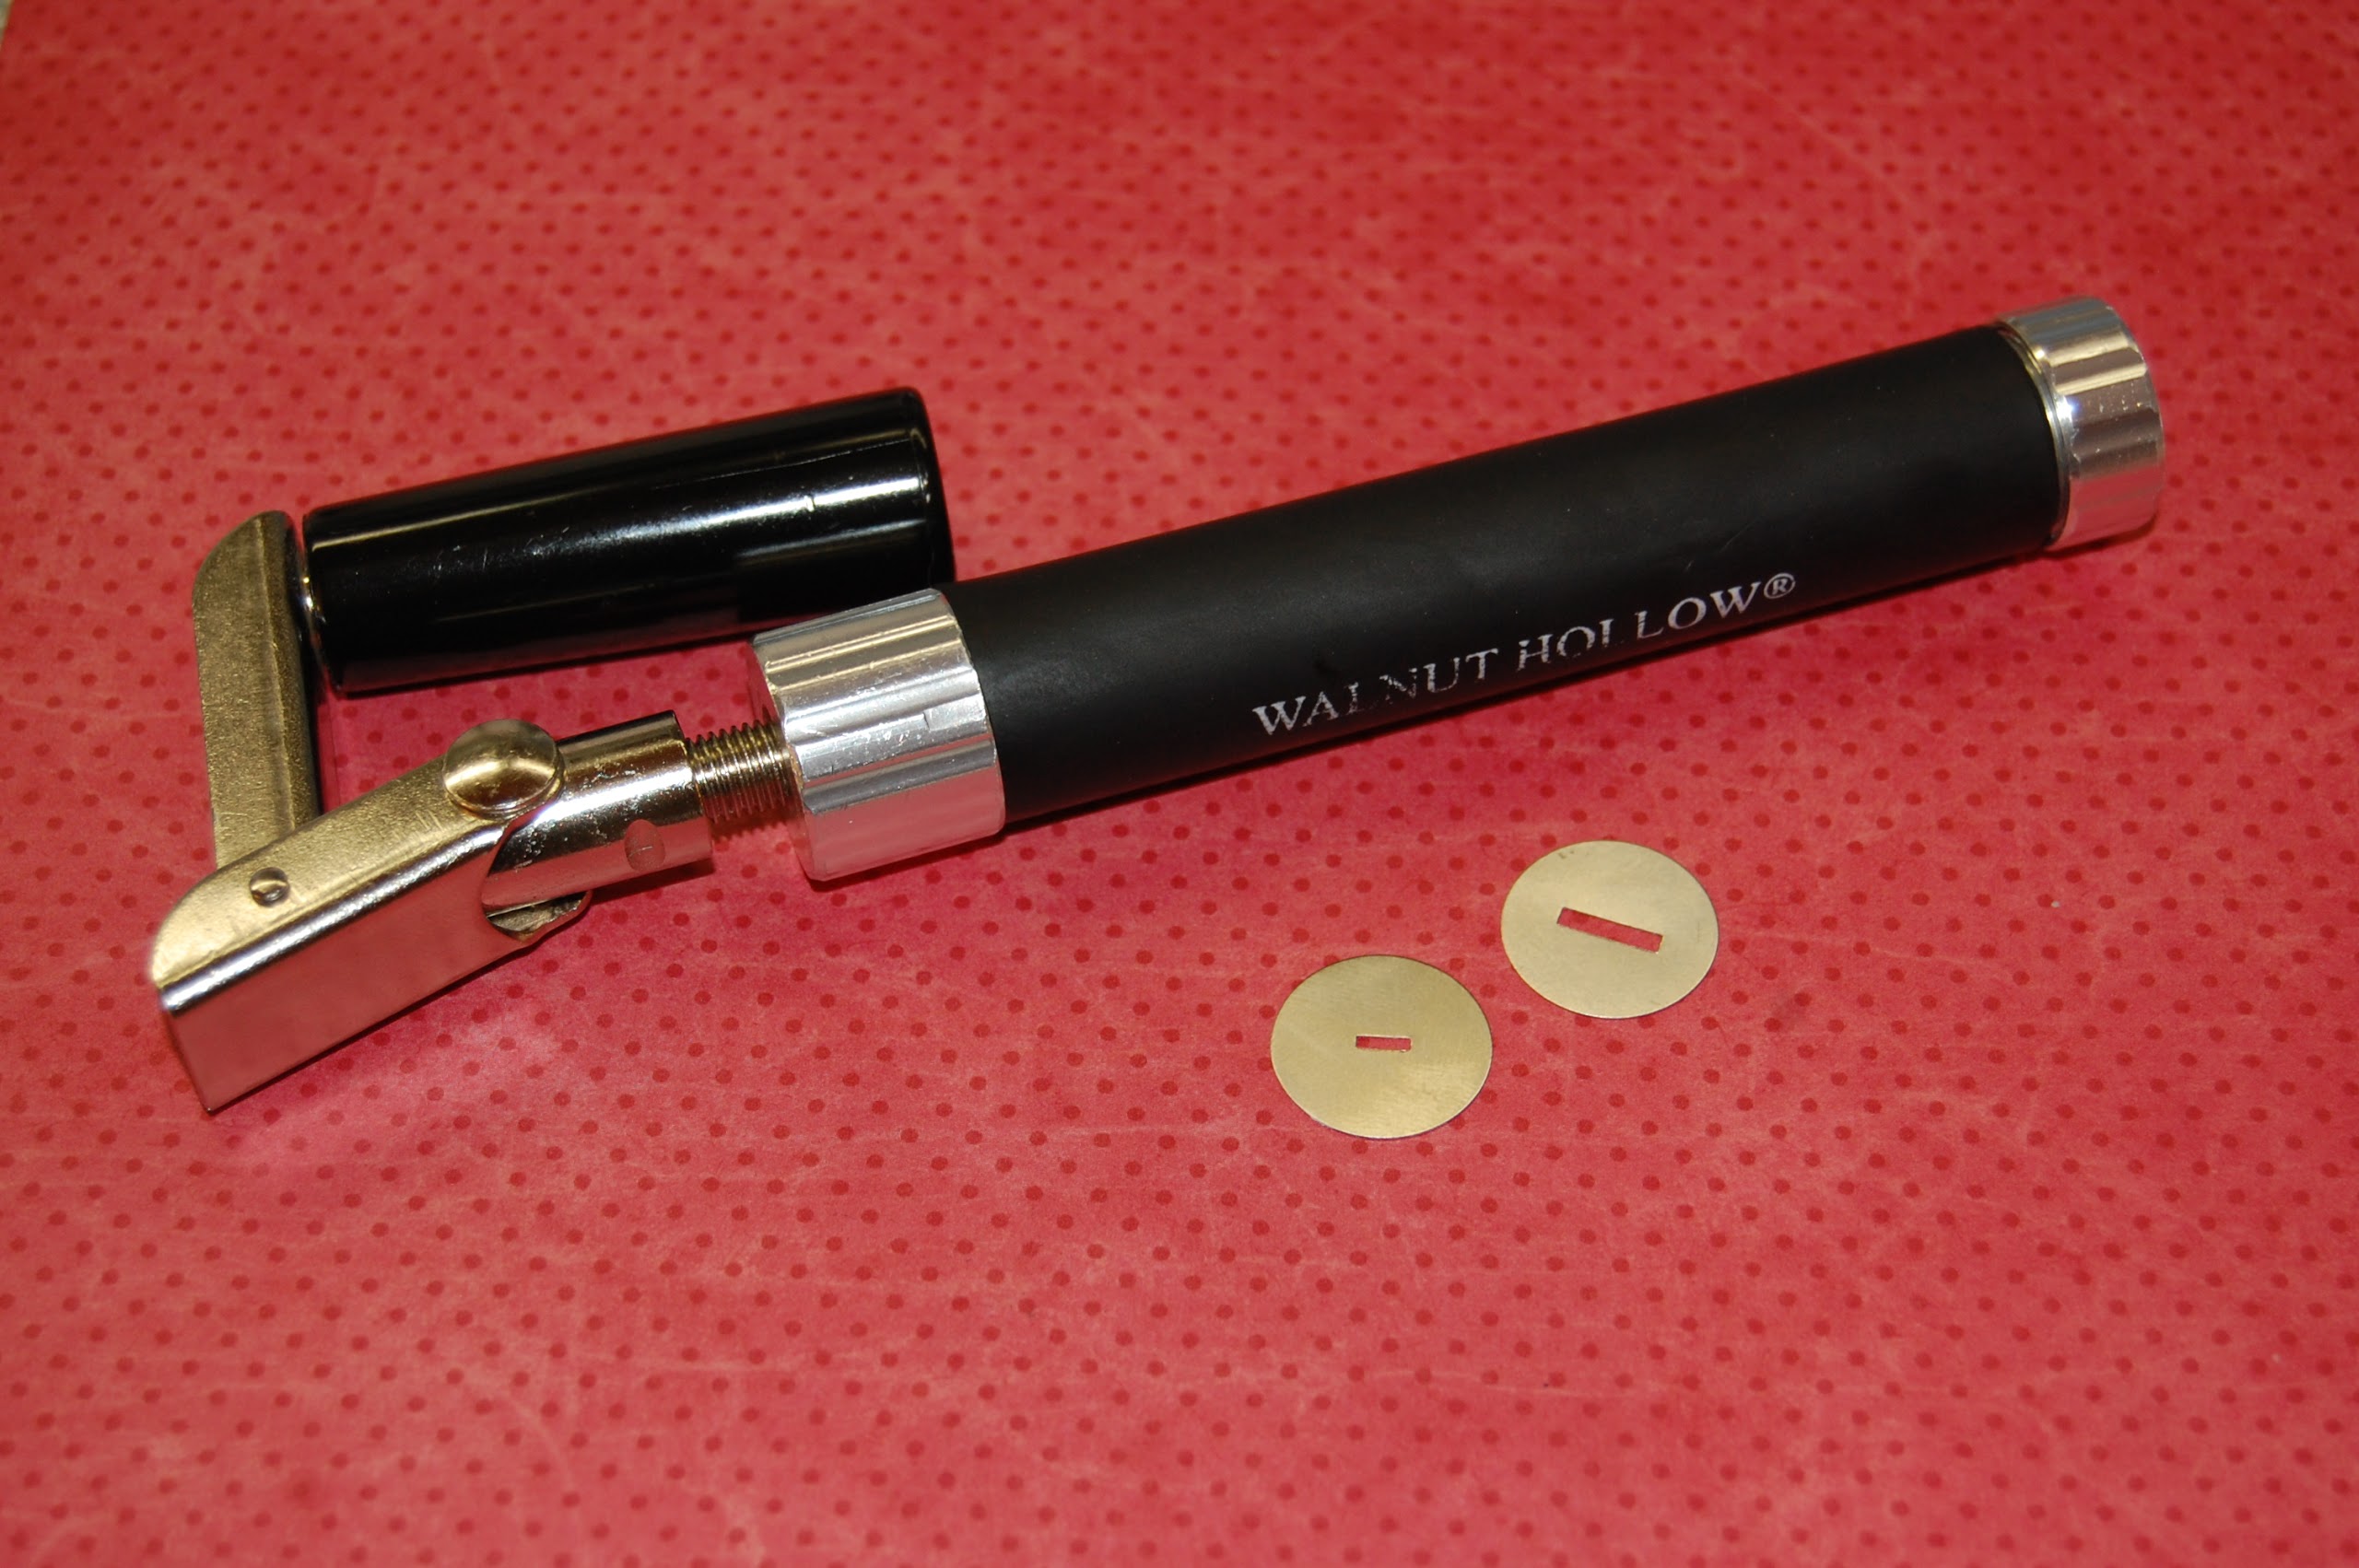
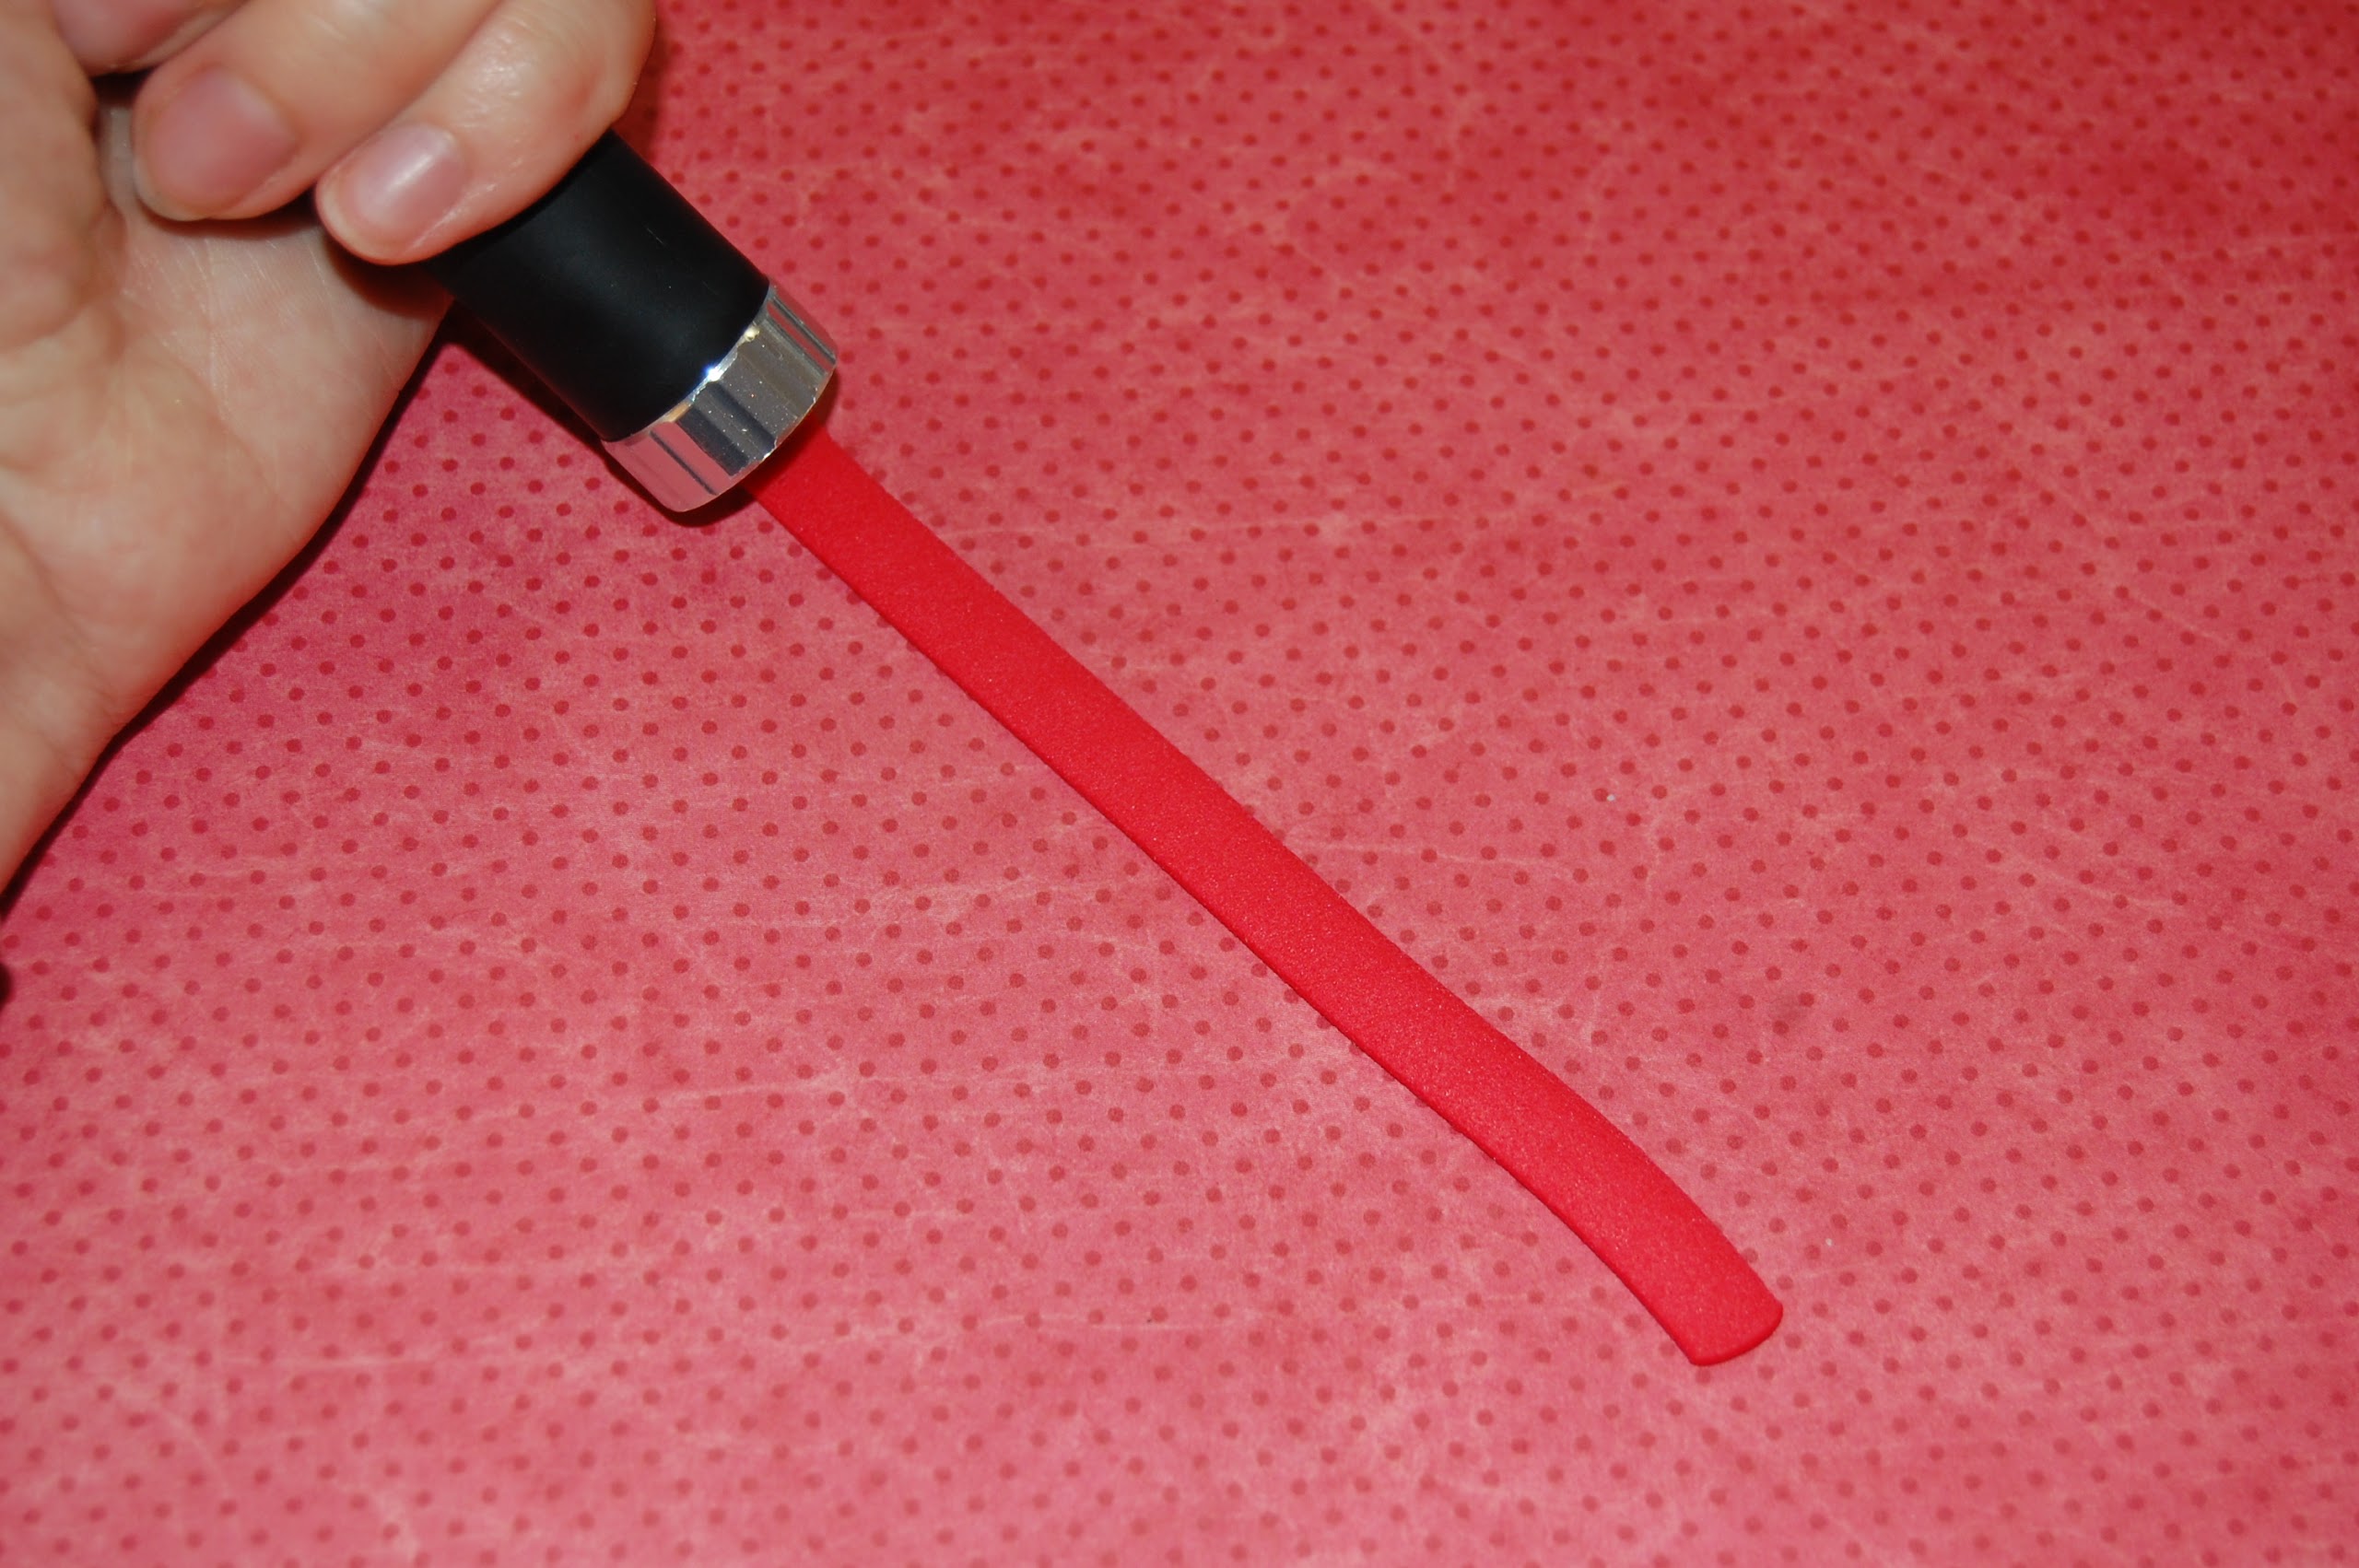
Use a fondant extruder with a flat die to extrude a length of fondant in either a contrasting or toning color. If you don’t have a fondant extruder, you can still complete this step by cutting a long strip of fondant. Measure the depth of your number at the edge. The width of the strip you extrude or cut should closely match this measurement.
Step 7:
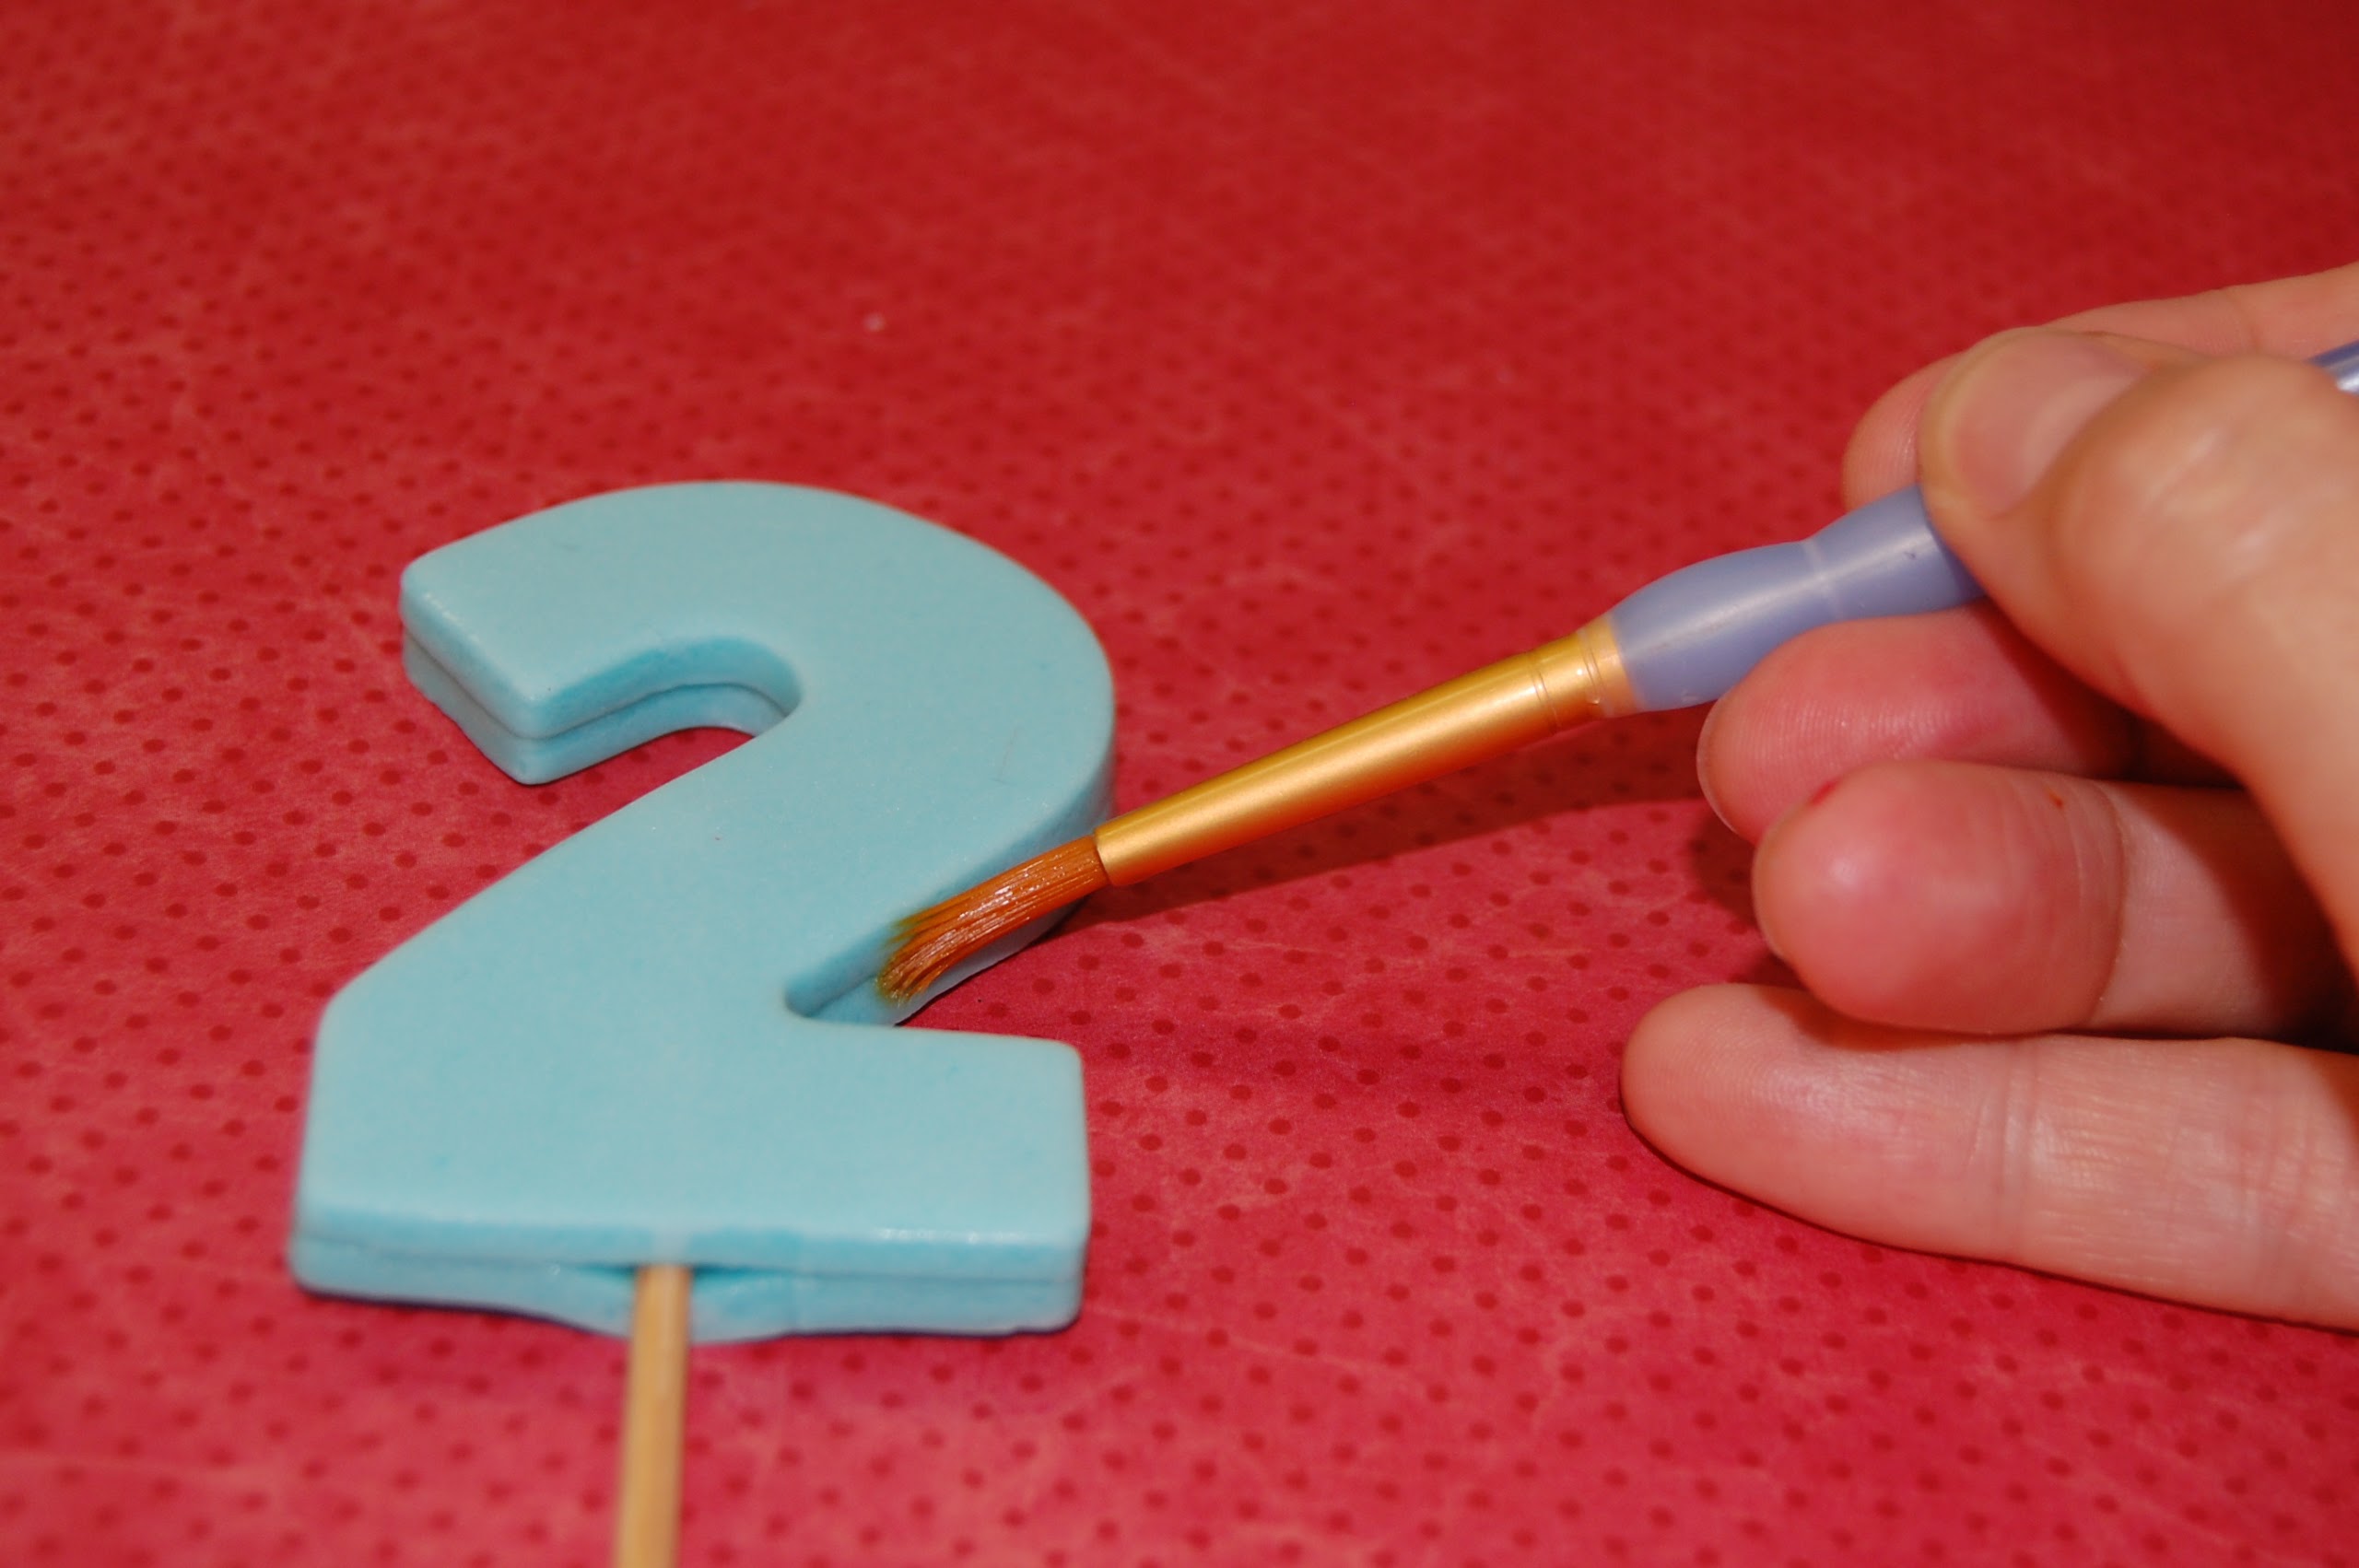
Lightly moisten the edges of the number with a little bit of water.

Step 8:
Starting at one side of the skewer, wrap the length of fondant around the number, using a flat paintbrush to gently ease it into the corners and curves. Cut the excess off at the other side of the skewer.

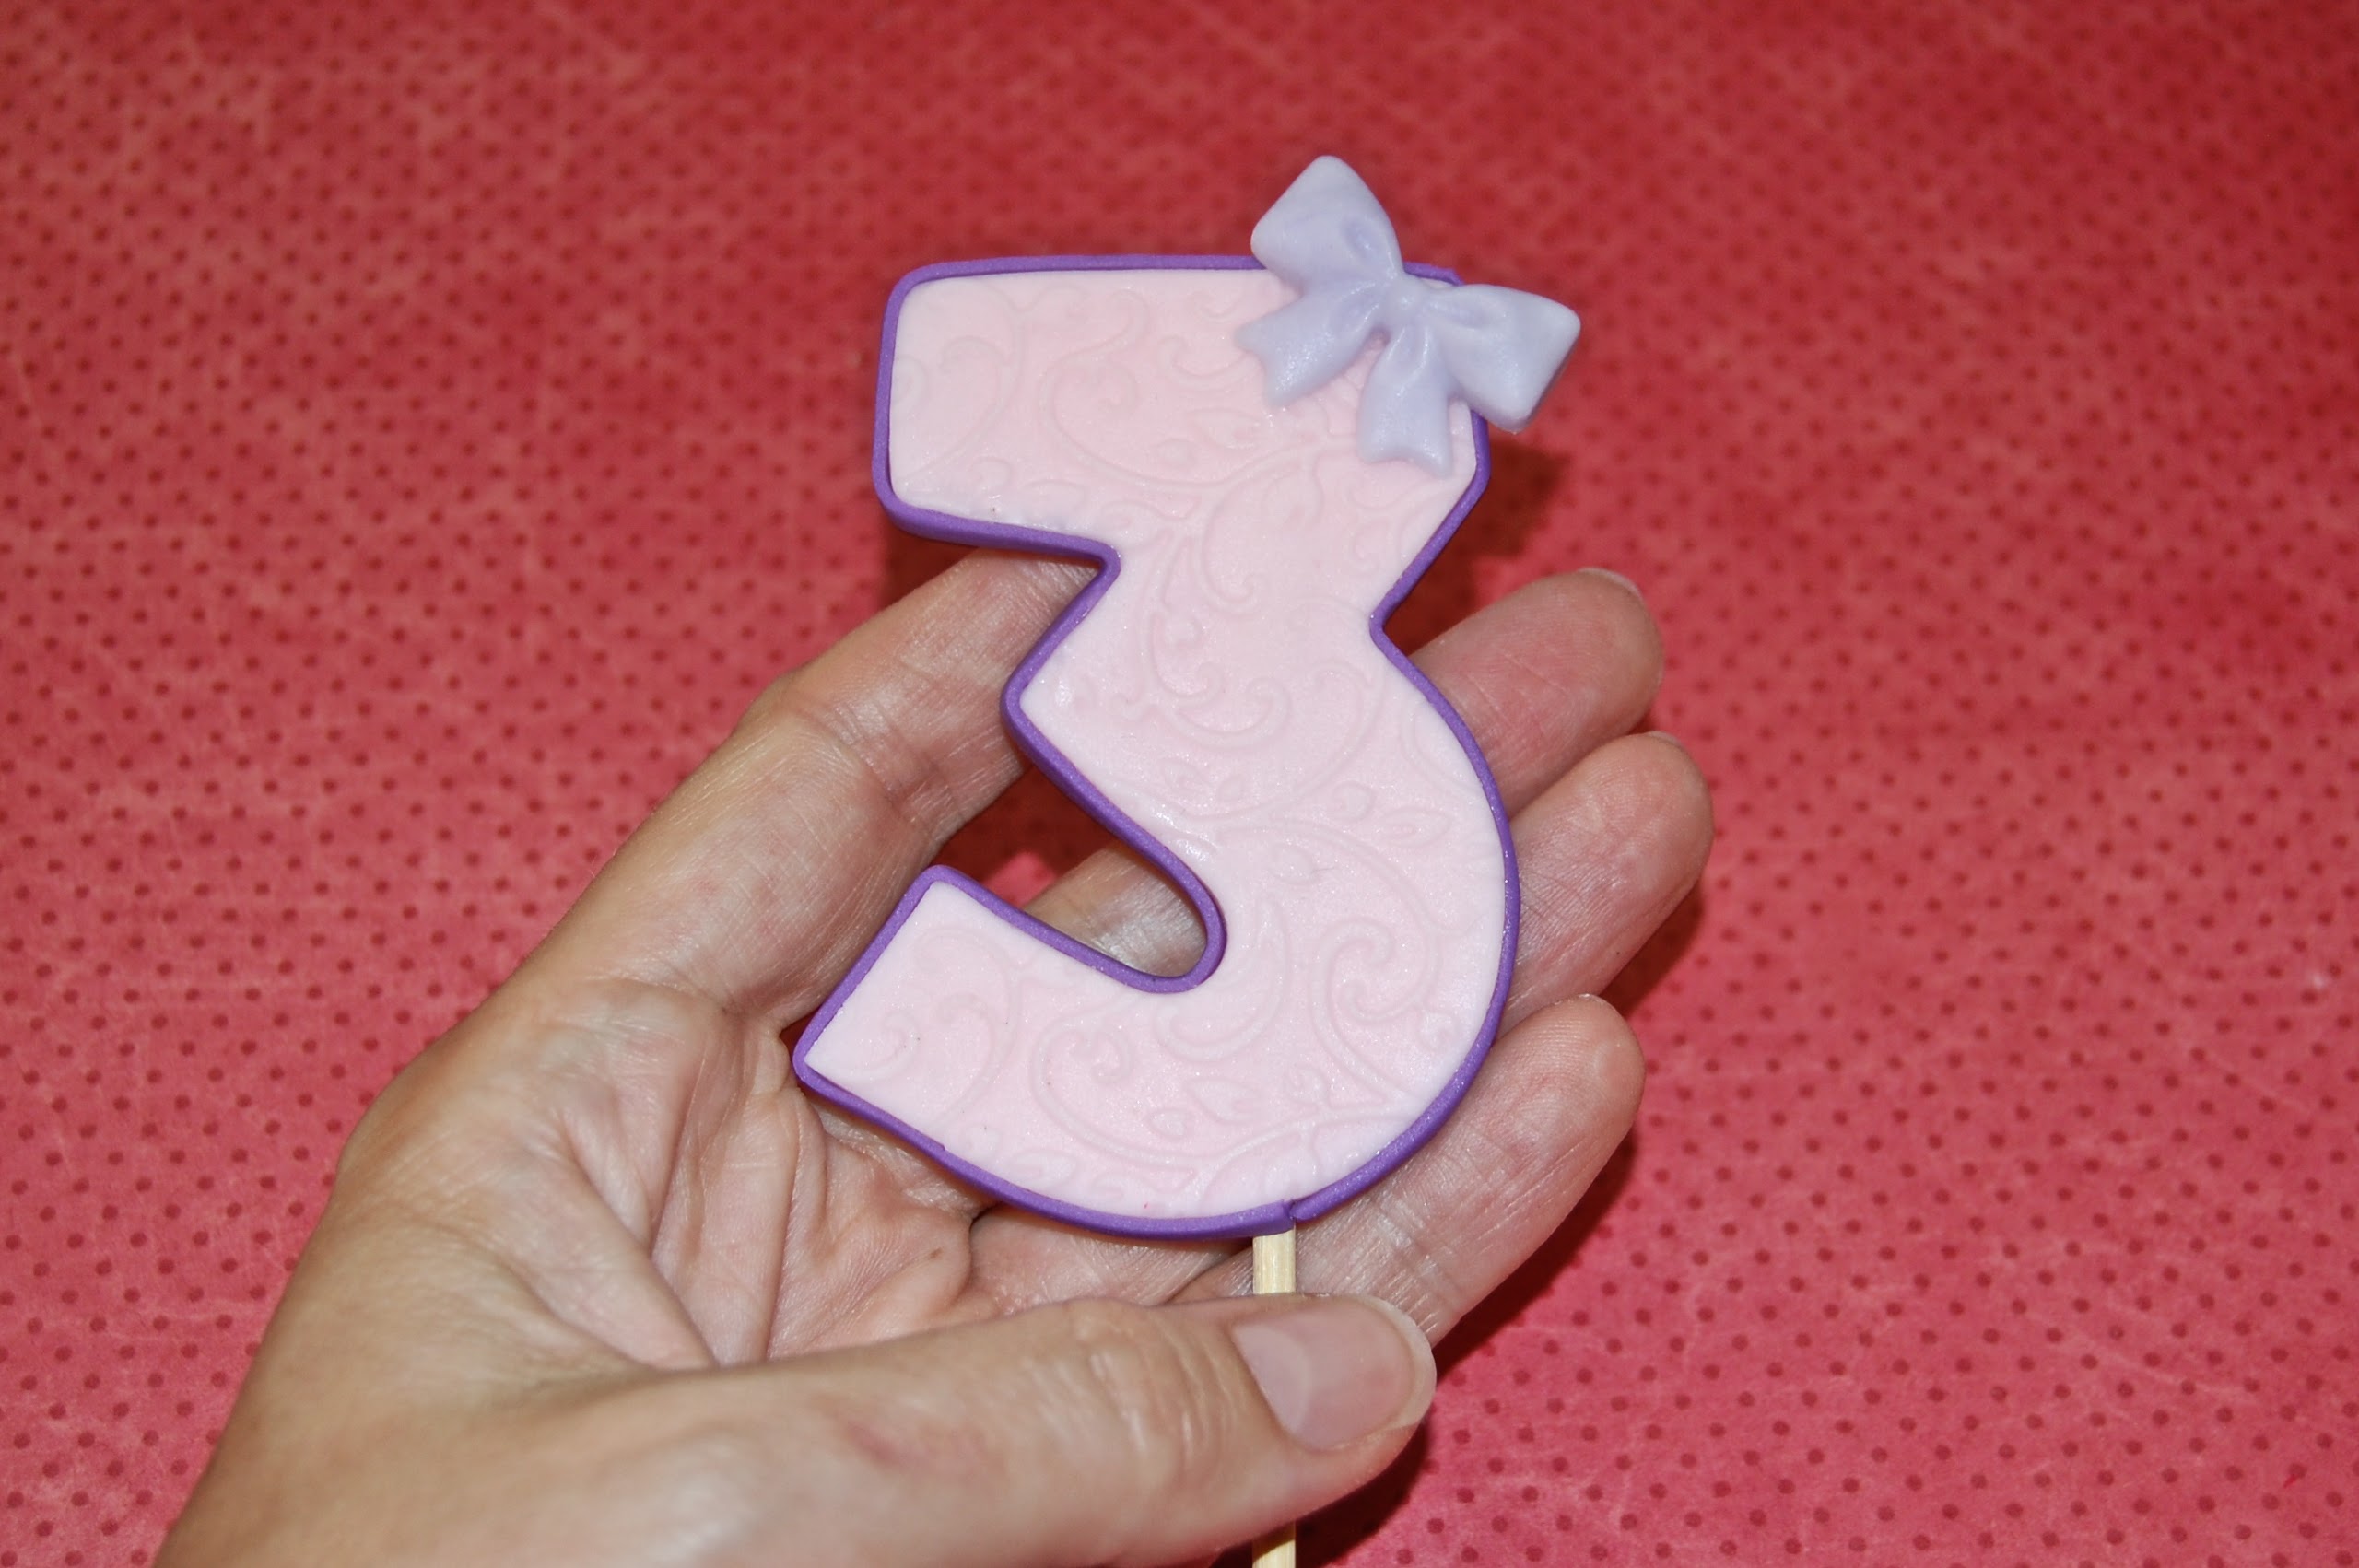
If you like, you can further decorate your number to match the cake’s theme.
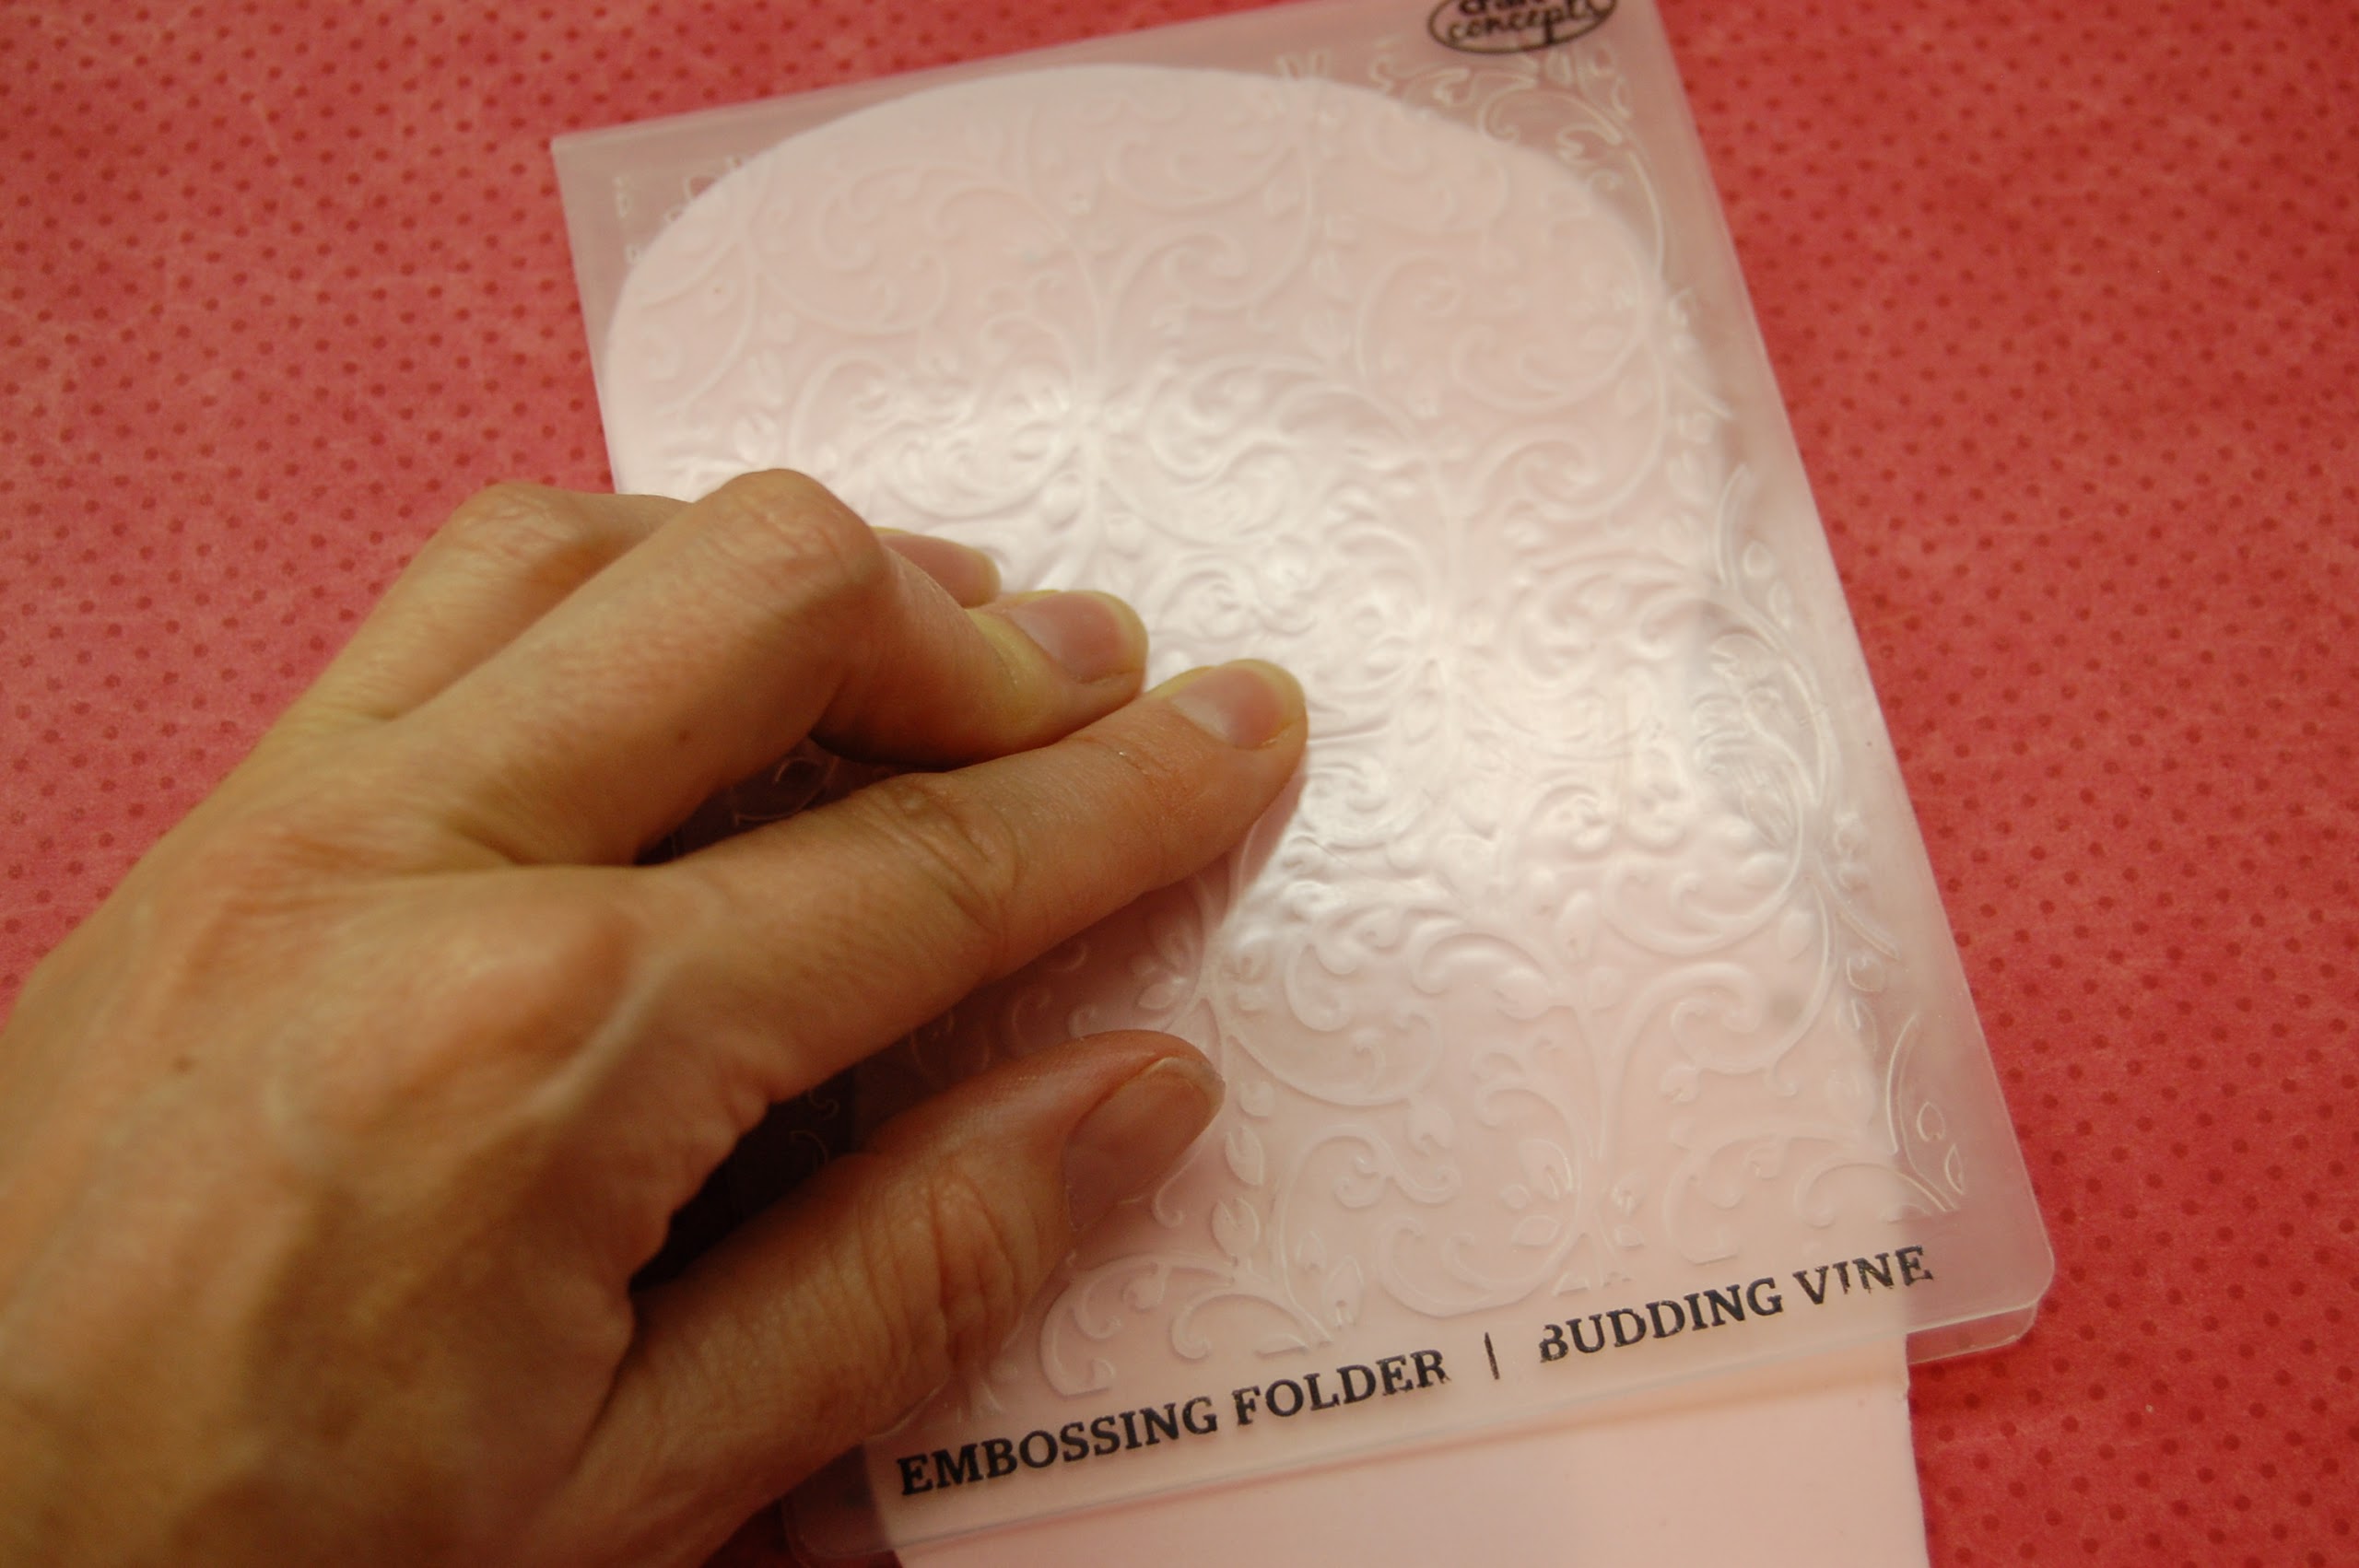
Embossing mats allow you to add interesting texture to your fondant before you cut out your numbers. Remember to flip the fondant before cutting your second number.
Note: The shape of some numbers call for the use of two skewers to make them stable when inserted into the cake. The number 0, for example, will need one skewer on either side of the central hole. Remember not to place the skewers too far out to the side, or they will be visible when you place the number on the cake. They can be disguised with flowers or other decorations to suit the theme.
The number 7 is probably the hardest number to secure. In this case, I would bend heavy gauge florists’ wire to the shape of the number and secure it in the same way. Do not insert the wire directly into the cake. Wrap the visible wire with some floral tape, then drop it into a stirrer straw that has been pushed into the cake. Give instructions for the number topper not to be eaten.

Share tips, start a discussion or ask one of our experts or other students a question.
No Responses to “The Number One Topper Tutorial”