
In my last post about cutting perfect miter joints, I covered the fundamentals. However, that’s only half the battle. Those slick 45-degree mitered corners coupled with slippery glue are enough to stress out any unwary woodworker.
Here’s what to watch for when you’re assembling a miter joint.
Alignment
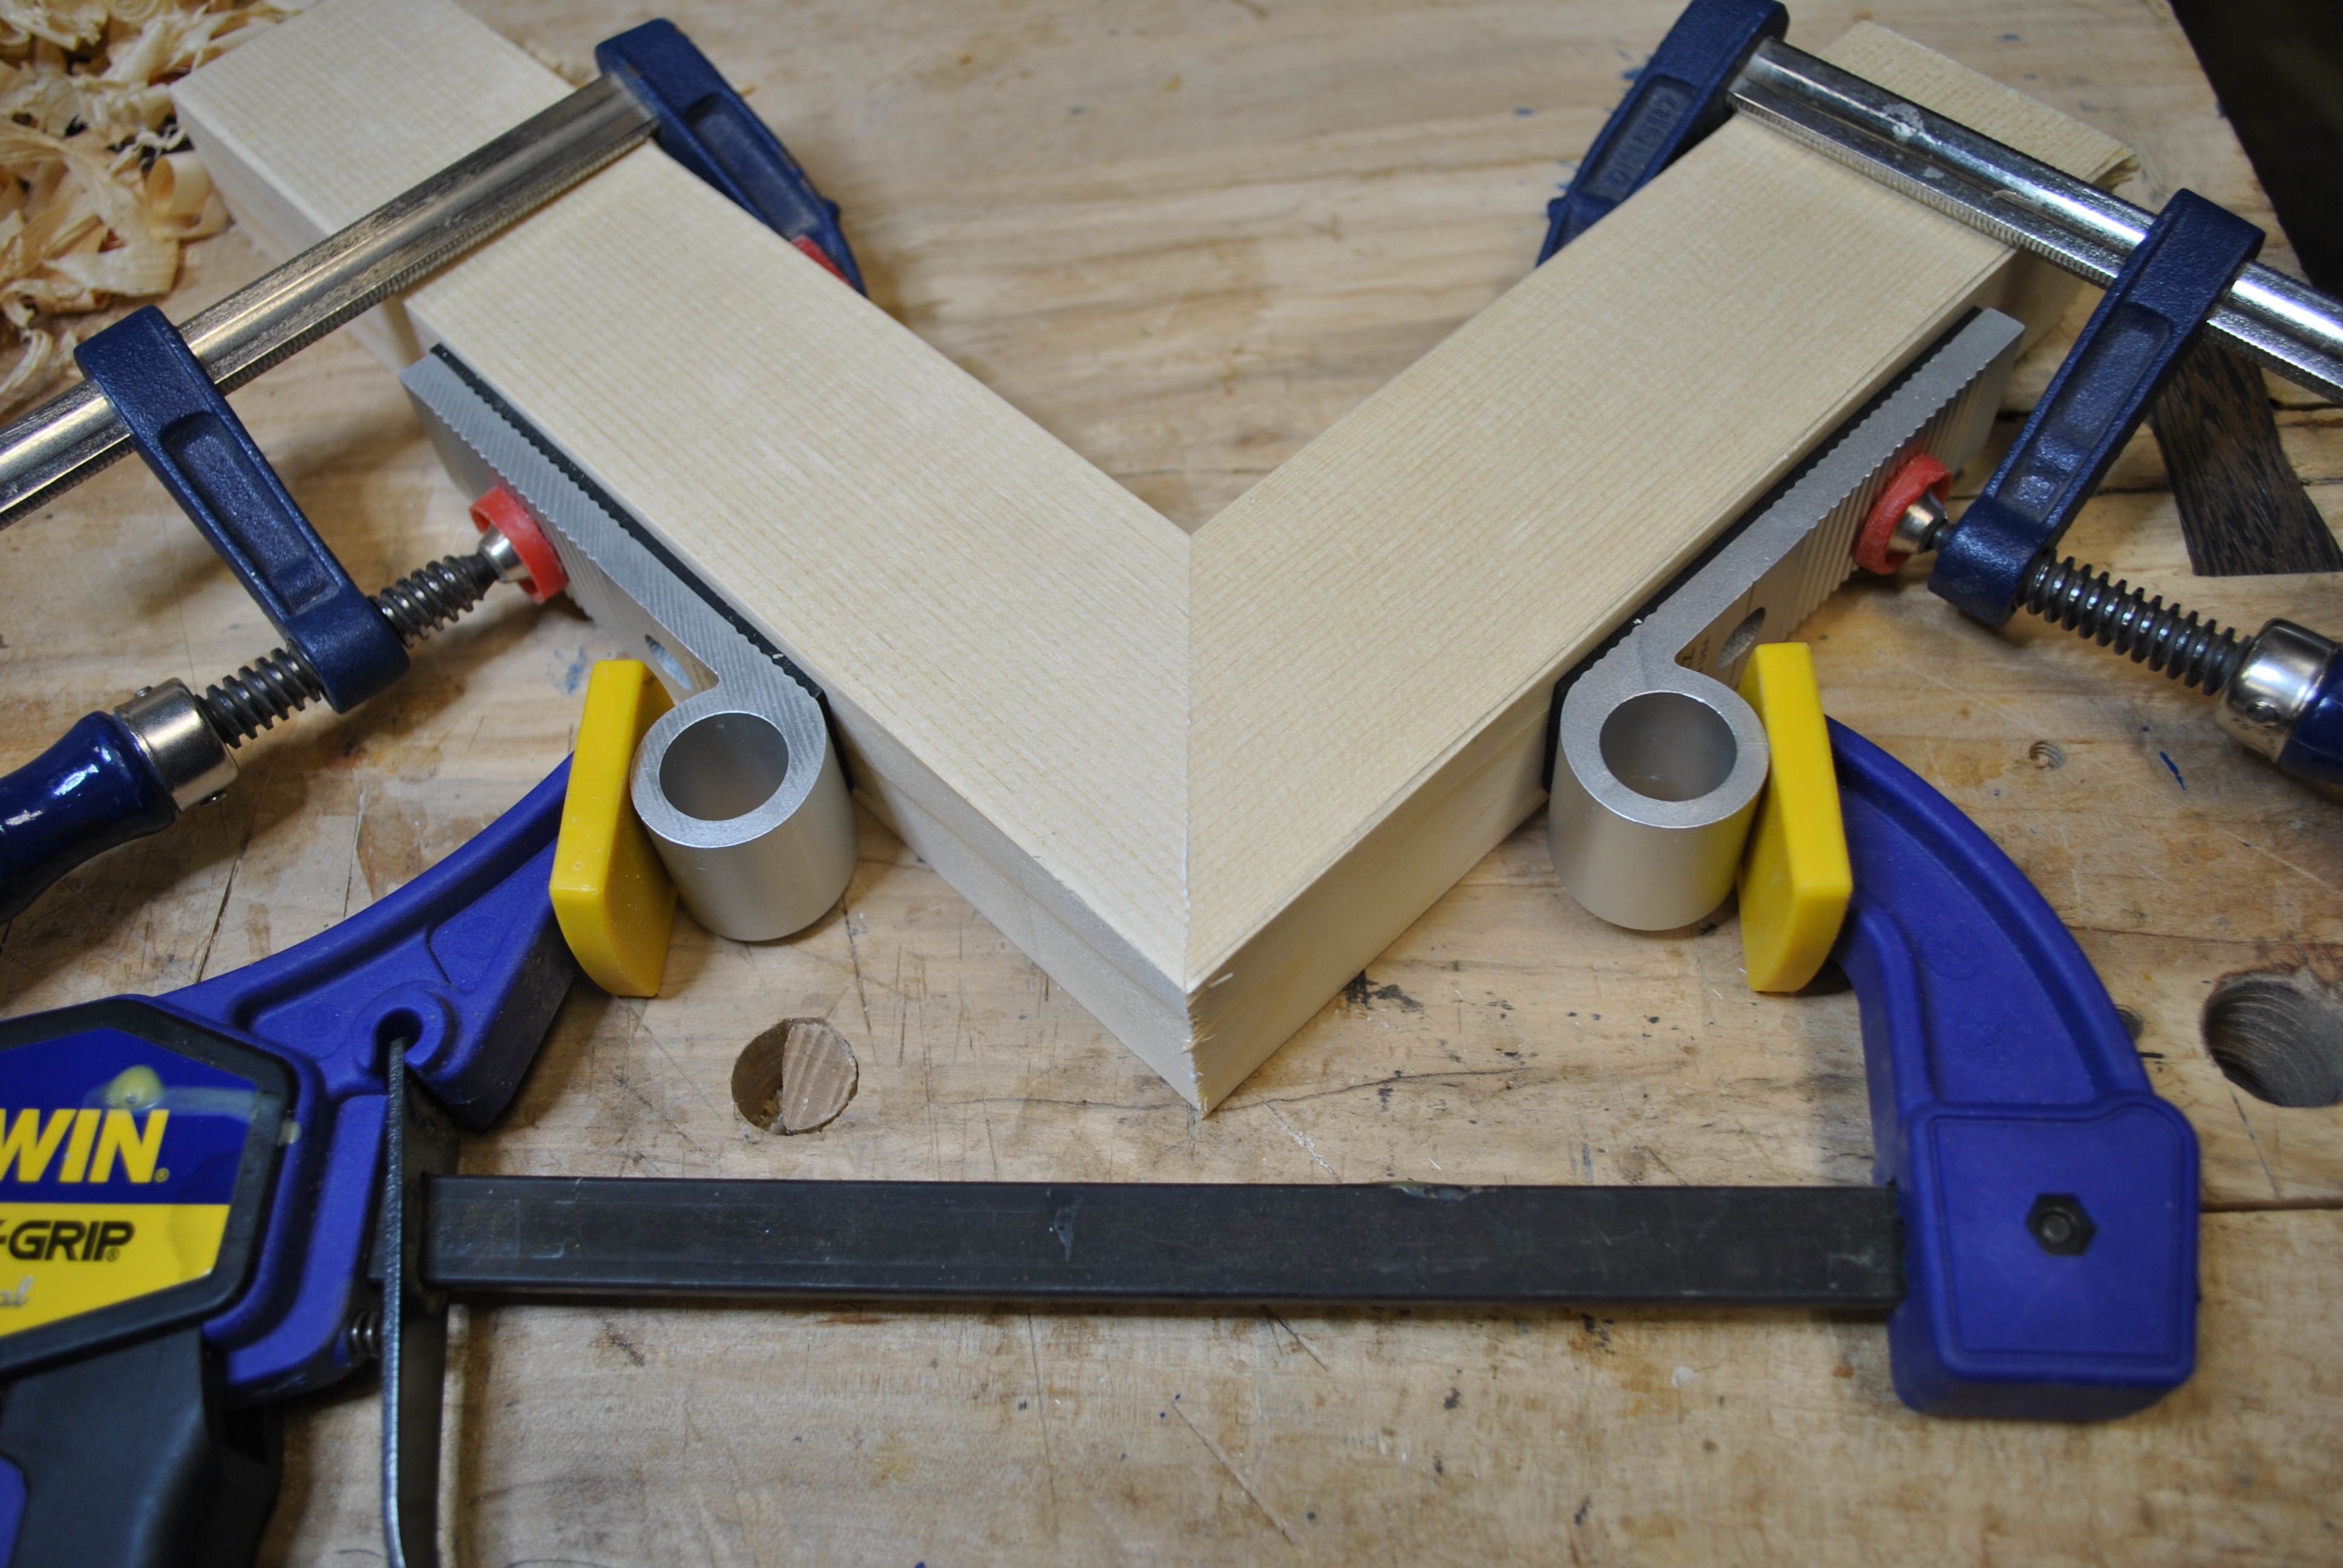
Miters are notoriously difficult to clamp together because a conventional clamp is unable to apply pressure across the angled joint. Further, any slippage in the joint leads to misalignment in the joint, which requires fixing later.
Taking the extra time before opening the glue bottle to add some sort of alignment aid is usually well worth it. Self-aligning joinery methods such as dowels or floating tenons are great and have the benefits of not using metal parts, and being completely hidden once the joint is assembled.

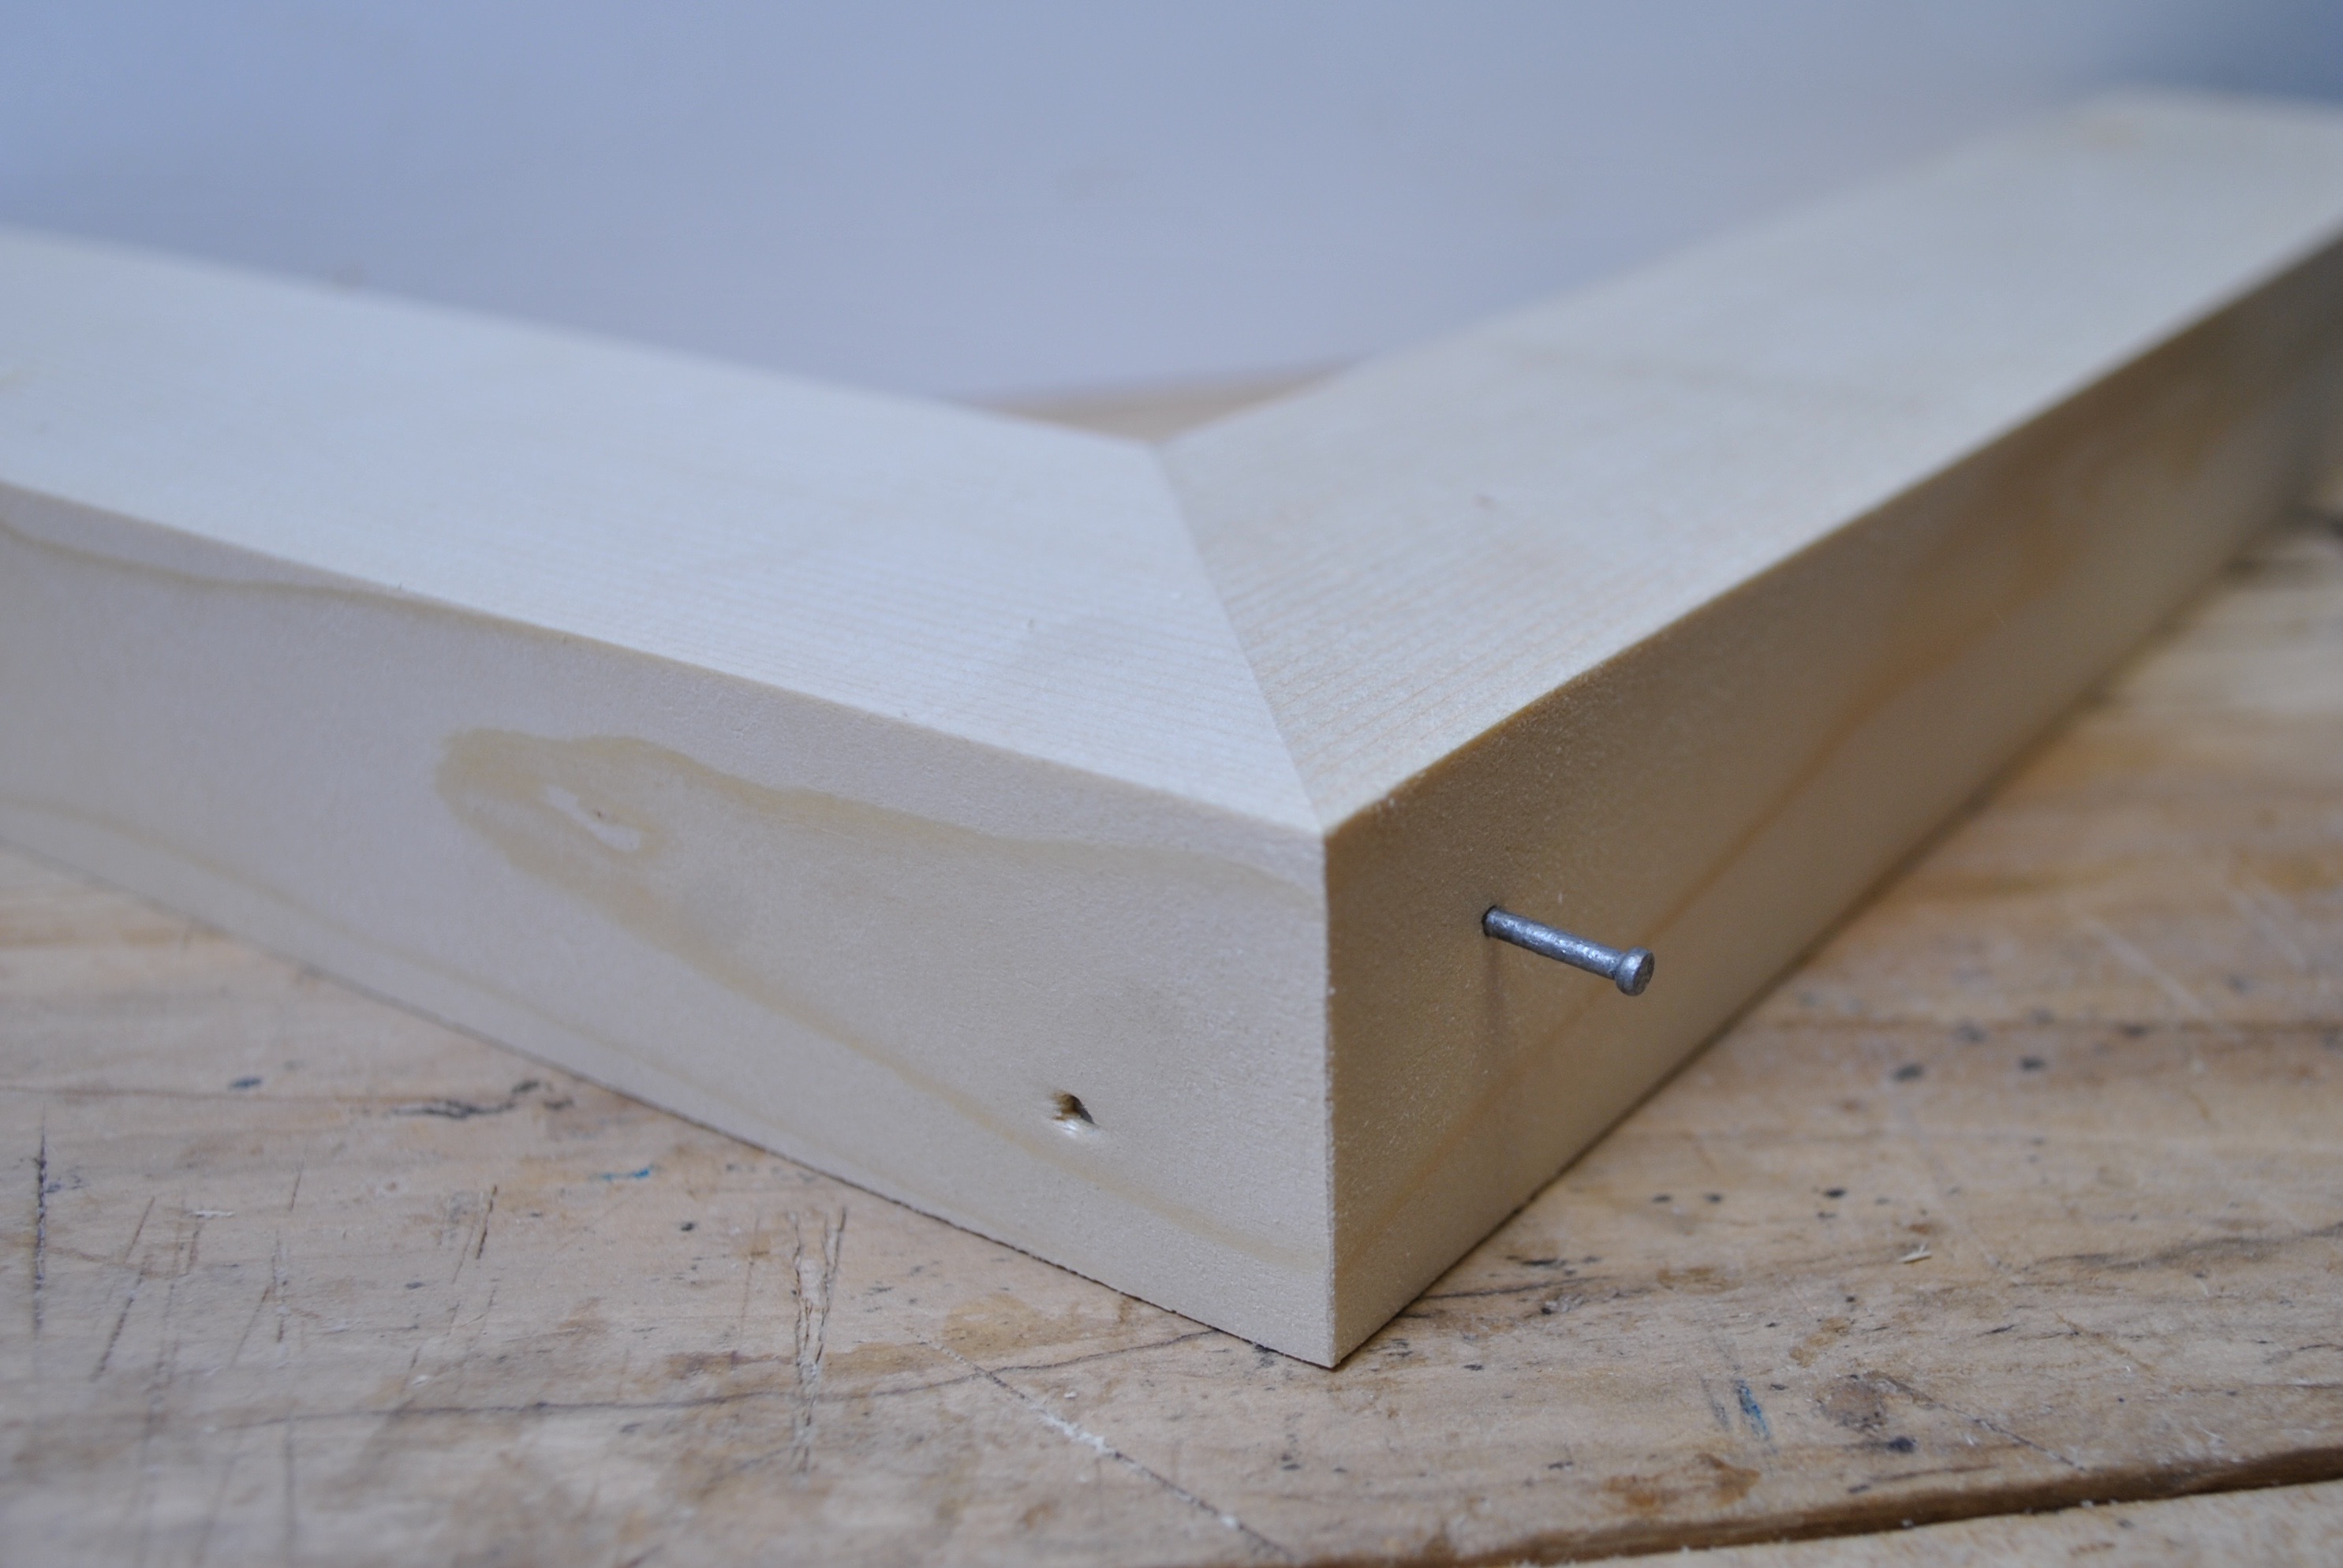
Or, once the joint is glued and put together, you can reinforce the joint with nails or screws from the outside edge, or special fasteners designed for the picture frame industry, such as V-nails, driven into the back side.
Clamping
When clamping a closed frame (as opposed to an L, for example), I prefer to use web clamps. They apply an even amount of force as they draw the joint together.
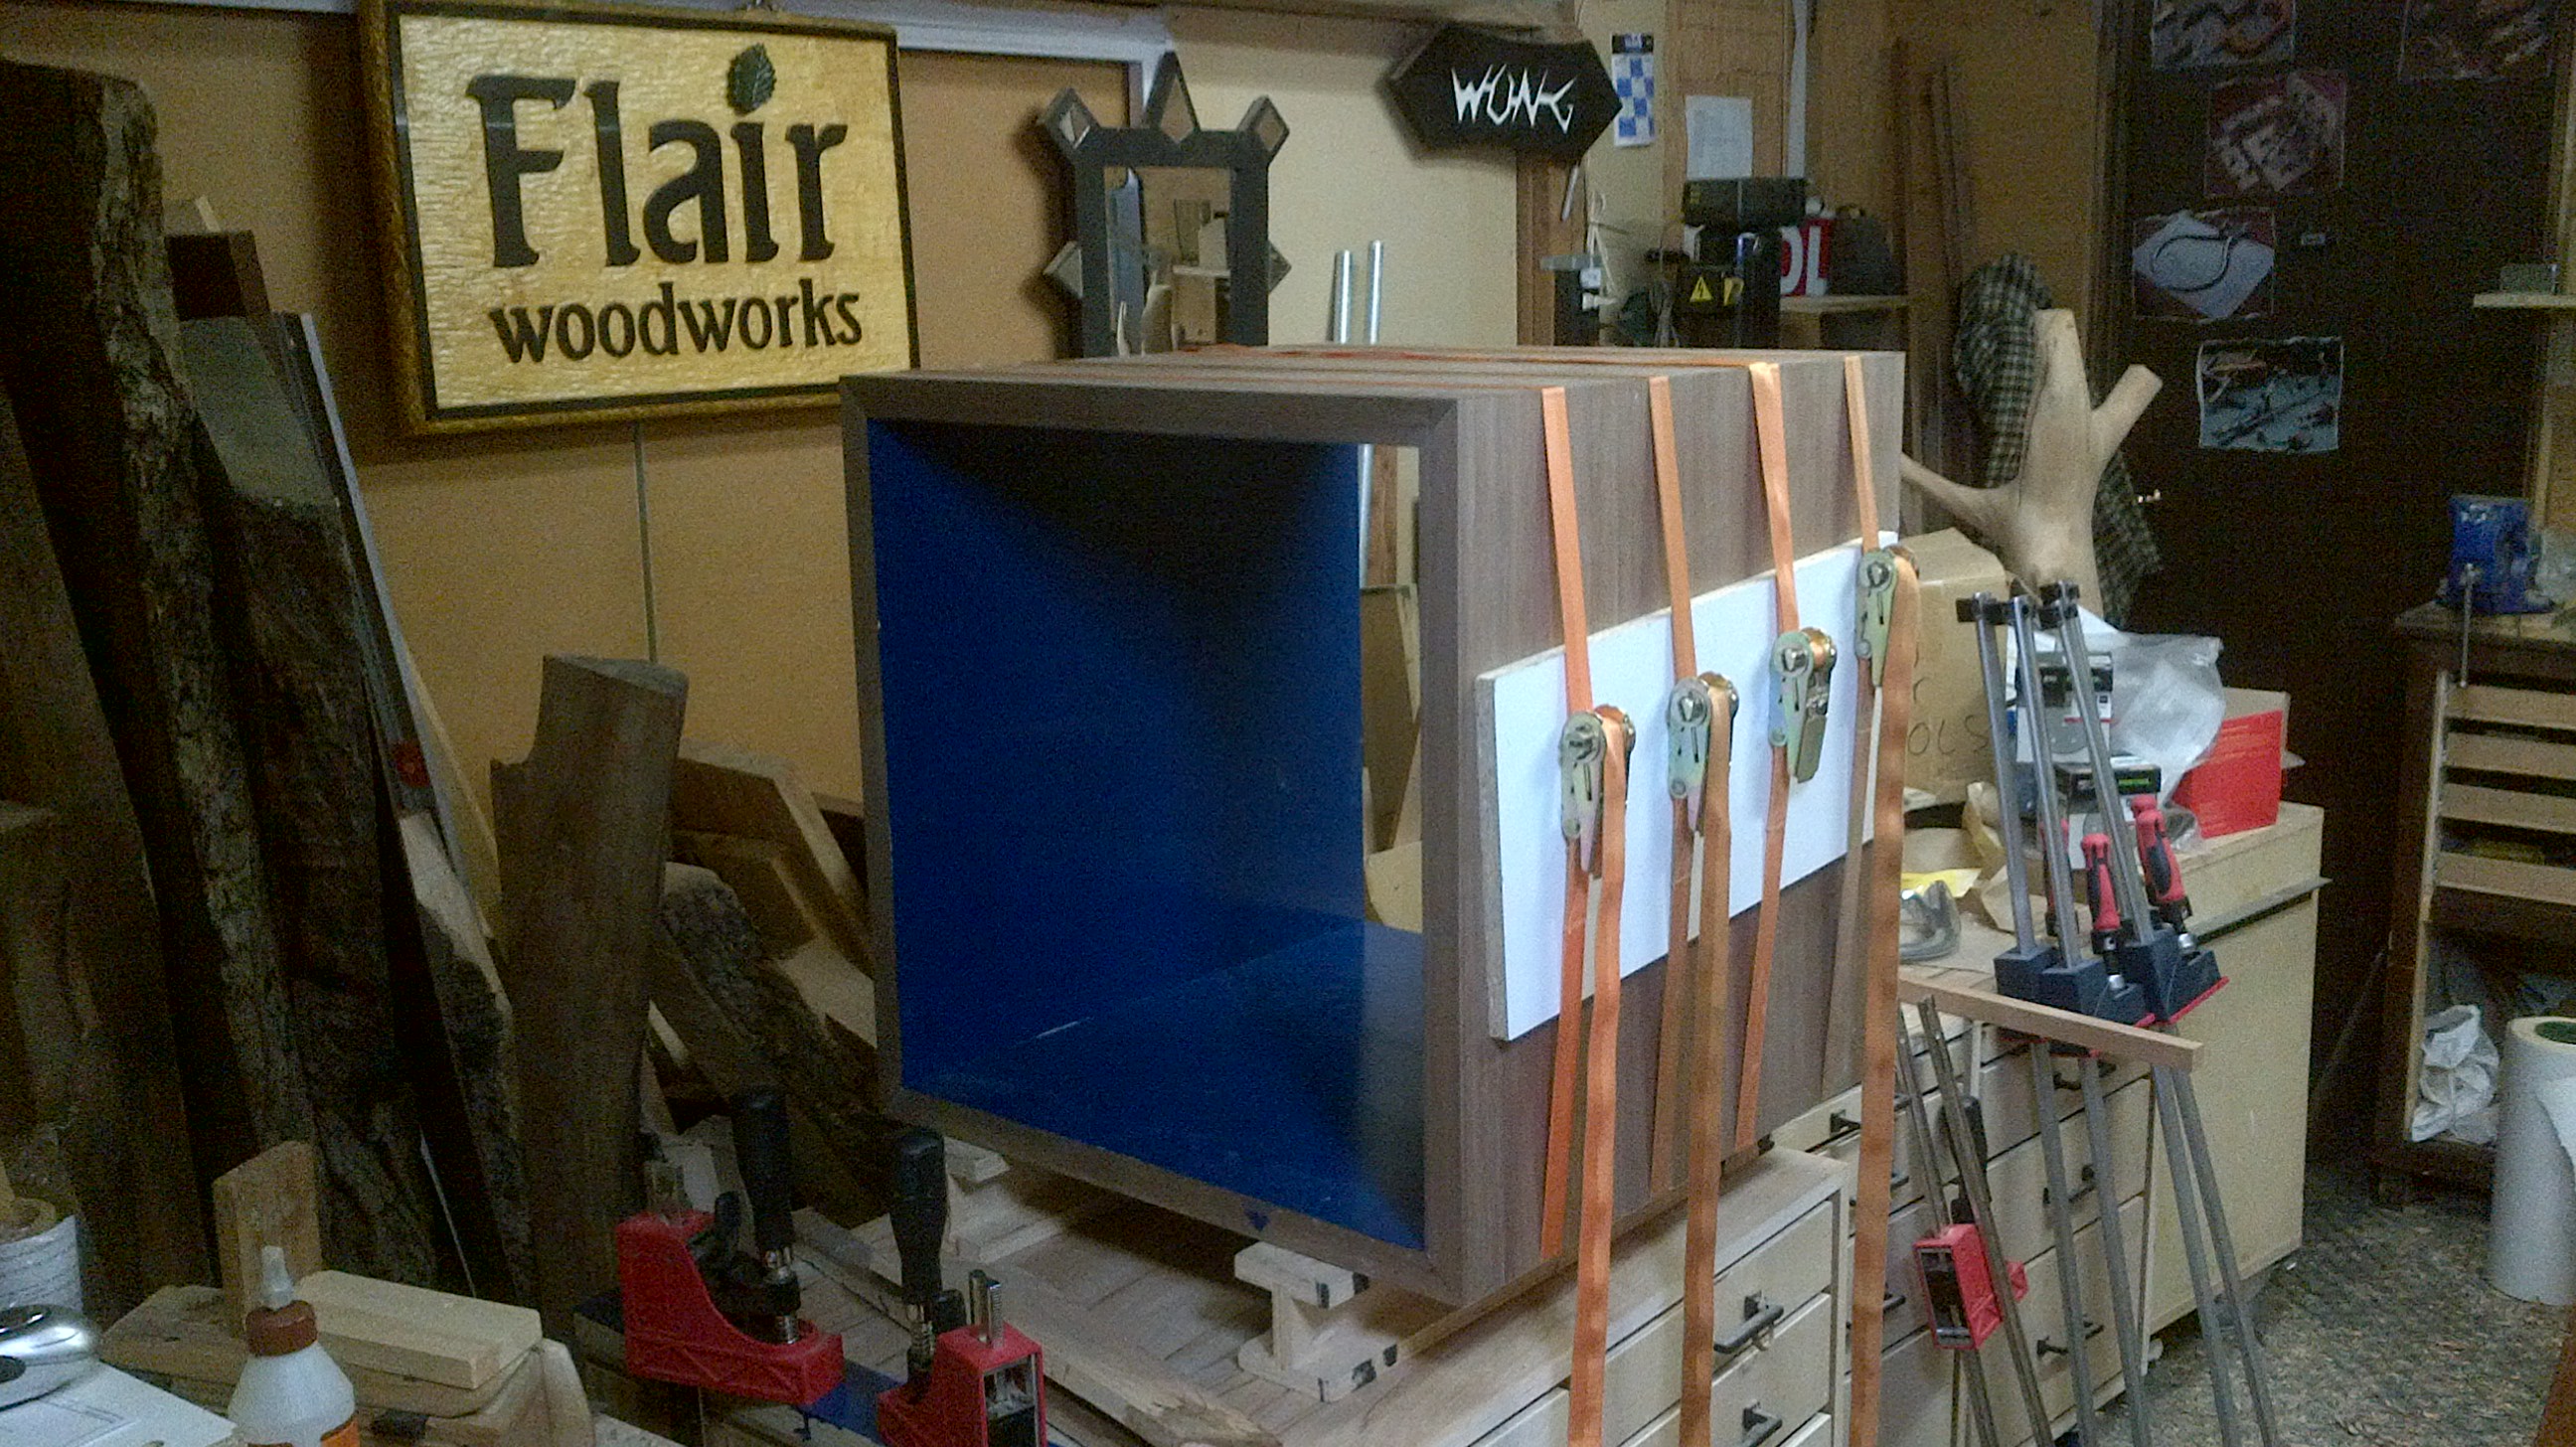
If the assembly is complicated and requires a considerable amount of time to put together, consider joining each half as one unit, then finally bring the two halves together. This way, you effectively have three times as much working time before the glue starts to set.
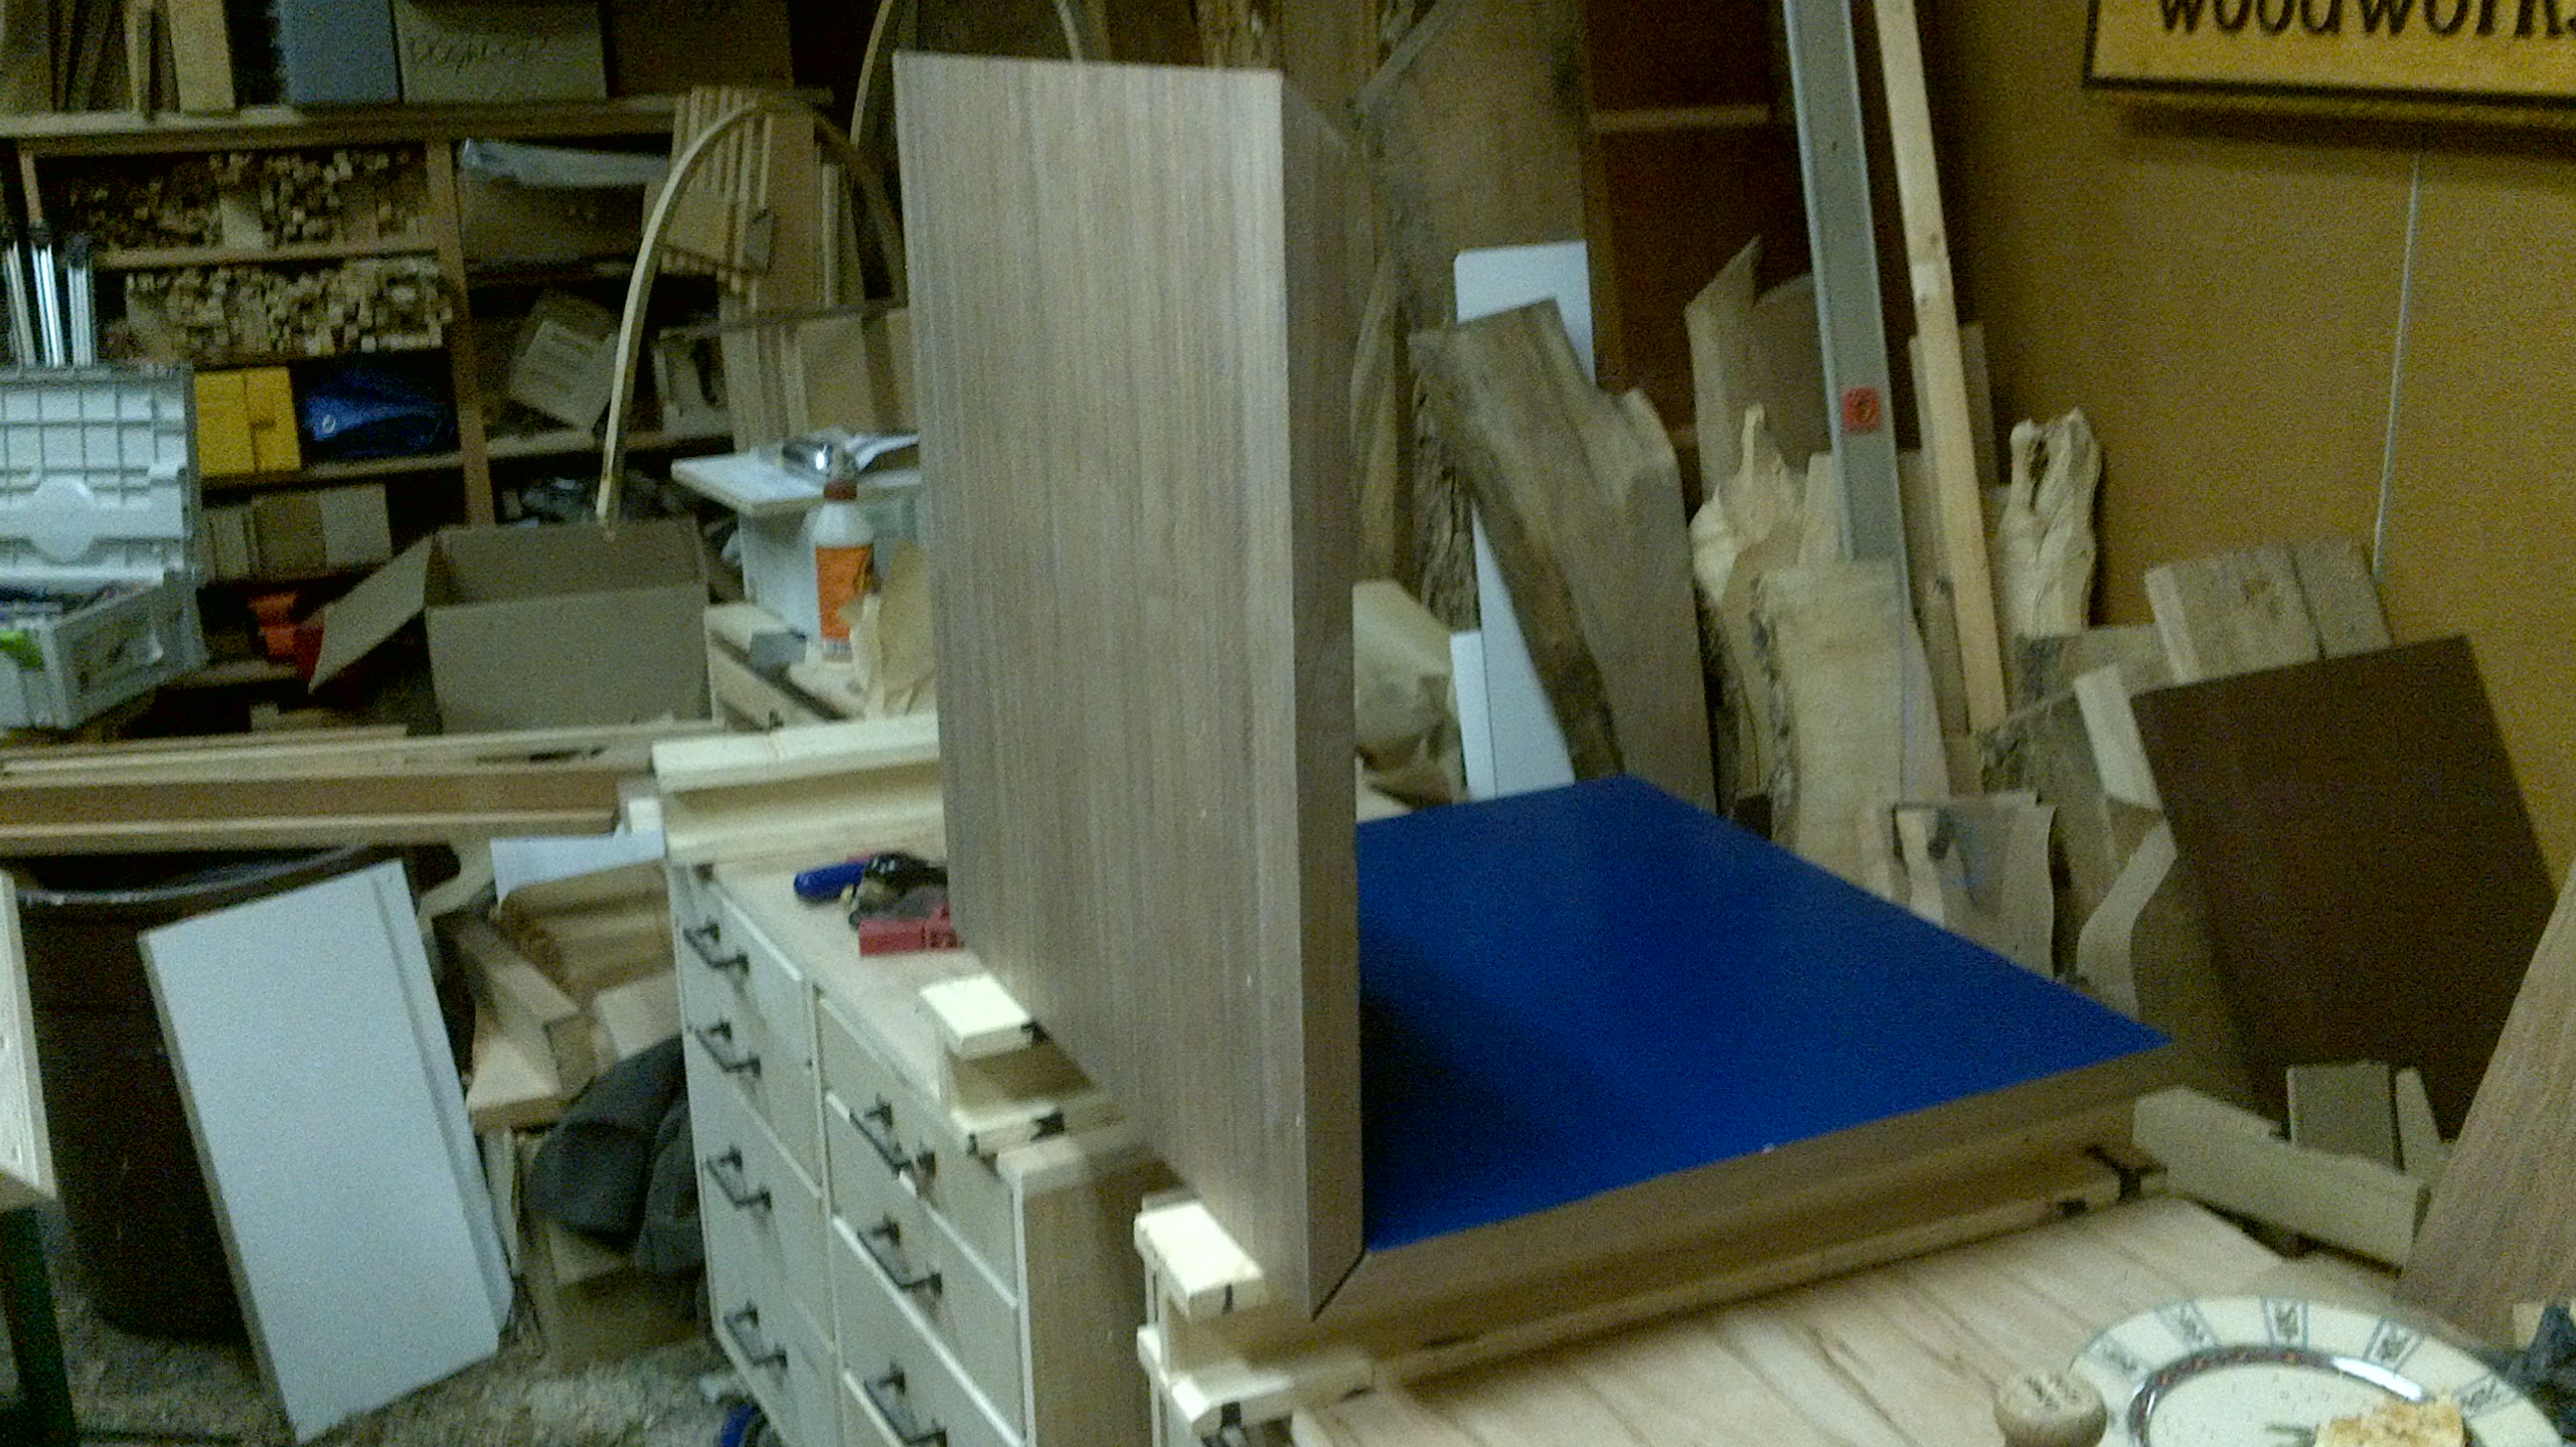
When I assembled this table, I first put together two L-shaped assemblies, then joined them together to make the closed form.
If clamping an open frame, simple clamping aids allow you to apply clamping pressure perpendicular to the joint.
Fixes for common problems
It’s good practice to dry-fit assemblies before popping open the glue bottle. This test run without glue allows you to find potential problems and make corrections or find solutions without the stress of glue that is curing.
If your joints fit together well and the glue-up went smoothly, you might find that the completed joint needs no further clean-up or repair. However, it’s perfectly normal to require a bit of fine-tuning afterwards to make the joint look perfect. Here are a few common problems and fixes for common issues with miter joints. Remember that most small gaps can be invisibly repaired with a little glue and sawdust.
Misaligned parts require an adjustment of the dimensions
If your joint didn’t line up, the easiest thing to do is adjust the sizes of the two components so that they look perfect. This usually involves trimming the outside of one part and the inside of the other. I usually reach for a finely-set hand plane for the outside of the joint and a sharp chisel for the inside. If hand tools aren’t your thing, careful work with some fine sandpaper will get you there, too.
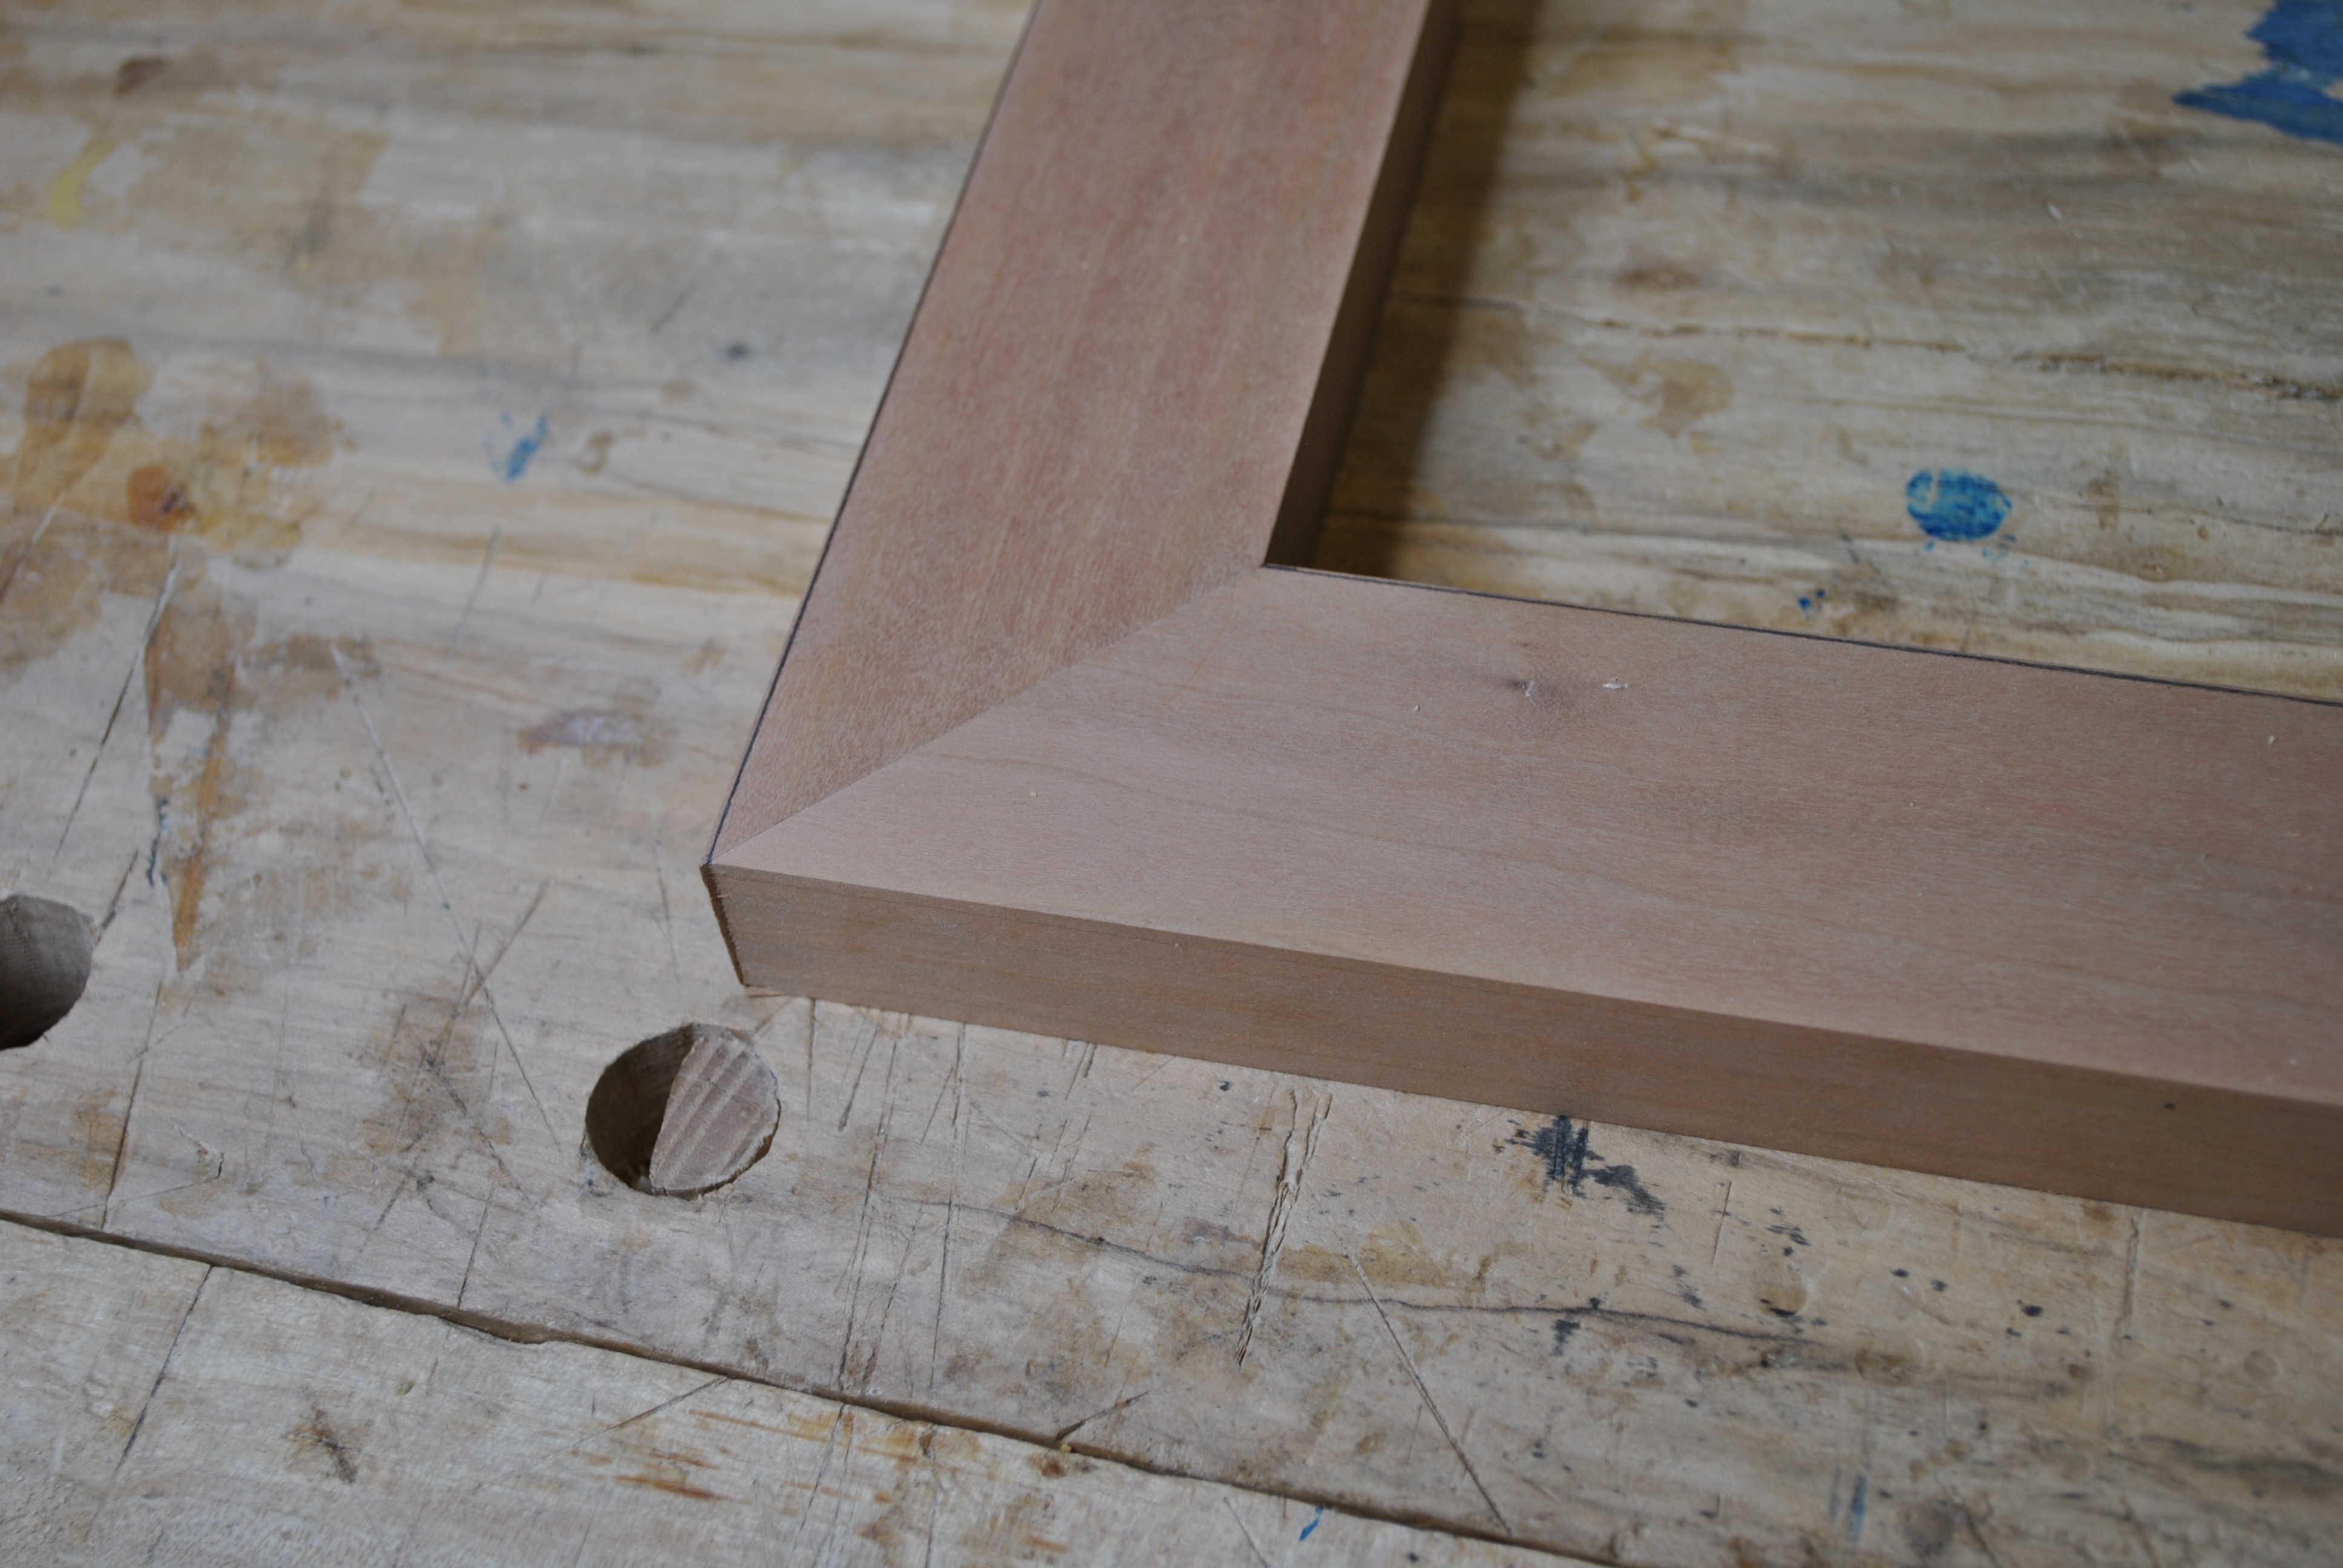
Gaps on the face are ugly, and are usually the result of neglect
In most cases, gaps along the face of the joint don’t come as a surprise after the glue-up – they were there during the dry-fit, but you just chose to ignore it and hope that it would go away. But it didn’t, and now you have to deal with it. The fastest way to fix it is to use filler, but that rarely looks very good. A better way is to insert a thin slice of wood that matches the grain of the wood but an even better way is to cut the frame apart and do it again.
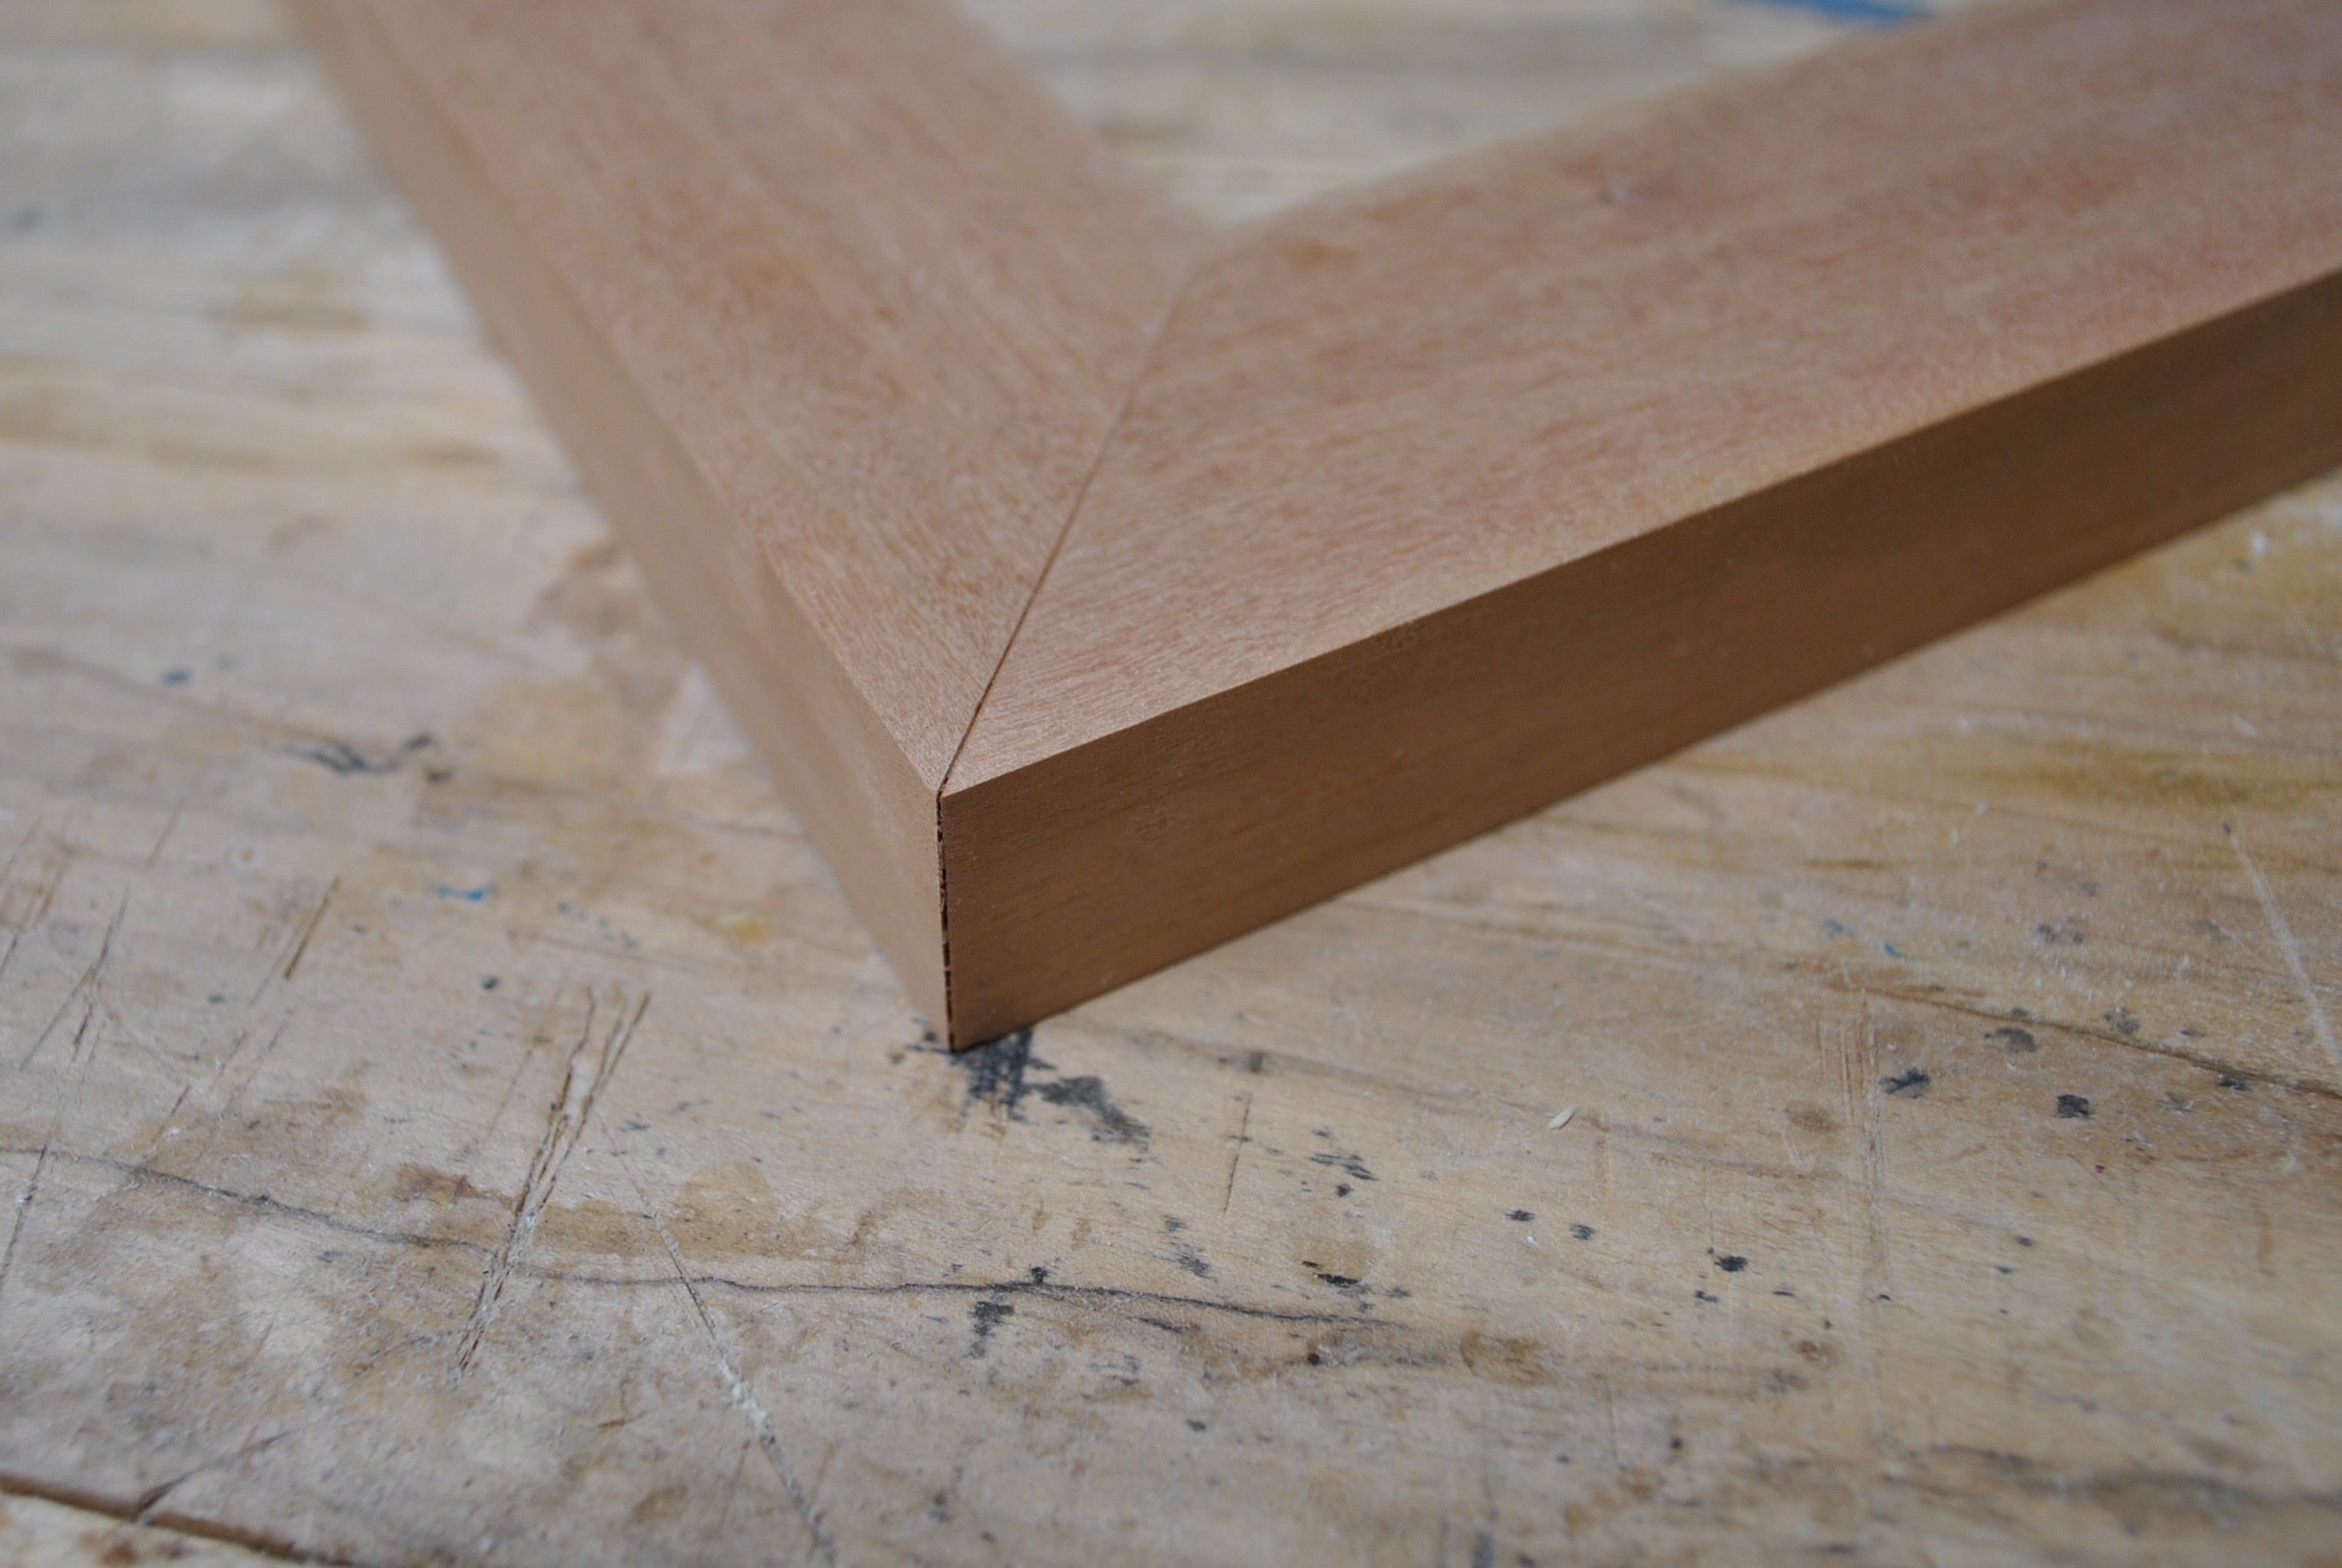
Gaps at heel are tough to fix invisibly, but also hard to see
If there is a gap at the heel of your joint, there isn’t much that you can do besides work in some filler. The good news is that this part of the joint is rarely scrutinized, and even if it is examined, it is hard to see well.
Gaps at the toe can be fixed with one good trick
A gap at the outside corner is one of the most disheartening things to see when you remove the clamps because it is a primary focal point.
To close up this type of gap, I use a technique commonly called burnishing. Basically, it involves pushing together the fragile mitred tips. My tool of choice is a Veritas Tri-Burnisher (for sharpening scrapers), but any hard material that is smooth without sharp corners and has an appropriate amount of surface area will work (too little surface area is prone to causing dents, too much surface area makes it too difficult to deform the wood fibres). It should also be easy to hold.
I grip the burnisher with one hand at either end of the tool and run it along the corner with moderate pressure, holding it at a slight angle. Often it takes more than one pass before the fibres start to bend and the joint starts to close. My goal is to get the two points of the mitred parts to meet somewhere in the middle. If required, I work each side alternatively.
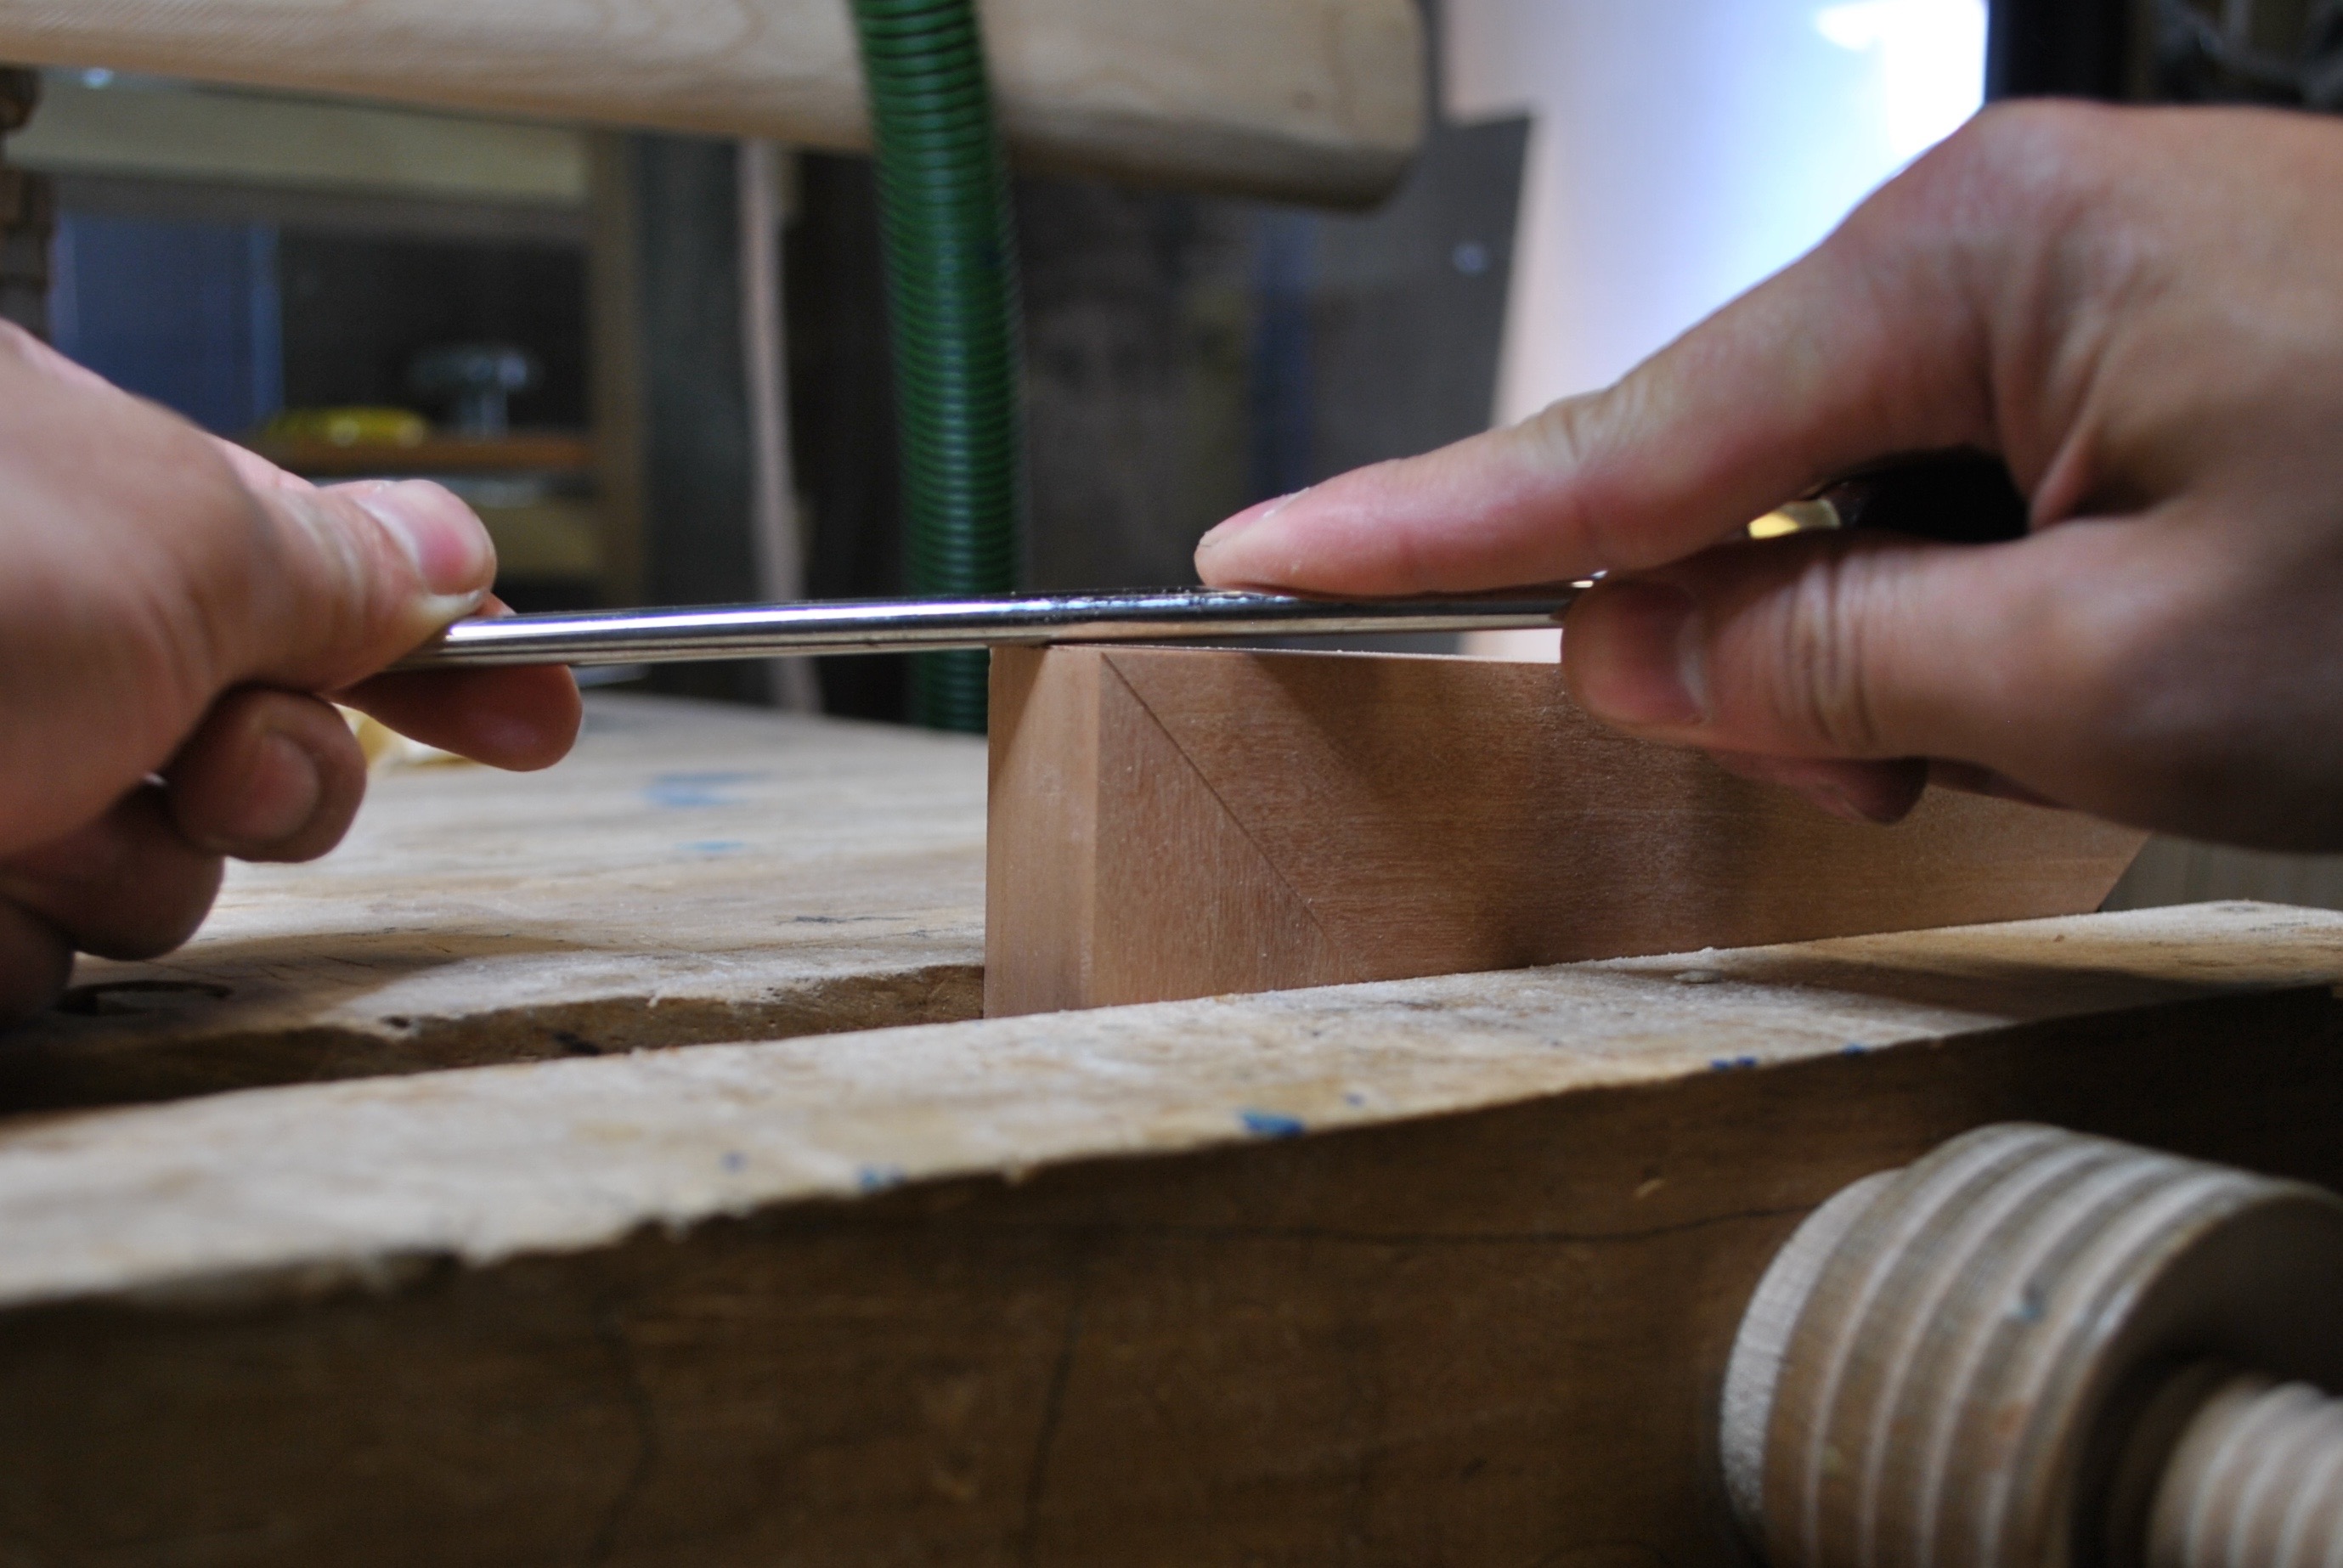
Depending on the size of the gap, it may be necessary to increase the angle at which you hold the burnisher to the work. Remember that you’re trying to persuade the fibres to bend; you’re not trying to break them.
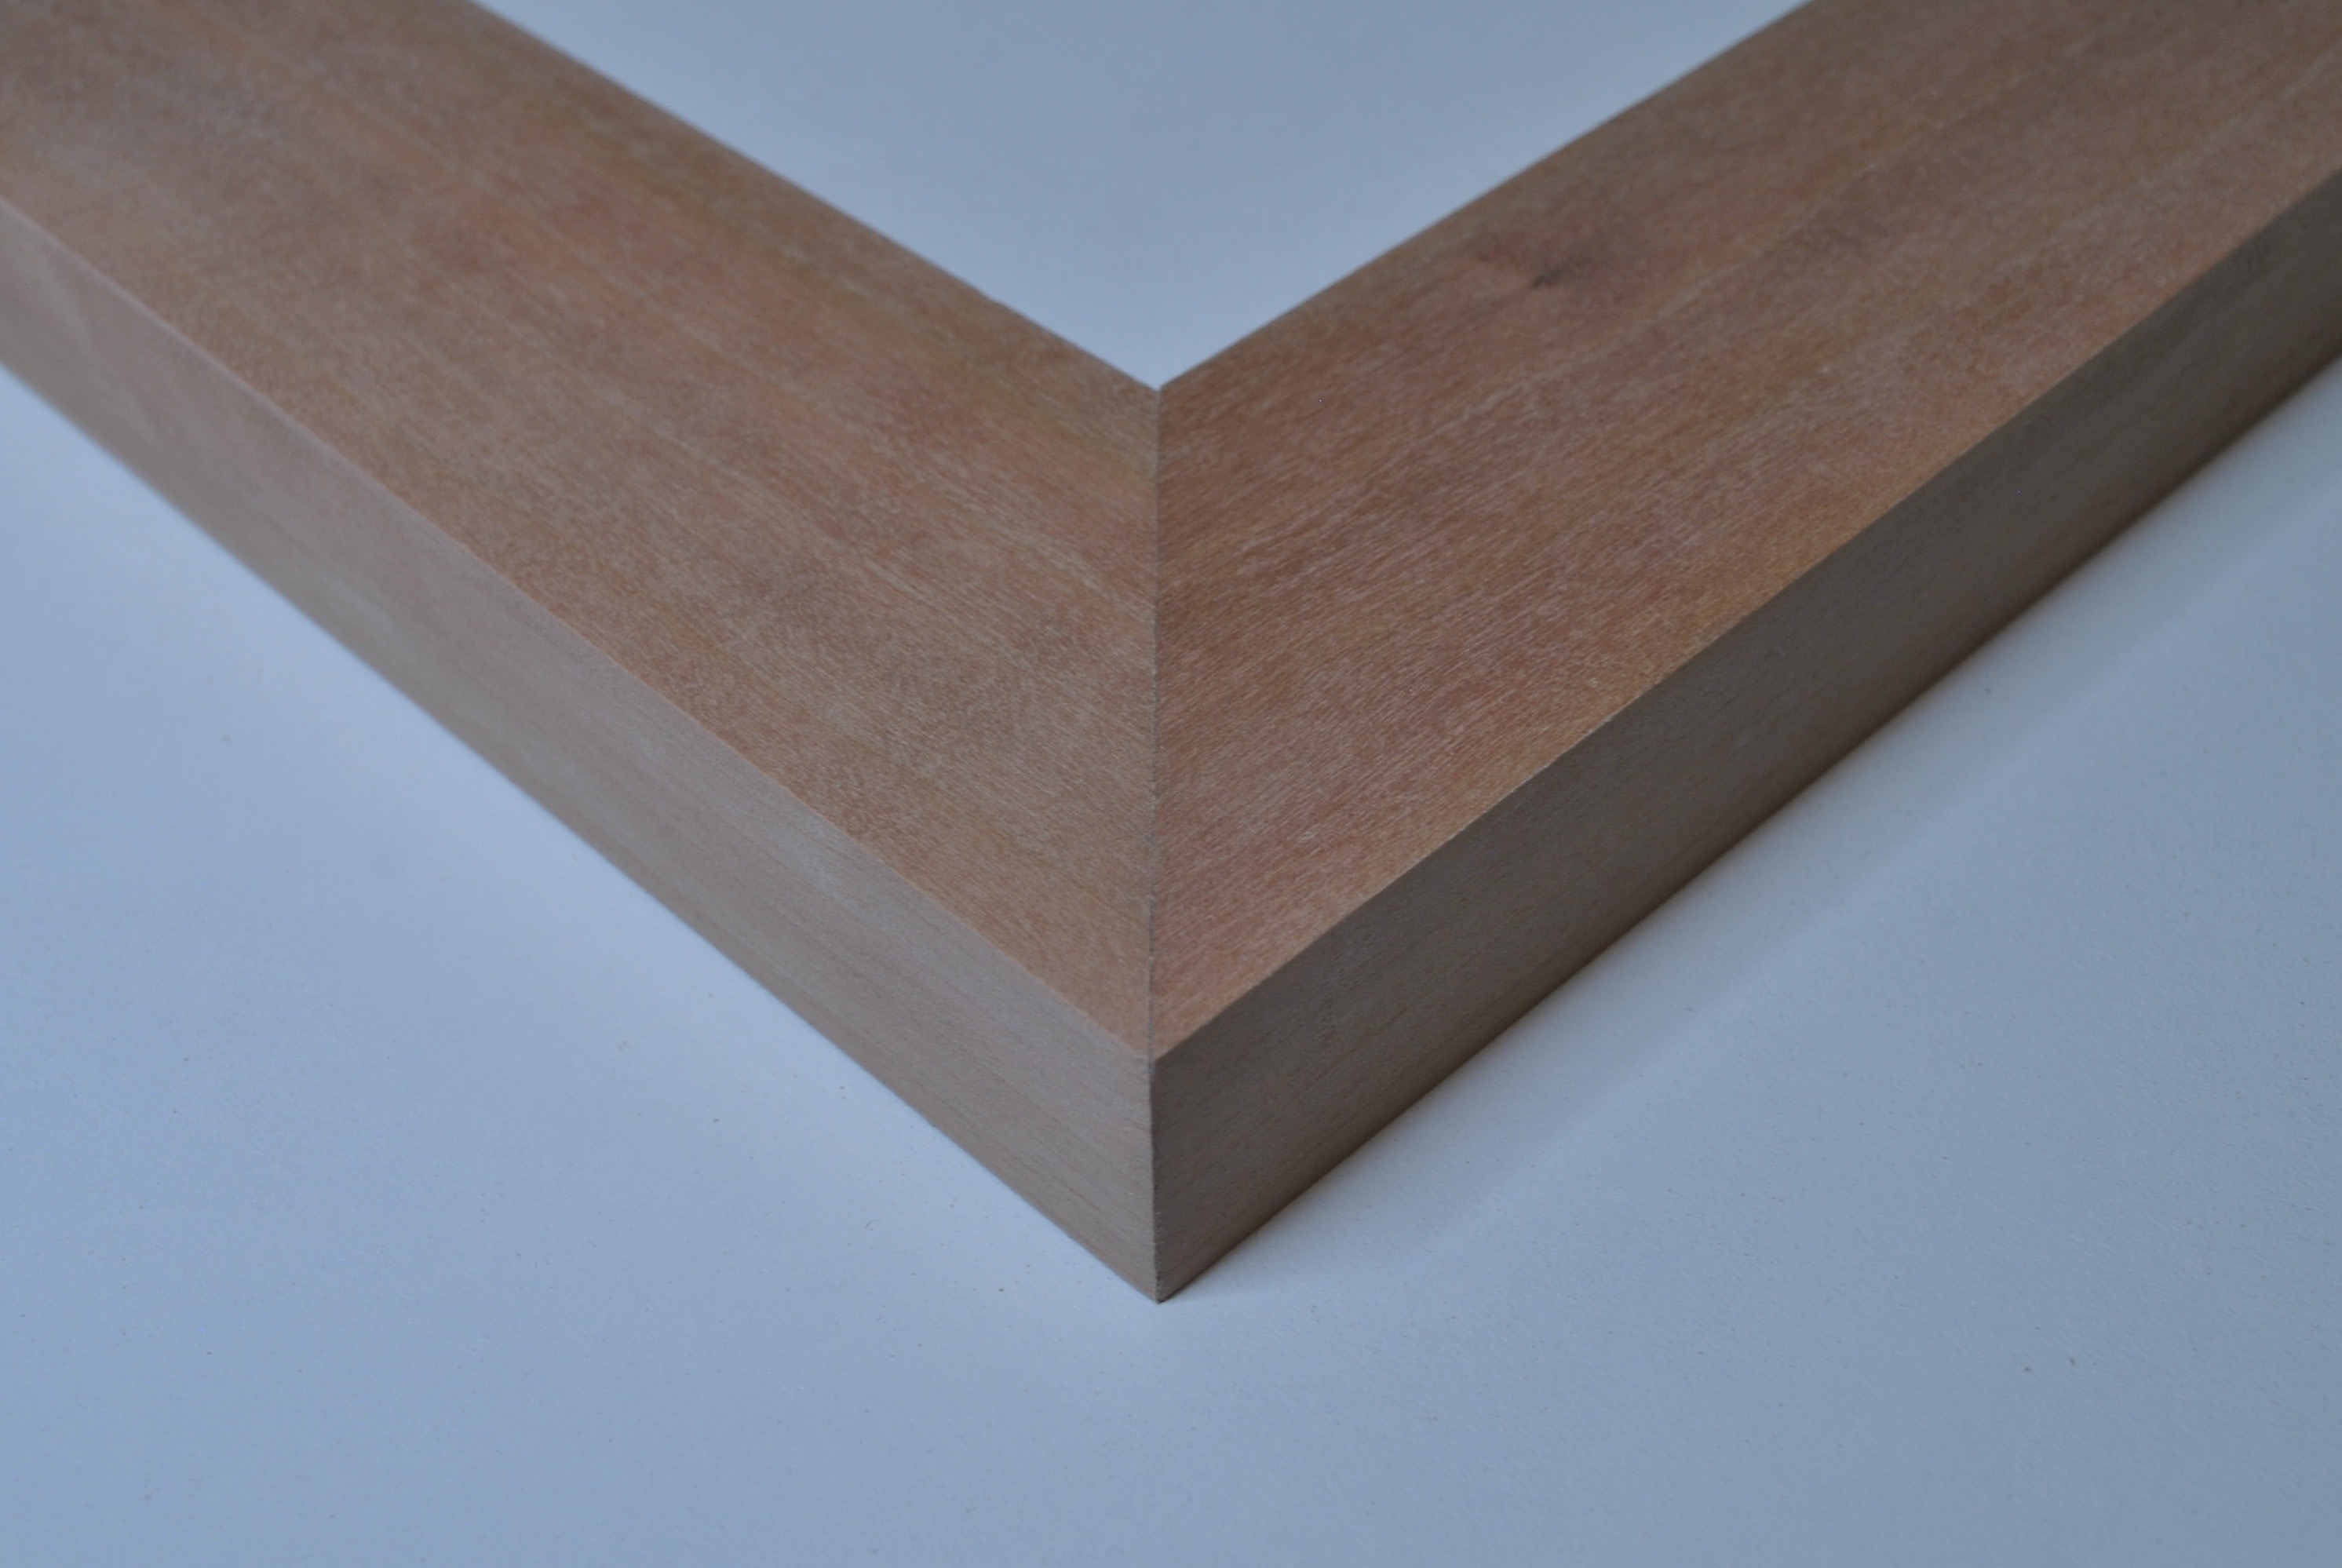
How well does this technique work? Go back to the top of this article to see this same miter, after a little burnishing and fine sanding.
Miters aren’t scary
Without a doubt, if you approach miter as you would simple butt joints, you will end up frustrated and disappointed with the results. But if you take a little extra time to ensure your angles are correct, make sure the joint goes together with the correct alignment and do a dry-fit to check your work, you’re on the road to a successful miter joint. Maybe it won’t be perfect out of the clamps, but with a little clean-up afterwards you can create miters that you’re proud to show!
Share tips, start a discussion or ask one of our experts or other students a question.
No Responses to “Frame-Worthy Work: How to Perfectly Assemble Miter Joints”