
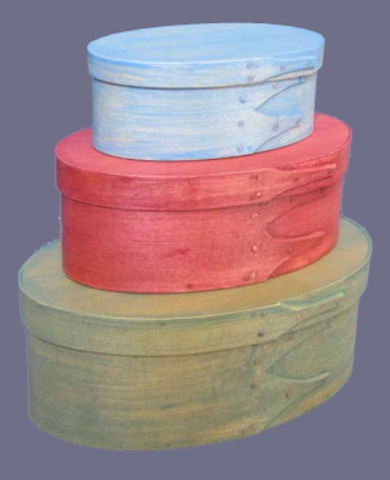
If you have been following this series, your Shaker box is nearly completed. In part one you bent the wood for the bands. Part two covered fitting the top and bottom pieces. Now you are ready to put it all together.
Follow along to learn how to finish your Shaker box.
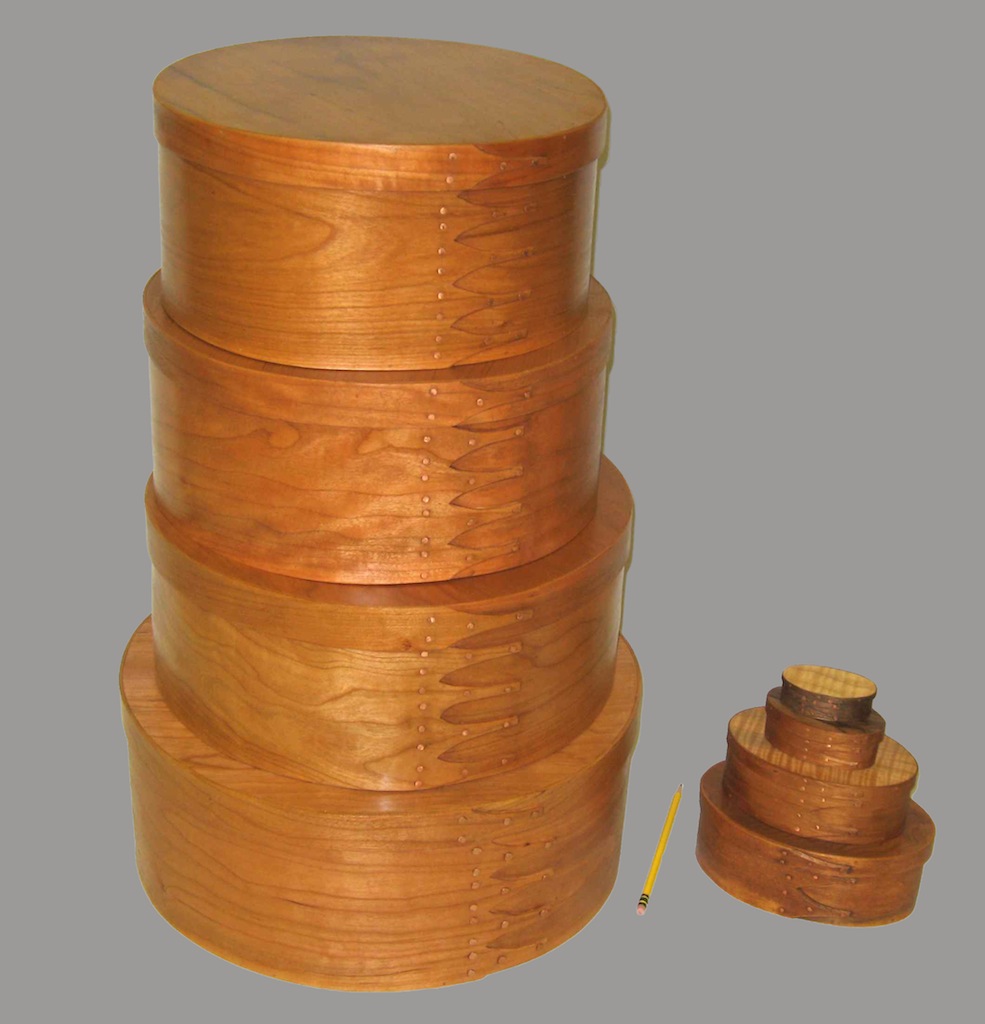
Photos via wooden-box-maker.com
You will need:
- 5/64″ drill bit and drill
- Jig to hold drill (instructions below)
- Toothpicks
- Tool to snip ends of toothpicks
- Sandpaper and finish of your choice
Putting it all together
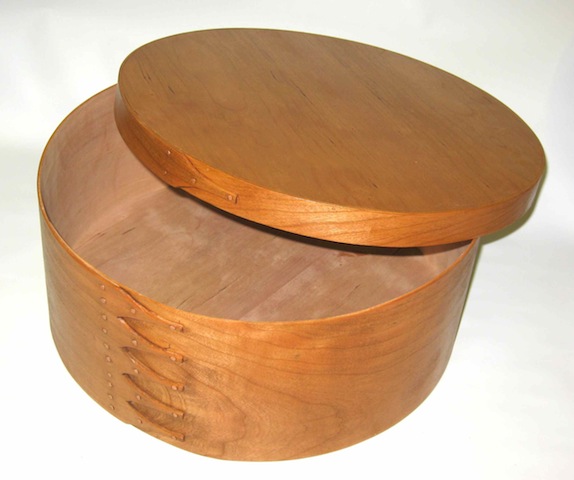
At this point you have your top and bottom pieces that have been fitted to the bands. Slip them into place and make sure they are flush with the band. Then, to attach them, drill 5/64″ holes, centered in the thickness of the top or bottom that you are attaching. This is much easier with the jig described below.
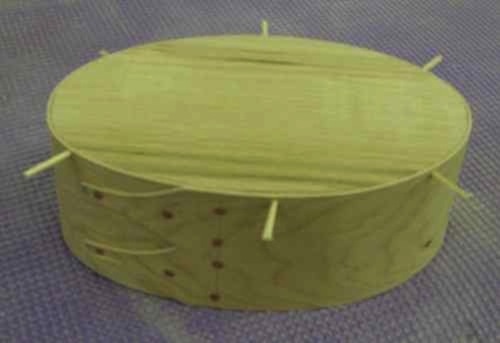
Drill holes around the band every 2 to 3 inches then fit a toothpick in each hole. Tap the toothpicks into place and snip them off close to the band. Don’t use glue, they will be fine without it.
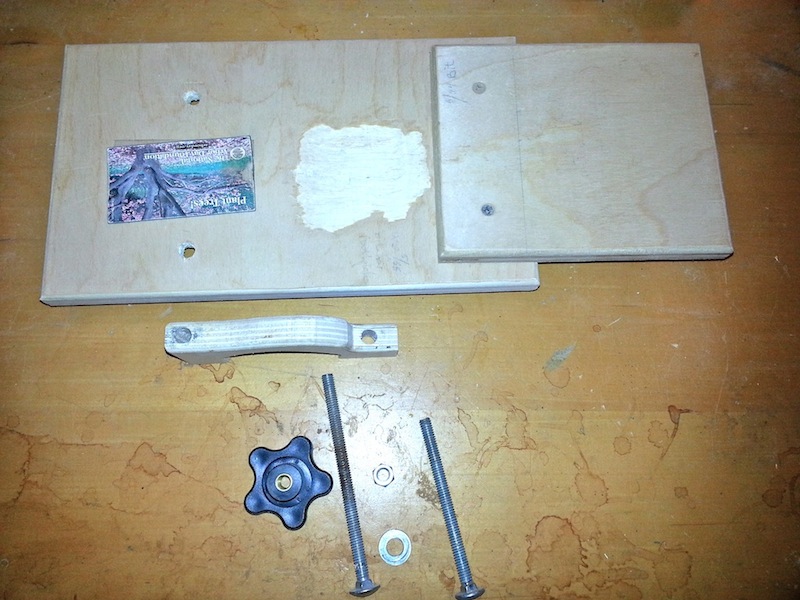
Make a Shaker drilling jig
While you can do the drilling freehand, it is easier to use a jig that will hold your drill in position so that the drill bit is automatically centered where you want it. In fact, it is so much easier, it is well worth the time to make one.
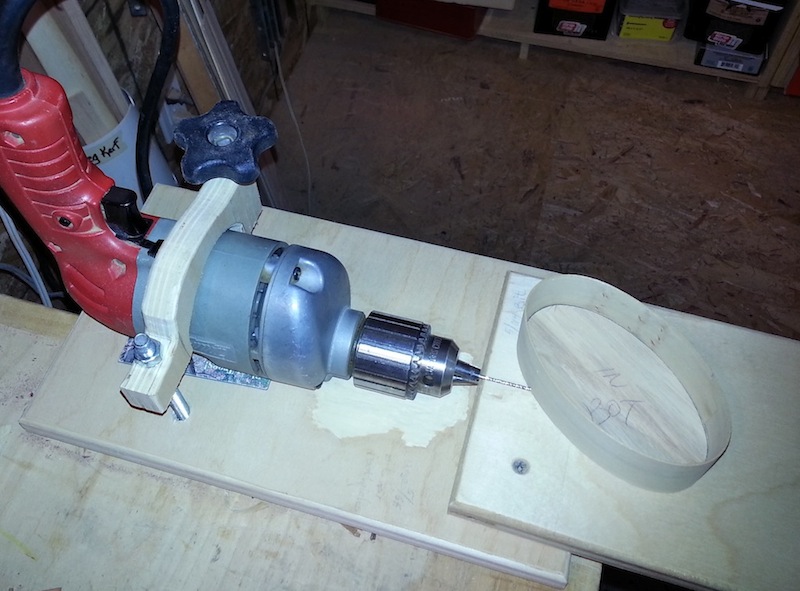
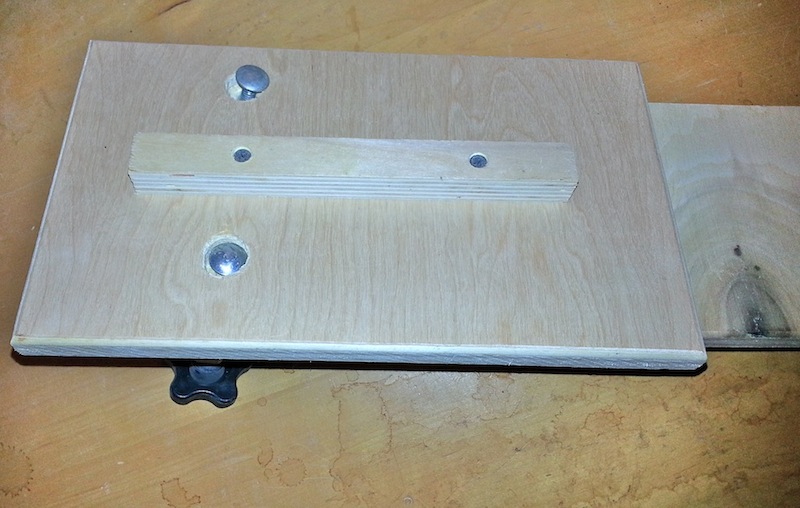
The jig consists of a plywood base, with a raised platform and a clamp to hold your drill in place.
The key to the jig is getting the height right for your drill. You need to set it up so the drill bit is centered in the thickness of your box bottom or top when you place your box on the platform. You may need to shim either your drill or the platform to get the right height.
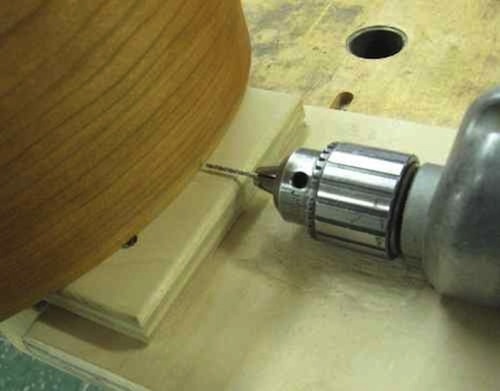
You can see, in the photos above, that on mine I needed to add a shim beneath the drill and I had to rough out a bit of the wood under the spinning chuck. Most box tops and bottoms will be around 1/4″ thick so the bit needs to be centered right at 1/8″.
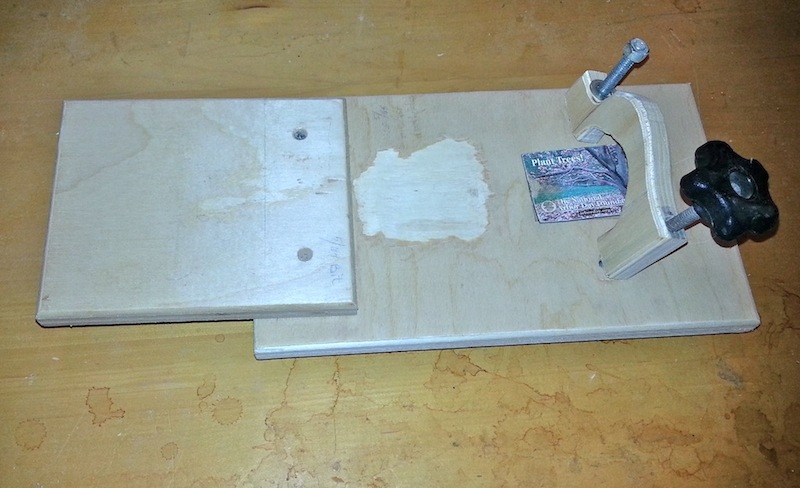
The rest of the jig is a clamping mechanism to hold your drill in place. I made mine from a piece of plywood. I shaped it with one side shorter than the other simply because that worked for the hardware I had on hand.
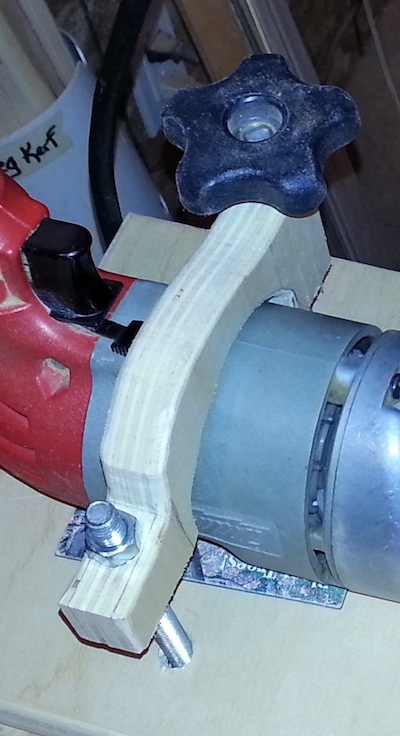
The back of the jig is a clamping bar, so you can easily clamp the jig in a bench vise.
Using your jig
To use the jig, put a 5/64″ bit into your drill and slide your drill into place under the clamp. Tighten down your clamp. It doesn’t need to be particularly tight and go easy if you have a plastic case on your drill.

Turn the drill on, put your box on the platform and then push the box gently into the bit.
Go slowly. If you find that the bit is wobbling as you push it, you may have too much of the bit extending from the drill. Clamp the bit into the chuck so that less bit is exposed and it will help cut down on the wobble. (In the photos, the bit is pretty far out. I usually have only around 3/4″ of the bit extended from the drill.)
Using the jig you can drill without worrying and once you have it set up you don’t need to change it (unless you get a new drill).
Final steps
Once you have all your holes drilled and the toothpicks in place, give your box and top a final sanding and fill in the inevitable tiny gaps. I do this by making a putty of glue and sawdust (using dust from the same species of wood that I used for the box). I smear a bit into the gaps and sand off the excess.
Congratulations! Now that you’ve learned how to make a Shaker box, you are now ready to finish your box. Traditionally Shaker boxes are unfinished on the inside to prevent the contents of the box from picking up the smell of the finish, but no one said you have to be traditional!
Share tips, start a discussion or ask one of our experts or other students a question.
No Responses to “Making Shaker Boxes: The Final Fitting”