
As you are getting started with hand tool woodworking, there are a few jigs and fixtures that are absolutely necessary to have. A few weeks ago, we talked about the importance of bench hooks in the shop. Being that bench hooks are basically just three scraps attached to each another at 90 degrees, there isn’t much skill needed to make them, at least in their simplest form. Dedicated shooting boards, on the other hand, are a bit trickier to get right, but thankfully, there are some valuable skills to be learned along the way!
As you may have realized by now, it is nearly impossible to get a perfect 45-degree angled cut straight from a handsaw (or most chop saws, for that matter). Enter mitered shooting boards. You get the cut as close as you can with your handsaw, then trim it up on your shooting board with any old hand plane and you’ll have perfect picture frame 45-degree angles time and time again.
Learn how to make a shooting board
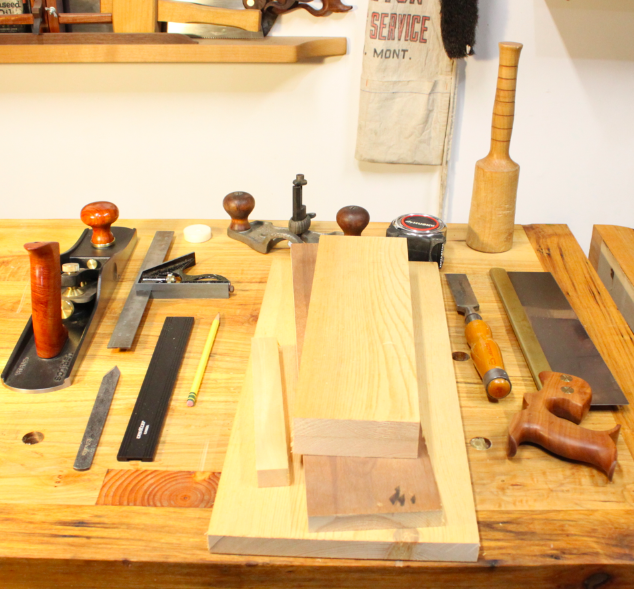
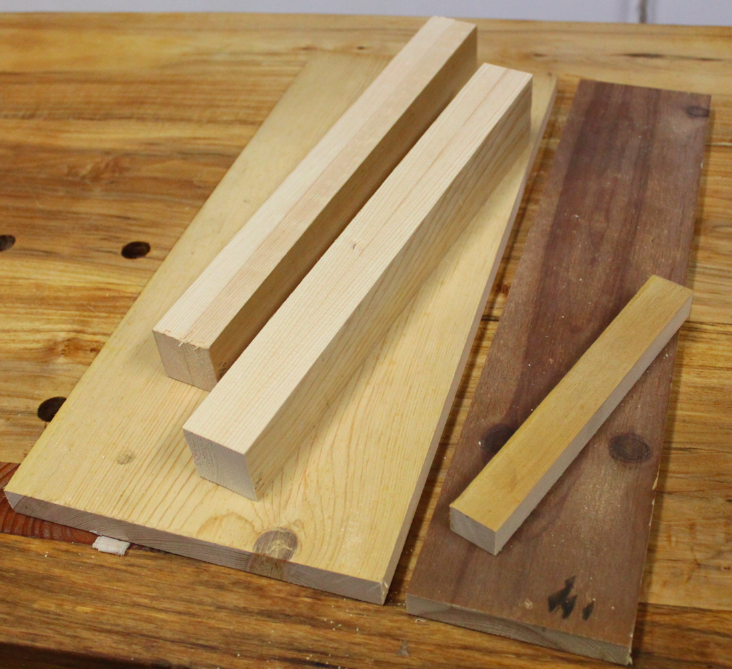
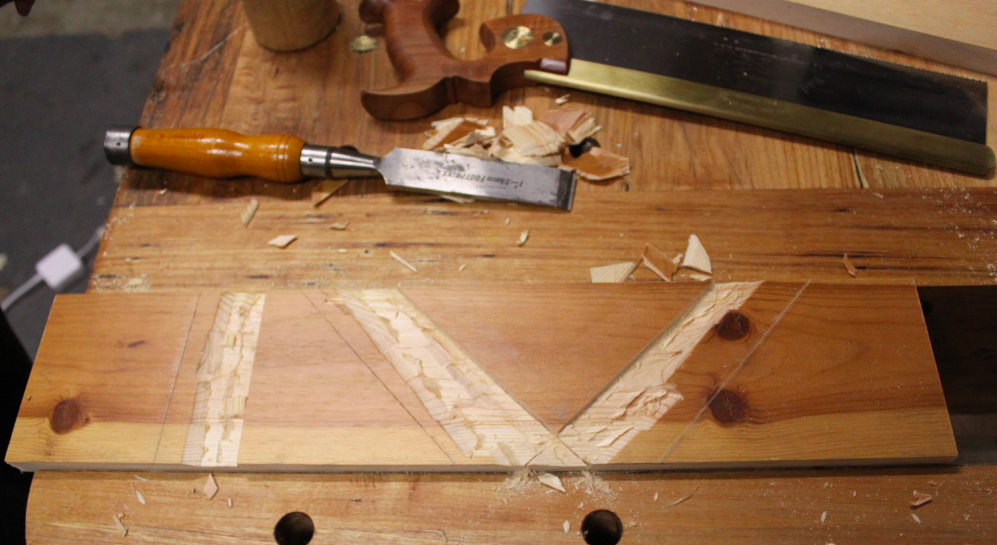
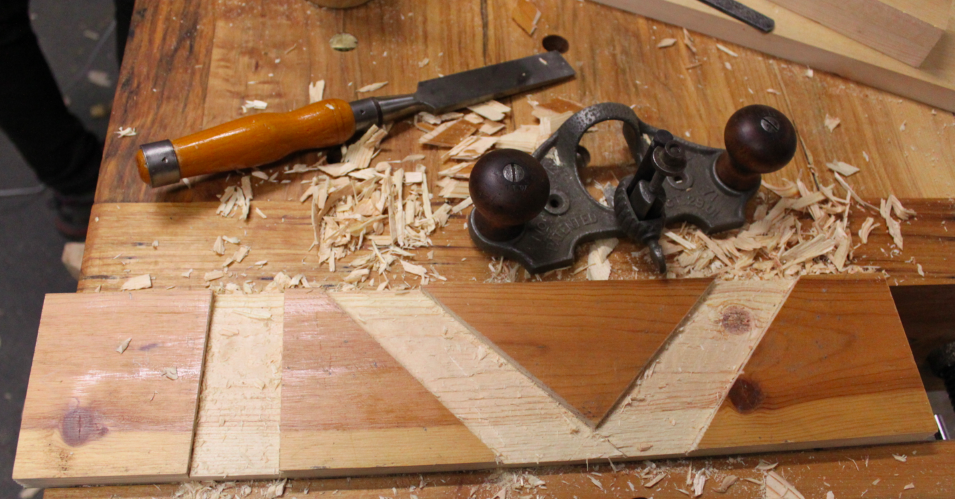
This is another jig that can be made from any old scraps, but due to some complexities within this project, it might be easiest to use dimensioned stock like I did. Above, you see most of the materials and tools necessary to complete this project.
Materials:
- One board 8″ long x 1 1/4″ wide x 7/8″ thick
- One board 19″ long x 4″ wide x 7/8″ thick
- One board 19″ long x 8″ wide x 7/8″ thick
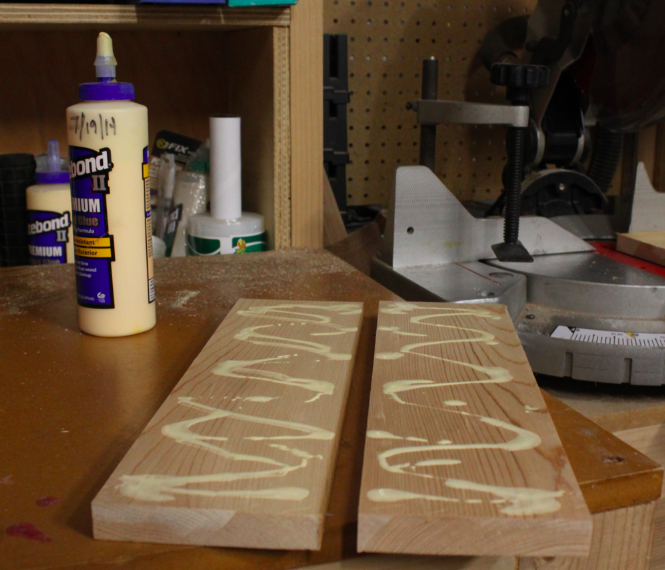
- One board 4 x 10 x 1 1/4″ thick (I didn’t have a scrap this thick, so I glued two identical pieces together, as seen below)
Tools:
- Combination square
- Marking knife
- Pencil
- Router plane
- Wide chisel (at least 1″)
- Mallet
- Back saw
- Panel saw (mine is hybrid cut, though you will be doing rip cuts with it, so if you have a rip filed panel saw, this would be a perfect use)
- Tape Measure
- Pencil
- Hand plane with a straight ground blade (no camber)
1. Layout
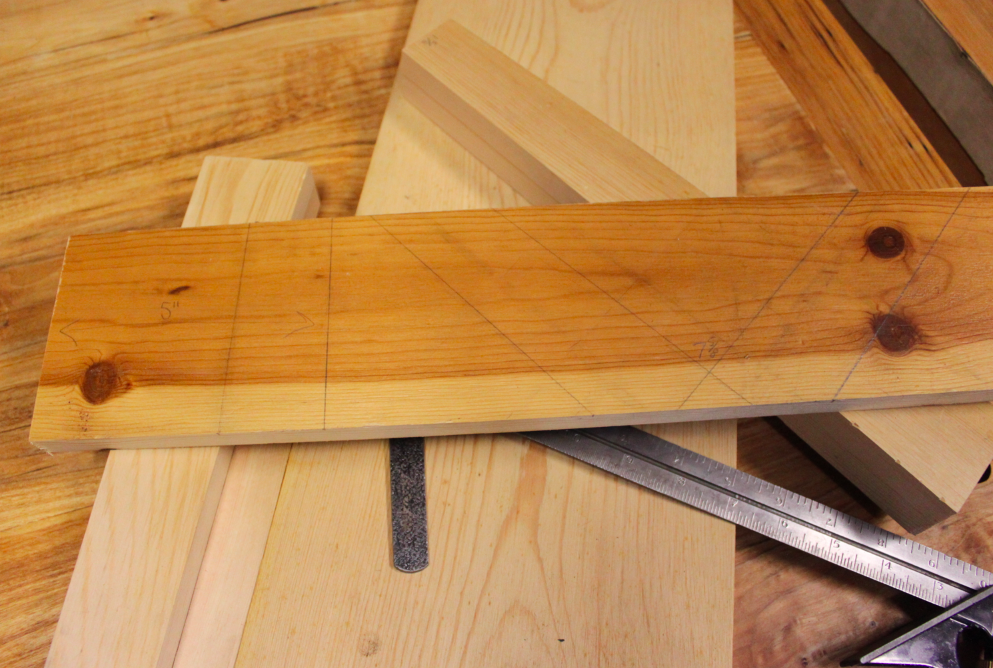
Now you are ready to lay out some lines. With a nice sharp pencil, take your board that is 4″ x 19″ x 7/8″ and mark two lines line straight across 5″ from one end and at 7″ from the other end. You will use these lines as reference points during the next step. Lay that board aside and grab your 1 1/4″ thick stock.
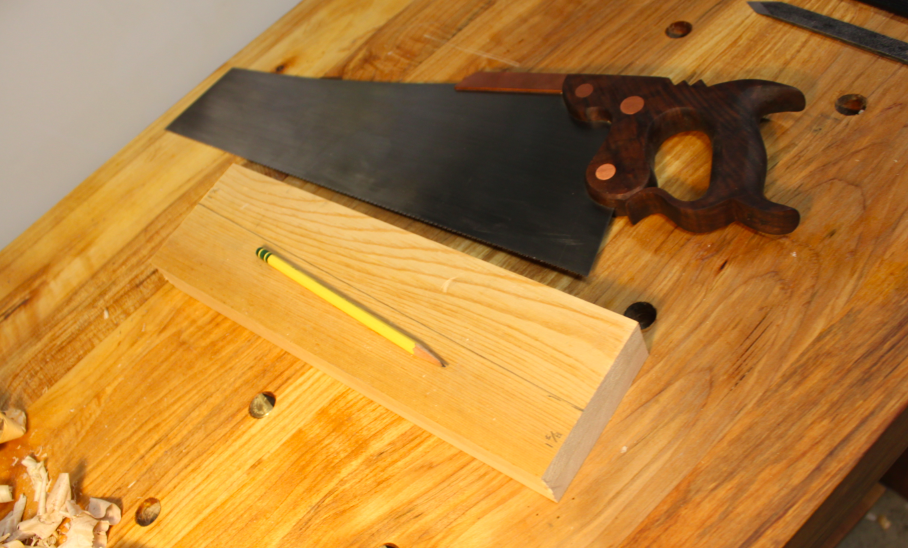
Make a mark 1 5/8″ in from the right side on the top and 1 5/8″ in from the left side on the bottom. Connect these two lines in a diagonal across the face of the board as shown in the picture above. If your ruler isn’t long enough, use the straight edge of one of your other pieces of stock to connect the two marks.
2. Make wedges
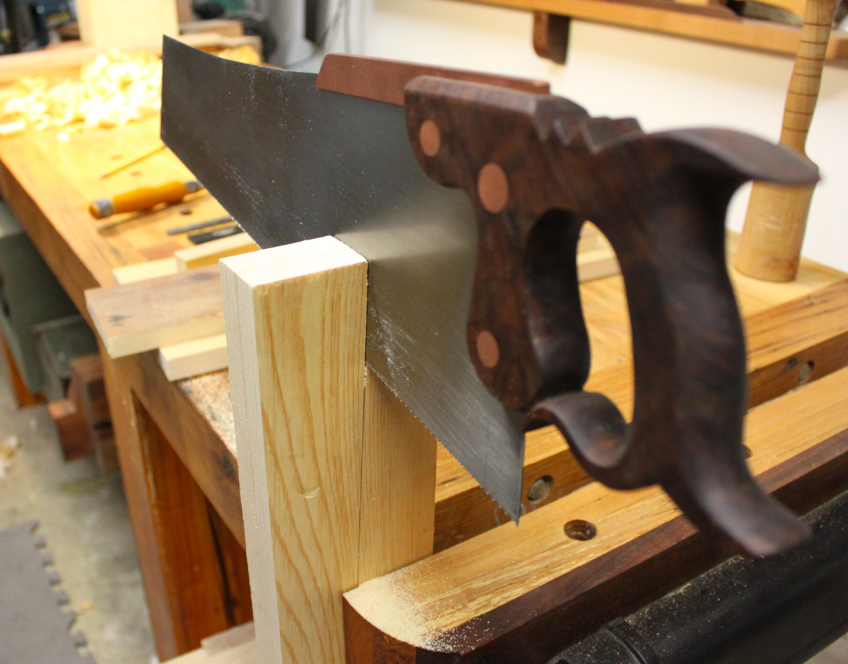
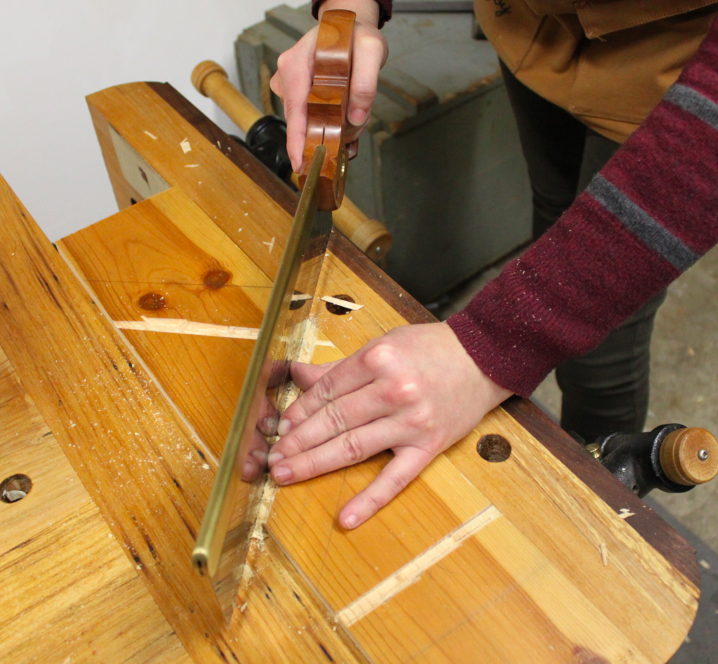
Grip your piece upright in your vise, make sure it is sitting square in the vise and use your panel saw to split your line in half. At some point, you’ll need to flip your board over in the vise so you can saw the bottom half.
Once you’ve split the line, you should have two fairly identical wedges. Grip them in the vise and plane them at the same time just enough to remove the saw marks and so they are perfectly similar. Your materials should now look like the materials shown in the picture below (though slightly less mangy looking if your scrap pile is nicer than mine).
3. Lay out runners
Things are about to get interesting. You are going to cut runners into the wood for your wedges. When you are finished with the project, your wedges will fit tightly into their runners and can be used as fences as you shoot your miters with a hand plane.
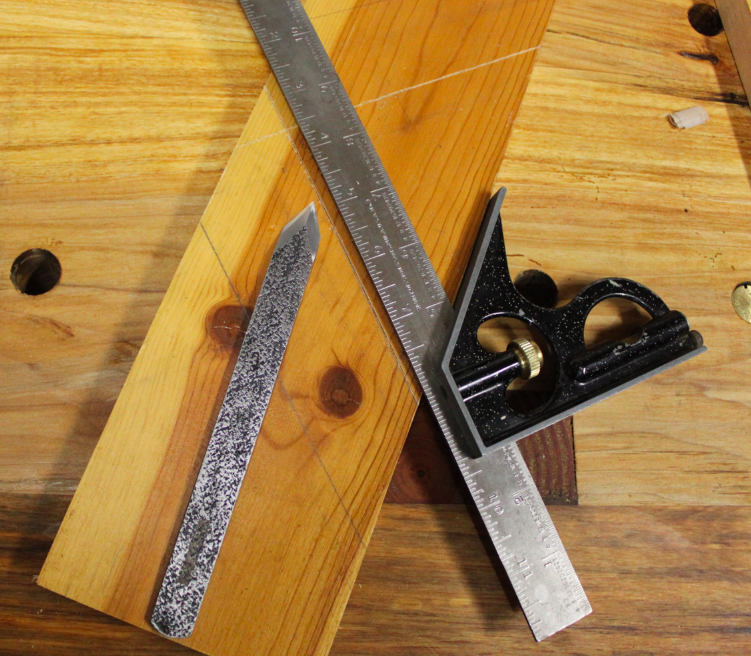
Remember those lines you marked at 5″ and 7″ on your 4″ x 19″ x 7/8″ stock? Get that piece back out. You need to use your combination square and your newly created wedge pieces to recreate the diagram shown below. Note all the eraser marks, it took me a few tries to get it right, so don’t get too frustrated as you’re figuring this step out.
Using the 7″ mark as a rough guide, you need to make opposing lines at 45 degrees with approximately 1″ overlap between the lines. Then lay your wedged pieces on the two 45-degree lines you just made and lightly mark the approximate location of the sides of your wedges in your finished piece. When laying out the 45-degree angles with the wedges, make sure the entire piece protrudes over the edge, not just a small corner, because you will eventually miter the end of the wedge and enough needs to be protruding that the whole piece is flush with the edge of the board.
Now that you’ve laid out approximate line spacing, you are ready to get to work. Using your combination square and your marking gauge, mark the 90-degree line at the 5″ mark.
4. Deepen your lines
Start with a light stroke, being sure to keep the square flush with your work. These lines need to be extremely precise, so use every precaution here not to let your square or your knife slip. Use several strokes of the knife, each deepening your cut. Next, mark your two 45-degree angles. Then, using your wide chisel (it needs to be very sharp), pare away the waste ahead of the three lines on the waste side of the lines, being very careful not to cut into or cross the lines you made with your marking knife.
Next, deepen your line once more with your square and your marking knife, as shown below.

You have now made a perfect shelf in which your backsaw can ride to deepen the cut even further. Use your combination square to mark a depth line down the sides of your board to 1/4″. You want to saw exactly down to this depth so your waste will easily and accurately chop away.
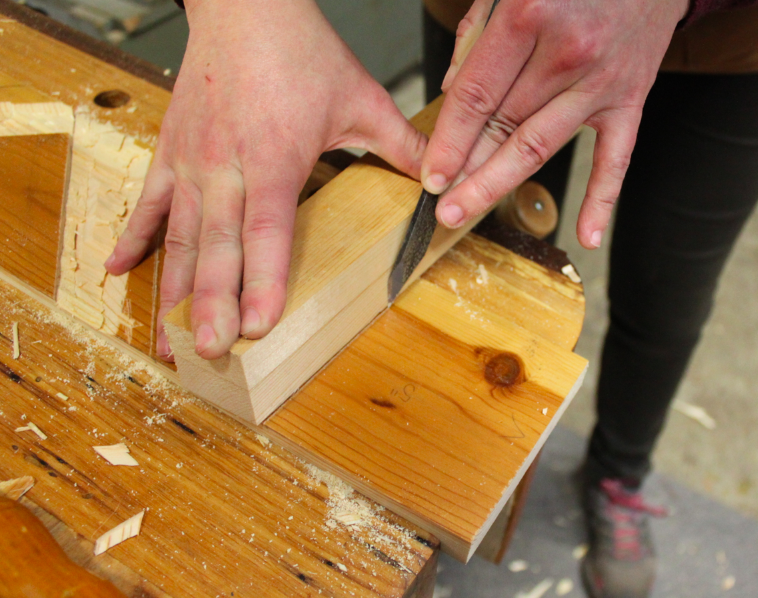
5. Saw to depth
Use your fingers as a guide for your saw, holding it up against the shelf you cut with your marking knife and chisels, and carefully saw down 1/4″. Cut all three lines in this manner.
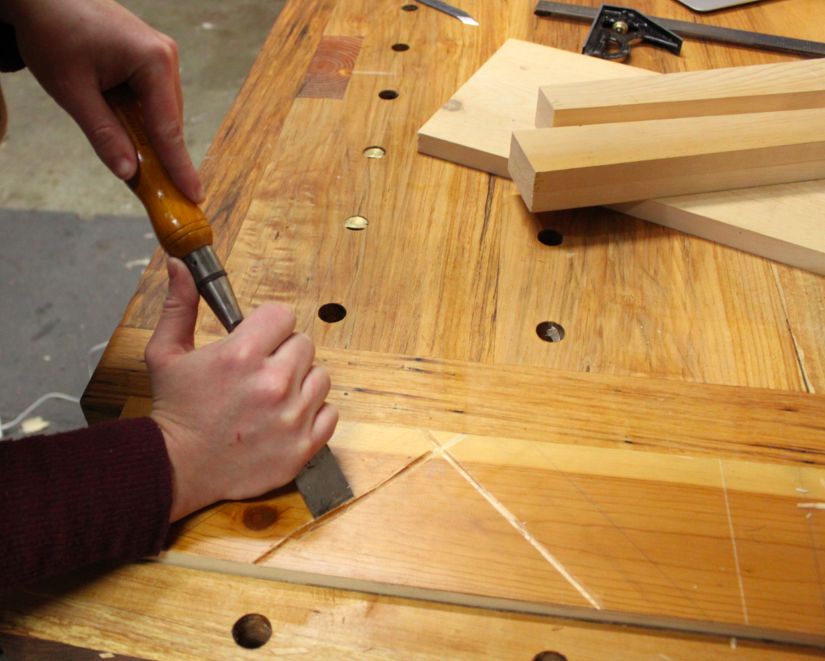
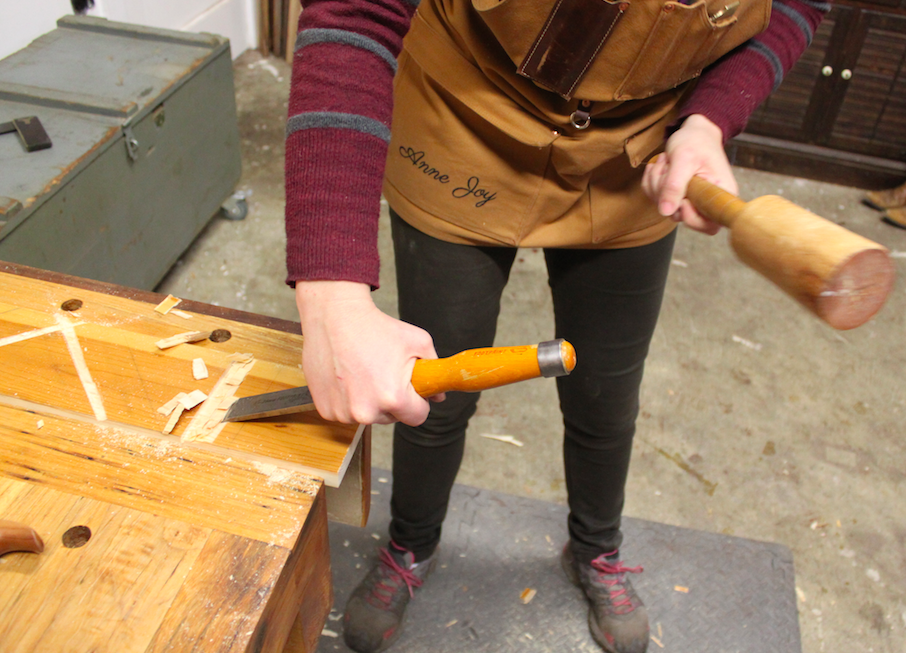
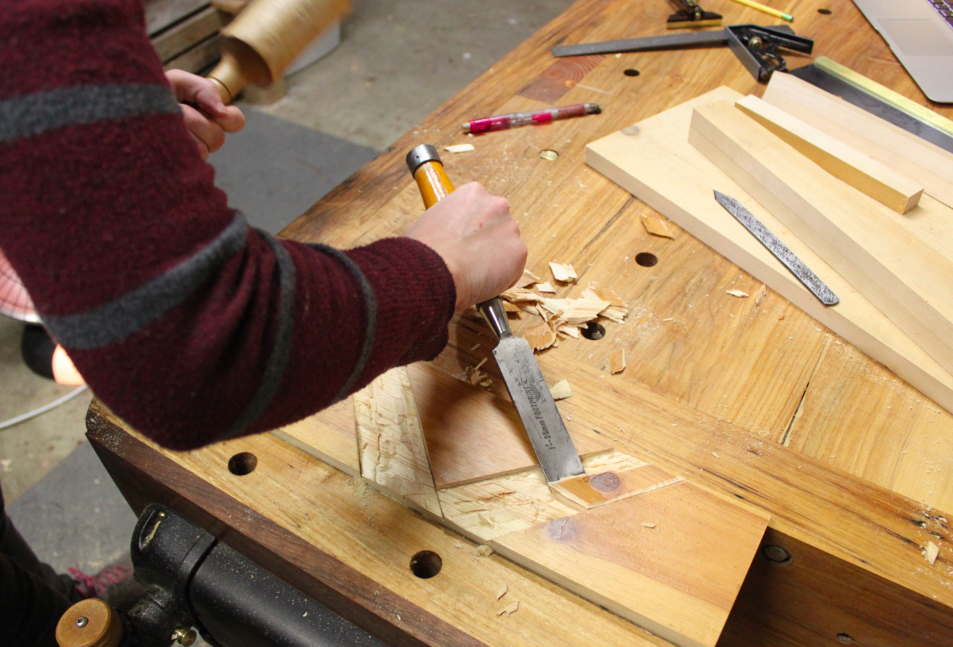
6. Knock out half the waste
Use your chisel and mallet to pare even more of the waste. You are performing the exact same task you did a few minutes ago with the marking knife, just on a bigger scale this time. You want to remove enough of the waste that you can set the wedge in the shelf you’ve made and accurately mark the opposing edge with your marking knife.
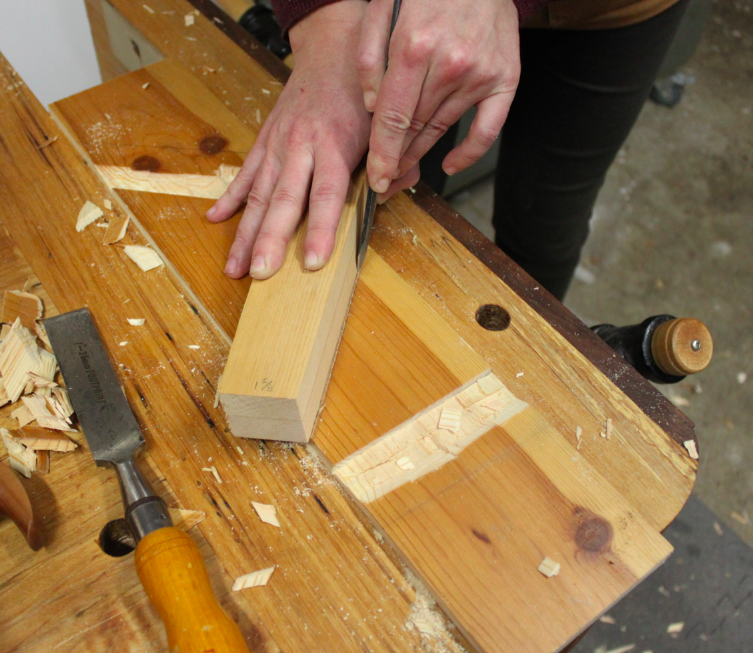
7. Mark the opposing edge of the wedge (hey, that rhymes!)
Set your wedge against the shelf, and use your marking gauge to mark the opposing edge of your runner. Just as you did before, make a light line with the knife, then deepen it with several strokes. Pare away some of the waste, then deepen it again. Mark 1/4″ depth, then saw down to the line with your backsaw, using finger pressure against the saw plate to hold it to the shelf.
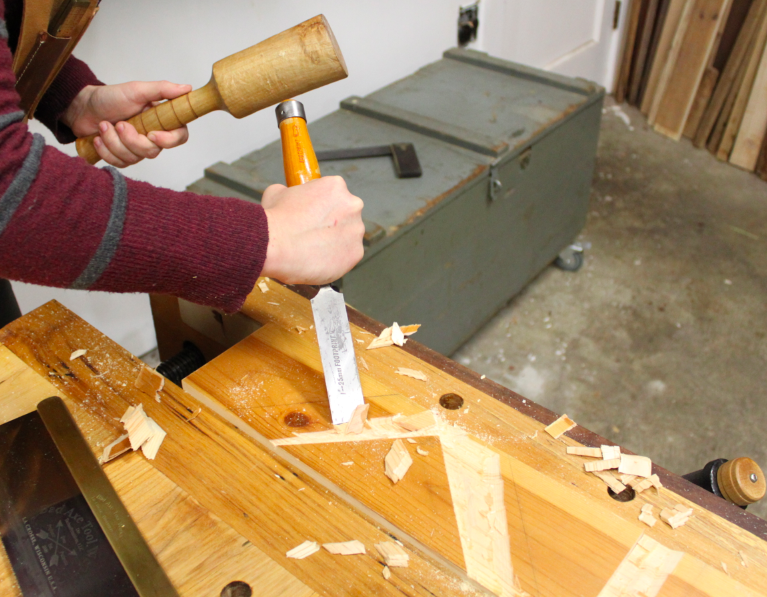
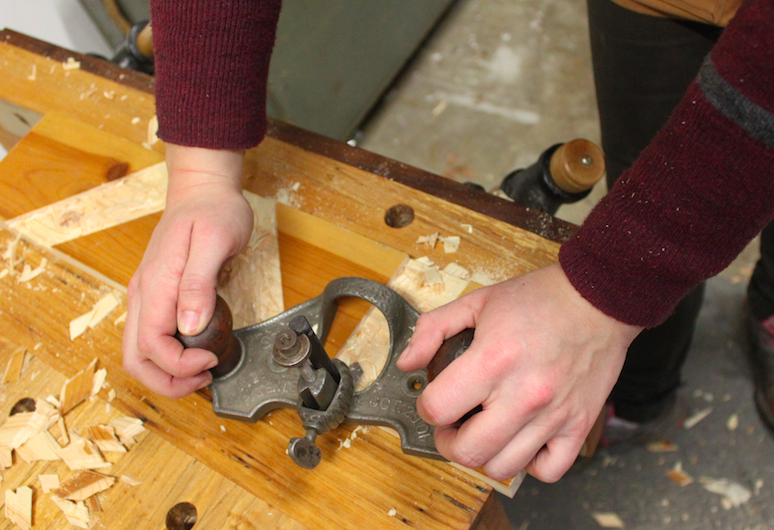
8. Waste Away
Now chop out a bit more of the waste with your chisel and mallet, this time, across the whole waste area.
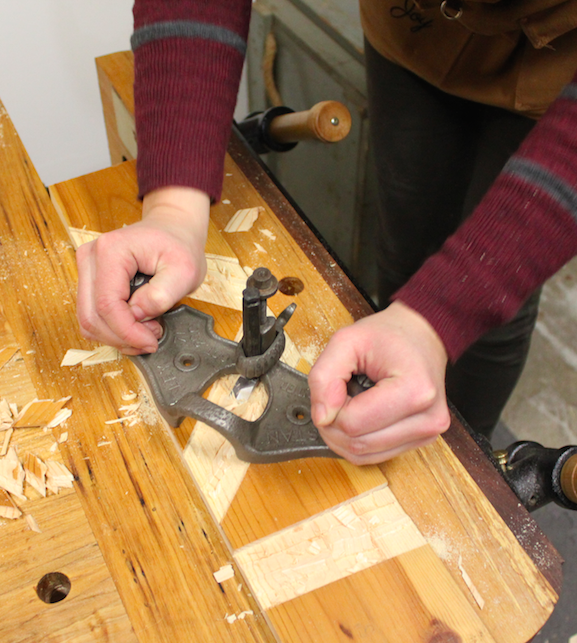
Set your router plane to 1/4″ depth, then route away the rest of the waste. As you hog out the waste, be sure to come in with your plane halfway from one side, then halfway from the other side so you don’t blow out the edges of your piece.
Congratulations, your wedges should now fit perfectly into each of the three slots you’ve just cut. Now wipe the sweat off your brow, you’ve finished phase one of this project!
Share tips, start a discussion or ask one of our experts or other students a question.
No Responses to “Skill Building: How to Make a Shooting Board Part 1”