
Larger quilt blocks often have multiple square-in-a-square layers. To add even more interest to this design, the center square can be cut from a solid or print fabric, it can be a pieced unit or even a fussy cut section (which is a piece specifically cut to showcase a design element found in the printed fabric).
Follow along to learn how to make a square-in-a-square quilt block!
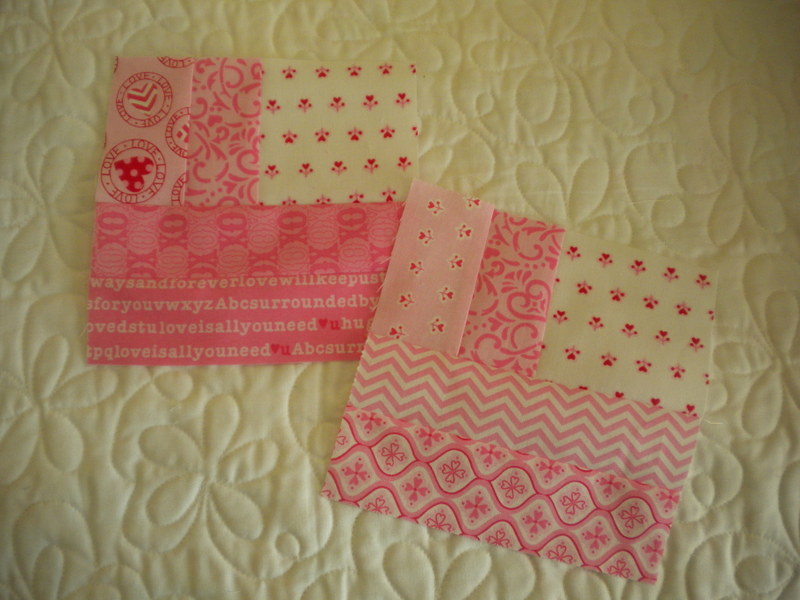
Step 1:
Begin with a center block section – a solid piece of fabric or quilt block. Make sure this center section is an accurately cut or pieced square shape. Beginning with a true square will help you achieve accuracy with this block as you add additional layers.
You will also need to determine the size to cut your setting triangles. There is a simple formula for this:
Divide the length of one of your square sides by 1.414. Add 3/8″ for seam allowances. Round this measurement up to the nearest 1/8″. For example: for a center section measuring 6.5″ you would first divide by 1.414 (4.59). Add 3/8″ or .375 to this measurement (4.97). Round this up to 5″ to determine the size square you will need to cut in half diagonally to make two corner triangles.
Since you need four corner triangles, cut two squares to this measurement. You may want to cut your squares even bigger in order to have them extra big for trimming — it’s always better to have a little extra that can be trimmed down than to not have enough fabric.
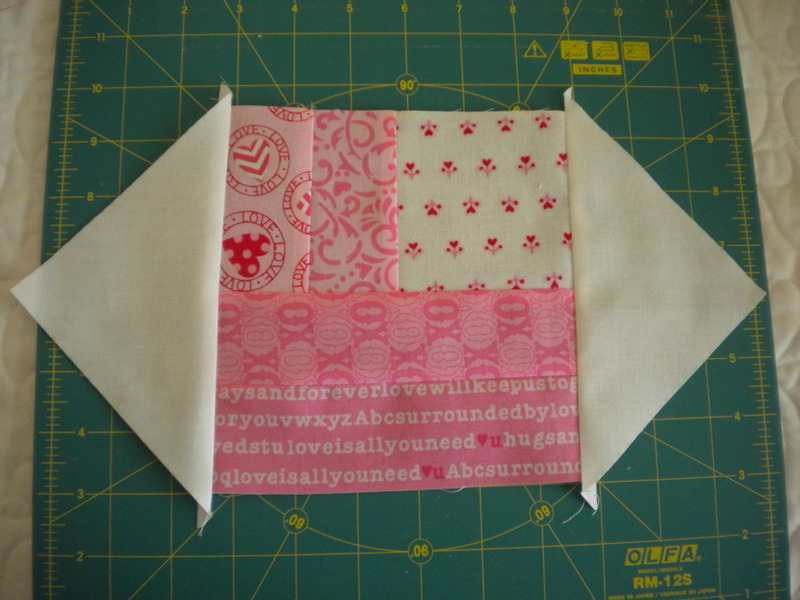
Step 2:
Sew a triangle section to each side of your center square section. Match the center of the long side of each triangle with the center of the side of the square.
A good way to do this is to fold the square in half and either finger-press or place a pin to mark the center. Use the same method to mark the center of the setting triangle. Match centers, then sew using a 1/4″ seam. Press seams out toward the setting triangles.
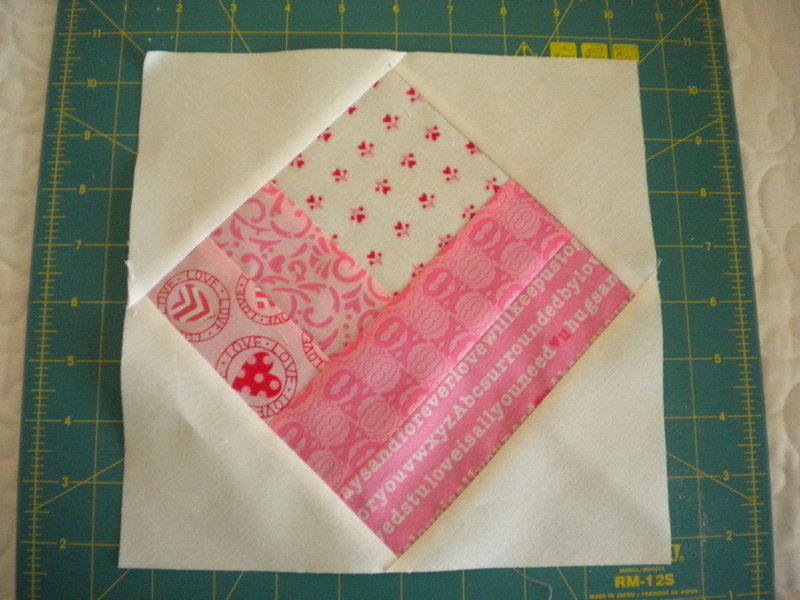
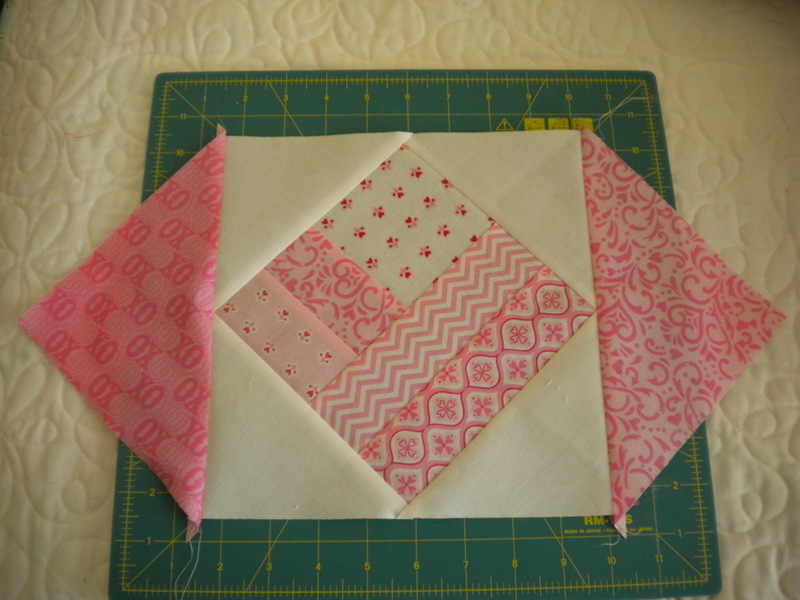
Step 3:
Add the remaining two triangle pieces. Again press these seams toward the setting triangles. At this point you will want to square up your block making sure that there is 1/4″ of setting triangle fabric that extends beyond the four points of the center square. You don’t want to cut off any of your points!
Step 4:
Add the next layer of corner triangles in the same manner as above. If you are creating your own block rather than following a pattern, you will need to again use the formula to determine the size squares needed to cut your triangles.
Press toward the newly added triangles.
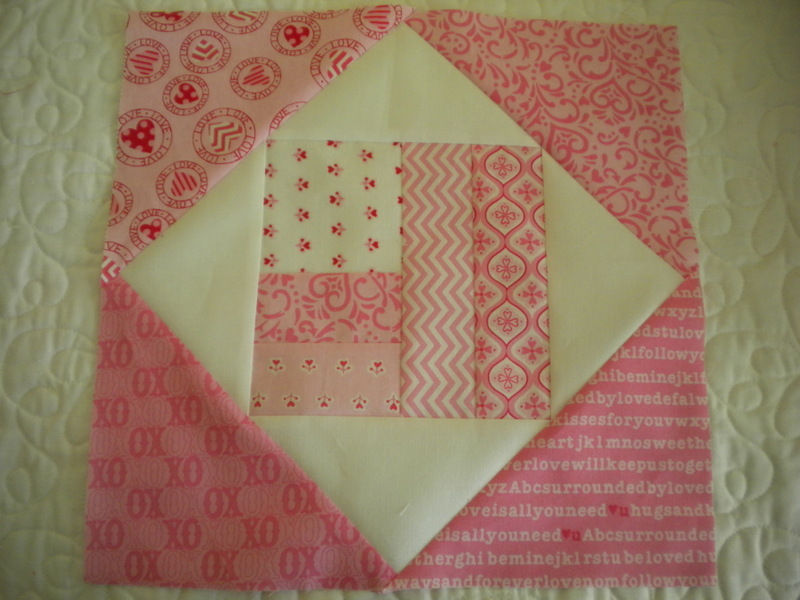
Step 5:
Add the remaining triangle pieces, again pressing toward those triangle sections. Square up your block, and your square-in-a-square quilt block is complete!
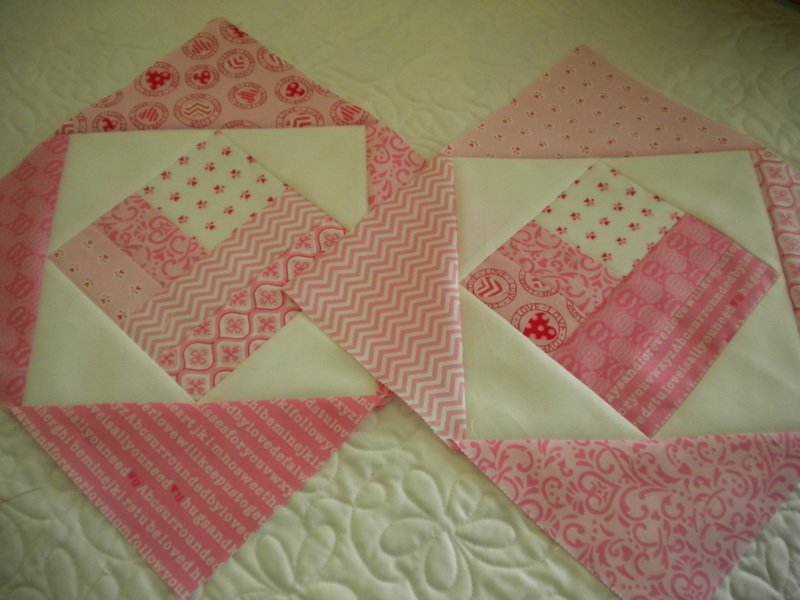
More fun square-in-a-square quilt block inspiration:
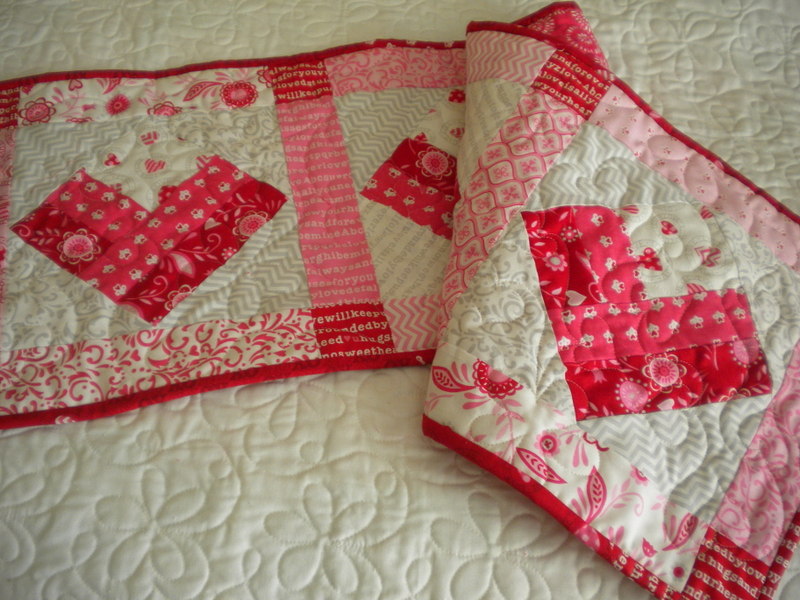
Photo via Craftsy member sherrim1266787
Patchwork Heart table Runner
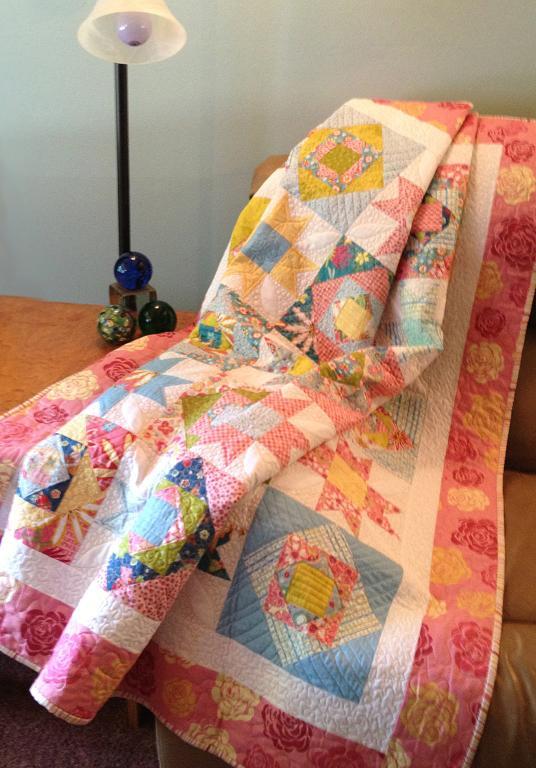
Photo via Craftsy member Paulette Mo
Share tips, start a discussion or ask one of our experts or other students a question.
Already a member? Sign in
No Responses to “Square-in-a-Square Quilt Block Tutorial”