
Ever run out of clasps? Not to worry! It is very easy to make your own, and the benefits of doing this are, you end up with a completely one of a kind piece of jewelry, and it’s extremely cost-efficient!
Read on to learn how to make a toggle clasp!
How to make a toggle clasp
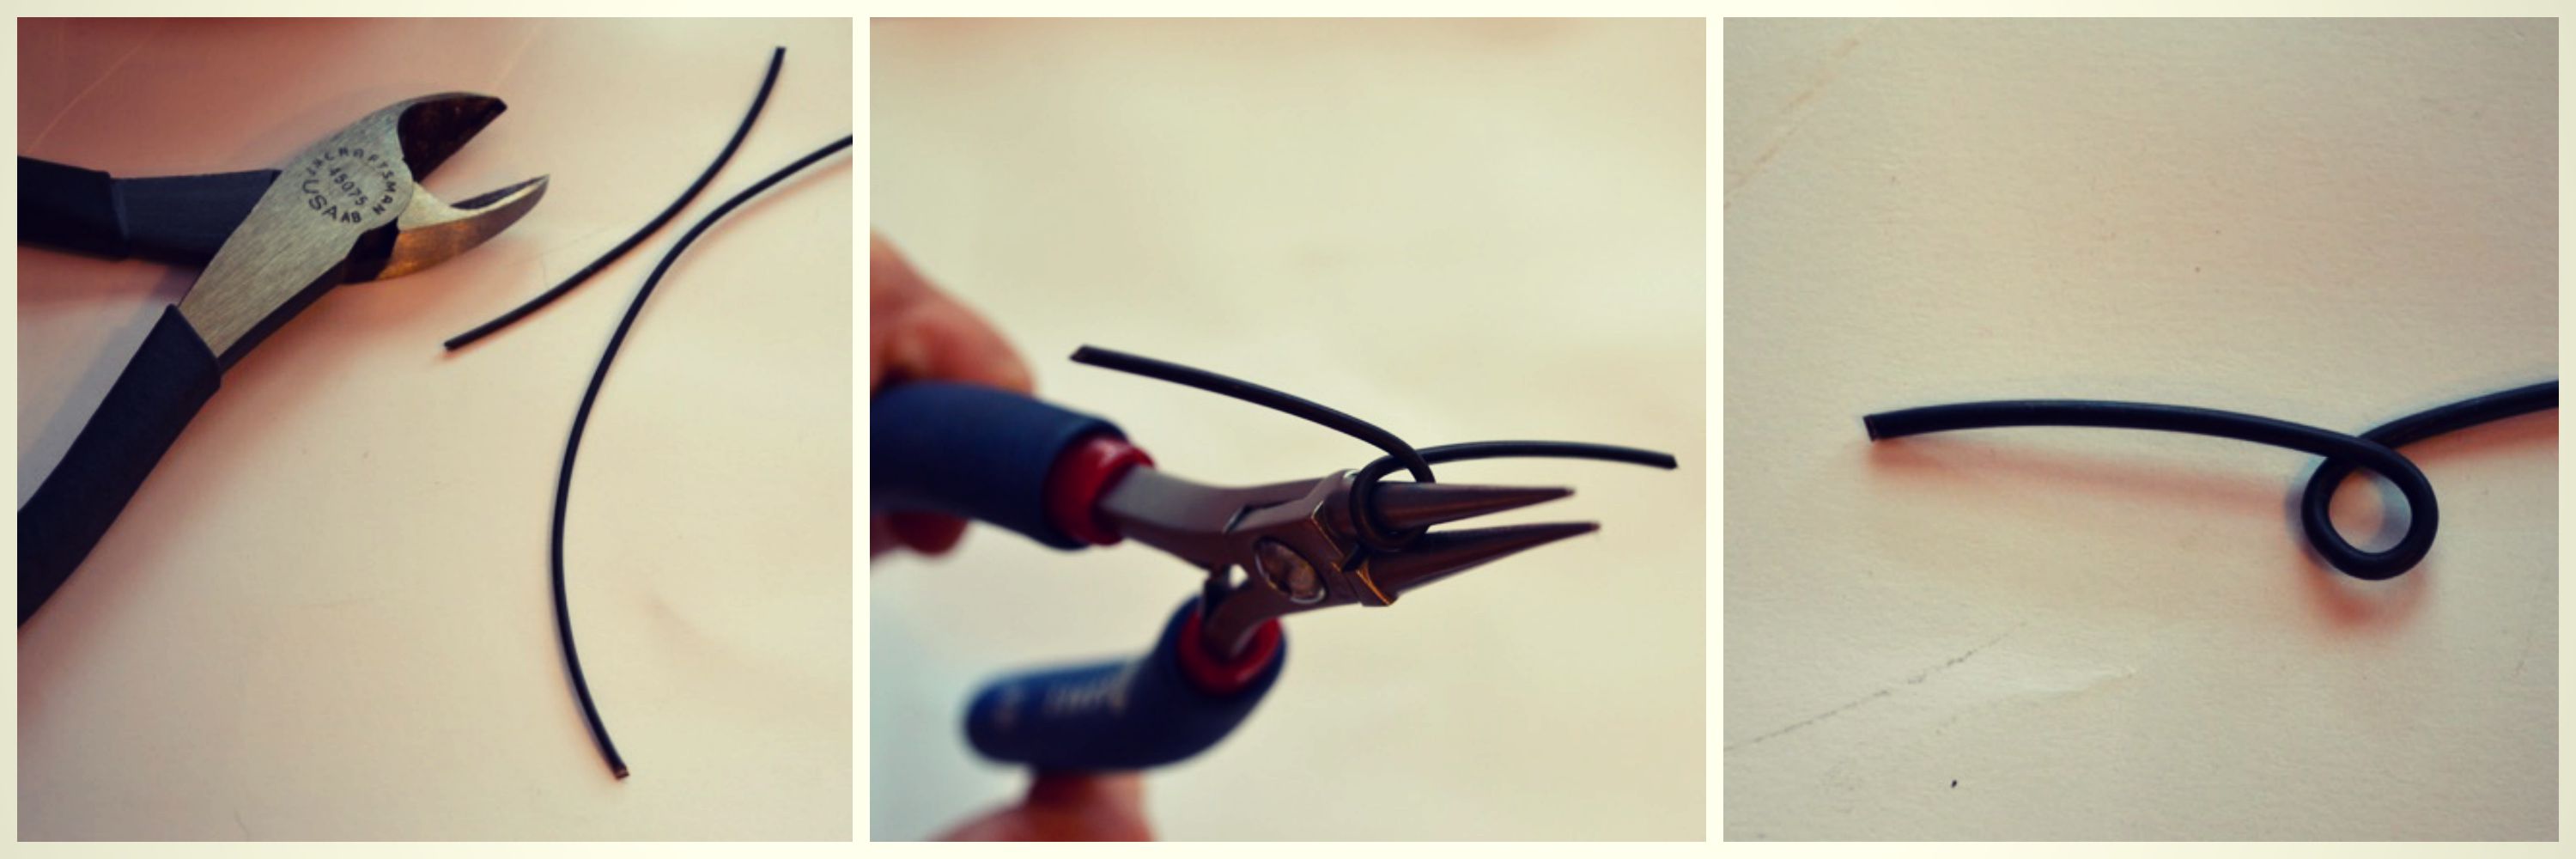
You’ll need:
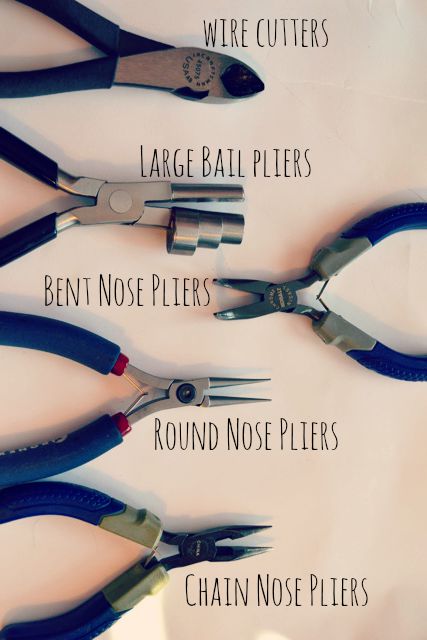
- Chain-nose pliers
- Round-nose pliers
- Bent-nose pliers
- Large bail-making pliers
- Heavy duty wire cutters
Note: If you have round-nose pliers that are better for a thicker stiffer wire, use those. I used my Tronex jewelry making grade pliers and just used them really carefully so as not to damage my pliers. This particular wire is really stiff and takes some getting used to for making components. The other pliers I used are also more for thicker gauge wire, instead of my delicate jewelry making pliers.
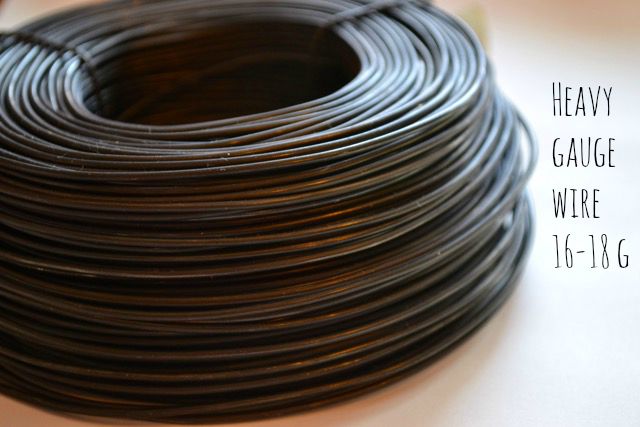
- Heavy gauge wire such as 16-18 gauge — I used this galvanized blacked steel wire for this tutorial, but you could use any wire type you like, silver, brass, copper etc.
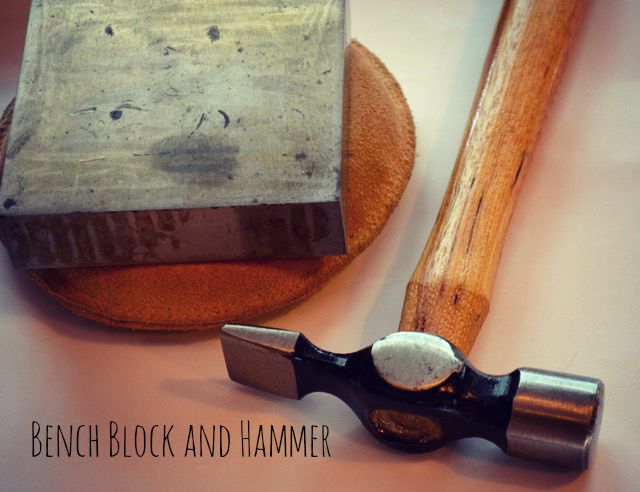
- Bench block and hammer. The suede sand bag here is to deaden the sound of the hammering on the bench block. If you have a folded towel or wash cloth, that will work too!
 Step 1:
Cut the steel wire into two pieces, one at 6 inches long, and one at 3 inches long.
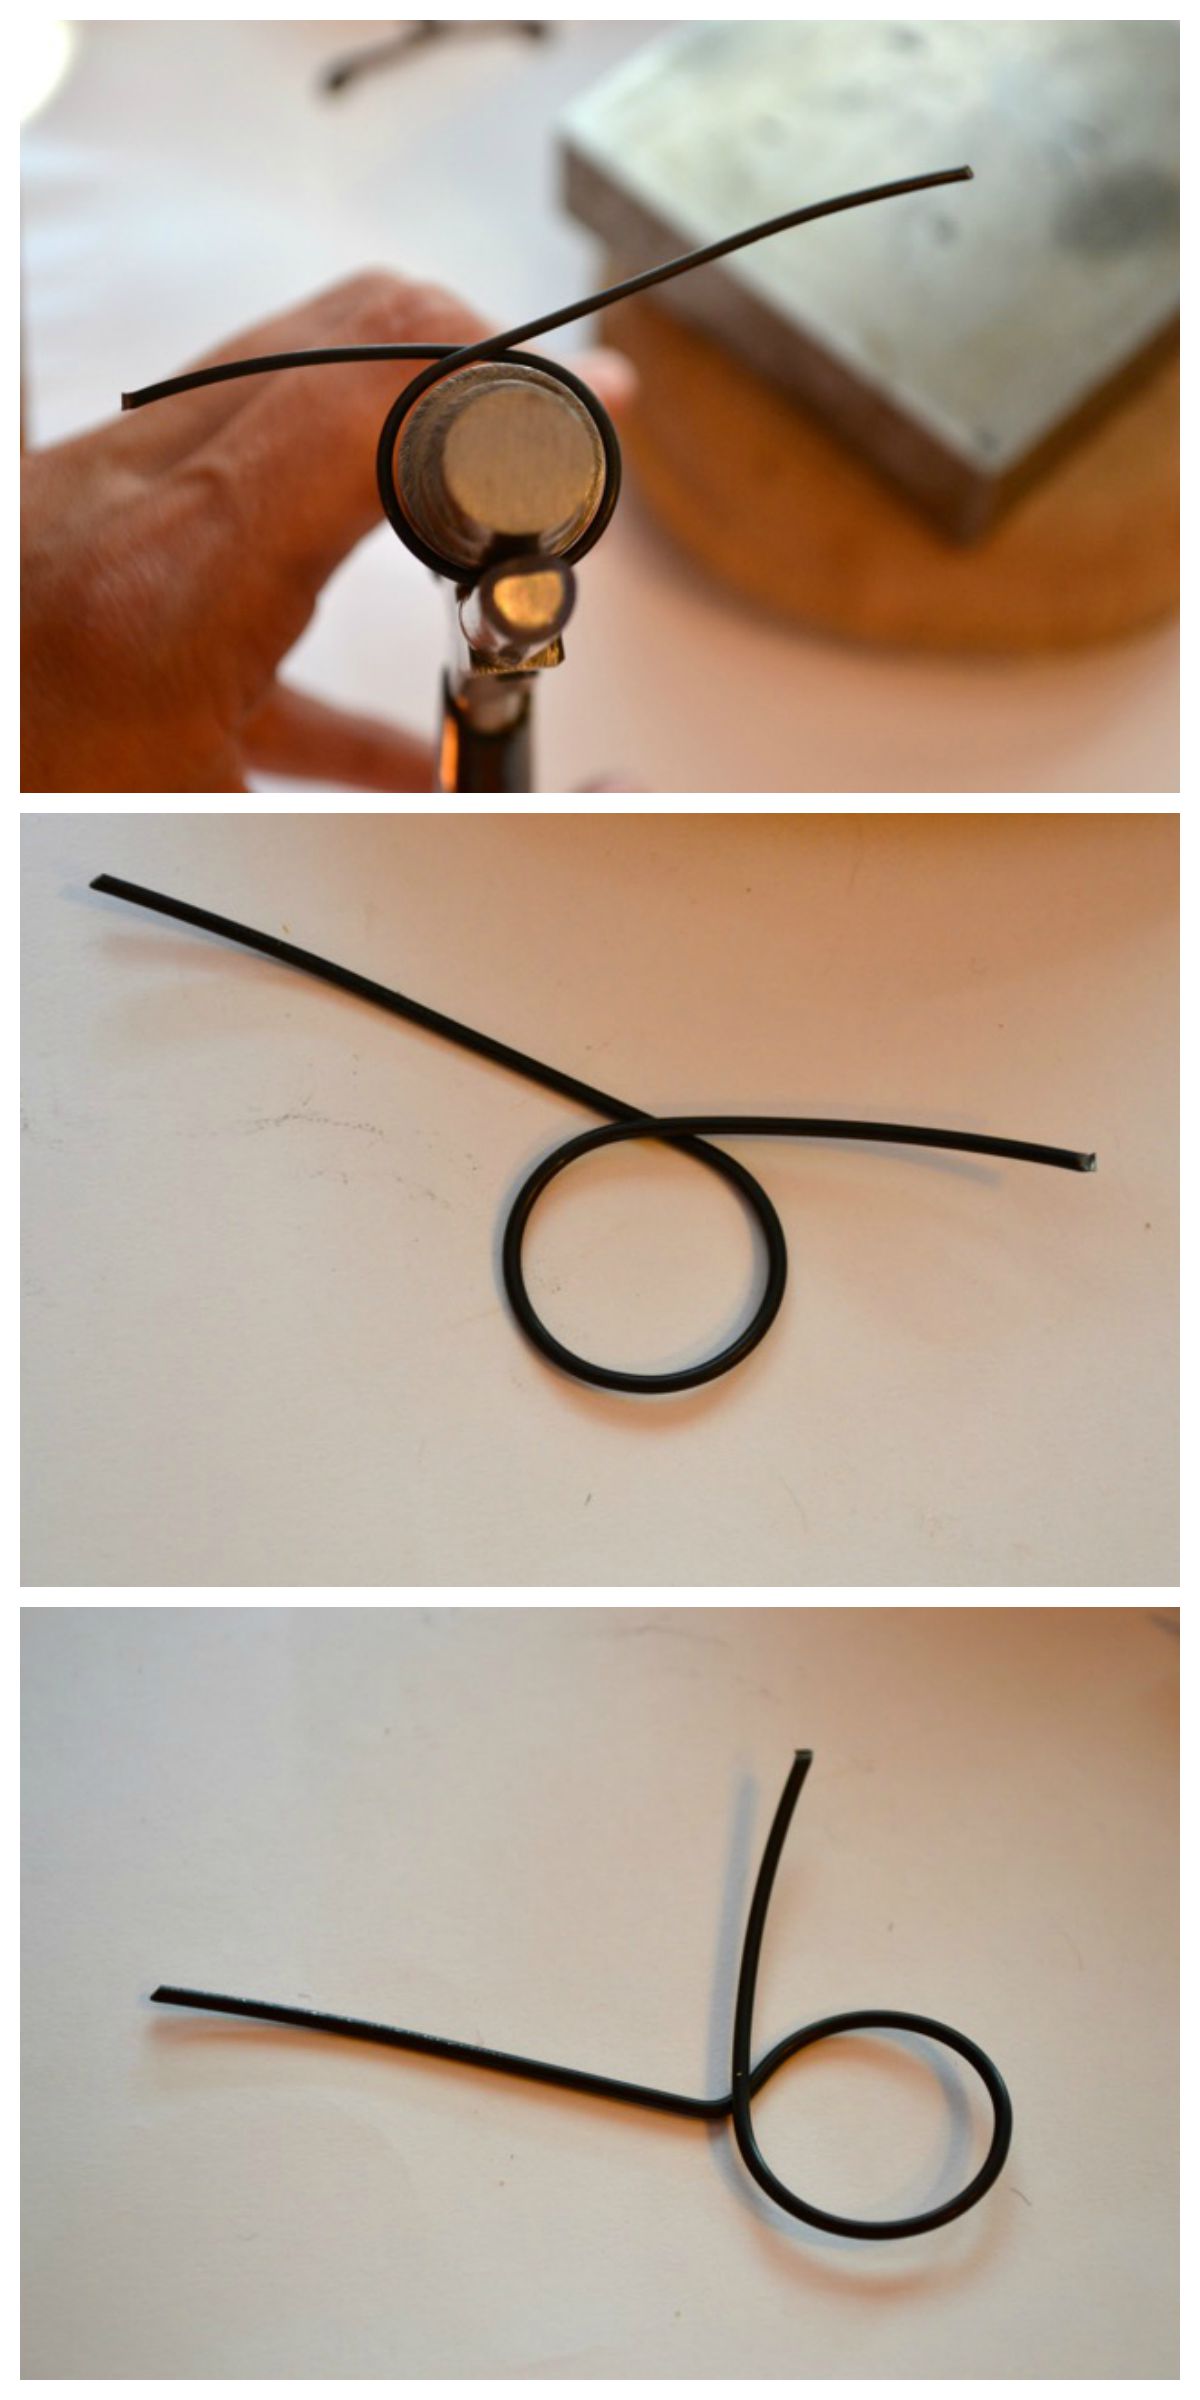
Step 2:
Form the toggle bar with the 3-inch piece of wire. Use your round-nose pliers and place them at the center of the wire, and crisscross the two ends over each other leaving a loop at the center. Try to do this so that each side of the toggle bar are similar in size.
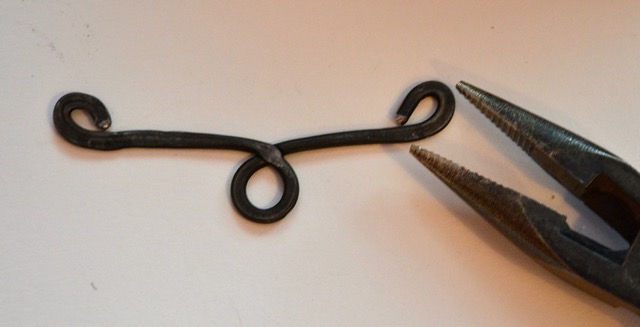
 Step 3:
Curl the ends of the toggle bar up, using your bent-nose pliers or chain-nose pliers. Hammer toggle toggle bar flat. This may cause the looped ends to open, so just use your chain-nose pliers to close the loops back up.
Step 4:
See photo below.
Step 5:
Form the toggle ring half of the clasp. Use your bail-making pliers, and using the largest loop section, form a circle in the 6-inch piece of wire. Try to get the loop at the center of the wire if you can but if it’s off a little it will be fine. You can trim the excess wire. Cross the two ends of wire over each other.
 Step 6:
Use chain-nose pliers to bend one wire up into a 90-degree angle.
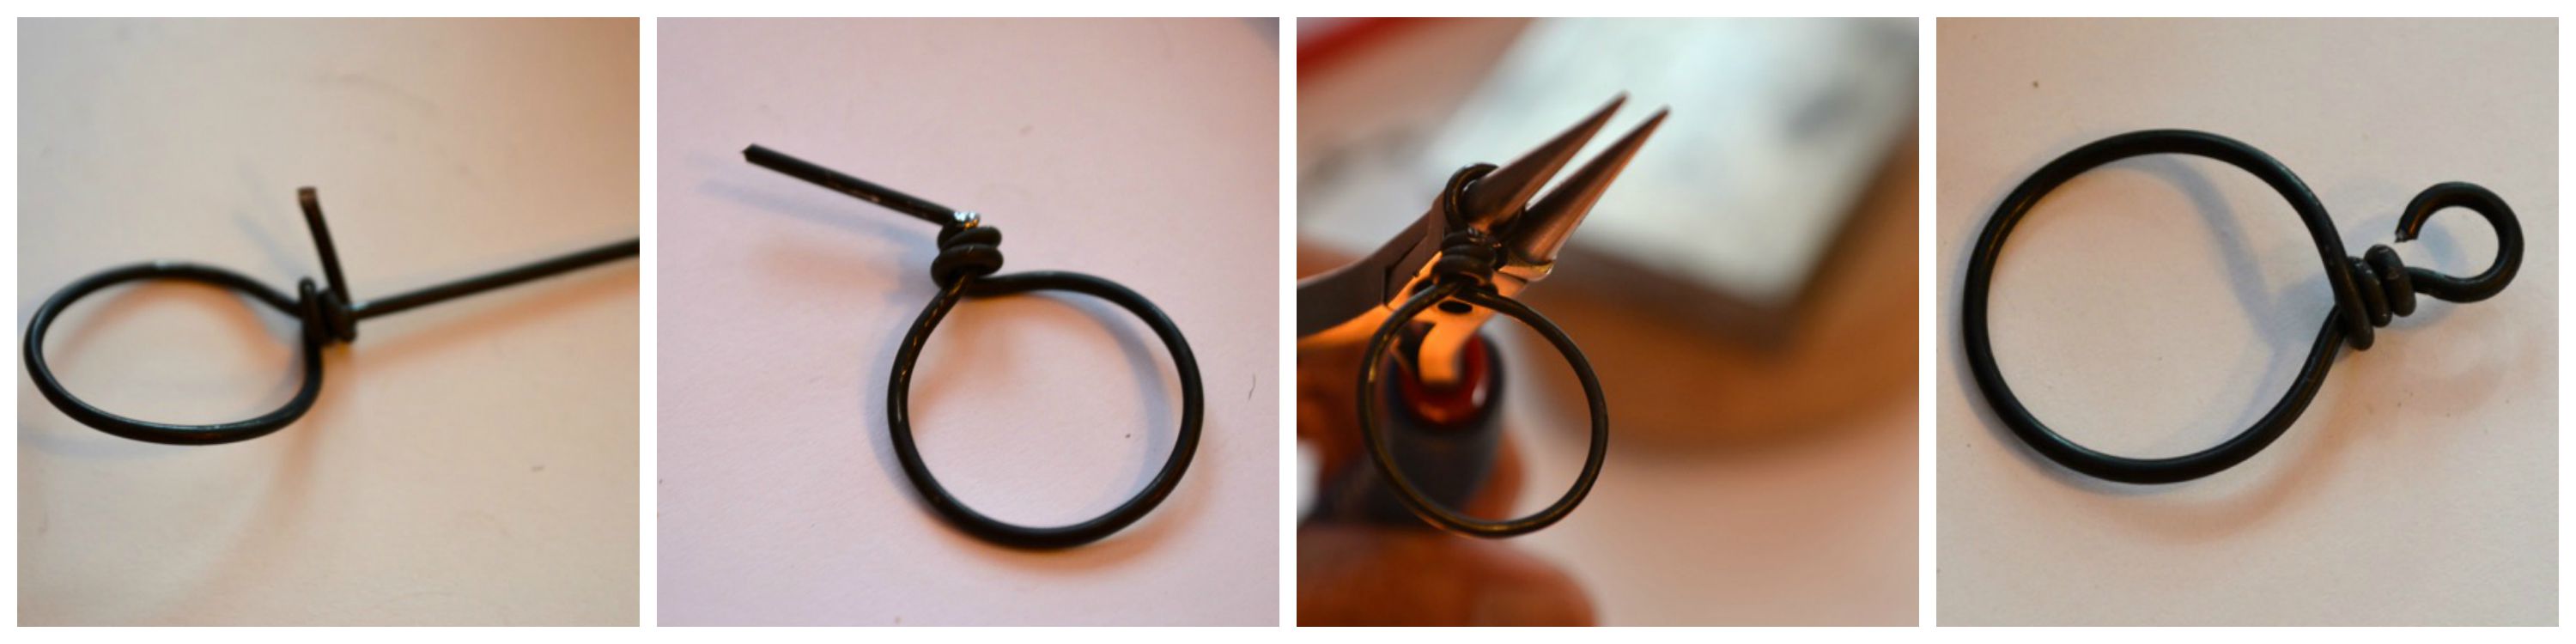 Step 7:
Grasp the loop at the bend, and wrap the short end of wire around that 90-degree bended wire. Trim the long wire, so that it is about a half an inch long. Bend it at an angle, and then form a simple loop with your round-nose pliers and close the opening.
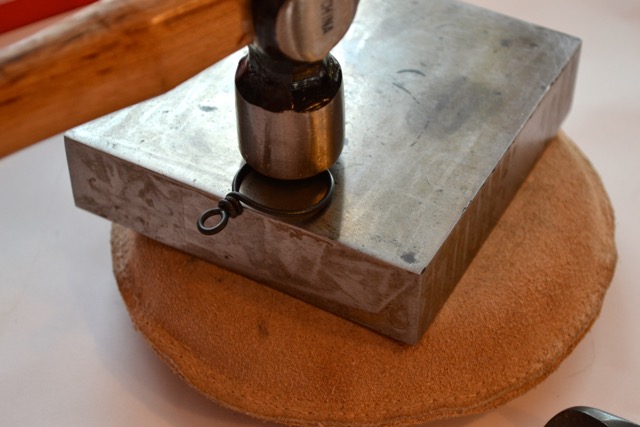
Step 8:
Hammer the toggle ring on the bench block, flip it over and hammer. Just so that the wire is work hardened and flattened a bit. The simple loop may open during the hammering, just close the loop up again using the chain nose pliers.
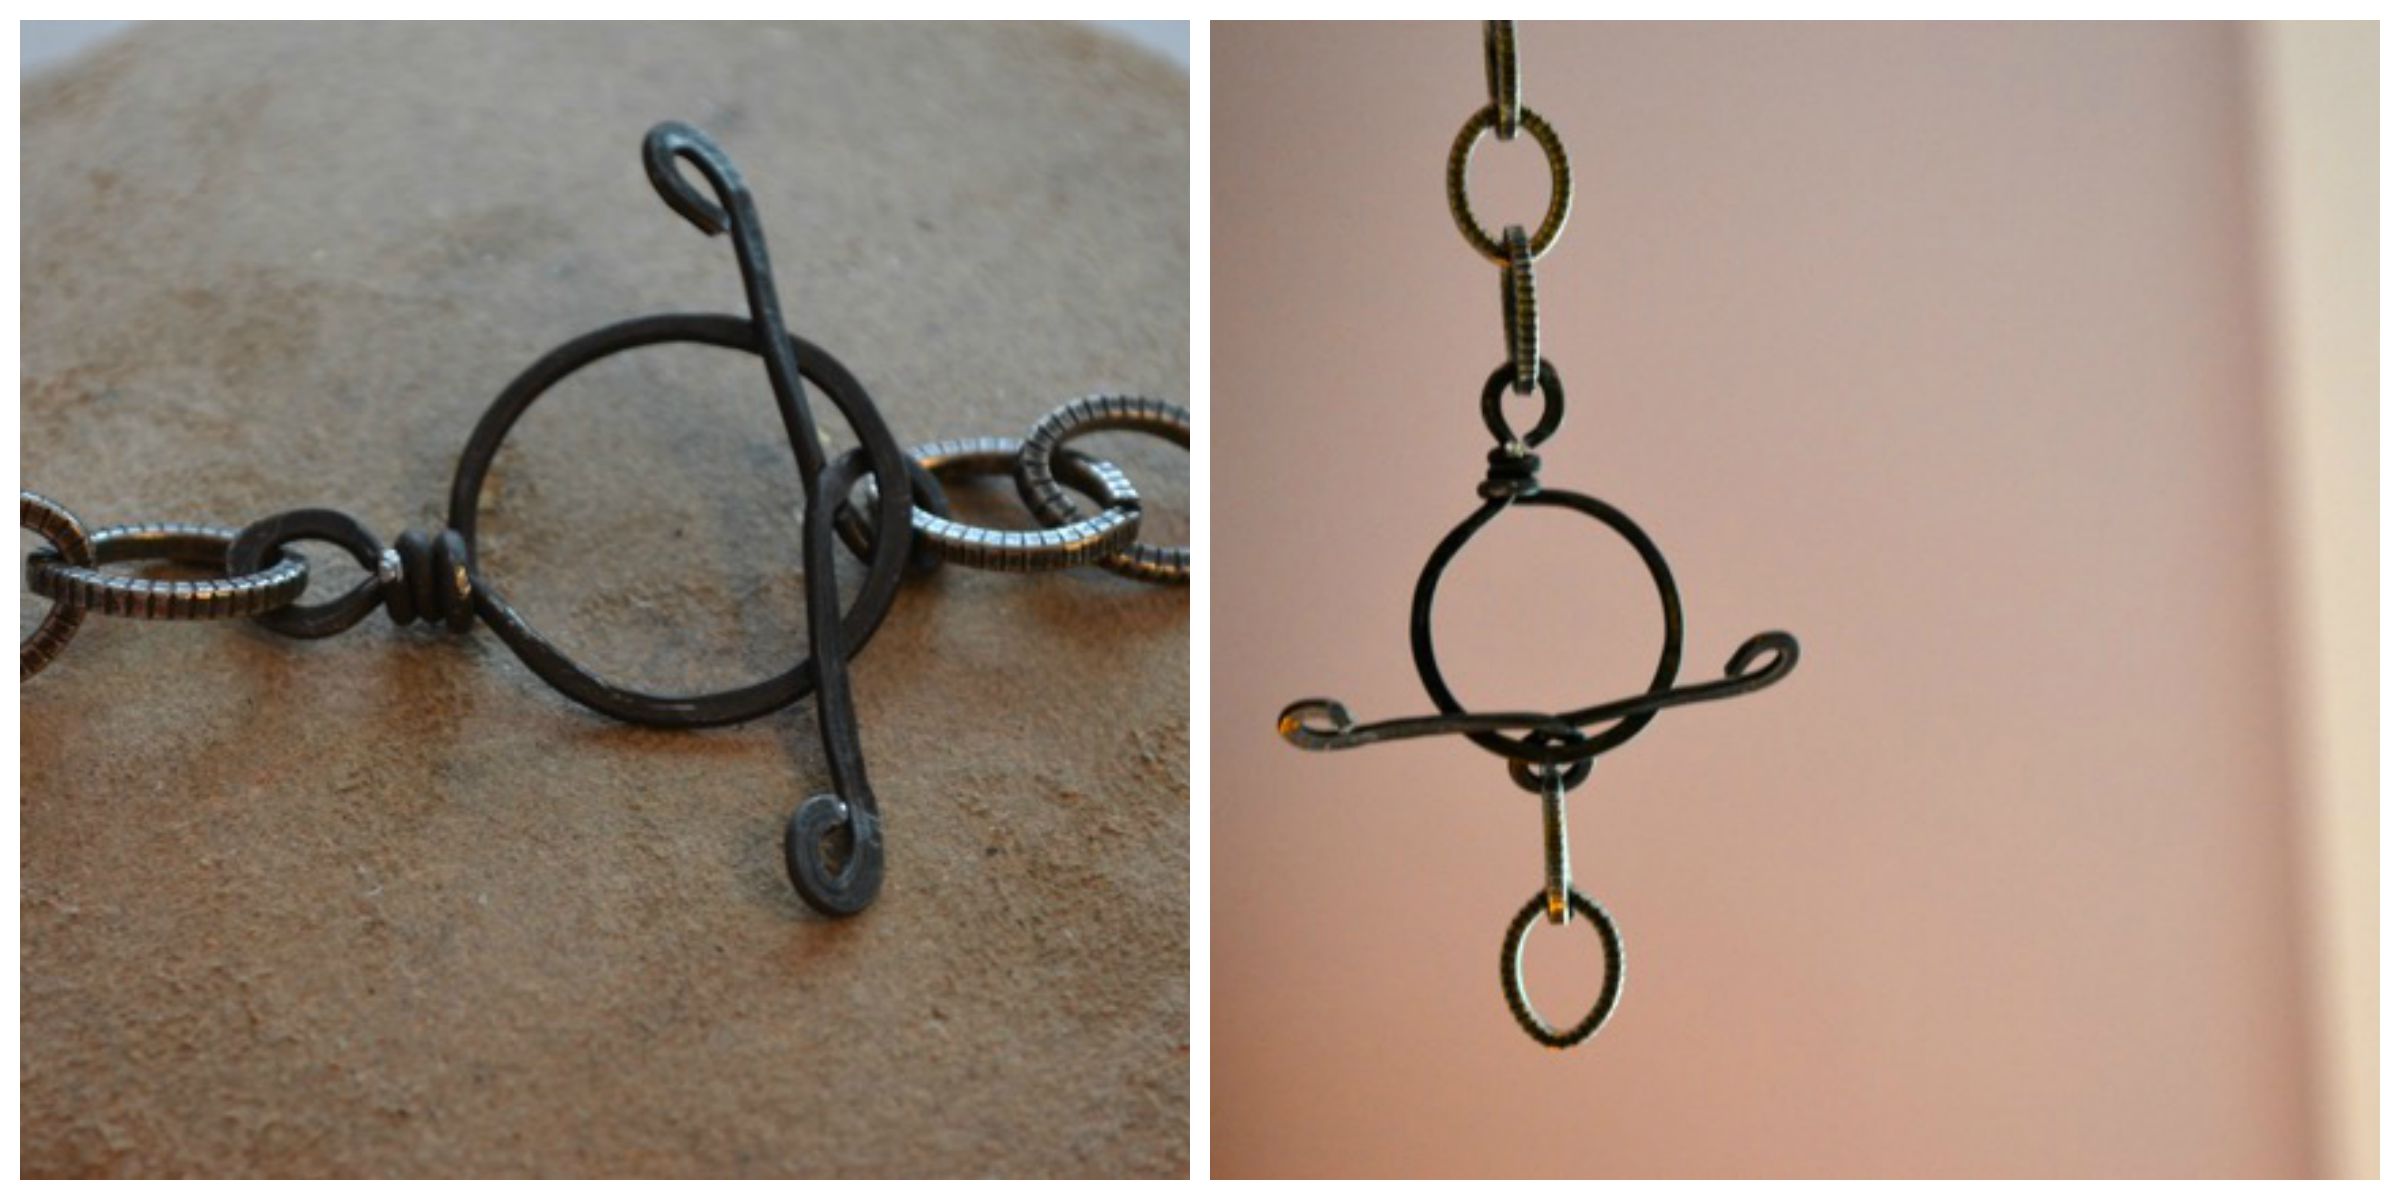
Now you can use this toggle clasp in a necklace or bracelet design. I attached it to some hefty chain here so you can see how it would look on a finished piece. Create any size toggle you want!
Tip: Be sure that your toggle bar will be long enough to stay inside the rounded toggle loop. If your toggle bar is too short, it may slip out easily when it’s worn.
Share tips, start a discussion or ask one of our experts or other students a question.
No Responses to “How to Make A Toggle Clasp: FREE Tutorial!”