
Previously, we completed the main part of our custom-sized dovetail box by adding the bottom to the box. The box is usable as is, but often a lid is useful to protect the contents of the box and to keep dust out. Today we’ll learn how to make a wooden box with a sliding lid.
How to make a wooden box with sliding lid:
Step 1:
Before starting this process, put the items that you plan on storing in your box to double-check that the box will be sized appropriately.

Step 2:
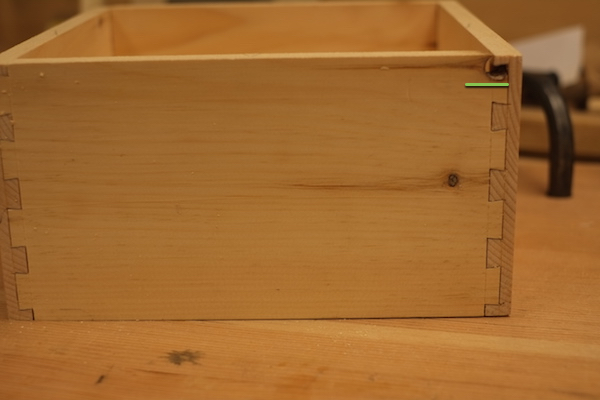
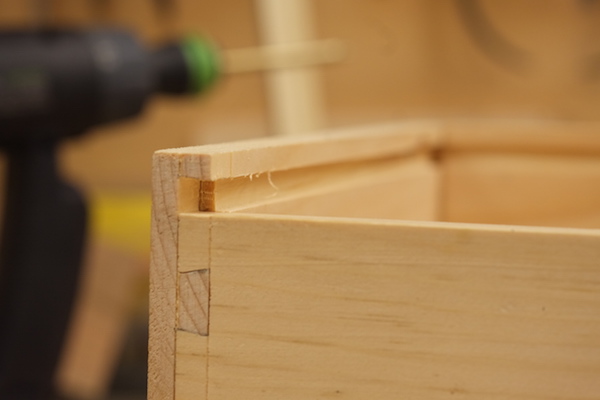
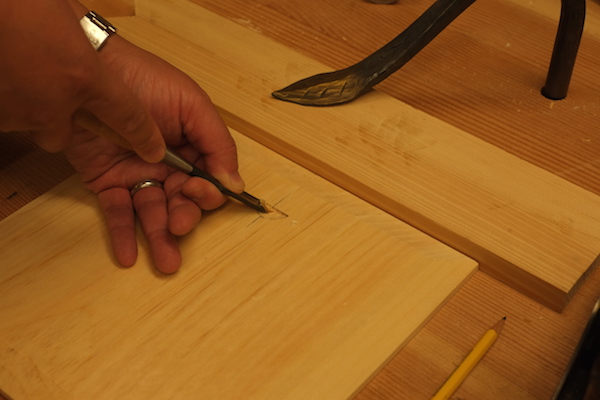
Make a mark on the outside of the box that will represent the bottom of the sliding lid. This should be higher than the top item in the box. This mark should go on one of the tails panels. One of my tails panels had a knot defect, so I decided to place the line just underneath the knot. (The line is highlighted in green in the photo below.)
Step 3:
Using the line, set the plow plane so that it will cut a groove that will line up with the mark that will be the bottom of the groove.
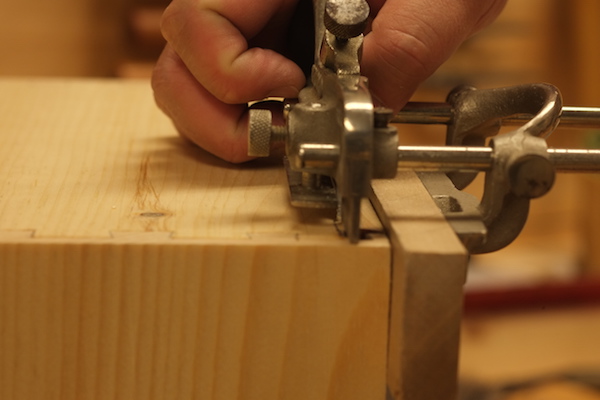
Disassemble the box, and use the plow plane to cut grooves on the inside faces of all four sides of the box at the top.
Take the front side of the box, and cut off the top using the groove as a guide. When you’re done, reassemble the box, and the top of the front side should line up with the bottom of the grooves.
Step 4:
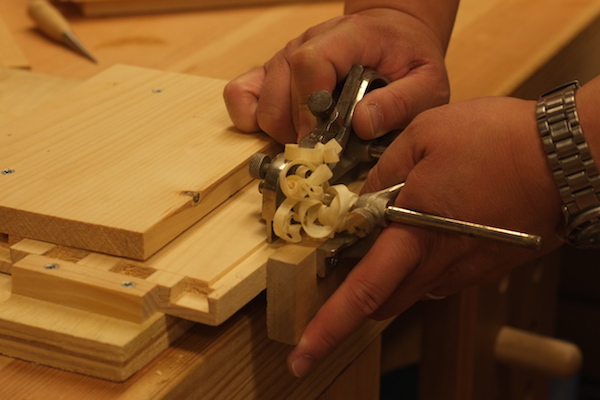
Now you can make the lid. The lid will be made out of a .1/2” thick board. Bevel the sides of the board in the same way that you made the bottom of the box.
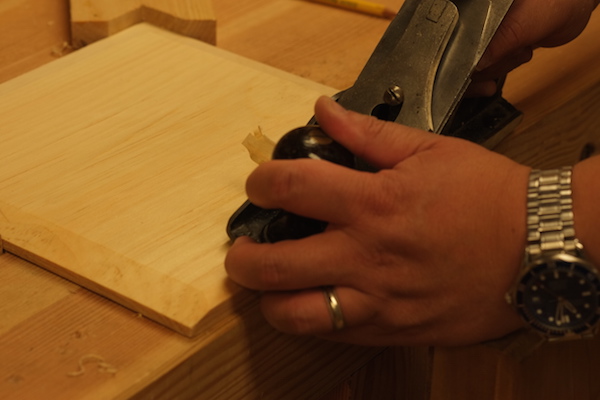
Test the fit of the lid by sliding in the lid from the front. The lid should be able to just freely move in and out. If it sticks, remove more wood from the bevels. The lid will eventually slide all the way in without sticking.
Step 5:
Although the lid now fits, we’ll need to make a way to open the lid more easily. This could be as simple as gluing a small piece of wood to the front edge of the box, or screwing in a small handle. For this lid, I decided to carve a thumbnail notch. First, mark where the notch will go on the lid.
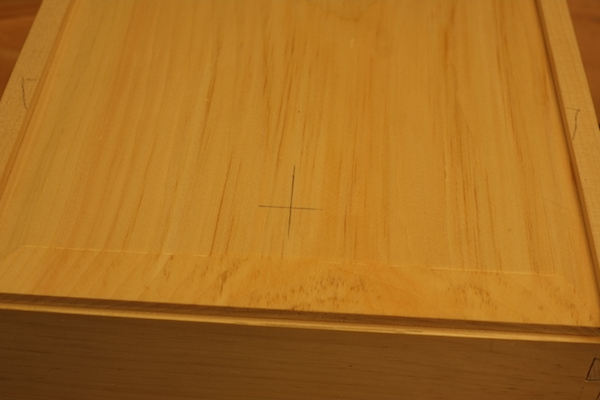
Next, carve the notch. The notch has a straight line that runs across the lid, and a half circle that points towards the back of the box. Use a chisel to chop straight down on the line to form a small vertical wall, and then carve out the thumbnail.
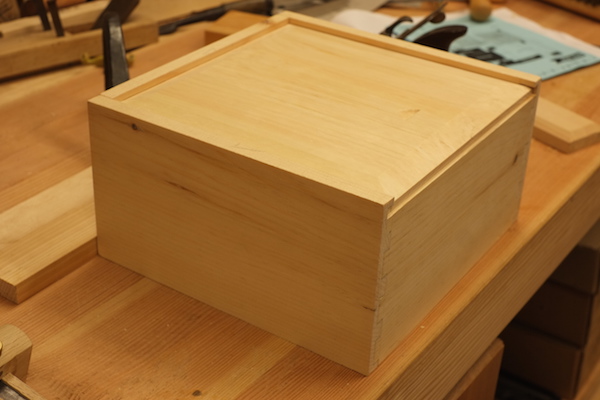
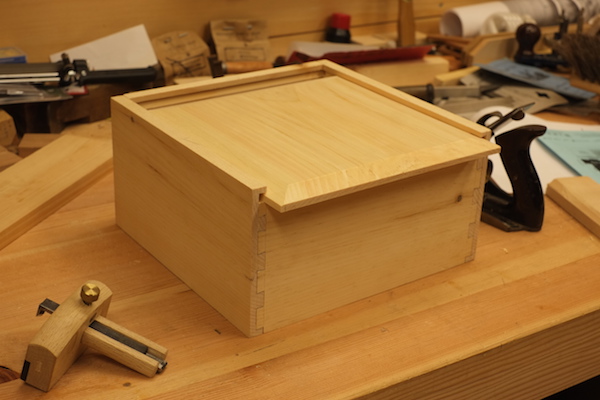
Here’s the finished product:

Finally, disassemble the box one more time, and glue up the sides by applying glue to the dovetails.
Slide the bottom in, but don’t glue it in place. Let the box dry, and then slide the lid in.
Congratulations! You now have a custom box, which can be seen at the top of the post, sized to hold the items that you need stored away.
Share tips, start a discussion or ask one of our experts or other students a question.
No Responses to “How to Make a Wooden Box With a Sliding Lid”