
Grids are a wonderful way to further your artistic prowess, regardless of whether you’re creating a realistic watercolor portrait, a painterly acrylic landscape, or even pen and ink illustrations. Far from instilling a sense of rigidity in drawing and painting, art grids help improve your work by breaking down intimidating imagery into more manageable portions.
Ultimately, this can help you create more natural, effortless artwork, and increase your understanding of shapes, composition and color. Here, we will explore how to make an art grid and use it in your work.
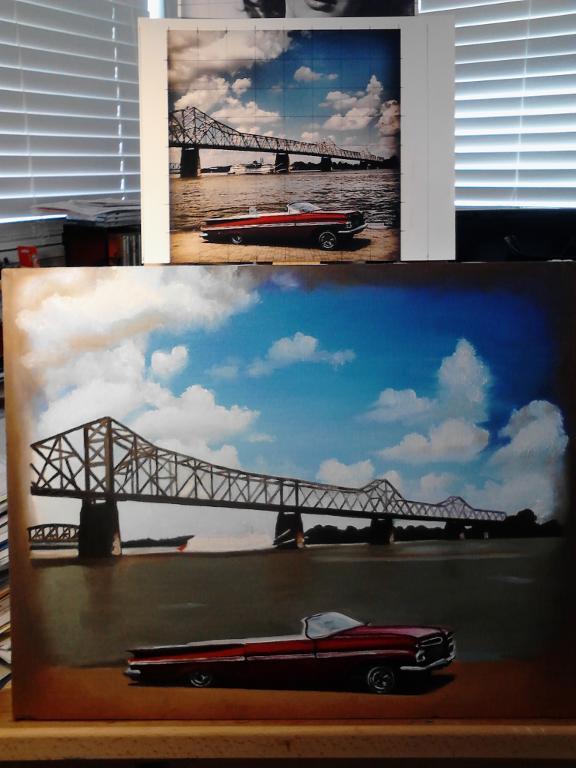 Via Craftsy member cmwilliam2205131
The many functions of grids
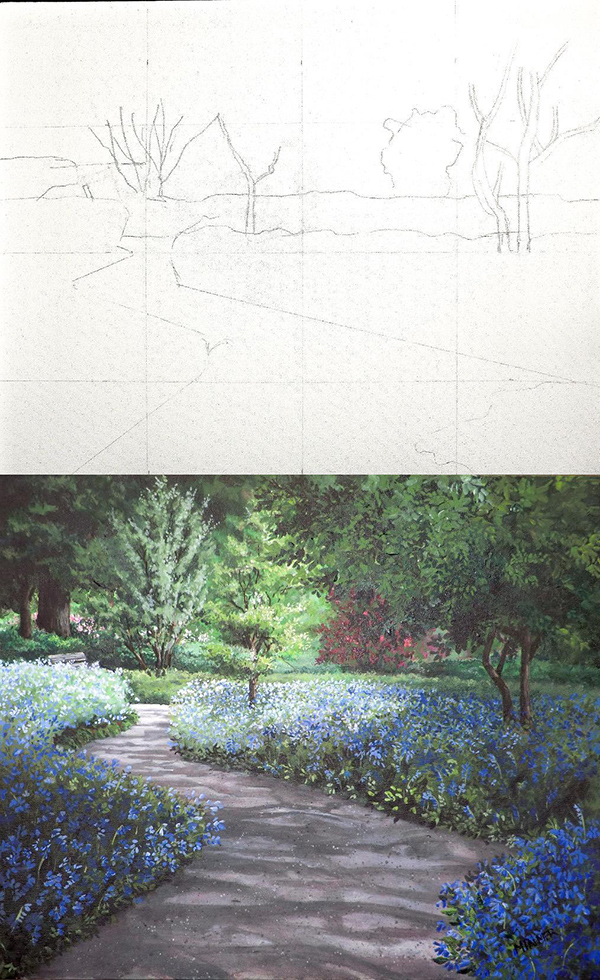
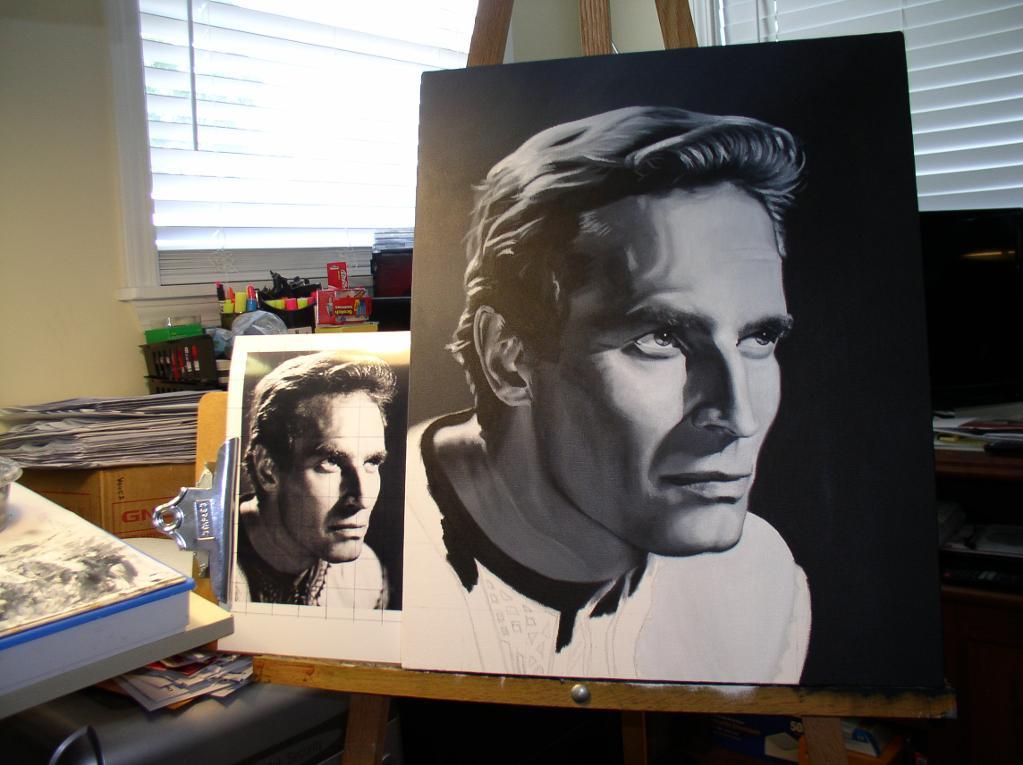
Shades of Blue via Craftsy member Mary Palmer
Using a grid is a wonderful way to help further your fine art skills. Here are just some of the ways they can be used:
- Break down a complicated image into “bite-sized” portions. Instead of being intimidated by an involved scene, you in essence make the image into many smaller abstract images, which when put together, form a realistic whole.
- A grid can be a wonderful tool in teaching yourself how to draw things that might feel out of your comfort zone. Do you shy away from hands, or the shine on glass? Using a grid takes some of the fear out of subject matter that can seem overwhelming.
- Art grids give you insight to shapes and colors. By looking at the shapes and colors that go into a form, you gain more insight as to the subtle tone variances and shapes that create a lifelike image.
- Using a grid keeps your composition balanced. Do you have a tendency to lean your composition to the right or left, or to slant your lines? A grid can help fix that.
How to make art grids: An easy approach
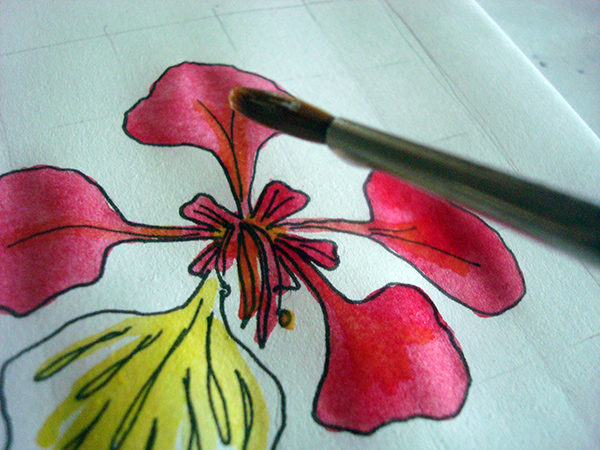
Photo via CakeSpy
Step 1:
Size your image. First, start with a reference image. You’ll want to size the image to scale with the paper you’re working on. Say, for instance, your reference image is 8″ x 10″. If you want to create a 16″ x 20″ final piece, no scaling is necessary. However, if you want to create a 20″ x 20 ” final image, you will have to crop the reference image so it is to scale.
Step 2:
Create a grid on your reference image with divisions you see as manageable: for instance, 1″ intervals. Draw lines every inch horizontally and vertically to form a grid.
Step 3:
In pencil, draw a light grid on your working piece, to scale with your grid on the reference piece. If your original piece will be double the size of your reference image, make the grid at an interval that reflects this: every 2″ instead of a 1″ grid, so that each square will correspond to the same from in your reference image.
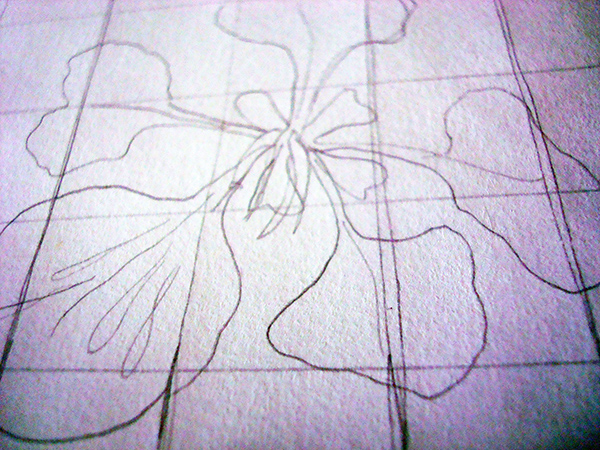
Photo via CakeSpy
Step 4:
One your grid is set, you have a guideline to keep you on track as you create your initial sketch, which will help you progress to other finishing media. Keep the reference image on hand as you progress, because it can give you information about color as well as shape and proportion.
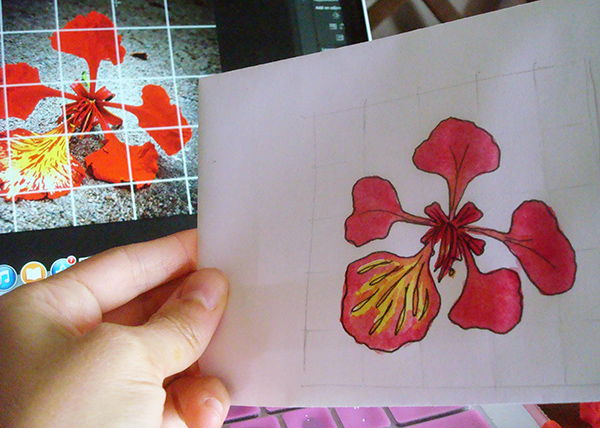
Photo via CakeSpy
Reference image and work in progress via Craftsy member cmwilliam2205131
Note: This method can work with any medium. It doesn’t have to be literal: you can also use it as a reference image style to create a fantastical scene with some factual color and shape information.
While this is an easy method for getting started with grids, as you become more comfortable, you may find that a looser type of grid is easier for you. Maybe even just dividing the paper into quadrants so you can make sure the image is centered and in proportion.
Share tips, start a discussion or ask one of our experts or other students a question.
No Responses to “Living on the Grid: Using Grids to Enhance Your Art”