
End grain cutting boards might look complicated, but they are actually quite simple to make when you understand the principle behind them. As Wilbur Pan wrote in his post Board Basics: Cutting Board Design Considerations, cutting boards are easy to make and make great gifts. They can be as simple or elaborate as you want, using contrasting woods to form unique patterns. I’ll show you the steps for how to make an end grain cutting board that is beautiful and will last years.
End grain vs. edge grain
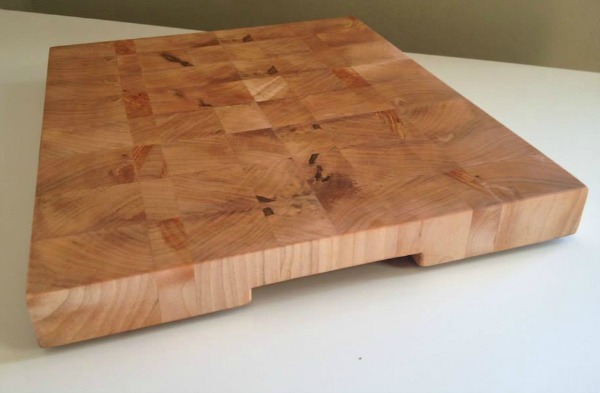
Chefs prefer end grain cutting boards because they have a kind of self-healing feature built in. When a knife blade goes into the board, it separates the wood fibers instead of severing them. That allows the fibers to go back together without any damage done. The board will get marked up over time with use, but wood will not be removed, as is the case sometimes with edge grain boards.
Wood selection
Dense woods with closed grain — species such as maple, walnut and cherry — work best. Woods with open grain, such as oak or ash, can allow bacteria to collect in the openings, making the board hard to keep clean.
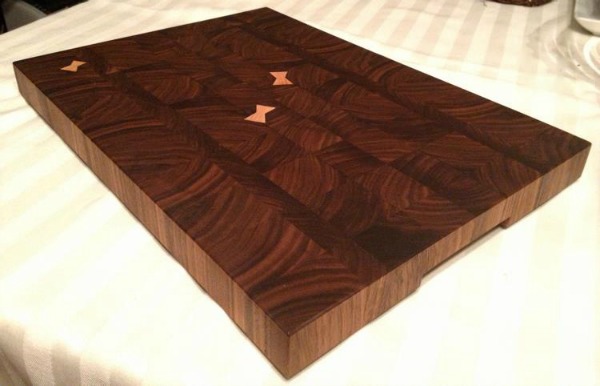
Walnut is also great for cutting boards. This one features maple butterflies.
Steps to making an end grain cutting board:
1. Mill the wood
Using the standard methods for squaring up wood, mill your lumber to about 1 ½” thick. This measurement will be used to establish the length of the cutting board. If you are using different species of wood, mill all the wood for the cutting board at the same time so it will all be the same thickness.
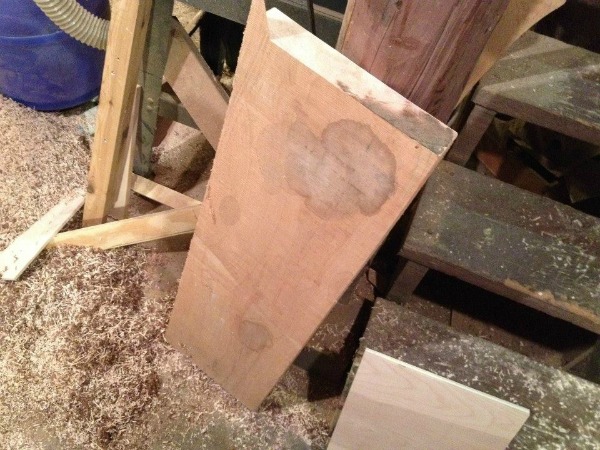
It all starts with a board, like this 8/4 piece of maple.
2. Rip the wood
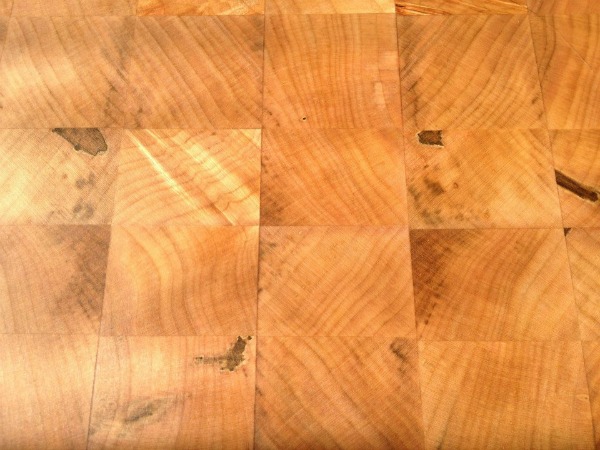
Using a table saw, rip the wood to width. This is where you can get creative. Make all the pieces the same width to create a checker board pattern. Rip the pieces to different widths to make more complex patterns. I like to use three different widths, such as 2 ⅛”, 1 ⅛” and ⅝”, a technique I learned from Marc Spagnuolo, a.k.a. The Wood Whisperer.
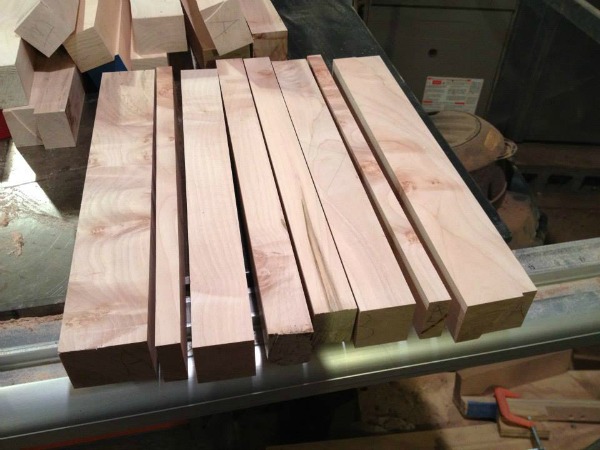
The wood is ripped to different widths to make an interesting pattern.
3. Glue up a panel
Arrange the pieces to create a pattern. Using at least a couple good clamps, glue the pieces side to side to create a panel. It’s important to make the panel as flat as possible to avoid too much sanding and planing later. Here is my process for ensuring the panel is glued up as flat as possible.
4. Set-up for gluing success
To make the panel flat, I use a few accessories when doing the glue-up. First, I milled a couple of pieces of wood to act as runners to help keep all the pieces flat and to elevate them to make it easier to clamp them. I drape a piece of wax paper over the runners to keep glue squeeze-out off of the table top and the clamps. I use two cauls – pieces of wood with a very slight amount planed away from each end. When the clamps go on, the cauls act as a spring to even out the clamping pressure.
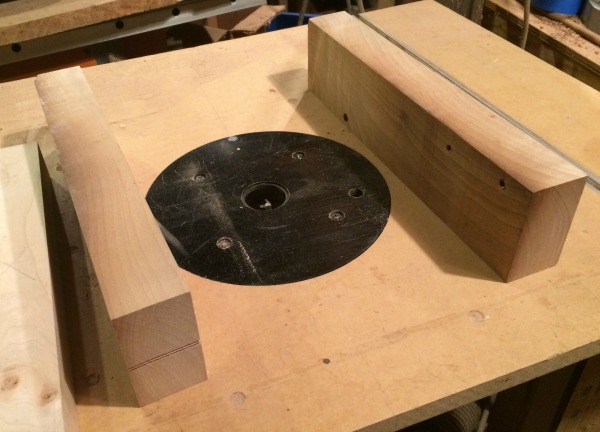
These two pieces of wood are exactly the same height so they keep the panel flat during glue-up.
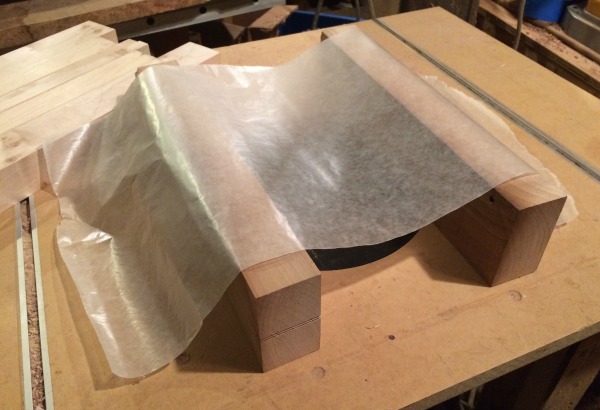
Wax paper keeps glue squeeze-out off the table and clamps.
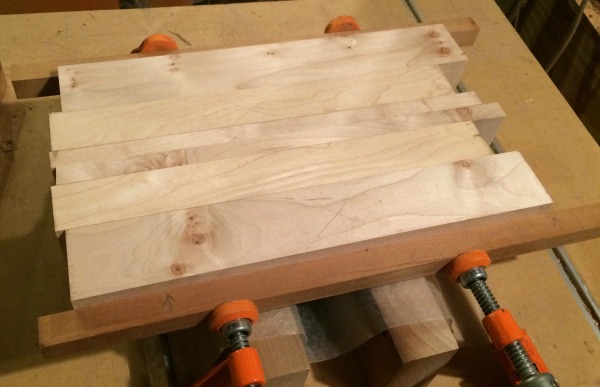
Cauls help distribute the clamping pressure evenly.
In my next post, I’ll flatten the panel, crosscut it into strips and glue it back together again. I will also discuss edge treatments and handles, then talk about finish options.
Share tips, start a discussion or ask one of our experts or other students a question.
No Responses to “Board Basics: How to Make an End Grain Cutting Board”