Since we’ve just taken a look at sea-themed cakes from nautical cakes to fish cakes, it only seems appropriate that we explore the beach next. As an amazing place filled with beauty, wonder and delight, the beach is a very popular theme for weddings and birthdays alike.
Today, we are going to learn to make edible sea shells out of candy melts. You can make them from real chocolate as well, but just remember to temper your chocolate. Throughout this tutorial we may refer to candy melts as chocolate, but we are, in fact, using candy melts.
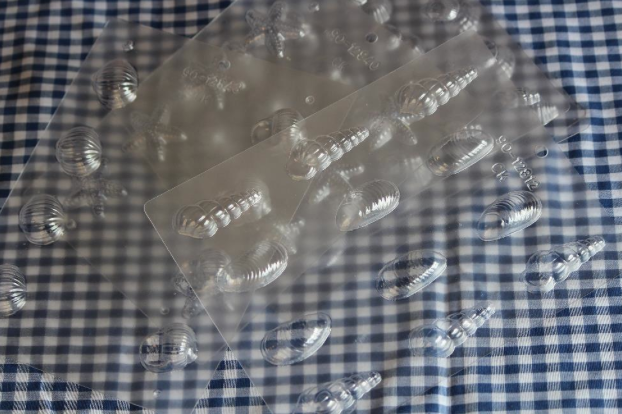
Materials
- White candy melts
- Chocolate candy melts
- Microwave-safe bowl
- Spatula
- Cutting board
- Knife
- Piping bag (I use disposable bags)
- Sea shell molds (These can be found online or in craft stores. There are both one-sided molds or two-sided molds that allow you to make 3-D sea shells.)
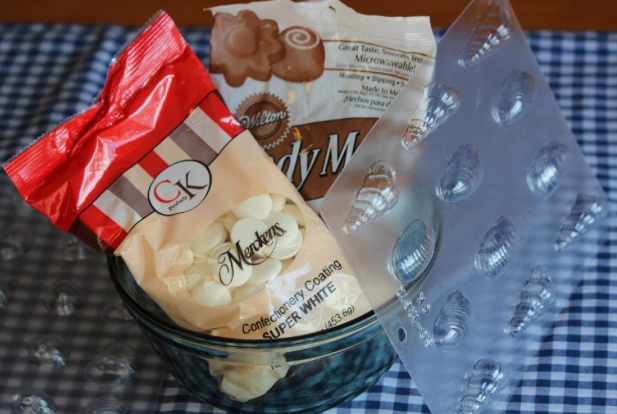
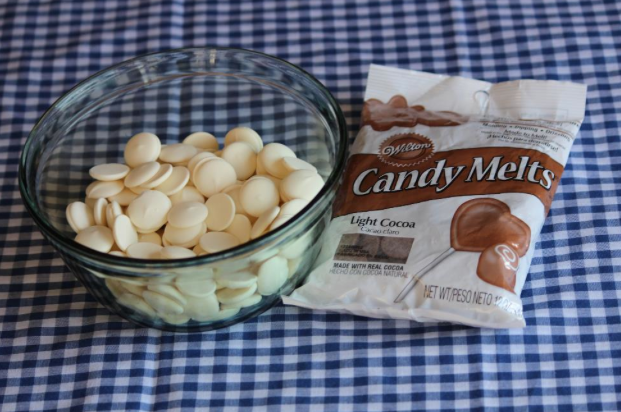
Step 1: Melt your white candy melts per package instructions. Do not add the chocolate candy melts yet!
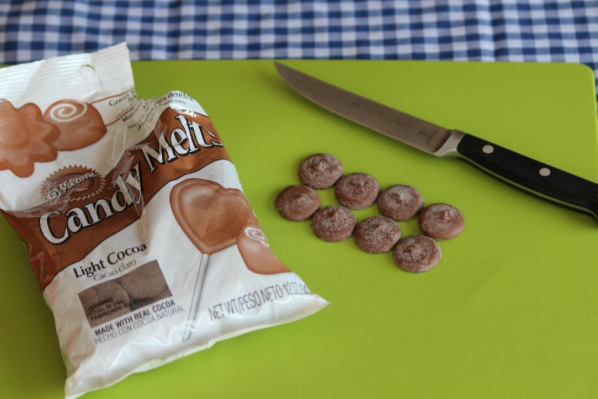
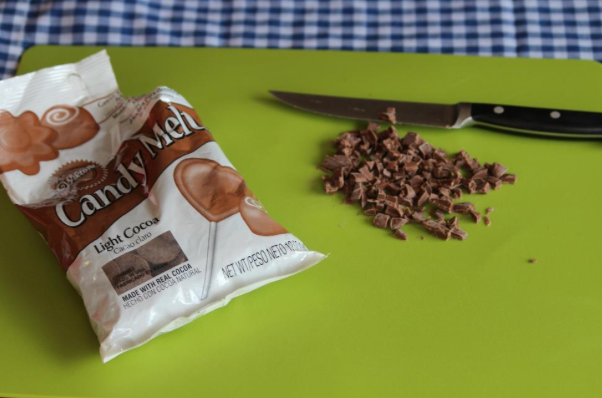
Step 2: While your white candy melts are melting, cut up a few pieces of your chocolate candy melts. We want a marbled look in the chocolate, not light brown chocolate. I only used eight pieces of chocolate; but you could use more or less depending on the kind of cake you are doing.
Step 3: Once your white candy melts are melted, add the cut up pieces of chocolate. Then fold in the chocolate pieces.
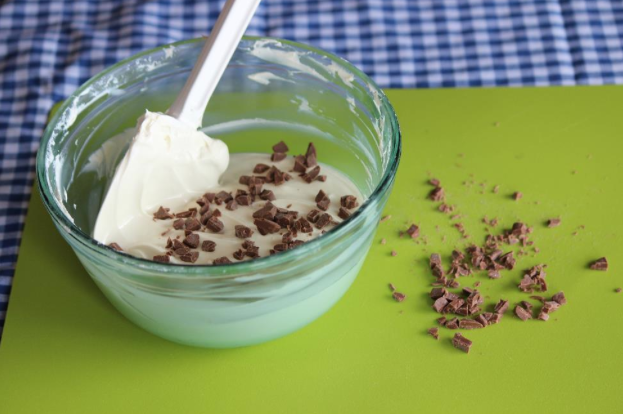
Do not stir them at all. Just get them in the chocolate and then let them sit for about 3-4 minutes. We want them to melt in one place. Again, do not stir yet!
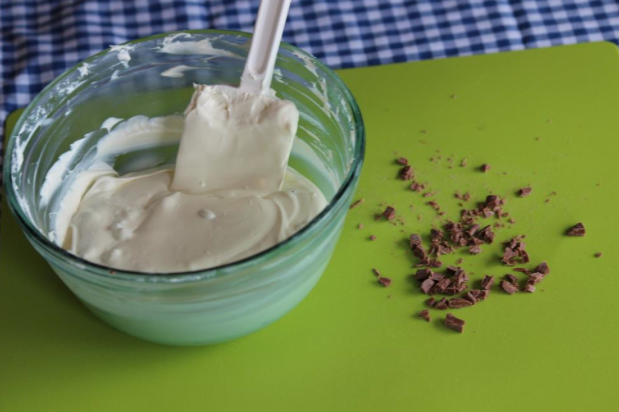
After 3-4 minutes, gently stir once or twice with a spatula or knife. You want it to look marbled, because it will continue to blend when you put it in the piping bag. Resist the urge to stir too much!
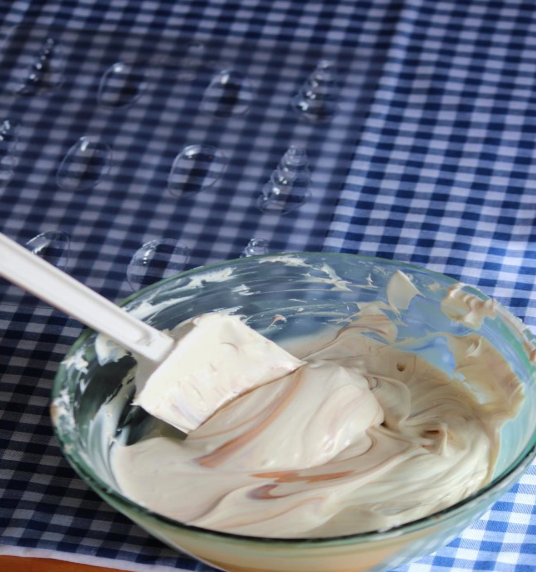
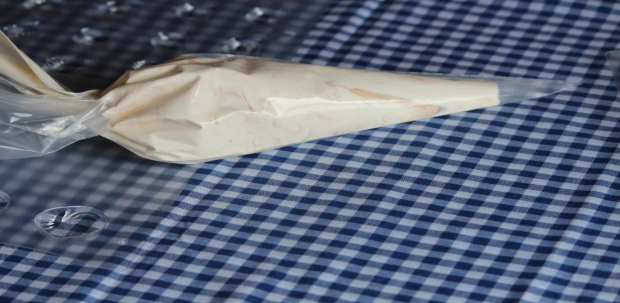
Step 4: Place the marbled chocolate into a piping bag.
Step 5: Pipe the candy melts into the candy molds. Do not overfill them. They don’t need to be filled perfectly because we are going to pound on them in a moment.
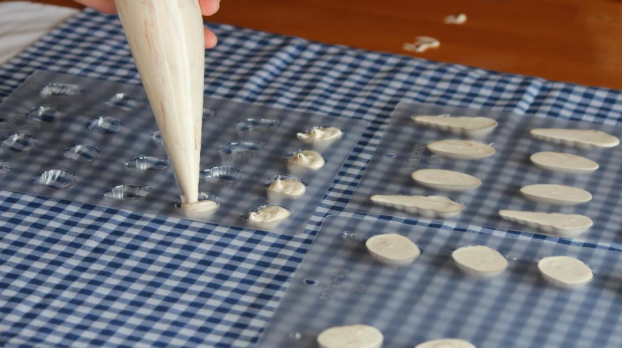
Step 6: Once you have filled your wells, pick up the tray and then drop it onto the counter or table. You do not need to be gentle about this. You want to release the bubbles that form at the bottom of each mold and flatten out the top of the candy melts. Pick it up and drop it a couple of times. Then lift the tray above your head (making sure to keep it flat) to check for air bubbles.
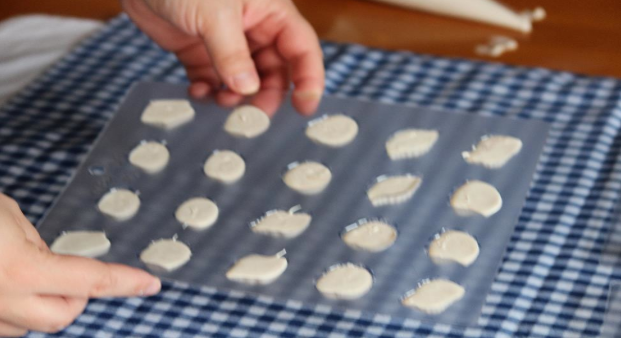
Step 7: Once your candy melts are free of bubbles and smooth on the top, you can place them in the refrigerator to chill. You can also leave them on the counter to cool, but I have found they release from the molds better if they are cold. They also chill a lot faster in the fridge.
You now have beautiful chocolate sea shells for that special wedding or birthday cake! You can brush them with a light luster dust to add a little color and shine! You can also add in other candy melts with the chocolate to give the sea shells a colored marbled look.
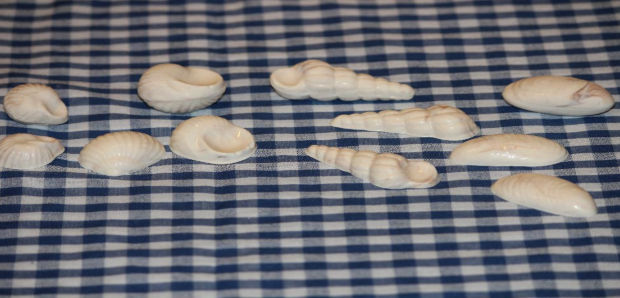
To make the 3-D chocolate sea shells, you simply pop the shells out of the molds then gently press them together; they should stick together without too much effort on your part. Your fingers warm them enough to help them stick together. It is a good idea to wear gloves when doing this or you’ll end up with fingerprints in your chocolate.
To learn more about working with candy melts and chocolate, and their differences, check out Lauren Kitchens’s Craftsy class Intro to Modeling Chocolate: Cityscape Cakes!

Share tips, start a discussion or ask one of our experts or other students a question.
No Responses to “How to Make Chocolate Sea Shells”