
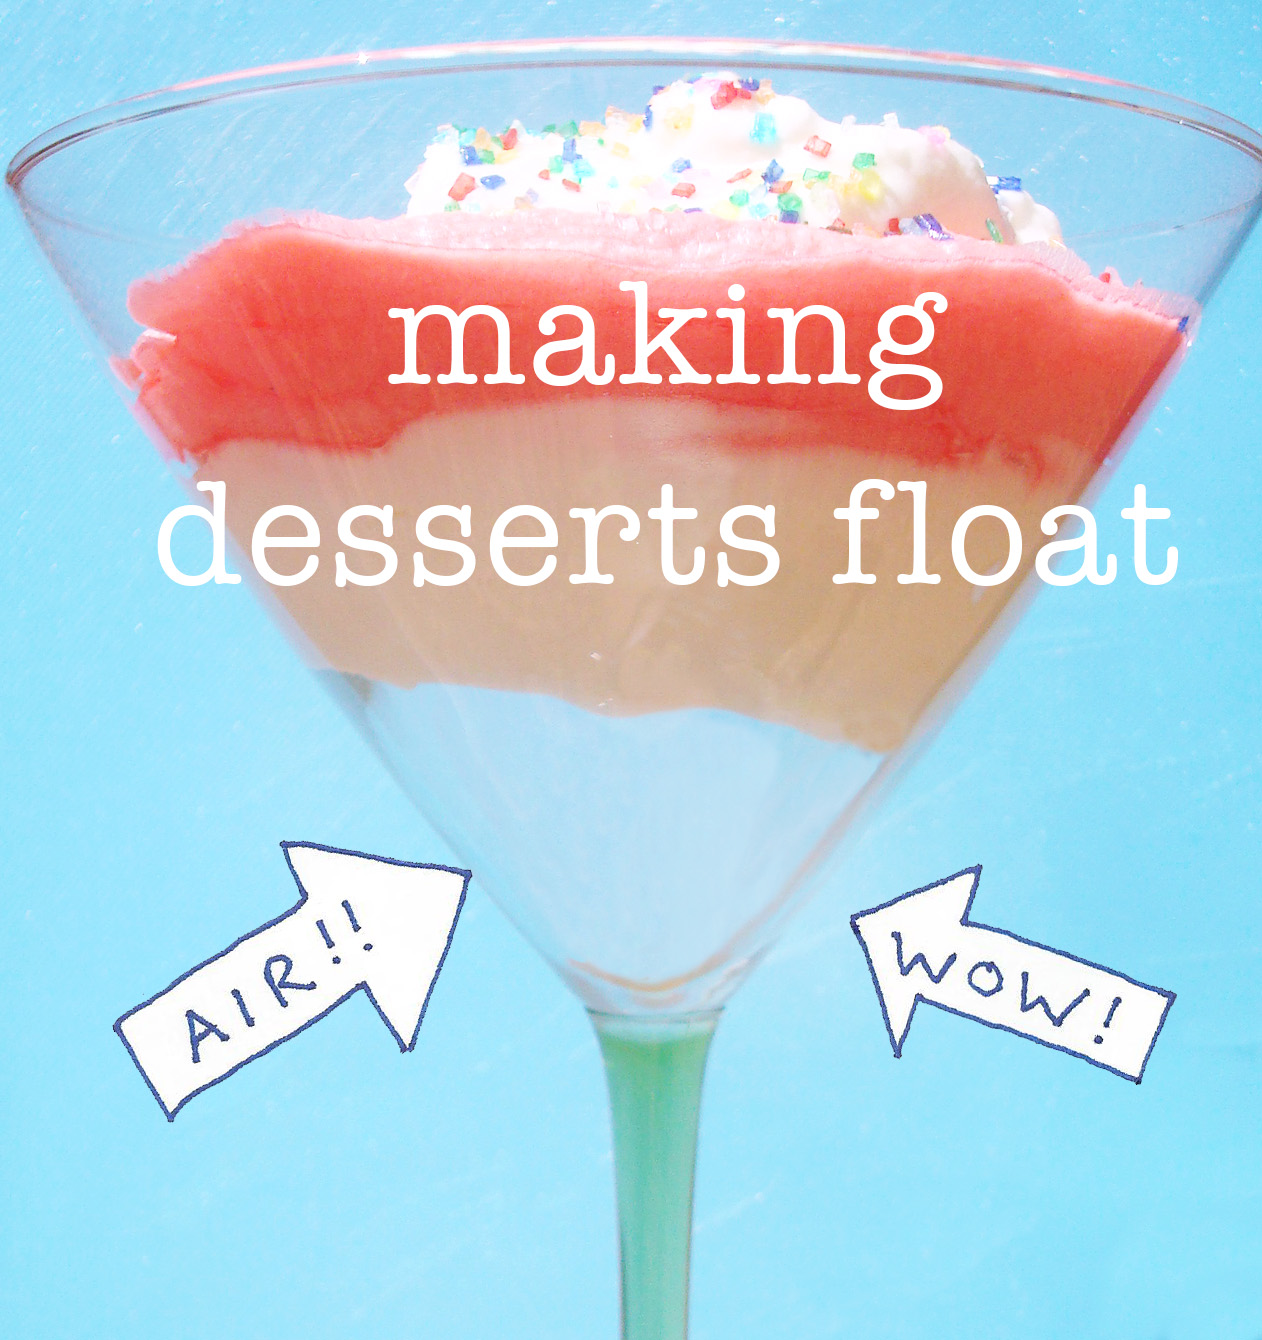
Looking to learn how to make a creative dessert that will surprise and delight guests? Do you want to see your desserts fly through the air with the greatest of ease? It’s easy: Learn how to make desserts float! This cool culinary trick practically guarantees that your next dinner party (or pinkies-out tea party) will be an absolute smashing success!
Photos via CakeSpy
Master the art of culinary illusion with this trick for floating desserts!
You may think that mastering the art of creative desserts is only for professional pastry chefs, but that’s simply not true! This method of making desserts hover (using a stealthy disc of chocolate) is exceptionally easy and quick. Plus, it involves materials that you very likely have stocked in your own pantry, making it an accessible project for the at-home chef.

The secret behind the magic
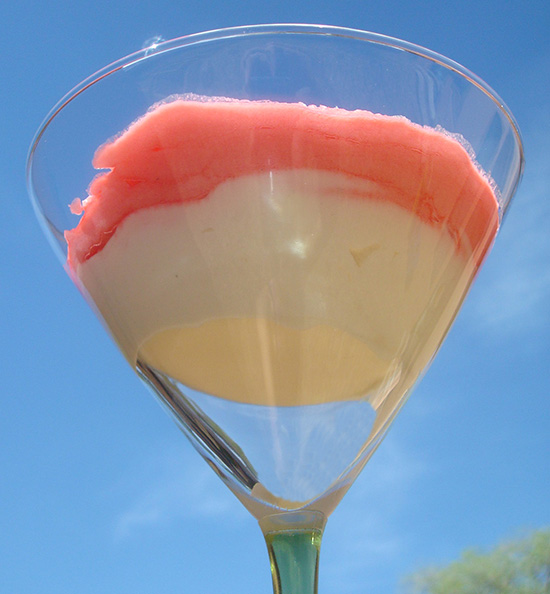
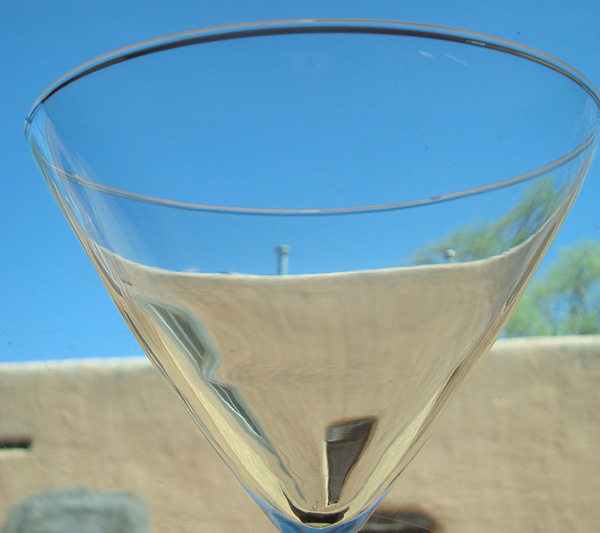
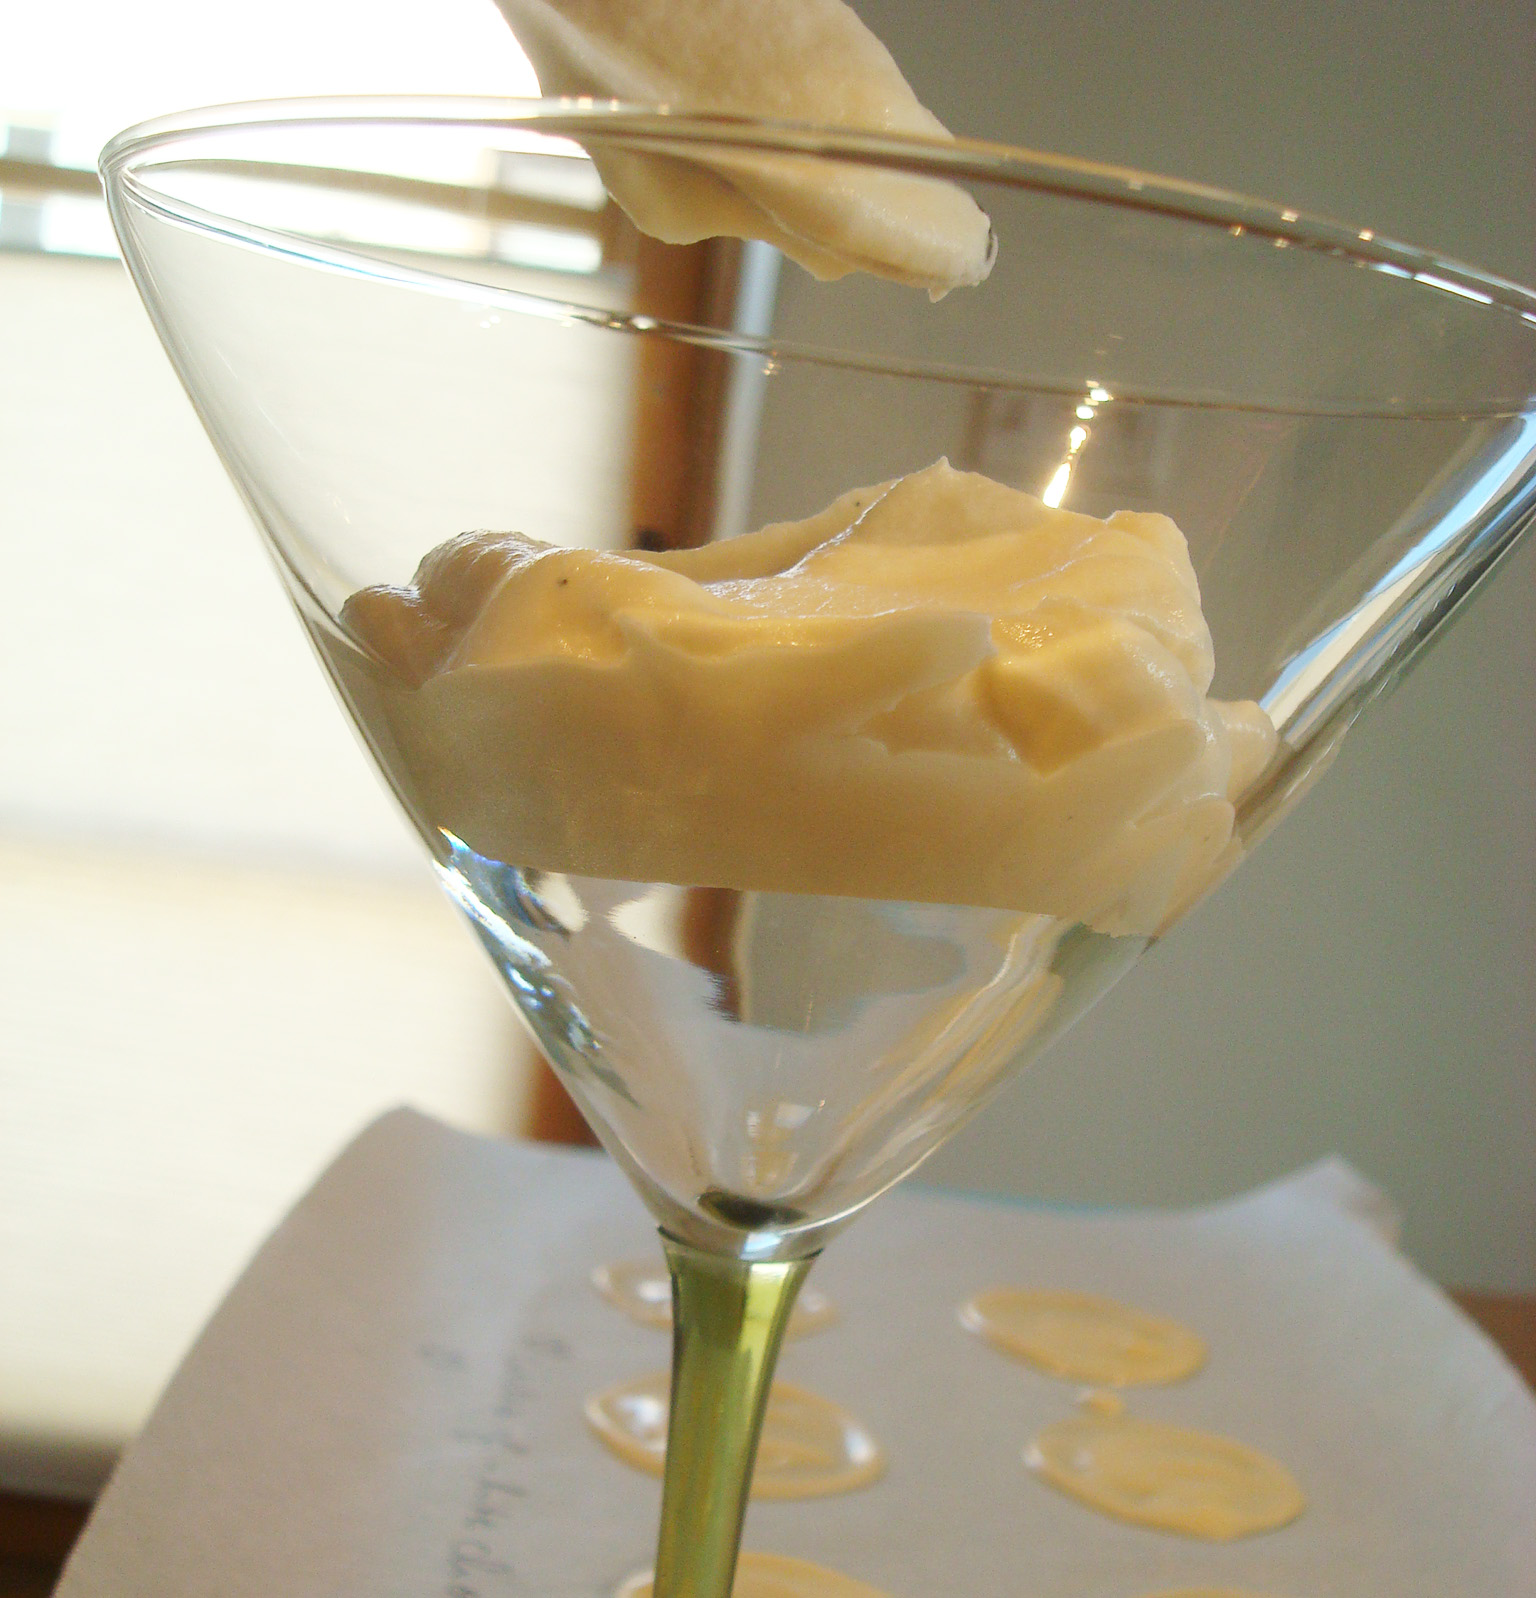
Basically, what goes on to create this “hover” effect is that you fit a chocolate disc inside of a tapered glass before adding a dessert. The chocolate creates a “seal” separating the bottom of the glass, then melds with the dessert, creating a visual effect of floating.
Here are some things to consider to help guarantee success in this fun kitchen experiment.
Choose the right dessert, the right glassware & chocolate to match.
Because a thin disc of chocolate is the only thing holding up your dessert, you’ll want to choose fairly light and stable desserts. Mousse is an ideal choice, as its moisture content will meld with the chocolate disc, yet it’s light and airy enough that it will not disintegrate or melt the chocolate. Lighter puddings or whipped desserts work well, as would a parfait with whipped cream and fruit.
You’ll want to use a glass with tapered sides to ensure that the chocolate disc stays in place. Martini glasses are ideal.
You can use any type of chocolate for this method. However, for the most impressive “disappearing” effect, consider the color of the dessert. For a chocolate mousse, a dark or milk chocolate disc will work best; for a vanilla mousse, which is pictured in the photos, white chocolate worked beautifully.
Note: White chocolate can also be tinted to match colored desserts.
Consider the weather.
Remember, these chocolate discs are not impervious to the heat. If the weather is hot enough to melt the coating on a candy bar, it is hot enough to melt the discs holding up your dessert. If serving during warmer weather, it’s of high importance that you keep the finished desserts in the refrigerator until it’s time to serve.
Storing the extra chocolate disks.
The instructions below will yield 20 or more discs. You may not need this many at once. Luckily, they can be stored for later use so that you can make desserts hover on command. Store extra discs in a single layer in an airtight container at room temperature. However, be careful, as even when stored this way, your disks may “bloom,” forming white spots, unless the chocolate is properly tempered.
Ready to get craftsy in the kitchen? Let’s go.
How to make desserts float
Supplies
- 6 ounces chocolate (white or dark)
- Parchment paper
- A pencil
- A teaspoon
- Cups with tapered sides (such as martini glasses)
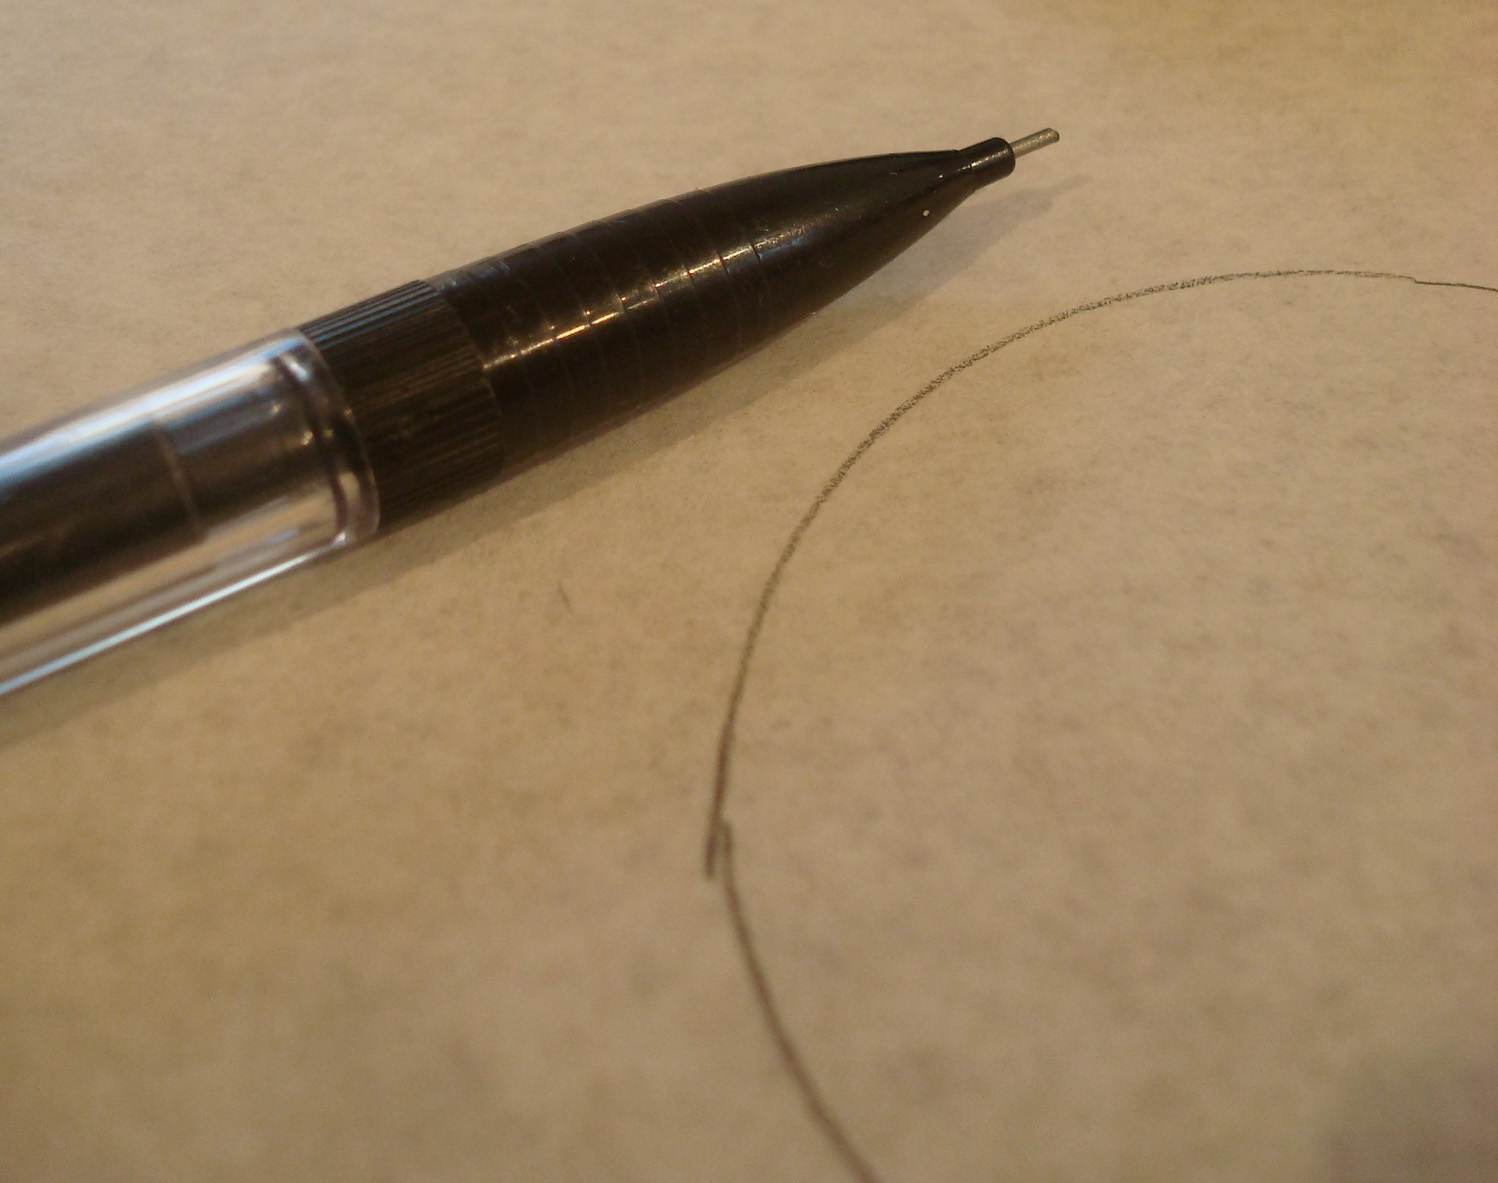
Step 1:
Choose the cups you’re going to use. Draw a circle on paper to test out the size and insert it into your cup to see how high it hovers. If the height pleases you, continue to the next step. If not, draw the circle slightly larger or smaller until you find the correct size.
Step 2:
Use the circle as a pattern piece for tracing about 20 circles of the same size on your parchment paper, spaced about an inch apart. Now, flip the parchment paper. This way, the circles are drawn on the other side, but you can still see the shapes.
Place the sheet on a baking sheet or work surface. Set to the side for the moment.
Step 3:
Melt the chocolate over a double boiler. Once mostly melted, remove from heat; the remaining pieces will melt in the residual heat.
Note: Check out the post on how to melt white chocolate for a smooth, chocolate-y mixture.
Step 4:
Using a teaspoon, spread a small amount of chocolate on the center of each drawn circle, and gently spread it to fill the circle. You want to make it thick enough to be completely opaque, but no thicker than that.
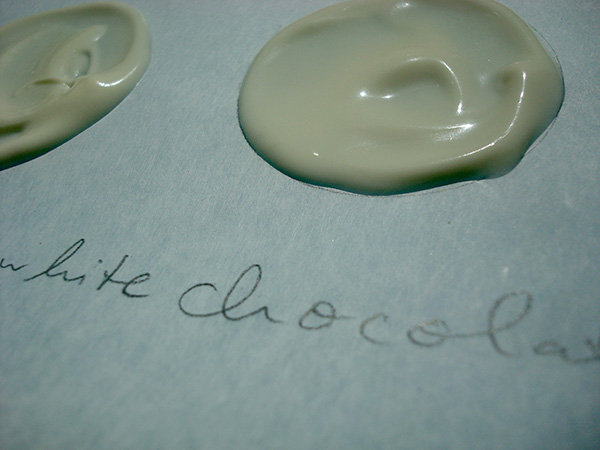
Step 5:
Let the chocolate set for 2 hours or overnight, until completely firm.
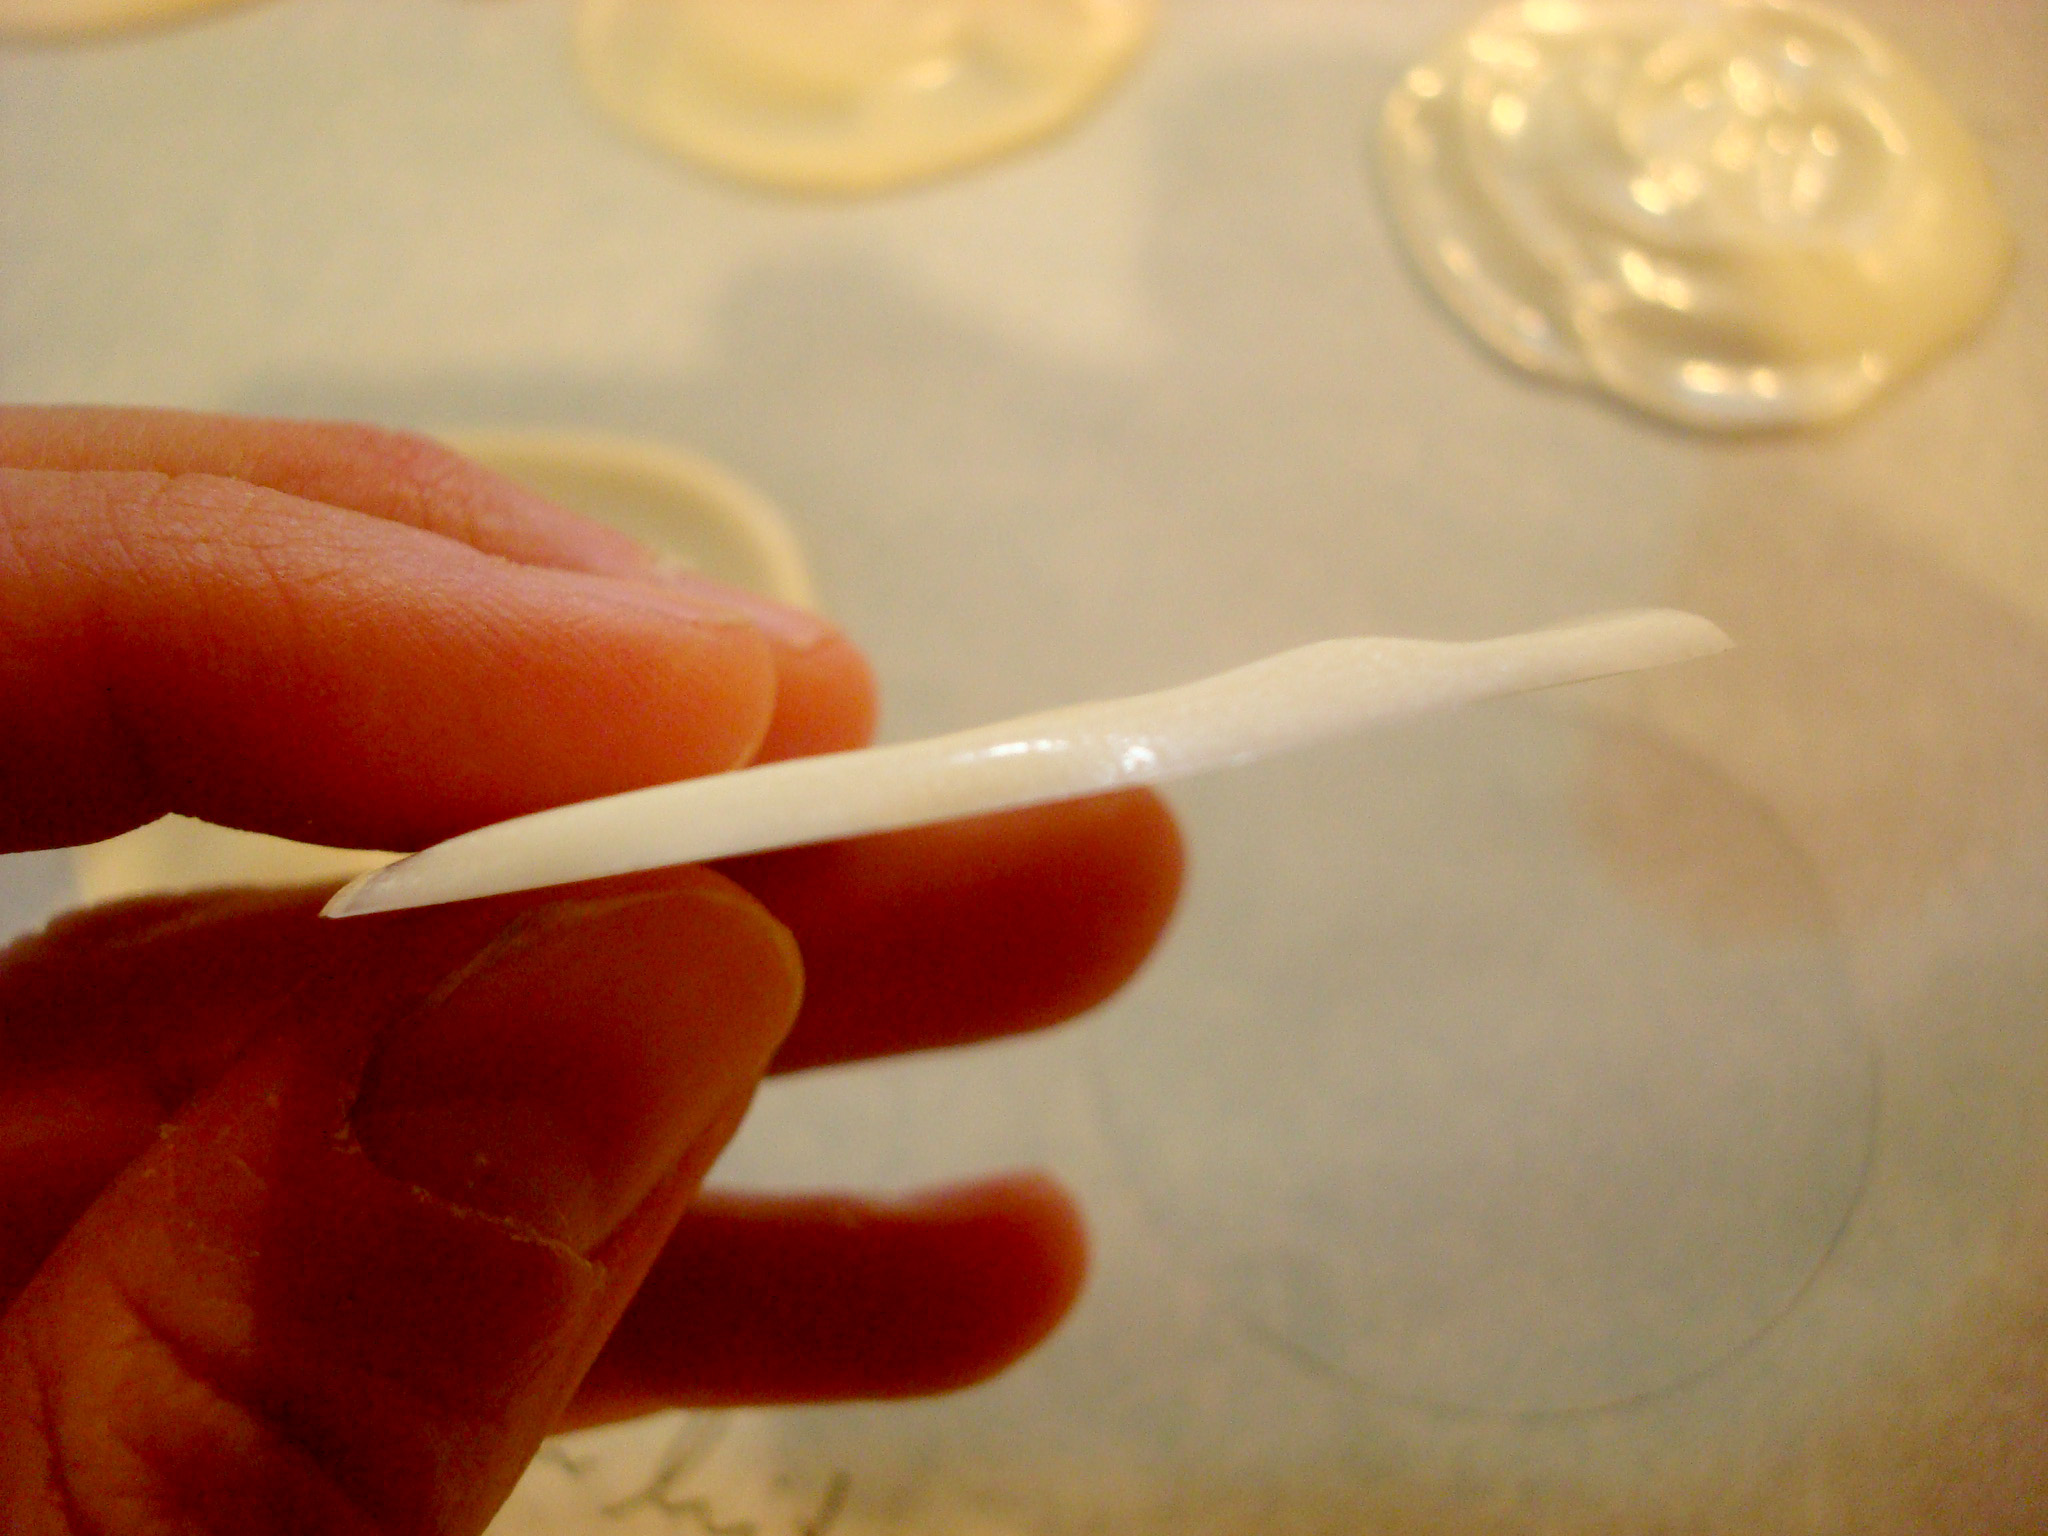
Step 6:
When you’re ready to assemble your dessert, get your cups ready. Gently remove the discs from the parchment paper. They should come off very easily. Gently lower a disc into the glass, “ugly” side up. Press lightly to ensure a good seal.
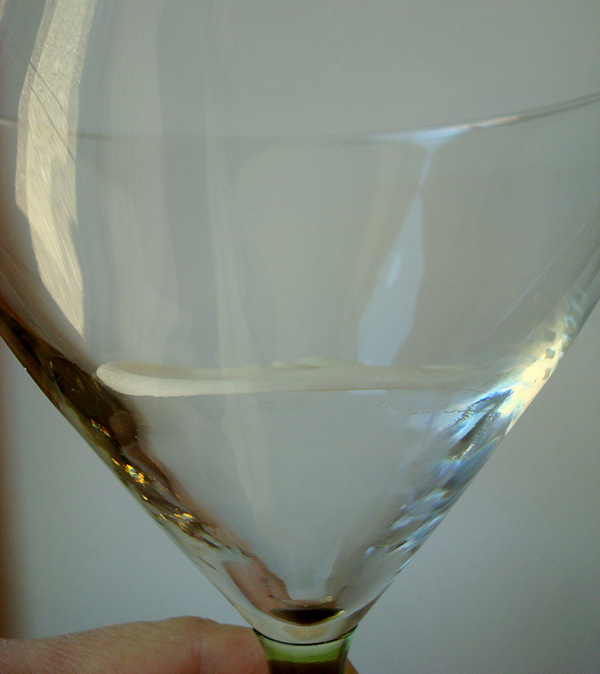
Note: If you see gaps along the sides of where you placed the disc and you’re worried about dessert dripping through, you can lightly enforce the edges with a small amount of firm icing or ganache. Place the glass in the refrigerator for about 20 minutes before proceeding to ensure that it has become firm.
Step 7:
Gently spoon your dessert over the disc. As long as you don’t disturb the placement, the dessert should stay in place. Keep the dessert in refrigeration until it’s time to serve: This will ensure that none of the dessert drips along the side.
Ready for more culinary techniques to advance your dessert-making skills? Check out the Craftsy classes Perfecting the Pie Crust and Decadent Chocolate Cakes to learn the essential skills you need to create scrumptious sweet treats!
Share tips, start a discussion or ask one of our experts or other students a question.
No Responses to “How to Make Creative Desserts: Magical Floating Sweets!”