
Topping a cake with a pretty fondant bow adds instant glamour to the overall design. From bridal shower to birthday cakes, fondant bows are a whimsical yet elegant way to dress up your cakes. Using only a few materials, it is fairly simple to add edible embellishments, mastering your fondant technique and learning how to make fondant bows for cake toppers.
Bow #1: How to make big, fluffy bows
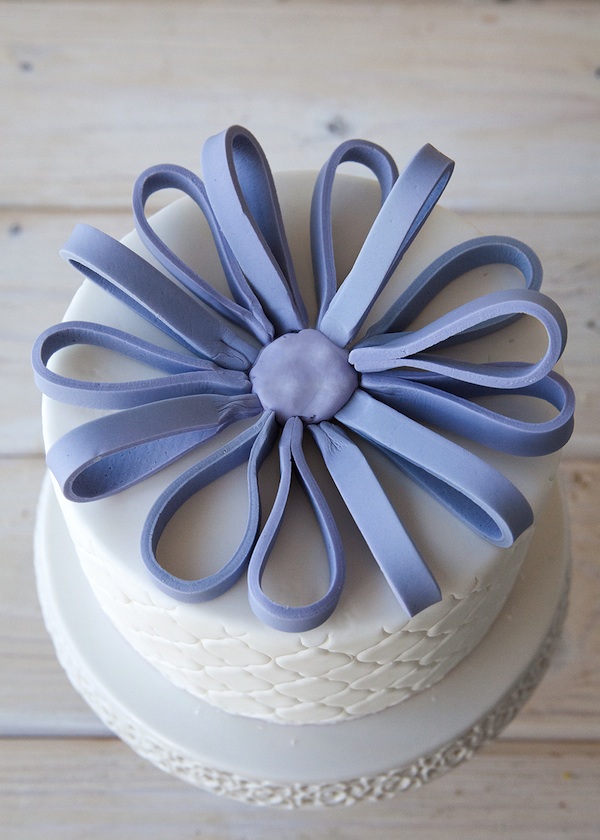
These beautiful bows add the perfect girly touch to your cakes. They are fun, festive and surprisingly easy to create. Add a broach to the center, and they become elegant enough for a wedding cake.
Materials:
- fondant
- fondant rolling pin
- fondant mat or silicone baking mat
- paring knife or other clean craft knife
- paper towels
- vegetable shortening
- cornstarch for dusting
- ruler or straight edge
Step 1:

Step 2:
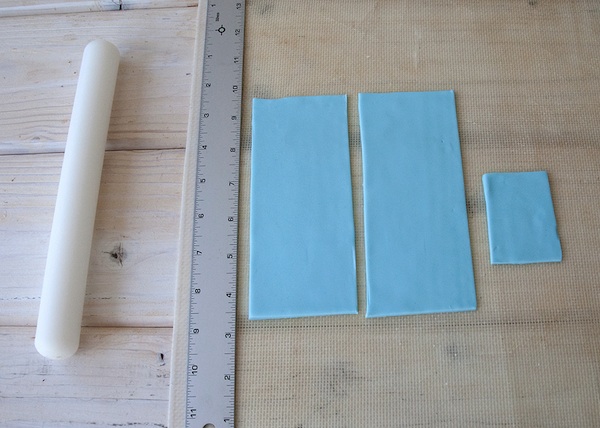
Trim fondant trim into three pieces. The two longer pieces should be the same length. The shortest piece should be about 3″ long.
Step 3:
Carefully, yet deliberately, fold (like an accordion) and pinch the ends of all of the pieces.
Step 4:
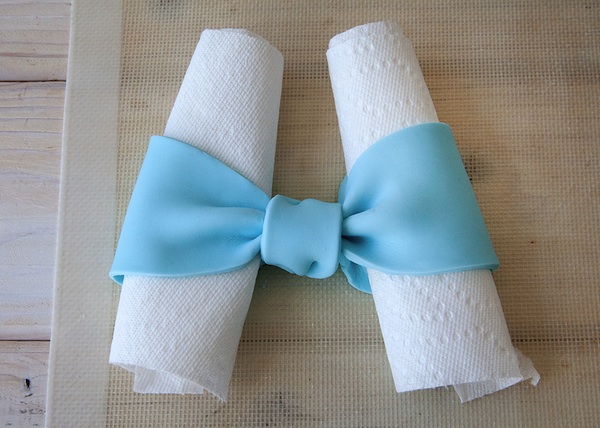
Fold the two long strips over a rolled-up paper towel. Pinch the ends together and let dry.

Step 5:
Now, drape the center piece over where the two loops meet in the middle. Set aside to dry.
Allow at least 24 hours for the fondant bow to dry completely before being used as a cake topper. Shorter drying times may be acceptable if you are placing the bow directly onto the cake.
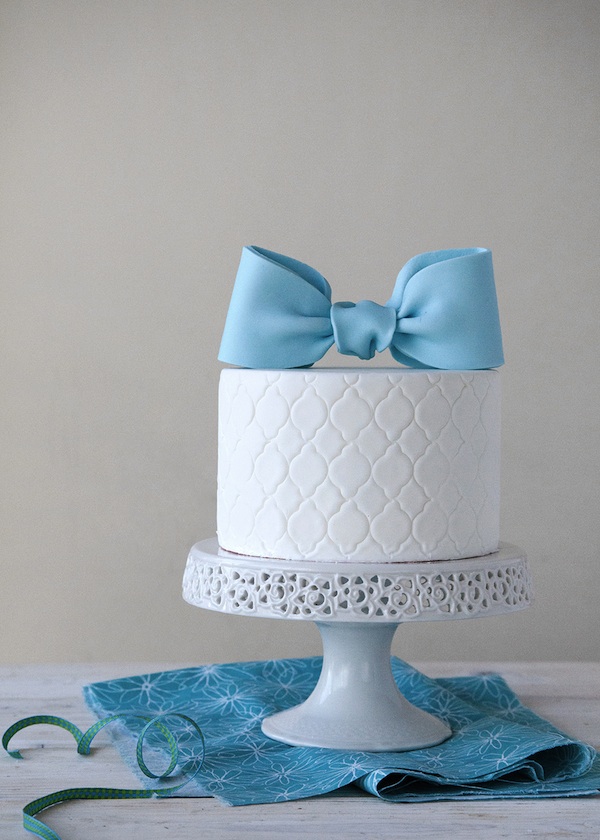
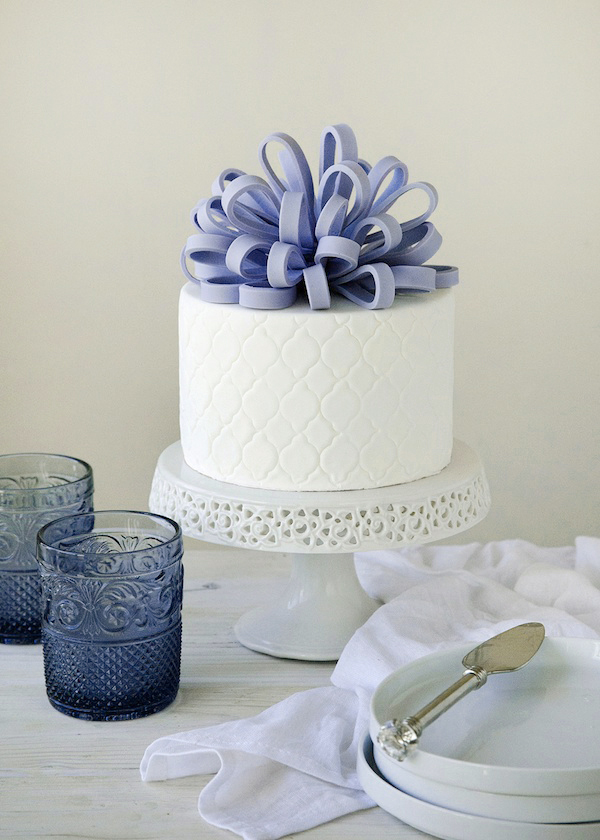
Bow #2: How to make a loop bow
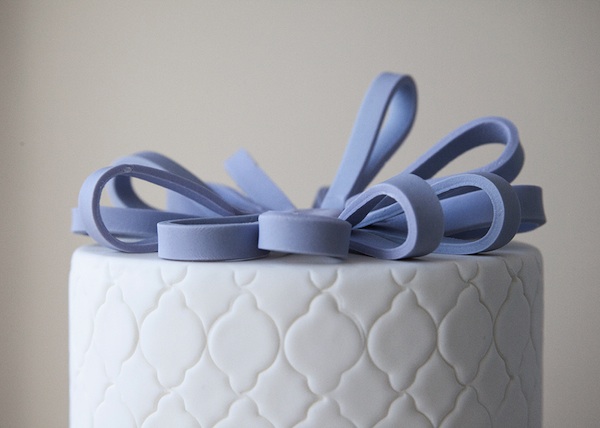
I love this bow for its festive look. It reminds me of a pristinely wrapped birthday gift, making this bow a prefect topper for a gift box or hat box cake!
Materials:
- fondant
- fondant rolling pin
- fondant mat or silicon baking mat
- clean paint brush
- gum glue or water
- paring or clean craft knife
- ruler or straight edge
- 35-40 cloth-covered floral wire, about 2″ – 3″ inches in length
- vegetable shortening
- cornstarch
Step 1:
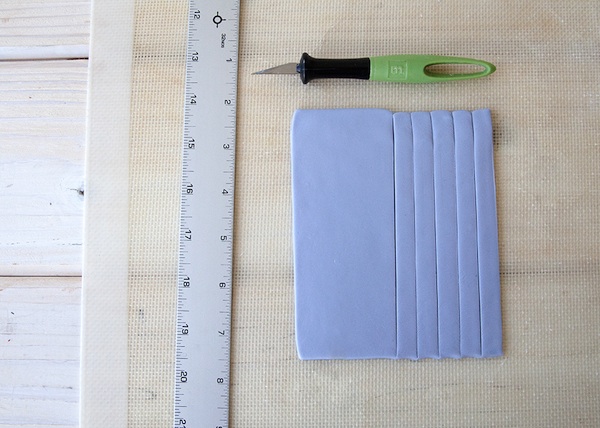
Roll out the fondant into a rectangular shaper about a 1/4″ – 1/8″ thick on a fondant mat. Use cornstarch and shortening as needed to prevent sticking. Trim with a straight edge to about 5″ – 6″ wide.
Step 2:
Cut even strips about a 1/4″ – 1/2″ wide from the trimmed fondant.
Step 3:
Flip over the strip of fondant. Add a touch of gum glue or water to the base of the strip. Press and secure wire to the base, about a 1/2″ into the strip. Fold the strip of fondant over onto itself and pinch to close.
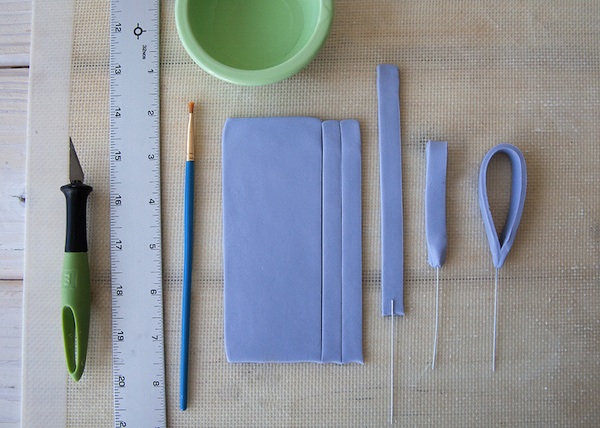
Step 4:
Turn loop onto its side to dry. Continue with remaining fondant to create 35-40 loops.
Step 5:
Place a small ball of fondant in the center of your cake. One loops are dry (about 24 hours later), insert the wires into the fondant. Start by making a circle around the cake.
Step 6:
After the first layer of loops is complete, work your way toward the center to create a half-sphere of loops.
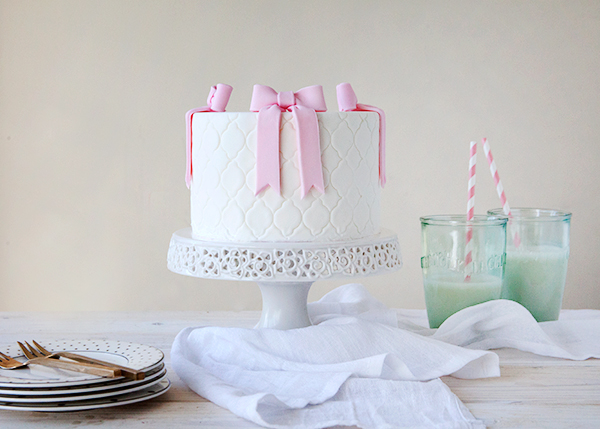
Bow #3: How to make mini-bows with tails
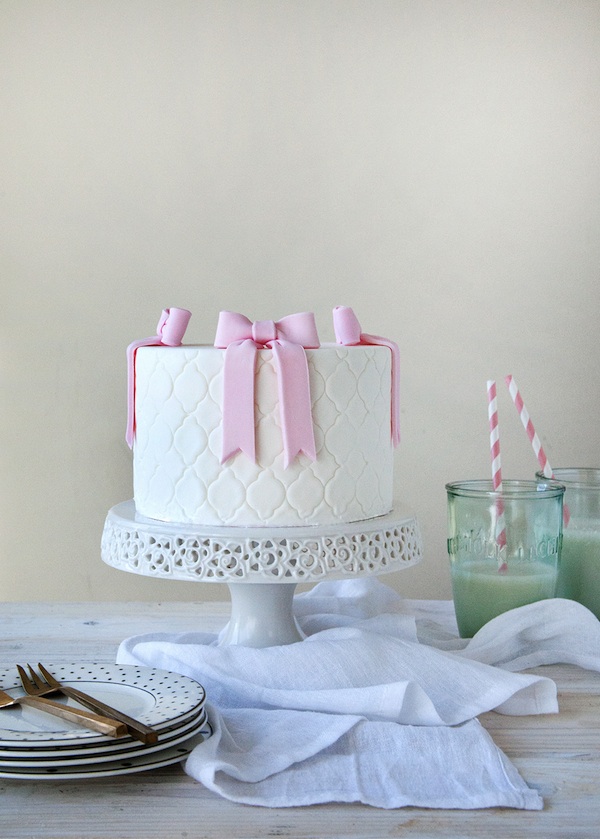
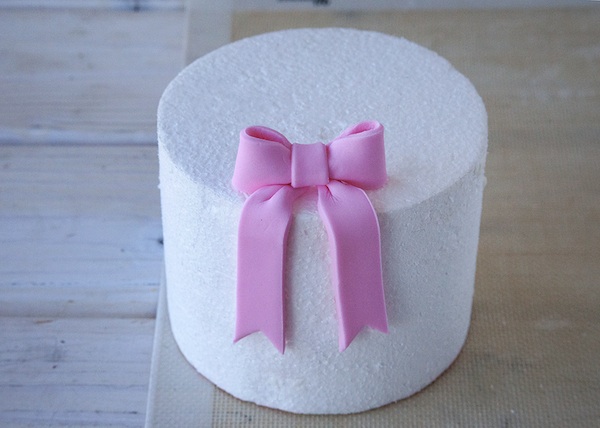
These dainty bows sit perfectly perched on the edge of any cake. I think they give a simple and lovely look to a cake, with their tails draped delicately over the sides.
Materials:
- fondant
- fondant rolling pin
- fondant mat or silicon baking mat
- paring or clean craft knife
- clean paint brush
- gum glue or water
- cake dummy or cake pan
- cornstarch
- vegetable shortening
Step 1:
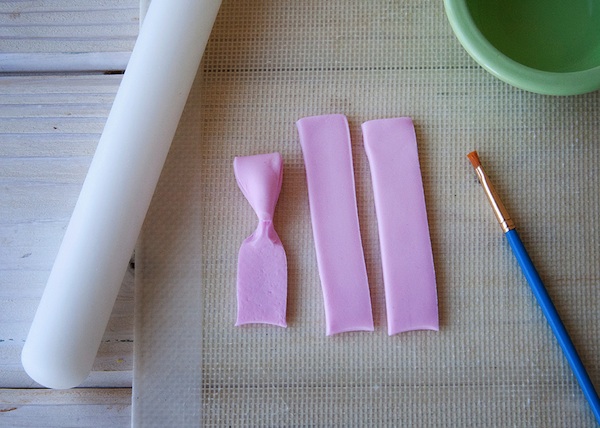
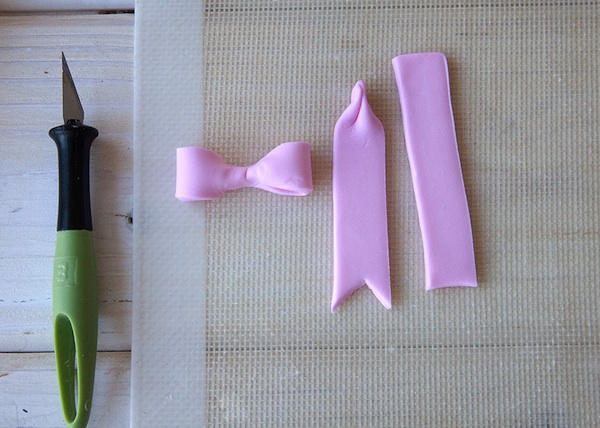
Roll out the fondant to about a 1/4″ – 1/8″ thick on a fondant mat. Trim to create three strips of equal length. Use cornstarch and shortening as needed to prevent sticking.
Step 2:
Flip one of the strips over. Place a small dap of water or gum glue to the center of the strip. Fold over one of the ends of the strip toward the center. Pinch to secure. Repeat on the other end. Be sure that the folded pieces do not flatten.
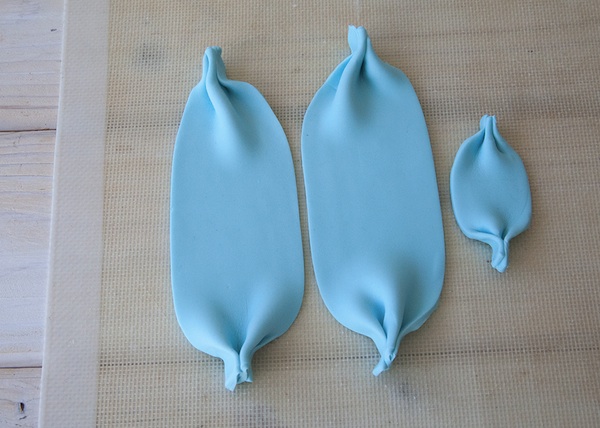
Step 3:
With the remaining two strips, fold and pinch the tops and cut a point into the bottoms to create tails.
Step 4:
Drape the tails over the edge of a cake dummy or cake pan to dry.
Step 5:
Roll out a small piece of fondant to about a 1/4″ – 1/8″ thick. Trim to form a small rectangle. Use this piece to drape over the center portion of the bow. When tails are dry, transfer to cake and add the completed bow.
Want to skip the drying time? These mini-bows can be place directly onto the cake. Be sure not to make them too large, as they won’t be able to dry properly.
Pretty simple, right? If you can roll and cut strips of fondant, you can learn how to make fondant bows.
For more fondant techniques and tips on elegant embellishments, check out the Craftsy course Advanced Fondant Techniques, taught by expert cake decorator Marina Sousa!
Share tips, start a discussion or ask one of our experts or other students a question.
No Responses to “All Tied Up: How to Make Fondant Bows for Cake Toppers”