
Sometimes cake decorating and cupcake design demands a glossy finish to make a fondant element look realistic. There are a number of ways to achieve a sheen with fondant. Below we’ll review different methods for achieving a shiny finish with fondant, plus we’ll share the easiest fondant glaze recipe.
FREE Guide for How to Make Fondant Shiny & More!

Discover pro secrets for how to make fabulous fondant toppers with this FREE guide, available exclusively on Bluprint.
Here’s a look at the best high shines
1. Steaming

Photo via The Royal Bakery
Treating a cake with a blast of steam serves a dual purpose. It’s a great way to remove traces of corn starch or powdered sugar left on fondant after rolling it out – especially useful for dark-colored cakes – but it also gives the cake a glossy finish.
Small items, like cupcake toppers, or setting the dusted color on gum paste flowers, can be held over the steam from a boiling kettle or pan of water. Just be very careful, as the steam can burn! For whole cakes, an electric steamer is needed.
The disadvantages of this method are that too much steam can cause water droplets and drips to appear on the surface of the fondant. In addition, the glossy finish does eventually dry out and the cake will need to be re-steamed to maintain the shine.
2. Shortening

Photo via jessicakes
Rubbing a vegetable shortening (such as Crisco or Trex) over the surface of the fondant will produce a very convincing sheen.
Jessica Harris, instructor of Bluprint’s Clean & Simple Cake Design class, gave this perfect watering can cake a high shine with an application of shortening.
Jessica says, “I rubbed Crisco all over the outside of the cake and then used a dry paper towel and started lightly buffing that Crisco into the fondant. It gave it a shiny satin-like finish.”
Similar to the steaming method, the shortening is eventually absorbed into the fondant and may need to be reapplied before the cake is presented.
3. Egg whites
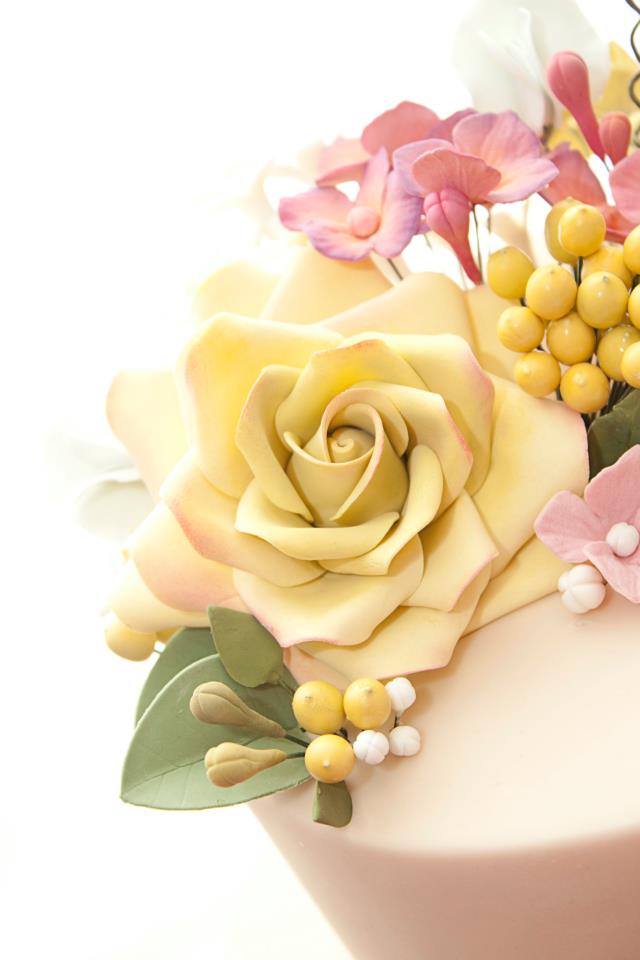
Photo via Torta – Couture Cakes
The subtle sheen on these pale yellow hypericum berries was achieved by dipping them in egg whites. The egg white coating dries after a few hours to a sheen perfect for natural-looking berries or succulents. Further coats can be applied for a glossier finish. Use pasteurized egg whites from a carton to ensure you meet food safety standards for fondant decorations that may be eaten.
The disadvantages of this method are that the egg whites can drip and pool, so be careful to tap any excess liquid off your decorations before leaving to dry. Do not touch until dry to avoid fingerprints.
4. Corn syrup/alcohol

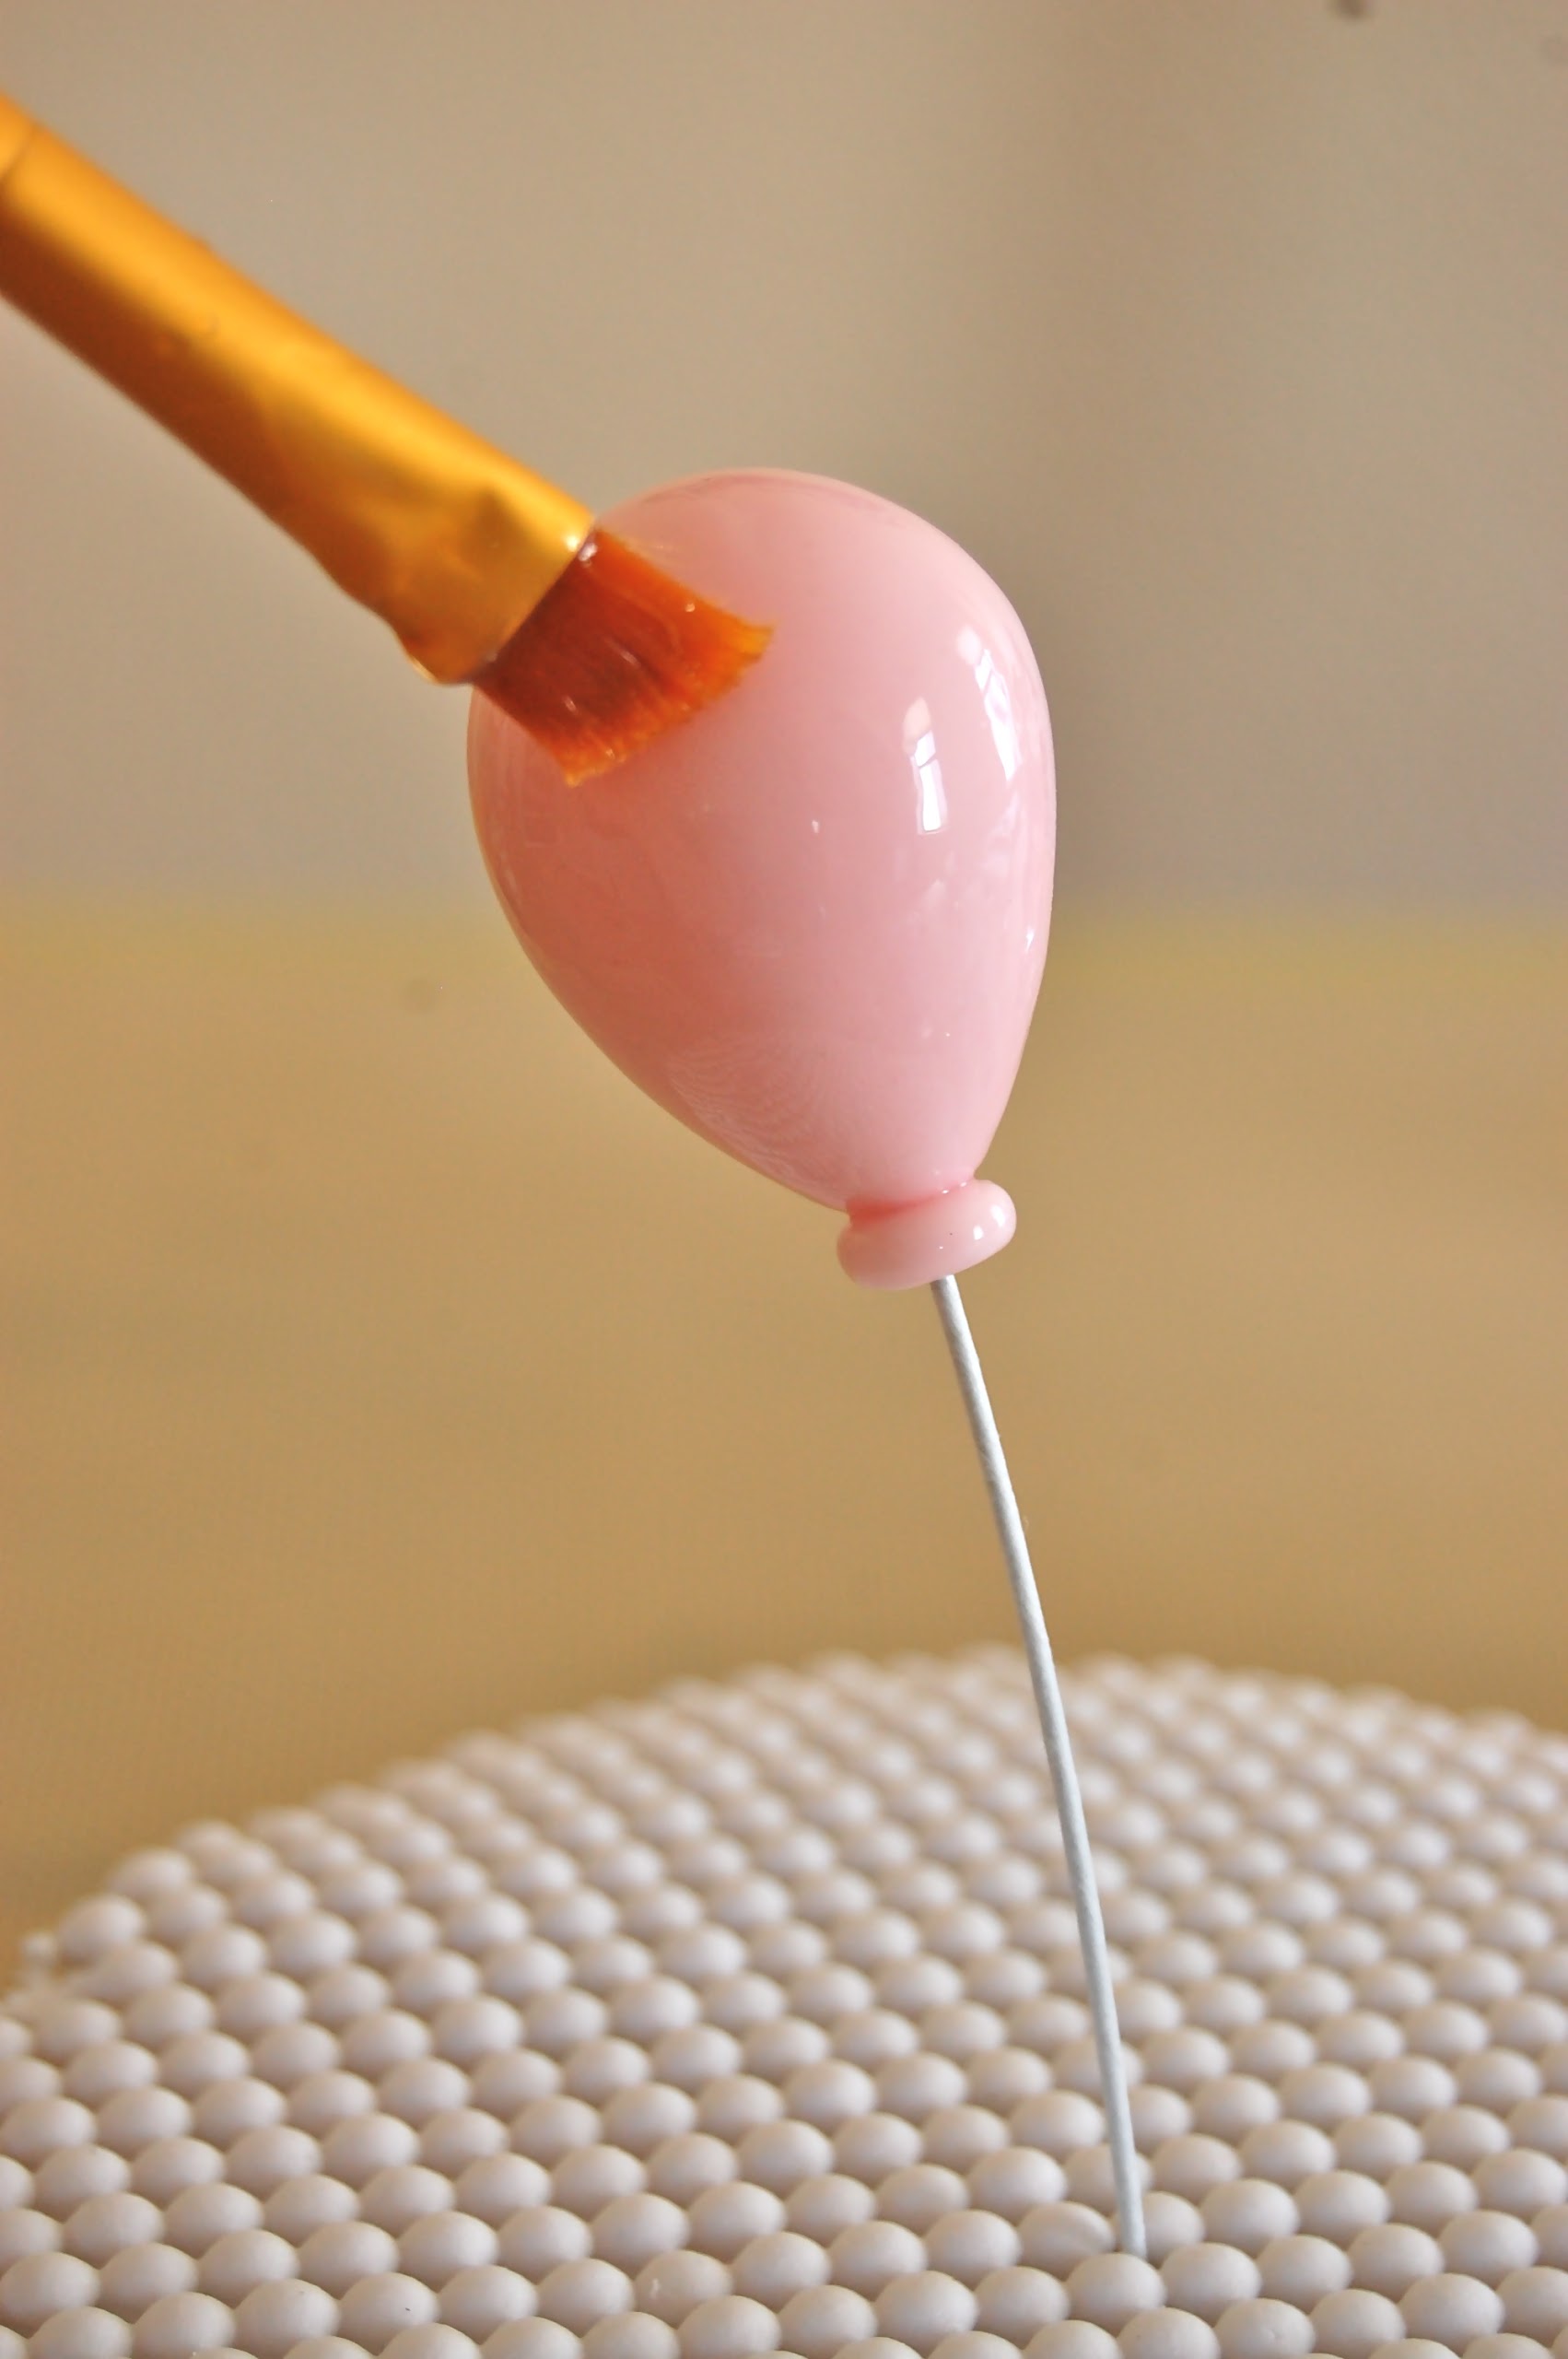
Photo via Peggy Does Cake
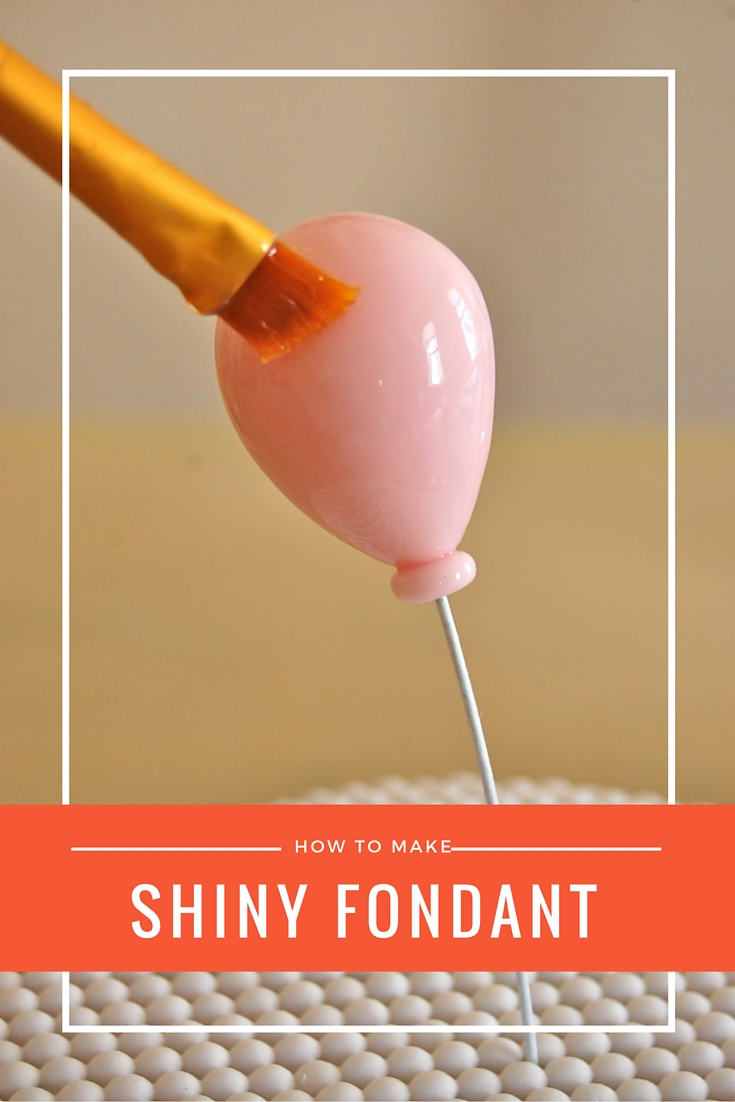
The doll and balloons on this adorable sheet cake have been glazed with a mixture of corn syrup and alcohol that dries to a permanent high gloss. Several coats can be applied to give the highest sheen, which doesn’t fade or become sticky, and is perfectly dry to the touch.
The disadvantage of this method is that brush strokes can sometimes be seen, so try to avoid brushing over the same area again once the syrup mixture has started to set. And do not touch until dry to avoid fingerprints.
How to make corn syrup glaze
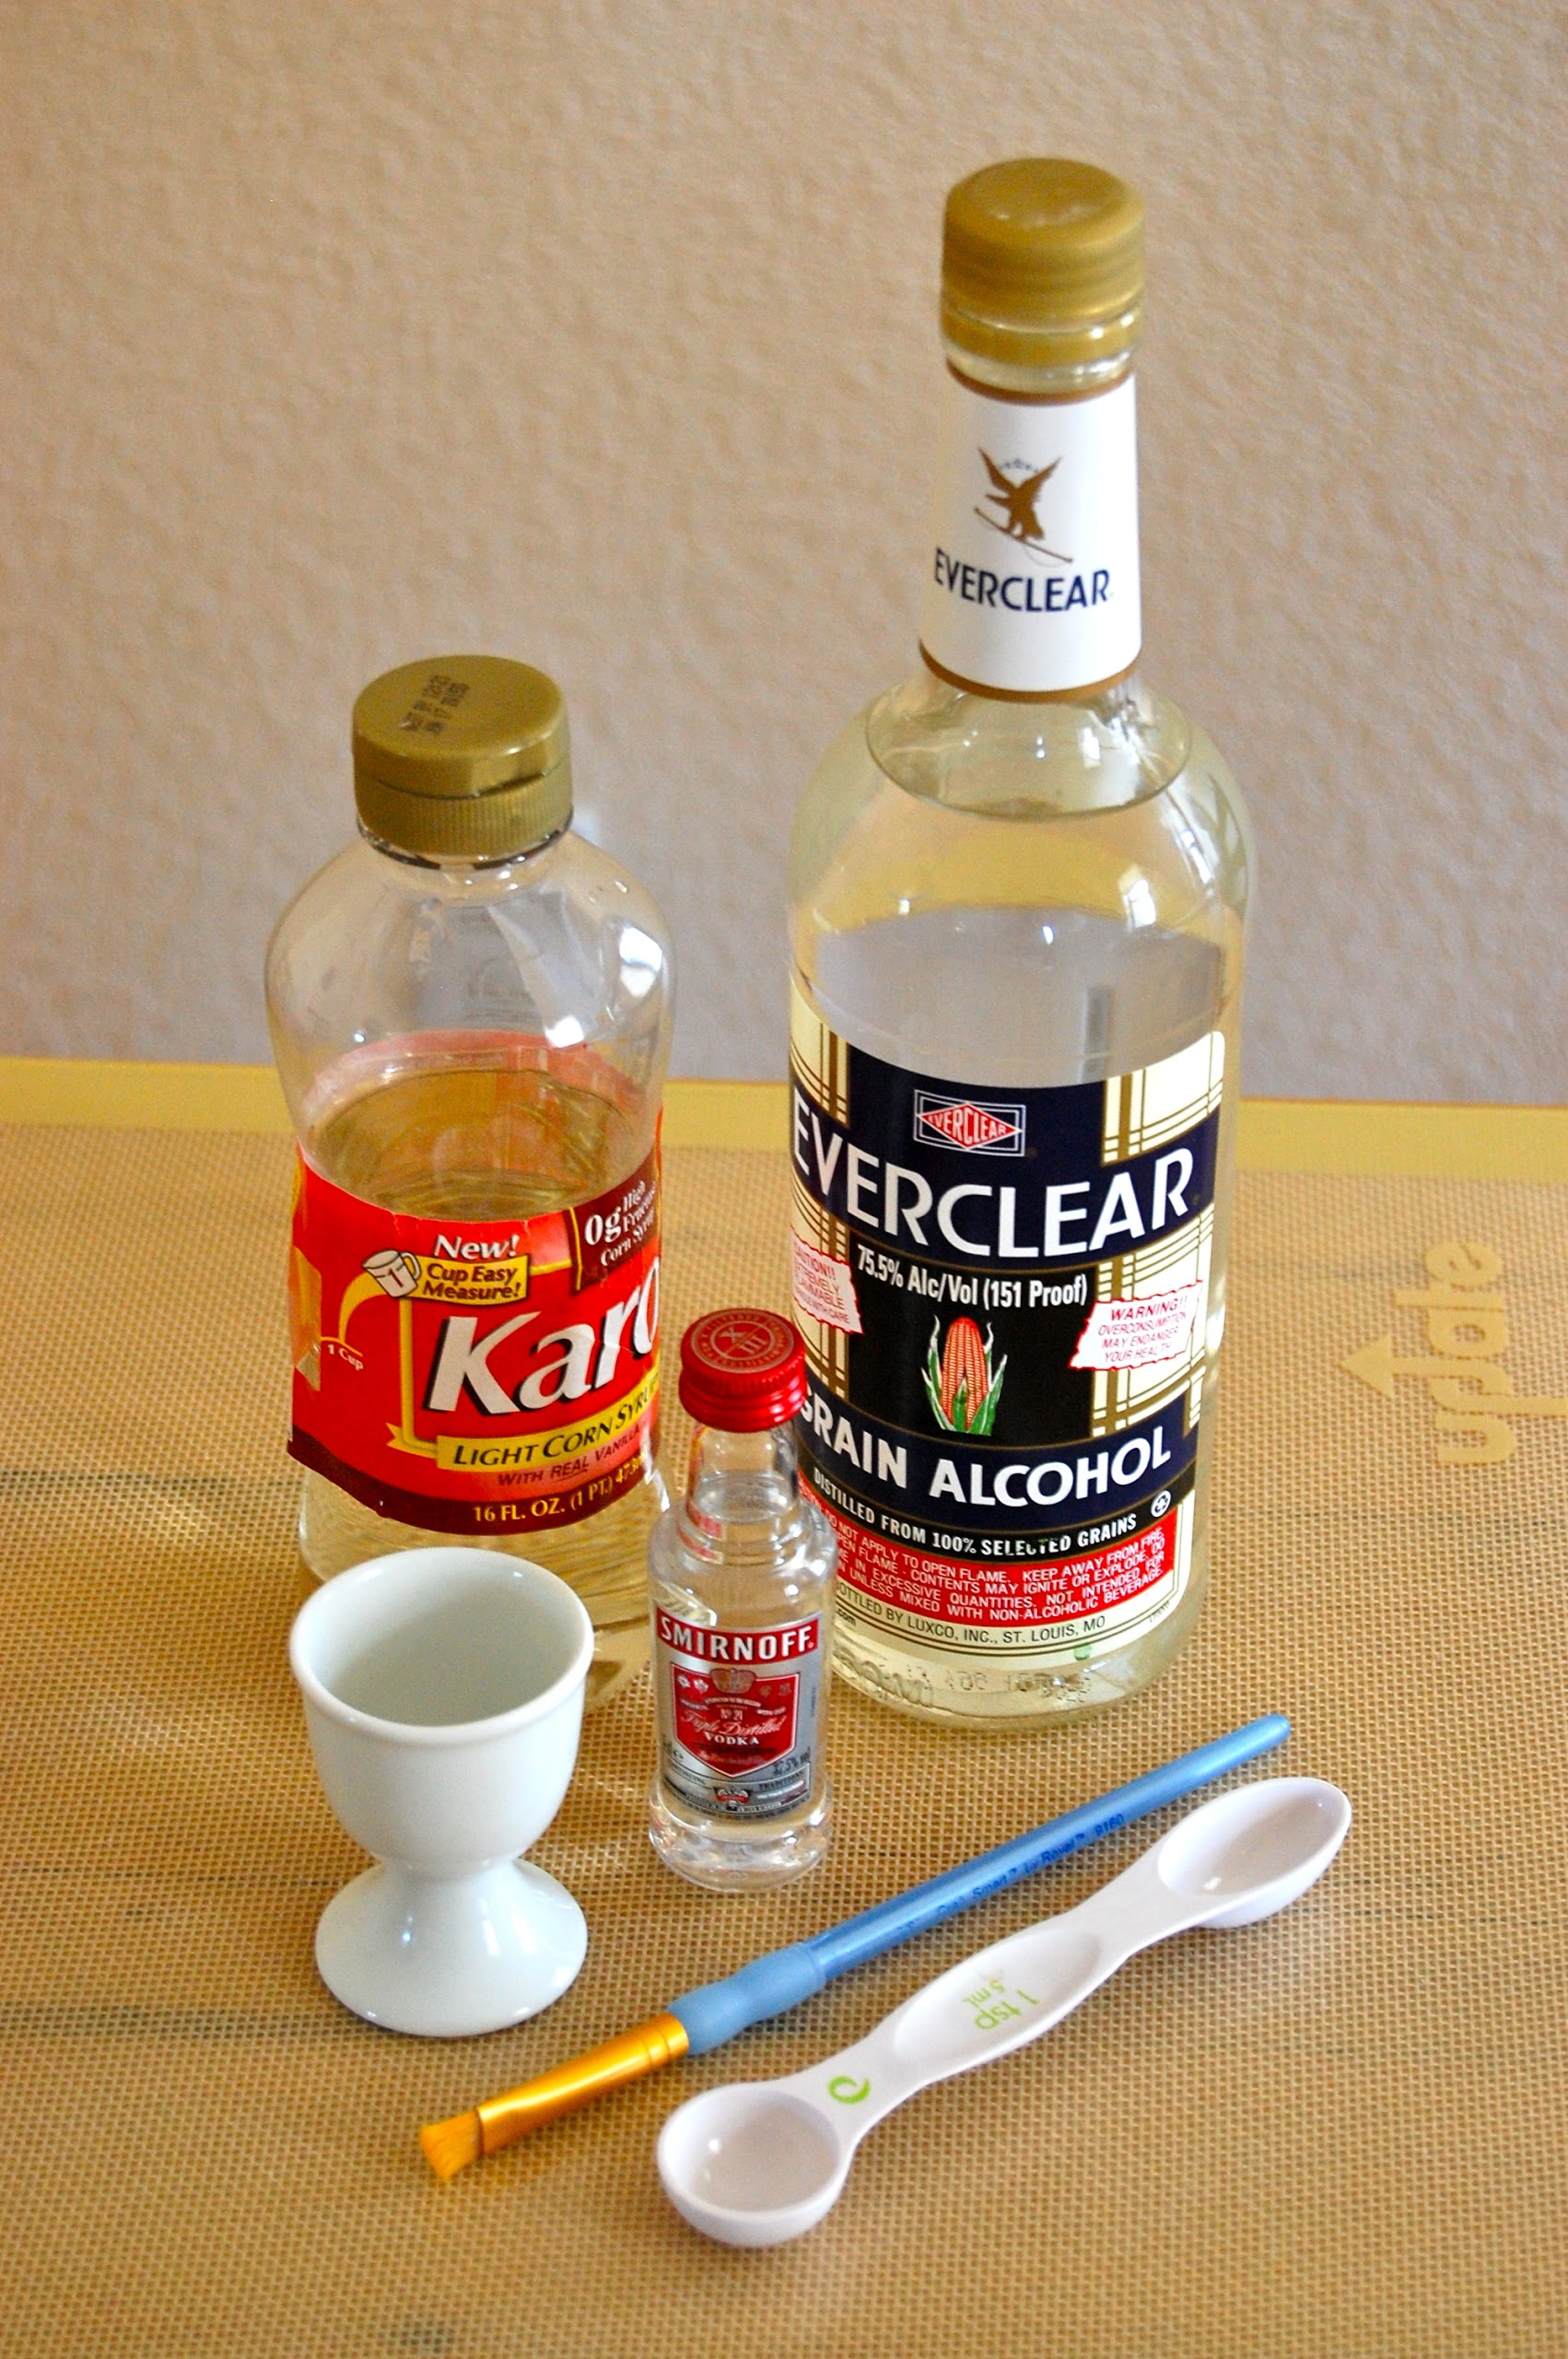
Step 1:
Mix together equal amounts of corn syrup and clear alcohol. You can use vodka or a grain alcohol, like Everclear. The amount you make depends on how many decorations you need to apply the sheen to. Usually 1 tsp corn syrup mixed with 1 tsp alcohol is sufficient for any small items.
Step 2:
Create the fondant or gum paste element you wish to glaze.
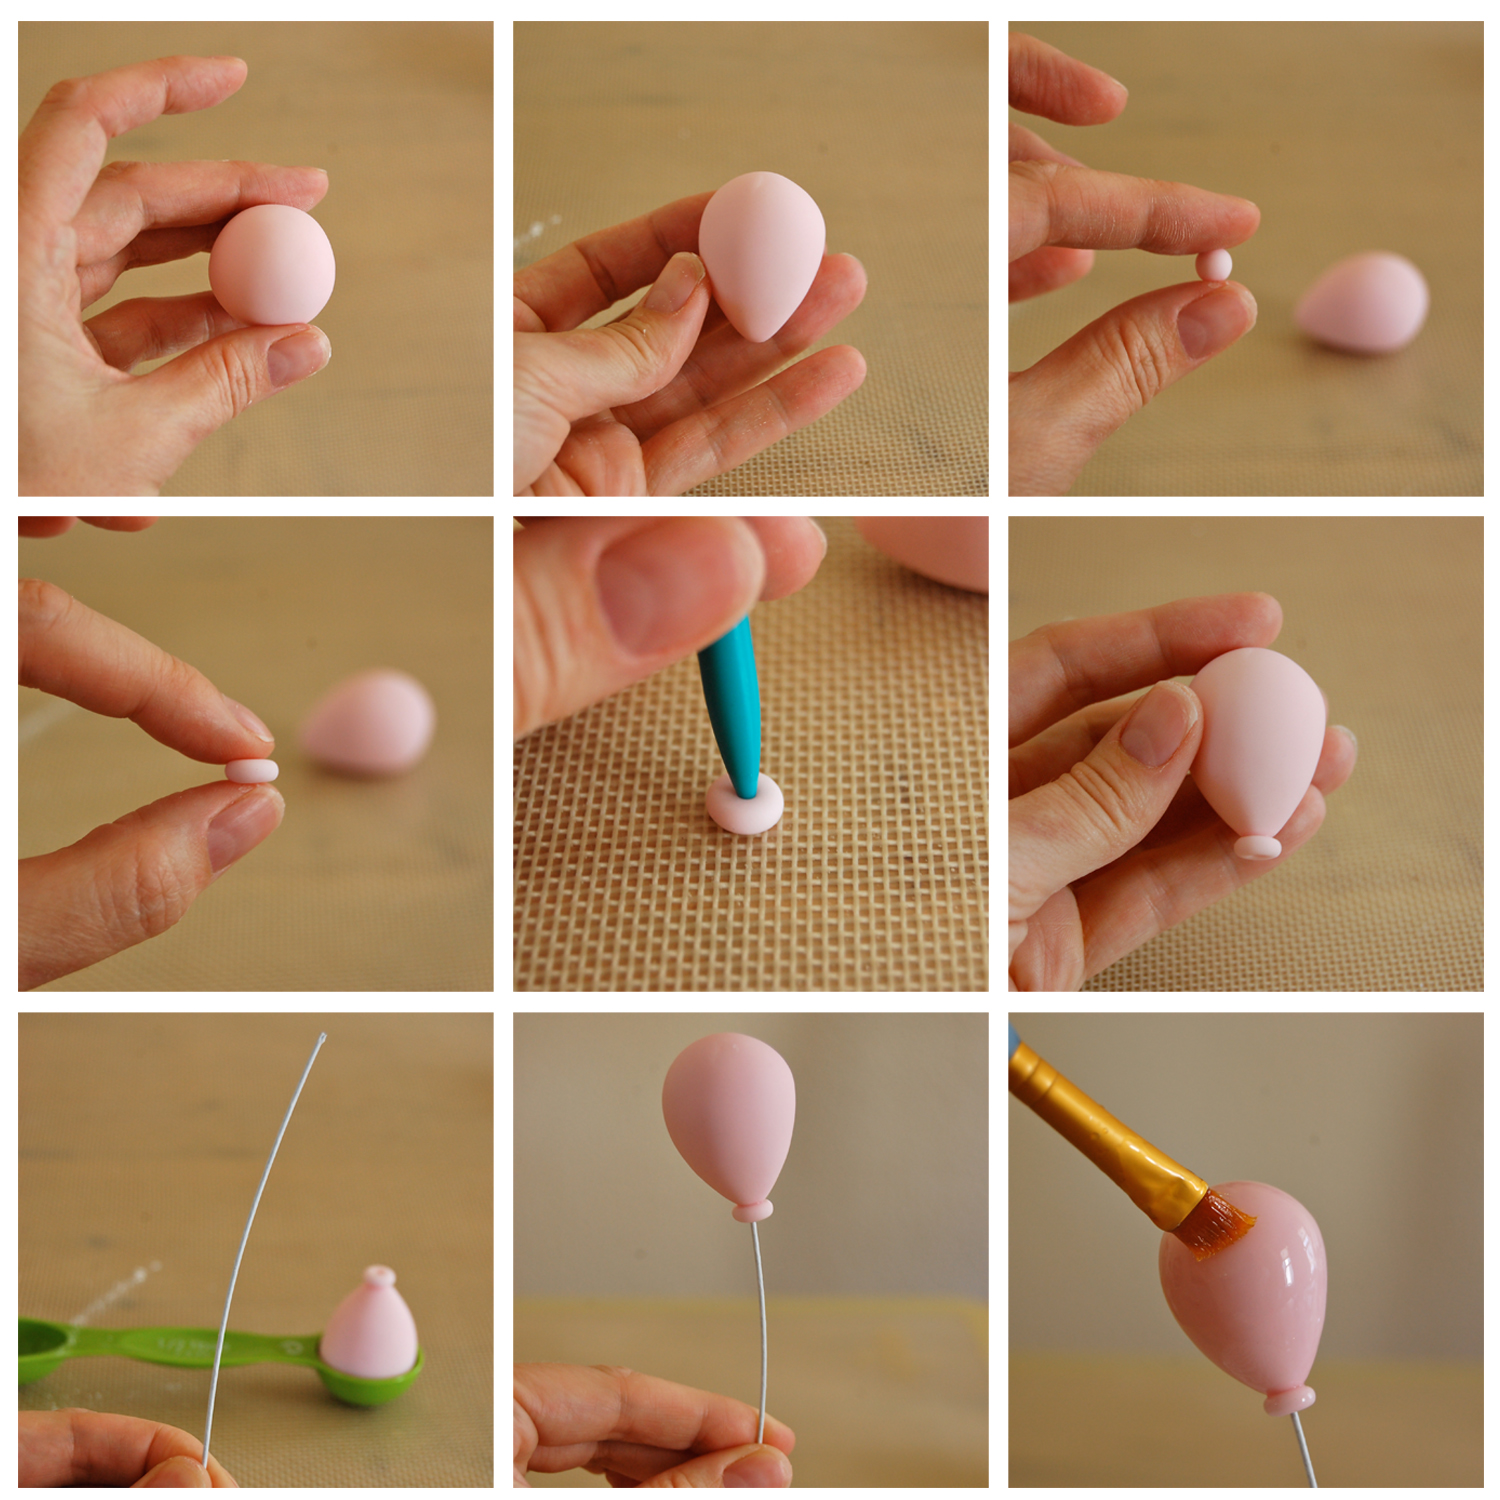
Step 3:
Leave to dry. The length of time this can range from an hour to overnight, depending on the thickness of the glaze. Additional coats can be applied for a super high gloss.
Did you know Bluprint’s YouTube Channel is full of free, quick video tutorials?
Check out this tutorial on how to make instructor Jessica Harris’ famous marshmallow fondant recipe.
See more on Bluprint’s YouTube Cake Decorating Channel.
Share tips, start a discussion or ask one of our experts or other students a question.
No Responses to “Achieve a Glossy Fondant Finish, Come Rain or Shine!”