Edible sugar jewels are all the rage! They are fun, beautiful and add class (and bling) to any cake! Isomalt is the perfect sugar to work with, because it stays crystal clear and is extremely versatile. You are going to love working with isomalt, especially if you have signed up for Craftsy’s online class Intro to Isomalt taught by Charity Pykles-George!
Let’s dive into what you will need to make isomalt jewels.
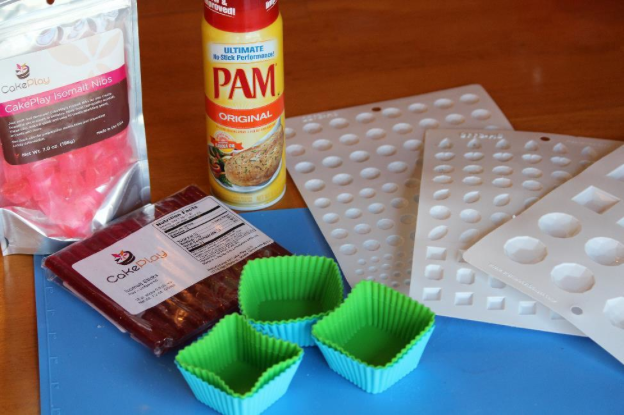
Materials:
- Isomalt (There are many types, which we will discuss in just a minute.)
- Jewel molds (These need to be made for isomalt. Pouring hot isomalt into some candy molds that are not rated for high temperatures could cause the mold to melt and cause a big mess. There are also silicone molds available.)
- Cooking spray
- Silicone cups (These are silicone cupcake cups that I found at a local craft store. Silicone is heat resistant and these are much cheaper than silicone bowls.)
- Toothpicks
- Gloves
There are many types of Isomalt out there and you can get it in a powder form that you cook yourself or you can get it in awesome pre-cooked colors and shapes made by Cake Play. In that latter case, all you have to do is melt them in the microwave for a few seconds!
First, we want to prepare our molds. Spray your molds with a cooking spray, getting a nice coat on the entire mold. Then using a paper towel, wipe the excess off of the top of the mold.
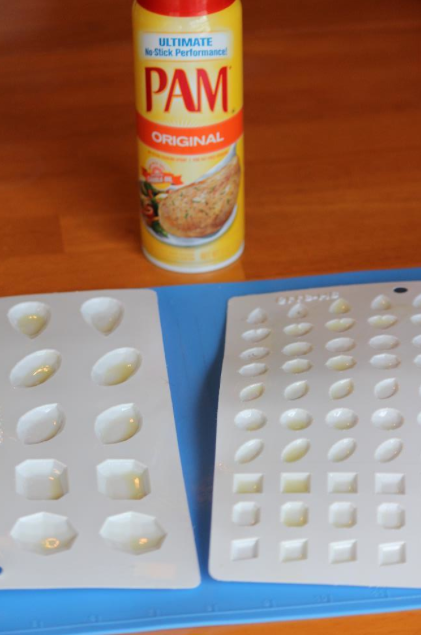
Now we are ready to melt our Isomalt!
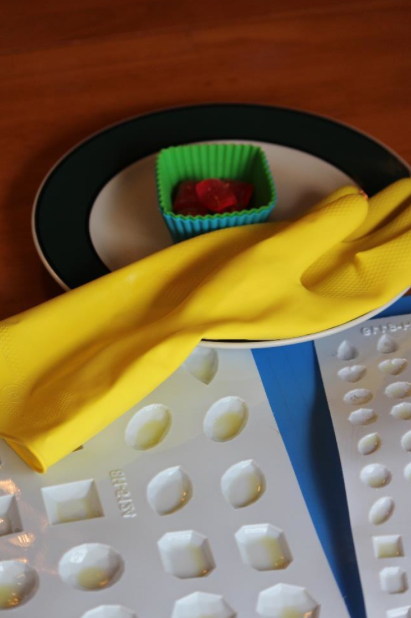
Always remember to use extreme caution when working with isomalt and never put isomalt in a glue gun! Be sure to wear gloves. Gloves that are perfect for working with isomalt and sugars are available online. However, I did not have the fancy gloves, so I used dish washing gloves that were super clean and new. They are not ideal, but they are better than nothing.
Just remember to use common sense when working with hot liquids: don’t work with it around children and make sure you can concentrate fully on your isomalt project until it is complete.
Since I am warming up my isomalt nibs in the silicone baking dishes that are rather small, I am placing them on a plate. So I am able to move them around on the plate rather than trying to carry the hot silicone molds around.
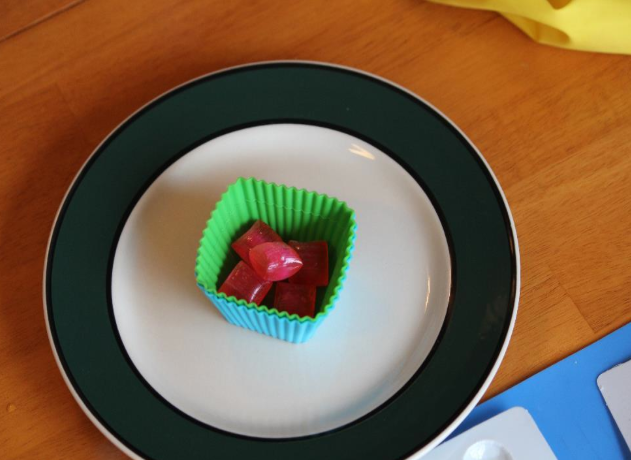
Heat the nibs or the broken sticks in the microwave for 20 seconds at a time. Check them every 20 seconds and then place them back in for another 20 seconds.
It took about 1 minute to melt 5 nibs.
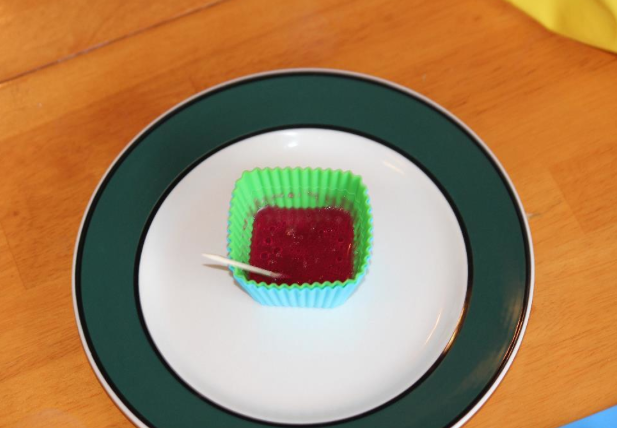
Once the isomalt is melted, there will be lots of bubbles. Use a toothpick to stir around the isomalt until most of the bubbles have gone away. We don’t want bubbles in our isomalt jewels.
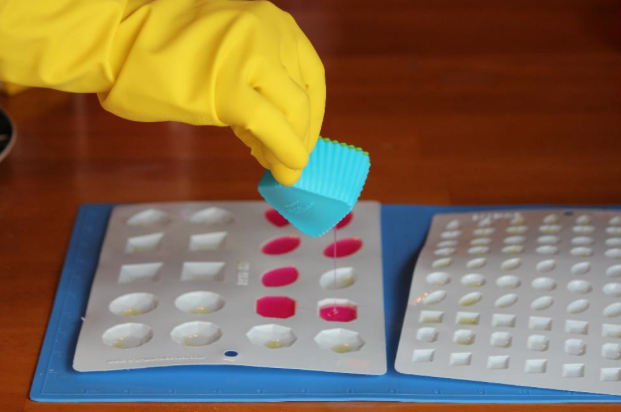
Once the bubbles are gone, slowly pour the melted isomalt into the wells. It is best to keep the isomalt at a thin stream to help get rid of extra bubbles.
Once they are all poured, you only need to wait about 10-15 minutes and then the isomalt jewels are ready to be placed on your cake!
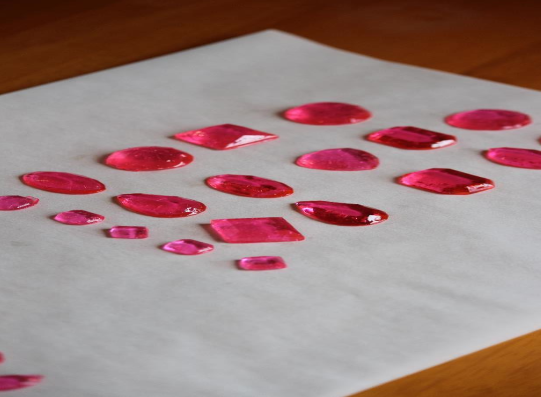
To place isomalt jewels on your cake, melt down Isomalt in the same colors as the jewels. Then, using a small toothpick, rub a small amount on your jewel and stick it to your cake. See, I told you it was easy.

Share tips, start a discussion or ask one of our experts or other students a question.
No Responses to “How to Make Isomalt Jewels”