
If you’ve ever wanted to tell a fun story via drawings and thumbnails, good news: you don’t have to invest in a ton of materials. This mini comic book is made with a single sheet of paper and, with help from a printer or photocopier, it’s quick to create and gift.
DIY Mini Comic Book
Level: Easy
What You Need
Instructions
1. Fold
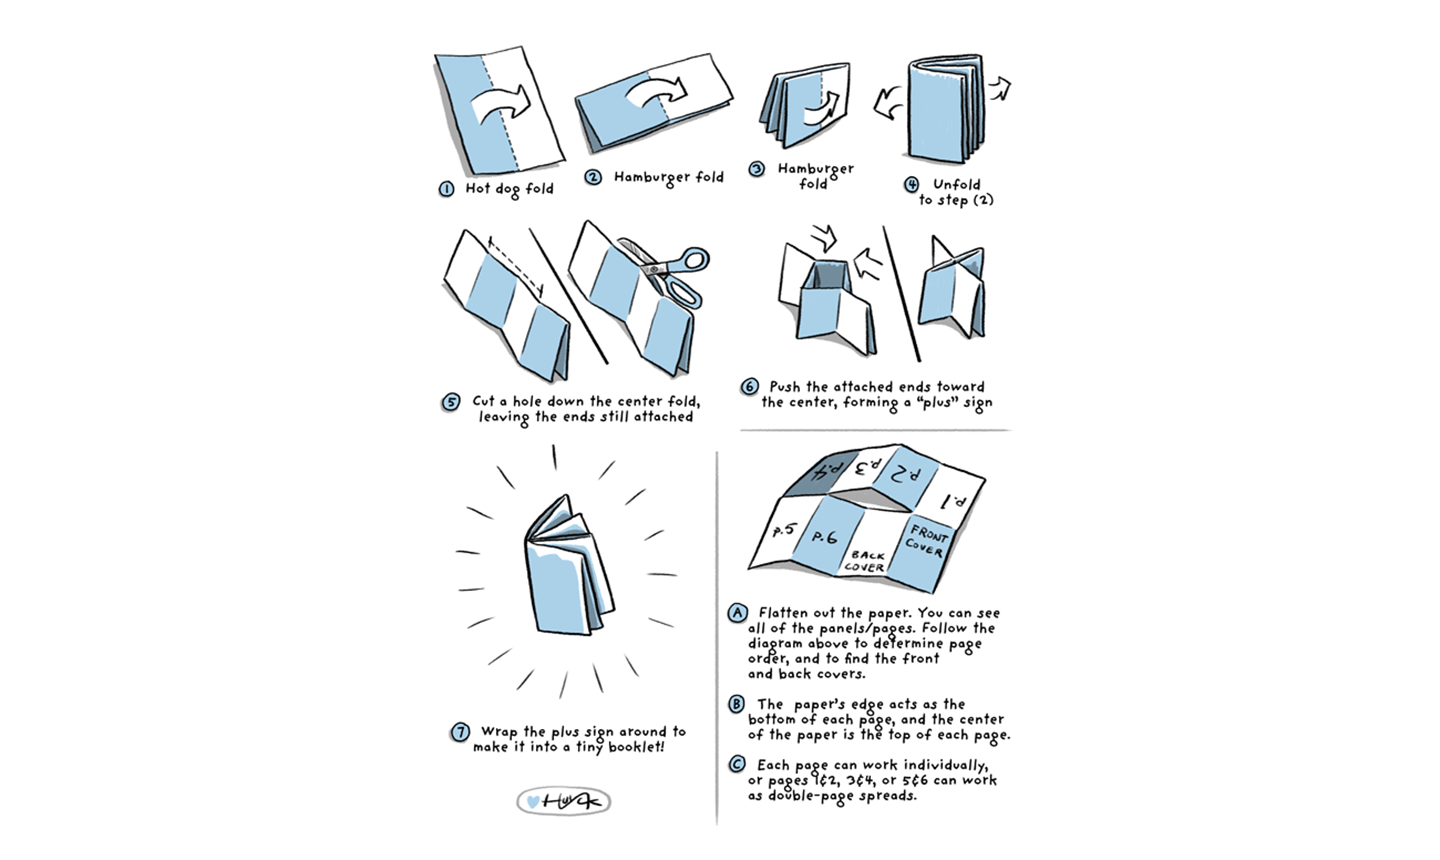
Fold your paper into eighths by folding it in half three times. Unfold and cut an opening in the center, as shown in the diagram above. Push the attached ends toward the center, forming a “plus” sign.
Wrap the plus sign around to make it into a tiny booklet.
Good to Know: The beauty of this folding pattern: each booklet is only one sheet of paper, all printed on a single side. This makes it super easy to reproduce with a printer.
Flatten the paper to see all of the panels (aka pages). Follow the diagram above to label your front cover, pages and back cover.
2. Make the Prototype
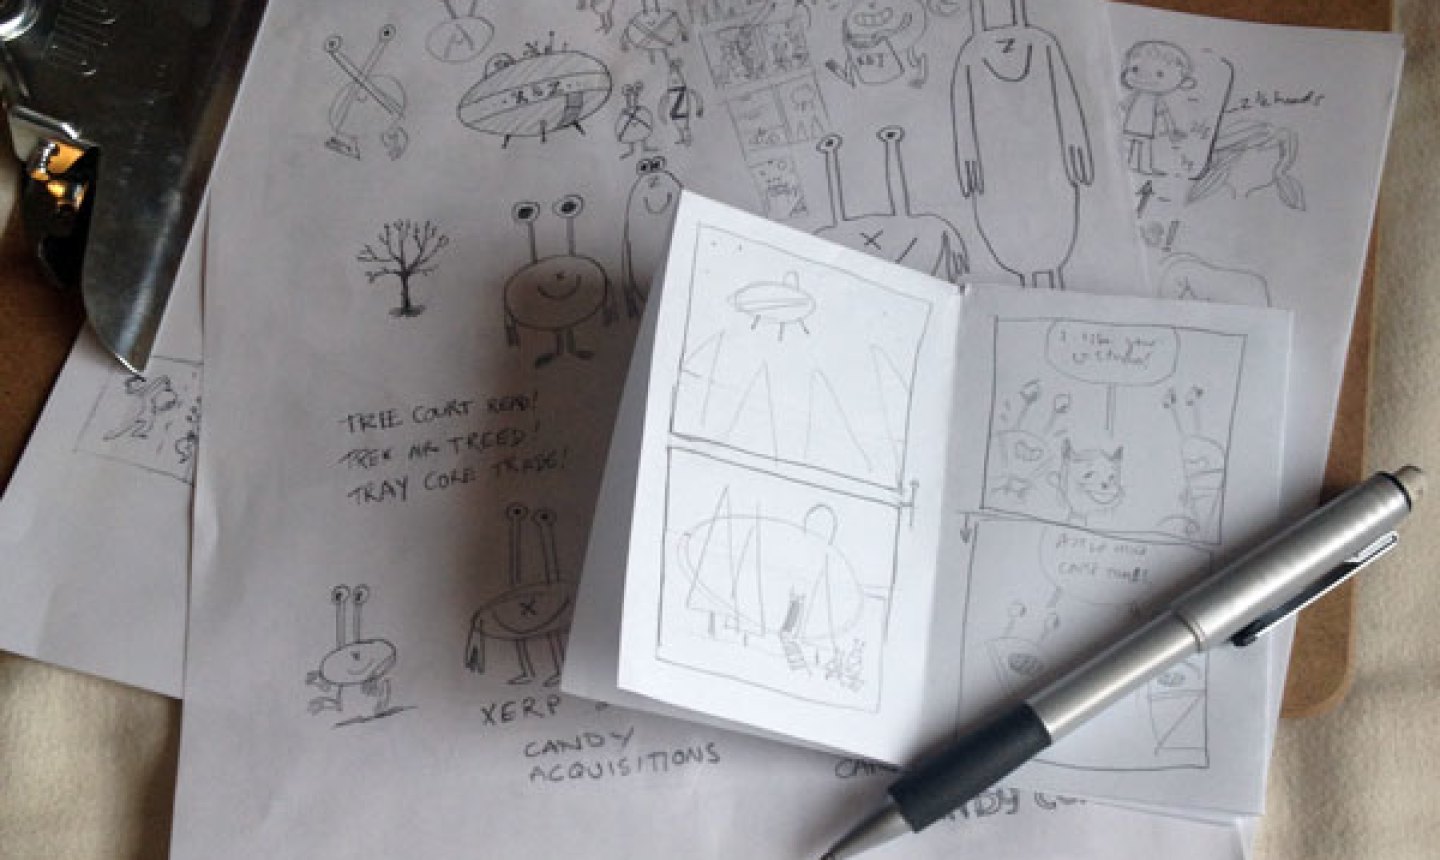
Once you understand the layout of the paper, make a rough version of your idea in pencil. It may take three or four drafts to finalize your story, but don’t make it overly complicated — this should be fun! And remember, you only have three spreads (six to seven pages) to work with.
Pro Tip Consider the limitations of your printer or photocopier. Many modern devices can print from edge to edge, but anything that uses toner (like a laser printer or photocopier) probably requires a margin where the machine grips the edge of the paper to feed it through. To be safe, leave a ¼” margin on your paper.
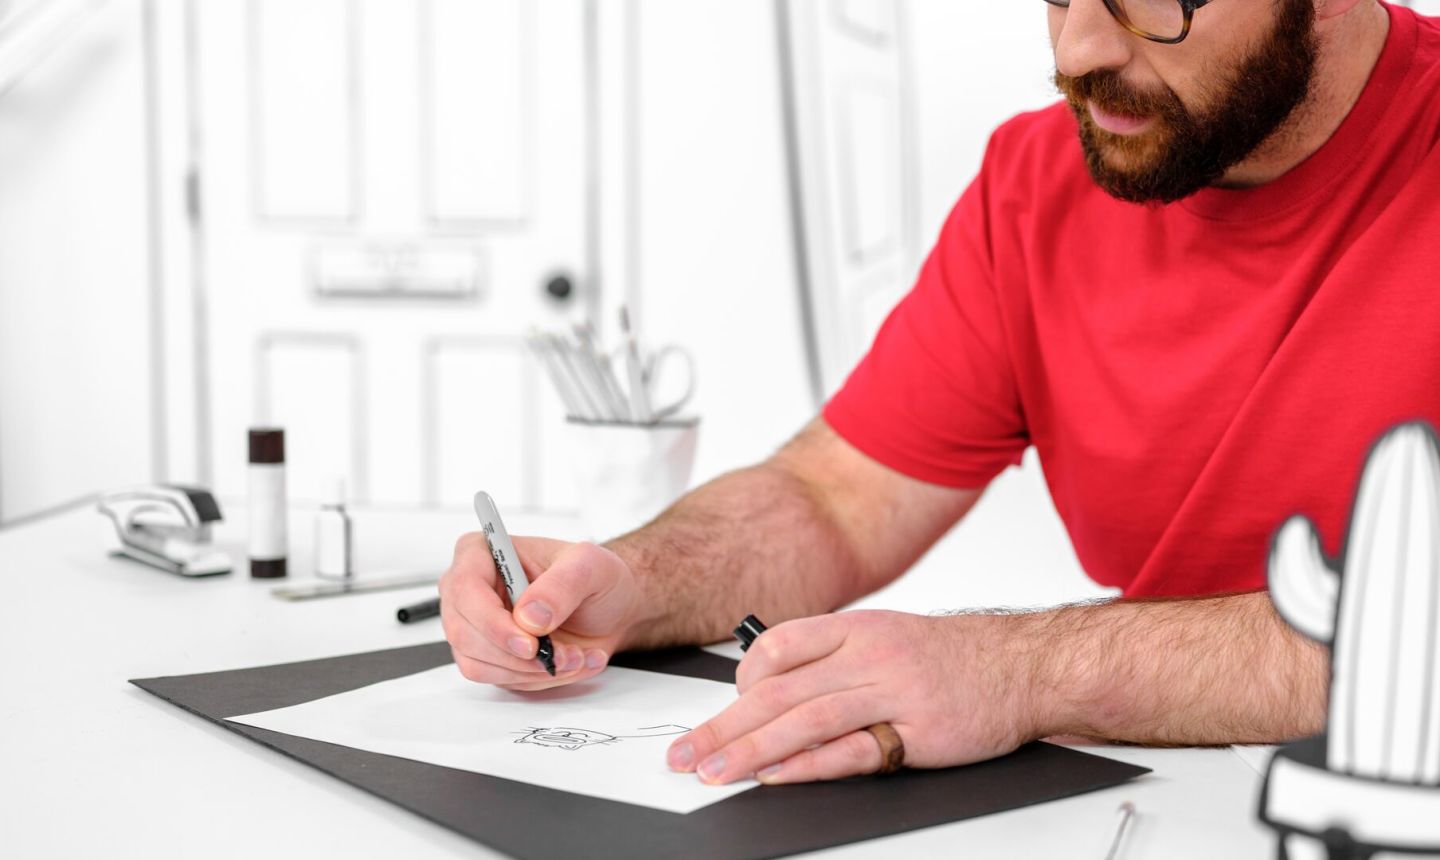
3. Create the Final Version
Trace over your final designs in ink. Black contrasts with the white paper, but you can use whatever materials you like, from a ballpoint pen to a Sharpie.
Pro Tip: Some materials will look muddier than others when photocopied. Before marking up your final copy, use yours to doodle on a scrap piece of paper, then photocopy to see how it comes out.
4. Make Copies
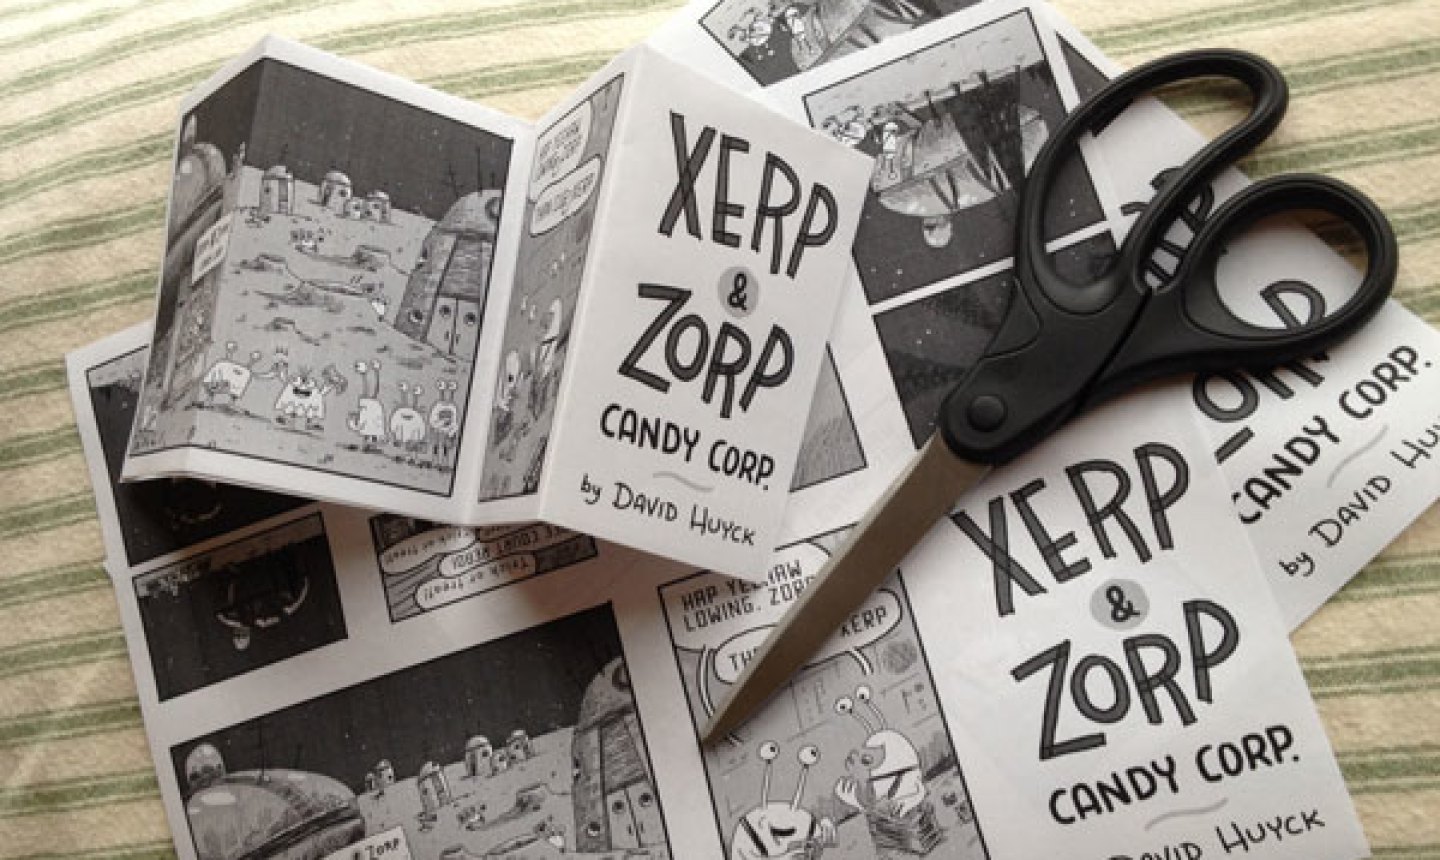
Make as many copies as you want! Or, at least, as many copies as you can handle folding and cutting. Once your panels are copied onto paper, fold and cut each one just as you did for the prototype in step 1.
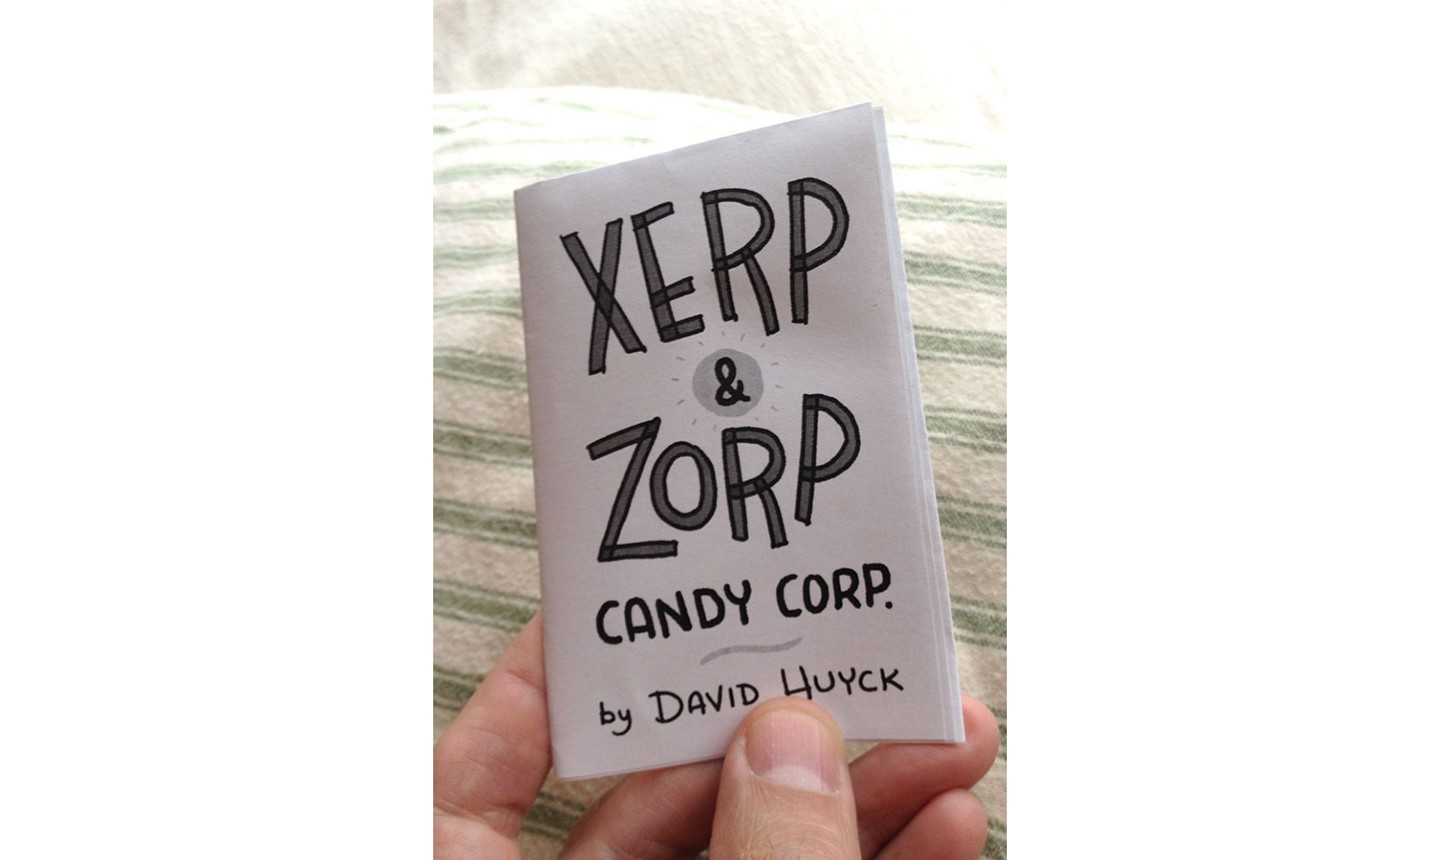
Now you’ve got a whole stack of mini comics to give to your friends!
How can you get your mini comic seen if there is no comicstore in the town you live in and you don't have many friends and family
i wanna make a halloween comic book