
Even if your New Year’s resolution included a vow to approach food and cooking in a healthful fashion, it need not mean that dessert is off the table.
Making Pavlova — a delicate dessert consisting of a meringue-like shell topped with whipped cream and fresh fruit — is an easy way to maintain your resolve yet also enjoy a virtuous, light dessert. There’s nothing about this dessert that is forced into low-fat submission: the whipped cream is the only source of fat in this dessert, and per serving, it’s quite minimal. Likewise, most of the sweetness is natural in the dessert, with very little added sugar.
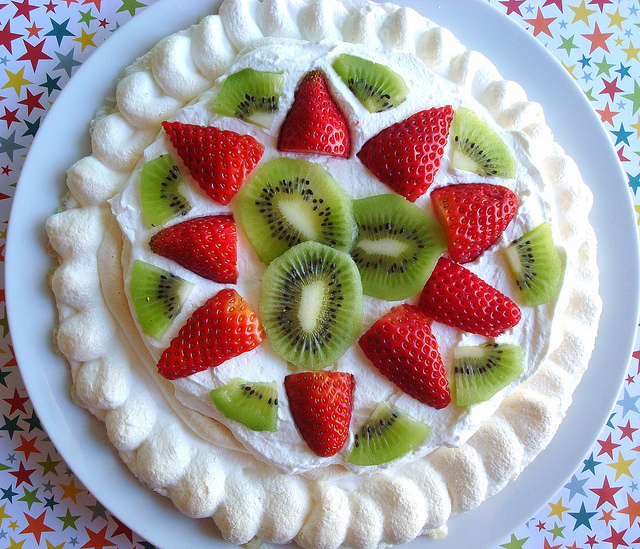
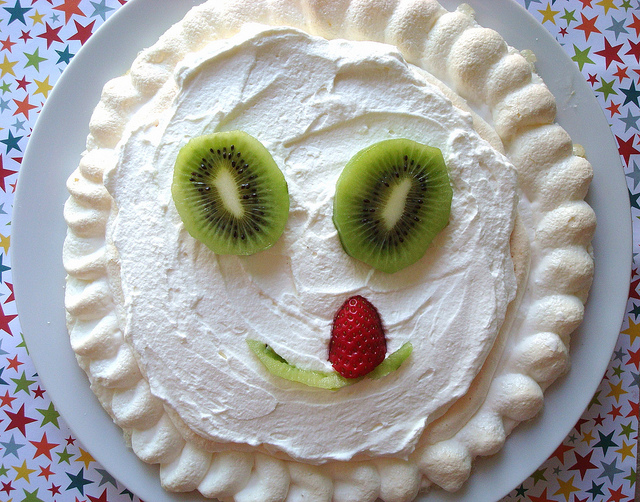
Photos via CakeSpy
While it may look pinkies-out fancy, learning how to make Pavlova is not difficult. The hardest part is the whipping: both egg whites must be whipped to make the shell, and cream must be whipped to make the whipped cream topping. With a hand mixer or stand mixer, this is a piece of cake, but even using a whisk by hand, it’s still accessible; it just takes a little longer to attain the perfect, light consistency.
The story of Pavlova
While the dessert sounds decidedly Russian, it was actually dreamed up in New Zealand (although Australia has claimed ownership of it as well). The dessert was named for Anna Pavlova, a famous Russian ballerina who had toured both countries to much fanfare in the 1920s. With its delicate, refined nature, it’s not hard to see why this name might be named for a ballerina who was viewed at the very epitome of grace.
While the dessert is right at home in a fine dining establishment, its easy preparation means it can also be weekday-casual.
Recipe notes
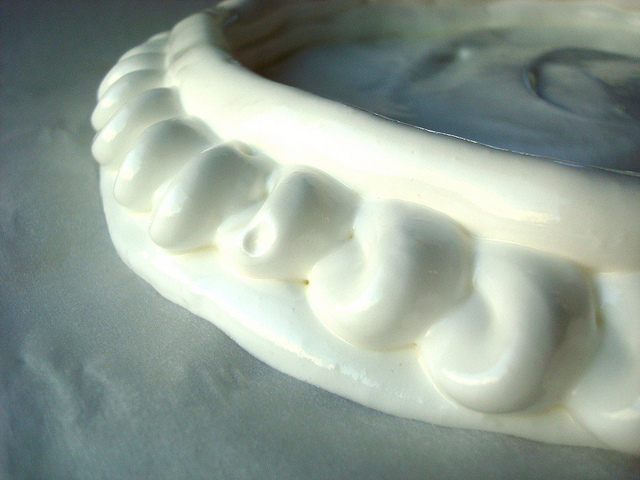
The shell is not a meringue
While the shell in which the dessert is served may resemble a large meringue disc, it is characterized by the addition of cornstarch, which gives it a crispy exterior and a soft, cloud-like interior.
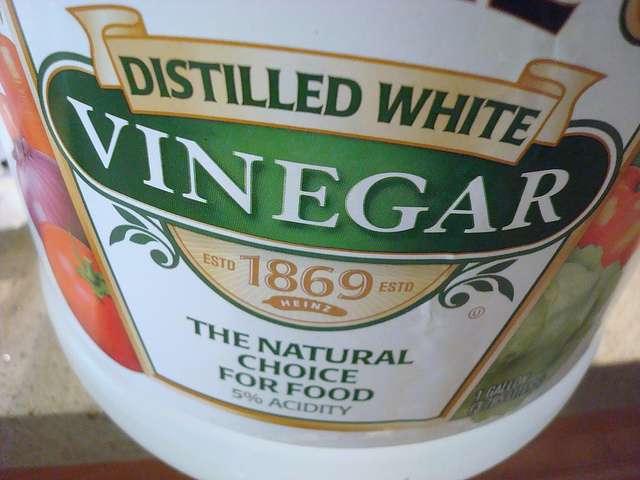
Why add vinegar?
When you beat the egg whites, bonds form between the egg proteins. If overeaten, they can form lumps or bumps. The vinegar adds acid, which neutralizes the egg proteins and keeps them from overreacting. Or, in layman’s terms, the vinegar keeps the mixture nice and smooth.
Flavorings
This recipe calls for vanilla extract to flavor the base, but if it suits you, you can substitute any other flavored extract.
Egg white temperature
Egg whites at room temperature will beat quicker and easier than chilled ones, so let them come to room temperature for best results.
Fruit
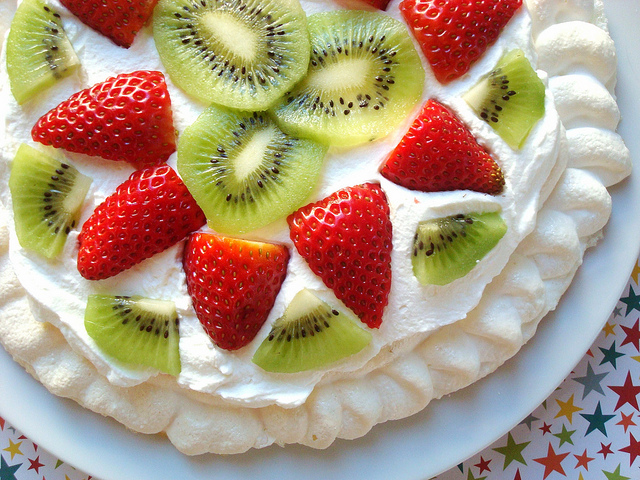
While you can use any type of fruit you like to top this dessert, do use fresh fruit. Frozen fruit can bleed on top of the whipped cream, and dried fruit may have a distractingly firm texture.
How to make Pavlova
Adapted from Exploratorium
Makes 8 to 10 servings
Ingredients:
- 4 egg whites, at room temperature
- 2/3 cup superfine sugar
- 1 tablespoon cornstarch
- 1/2 teaspoon white vinegar
- 1 teaspoon vanilla extract
- 1 cup heavy whipping cream
- Approximately 1 cup fresh fruit (we used sliced kiwi and strawberries)
Step 1:
Preheat the oven to 250 degrees F. Have at the ready a baking sheet and a sheet of parchment paper large enough to line the pan.
Step 2:
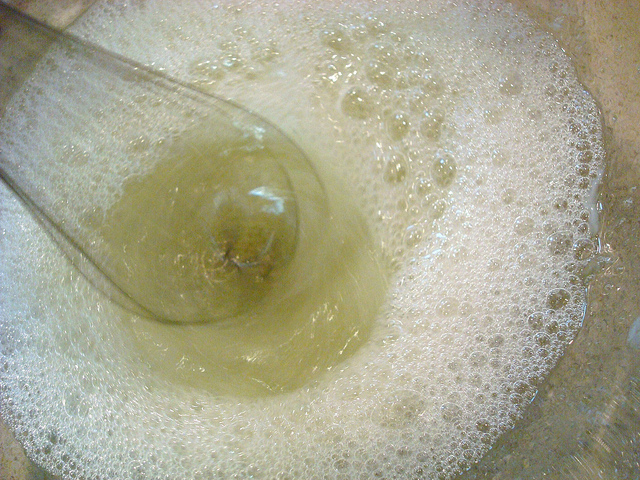
Place the egg whites in a large mixing bowl (glass, stainless steel or copper bowls work best for whisking egg whites). Add the vinegar. If you have a hand mixer with a whisk attachment, it’s probably the easiest tool for mixing, but either a wire whisk or a stand mixer with the whisk attachment will work as well. Whisk the egg whites on high speed. They will progress from frothy and translucent to fluffy and somewhat opaque.
Step 3:
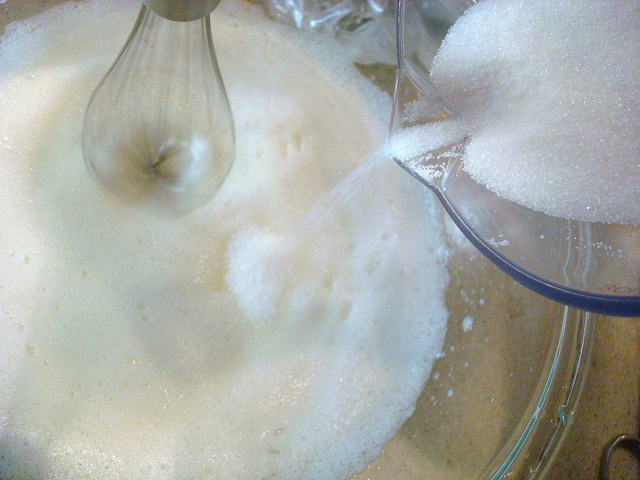
Once the egg whites have become fluffy, reduce the speed of your mixer (or whisk less vigorously by hand) and pour the sugar into the bowl in a slow, continuous stream.
Step 4:
Increase the whisking speed and whisk until the egg whites become stiff and hold peaks. Reduce speed to low again, and add the cornstarch and vanilla. Continue whisking only until these latest additions have been fully incorporated.
Step 5:
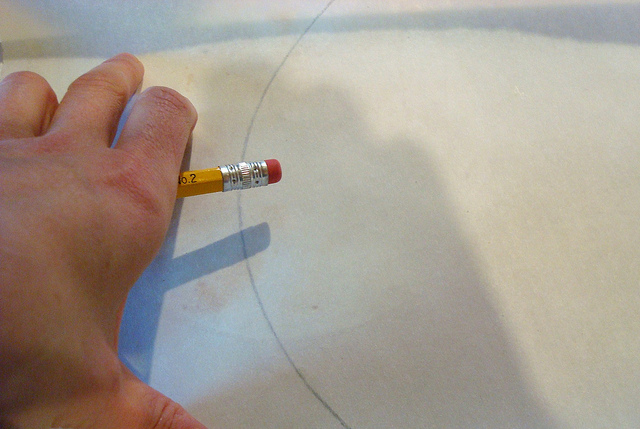
Grab your parchment paper, and draw a circle approximately 10 inches on top in pencil. You can use the lid of a Pyrex-style bowl or even the edge of an overturned bowl or dish that is approximately 10 inches to trace your circle. Place the parchment, penciled side down, on the baking sheet.
Step 6:
Divide the beaten egg whites in two halves. Use about half of the mixture to spoon the meringue in the shape of a circle. Use your drawn circle as a guide. Try to make the circle somewhat even in thickness, with a well in the center, but don’t let it thin around the edges.
Step 7:
Load up the rest of the egg white mixture into a pastry bag, or a freezer-type bag with one end trimmed off. Pipe around the edges of the circle. The idea here is to form a sort of “bowl,” which the fruit and whipped cream can sit in. You can be very simple, by simply piping around in an upward coil to form a bowl, or you can pipe pretty shapes. Try to have the “walls” of your bowl at least an inch high.
Note: If you prefer not to pipe, you can gently spoon more of the egg white mixture around the edge of the circle. Smooth the egg white mixture around the sides so that you form a rough bowl shape, with a well in the center.
Step 8:
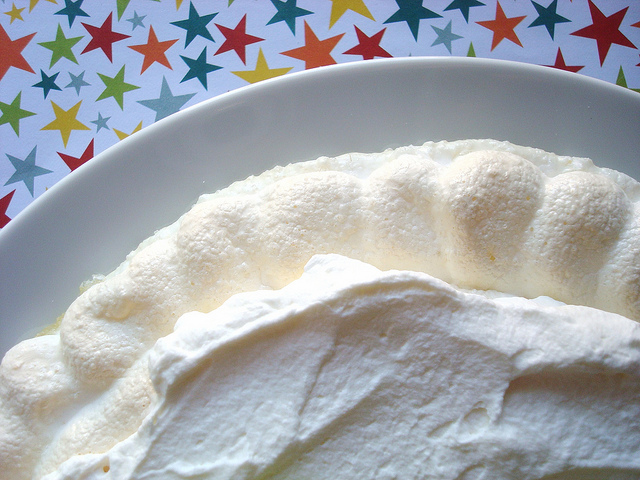
Place the disk in the preheated oven, and bake for 45 minutes. After 45 minutes, turn the heat off but leave the meringue in for another hour. This will help it dry out and cool down. Check the disk. If it is cool, you can proceed with the next steps and assembly. If not cool, you can prepare the next few steps, but don’t assemble until the disk has cooled. For one thing, it won’t come off of the parchment paper easily if it is still warm; for another, it will melt the whipped cream and become soggy. By letting it dry and cool, you will let it become a “shell” of sorts for the dessert.
Step 9:
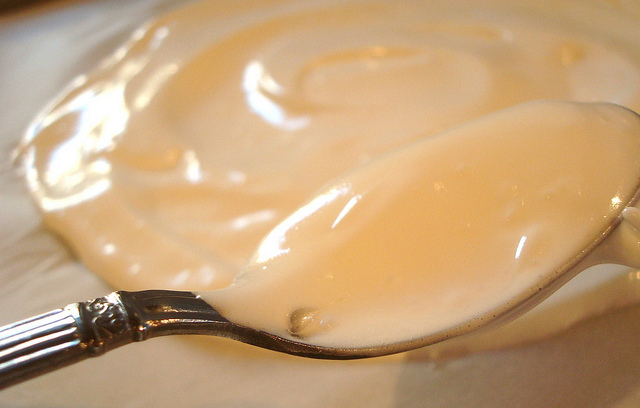
Whisk the whipping cream until it reaches stiff peaks. If you think the dish may have to sit for a while before being served, consider making stabilized whipped cream. Spread the whipped cream evenly in the “bowl” section of the cooled shell.
Place the fruit on top of the spreaded whipped cream.
This dish is best served immediately. Store leftovers in the refrigerator.
Share tips, start a discussion or ask one of our experts or other students a question.
No Responses to “Dessert for Tiny Dancers: How to Make Pavlova”