
Looking for a quick and easy way to create amazing cake toppers? Learn how to make chocolate garnishes with this fun step-by-step tutorial. You can make your shapes as simple or complex as you’d like, plus you can draw freehand or trace an image- whatever you’re more comfortable with. Here, I’ll reveal how to do each method for creating these creative garnishes that can be used in both your cake decorating and your cooking.
Photos via CakeSpy
Making chocolate garnishes is an extremely simple process wherein you melt chocolate, pipe it on top of waxed or parchment paper and let it dry. Once the piped chocolate shapes completely set, you have cute and tasty toppers which make elegant decorating a snap!
Note: While the supplies below list 12 ounces of chocolate, you can do it with less chocolate, too. We found that 12 ounces is a good amount to play with, and made plenty of simple garnishes for a batch of 24 cupcakes.
How to make chocolate garnishes
Ingredients:
- 12 ounces chocolate, coarsely chopped
- a double boiler
- parchment paper
- a decorating bag and tips
Step 1:
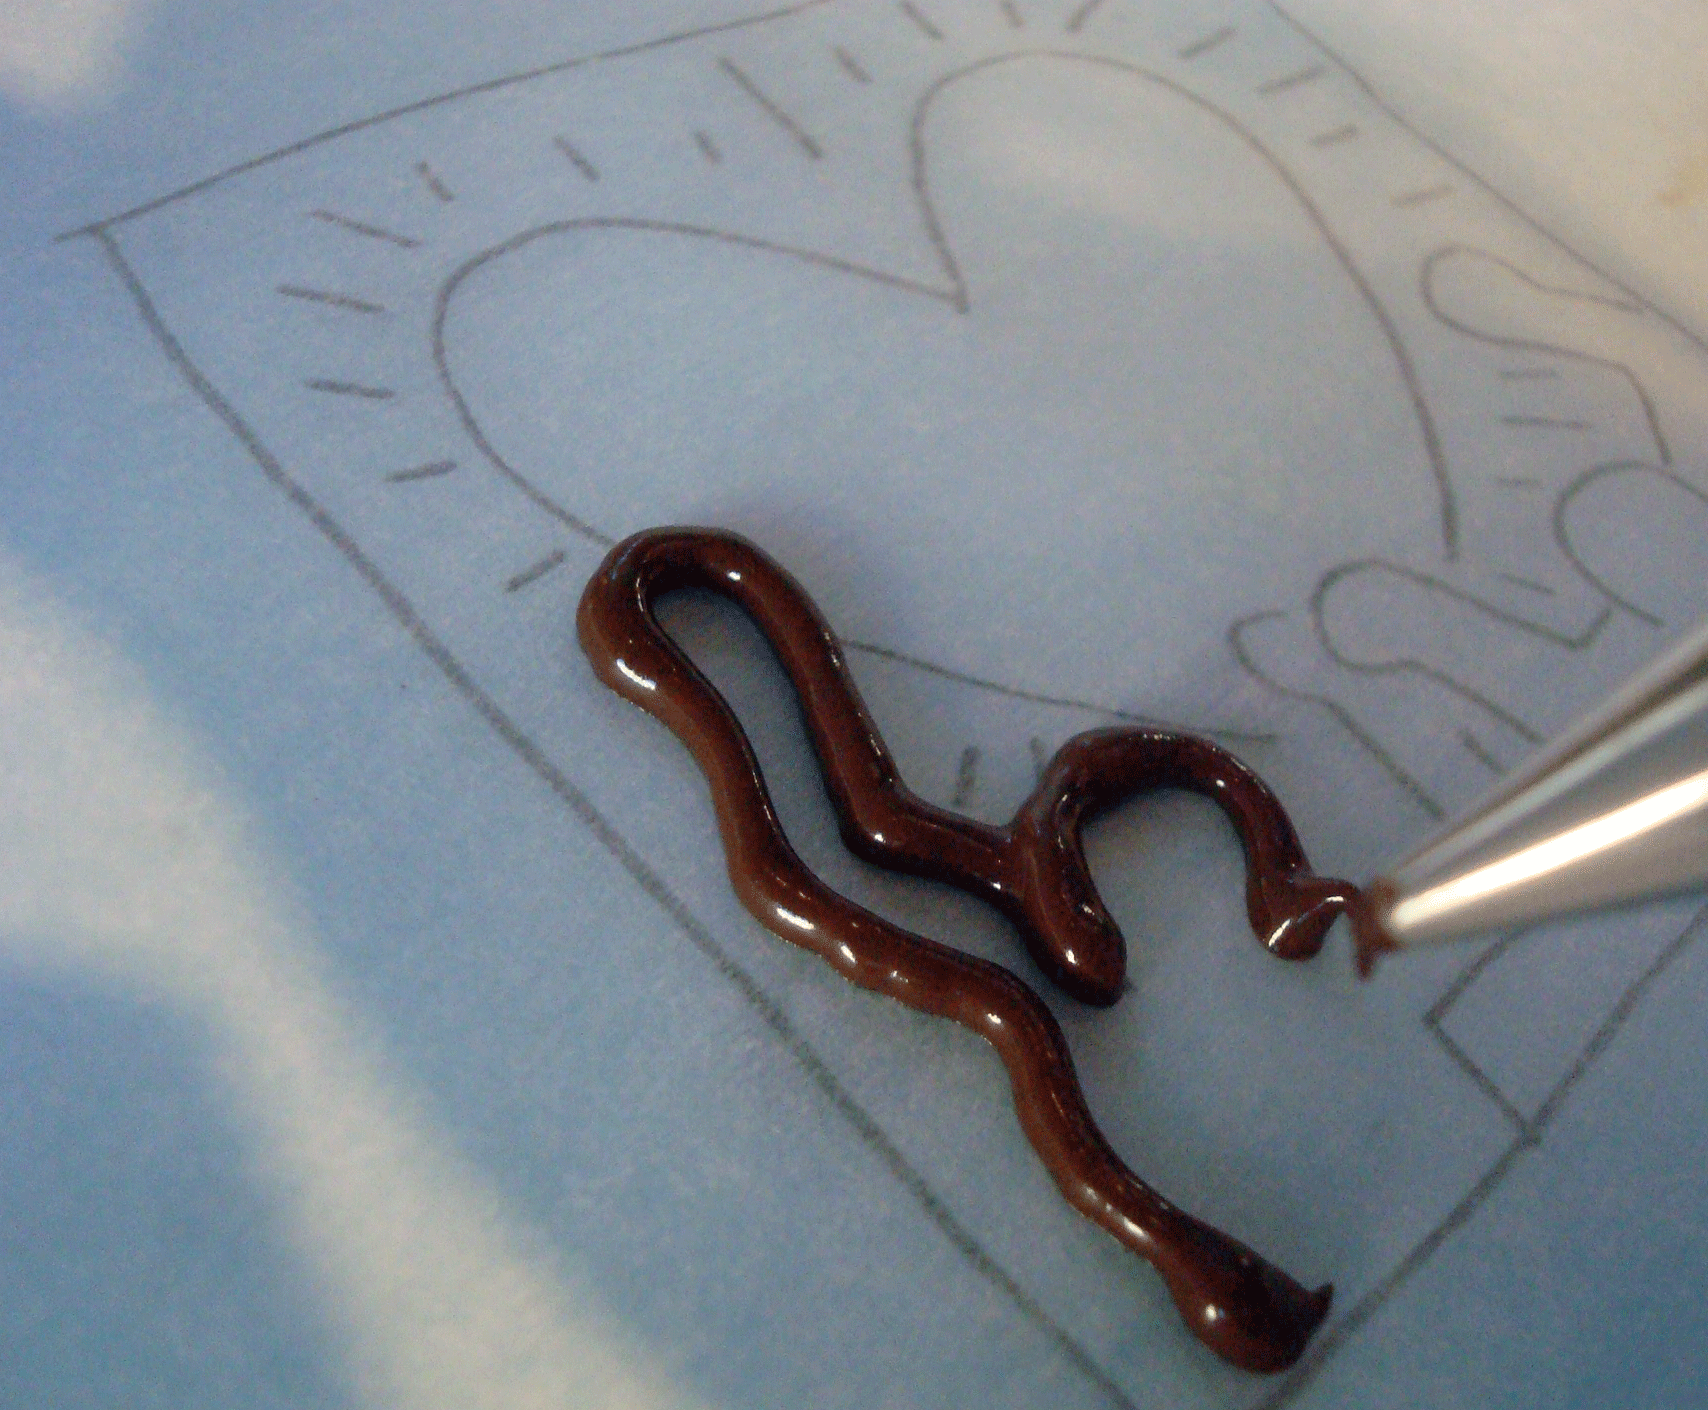
If you are tracing an image, print out the image you’d like to use in reverse, as you will flip the image so that the pencil side is facing down once you begin piping (this is not necessary if it is a symmetrical image). Place parchment paper over the image, and trace it using a pencil.
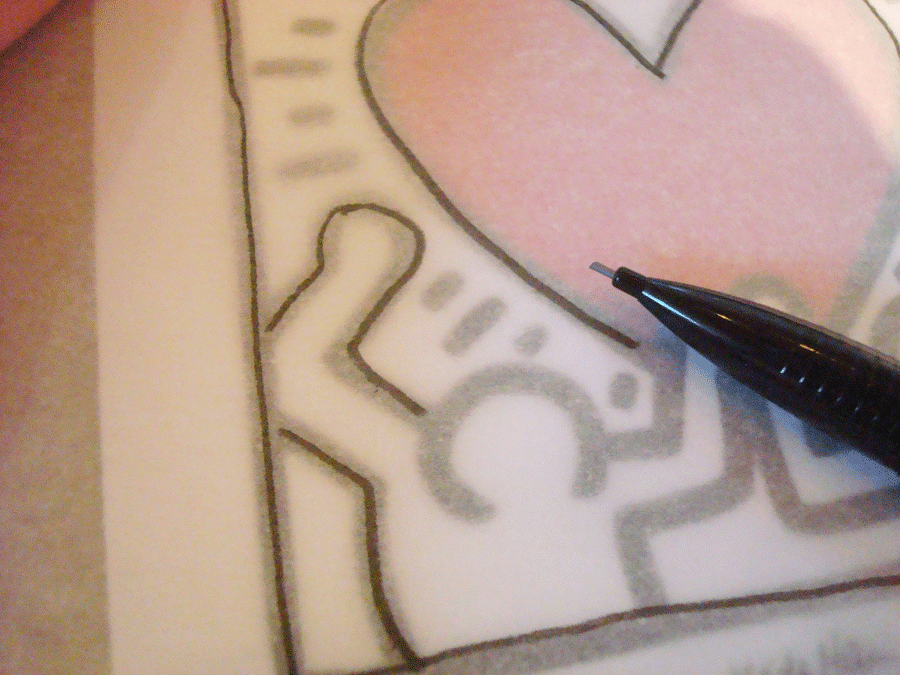
You can trace multiple images on the same sheet of parchment if you like. Flip the parchment paper over once you’ve finished tracing, so that the pencil images are face down.
If you choose to pipe freehand, you can simply place a sheet of parchment paper on top of a work surface.
Step 2:
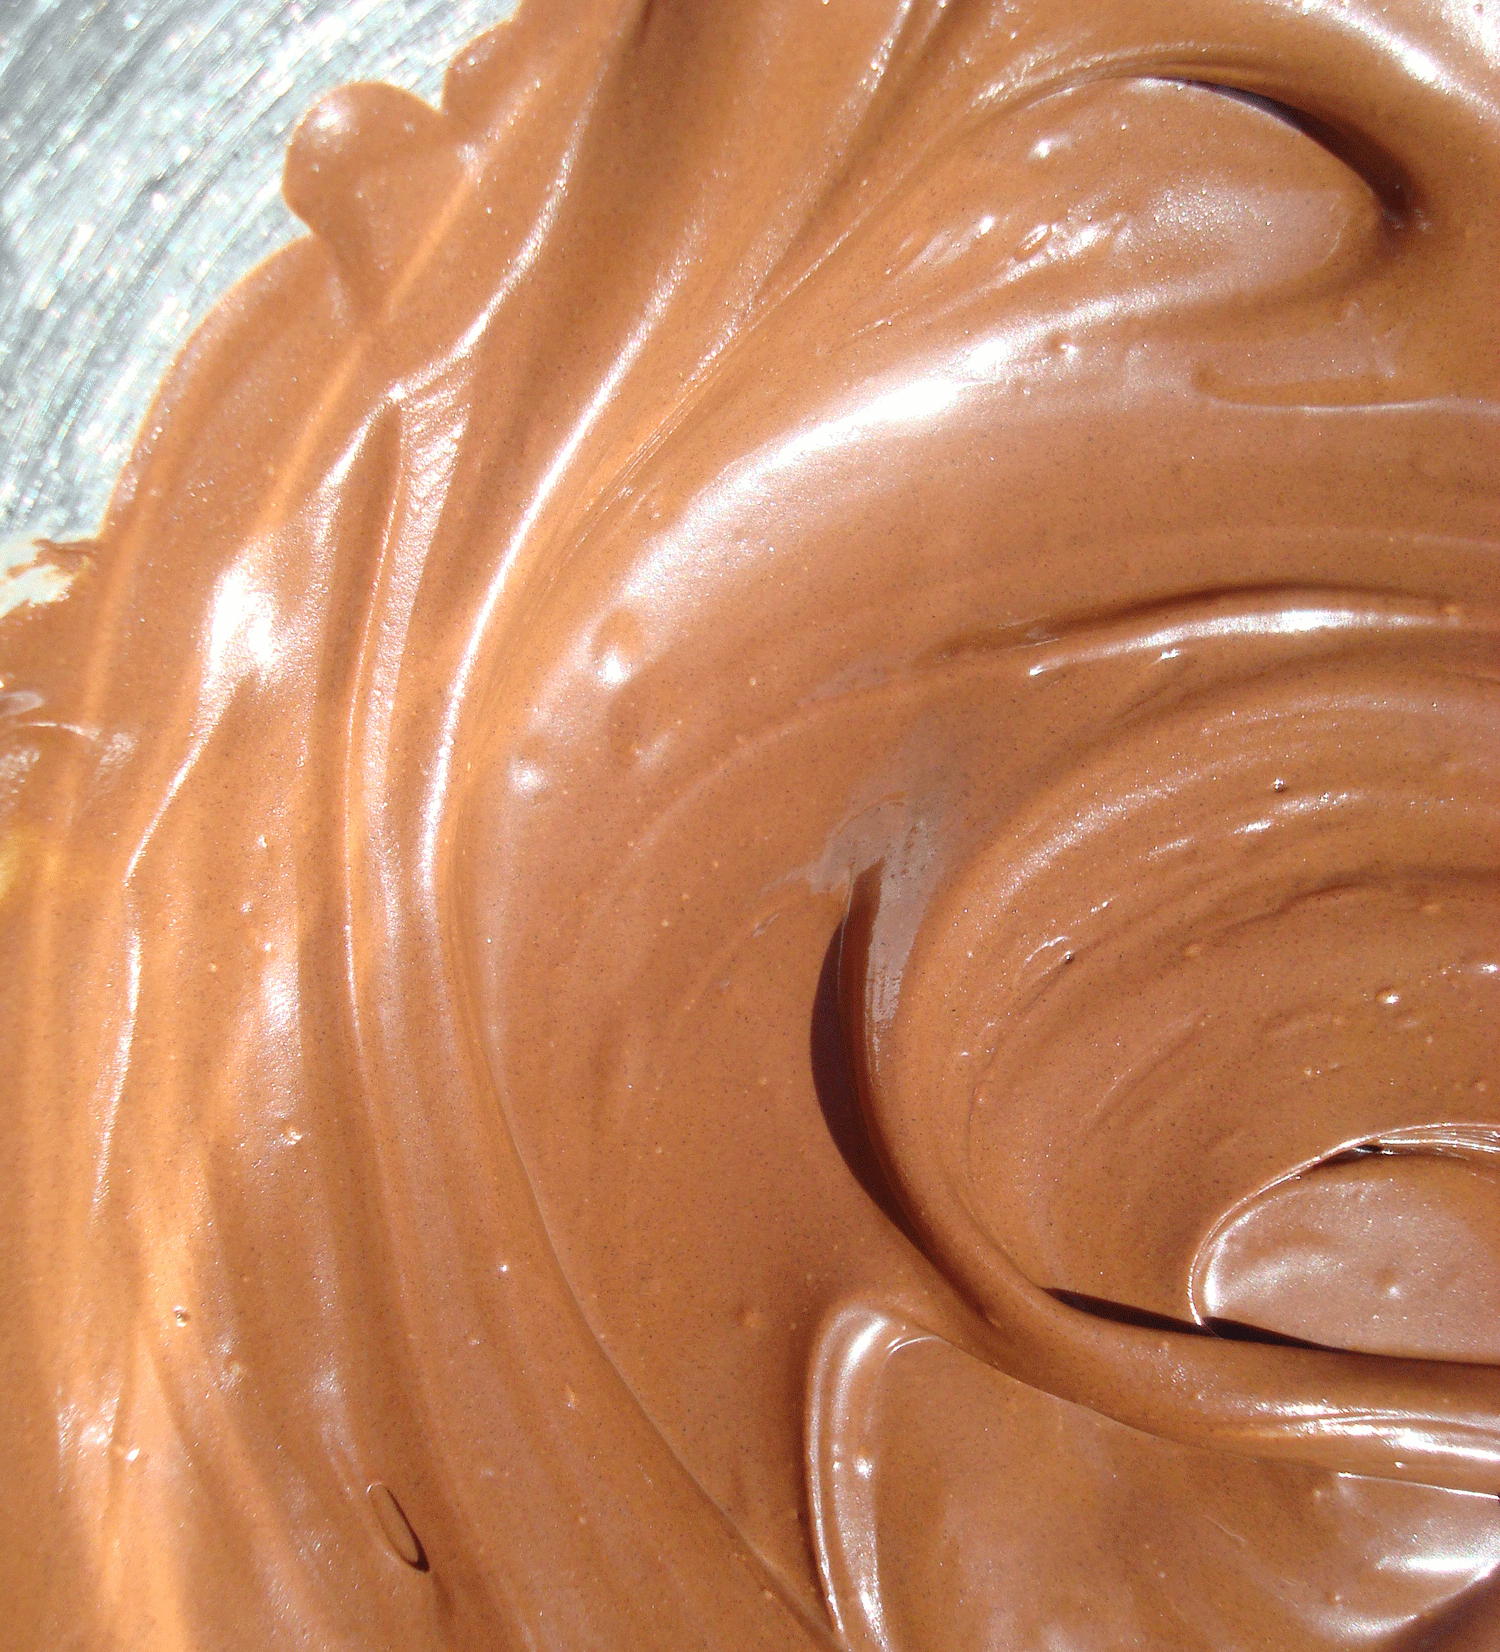
Melt the chocolate in the top half of a double boiler (or, hover a bowl over simmering water). Once melted, remove from heat. Let it sit for about 10 minutes to slightly cool.
Step 3:
Load the chocolate into your decorating bag, and fit with your desired cake decorating tip. Don’t use too small a tip, or your piped images will be too delicate and may crack when removed from the parchment paper.
Step 4:
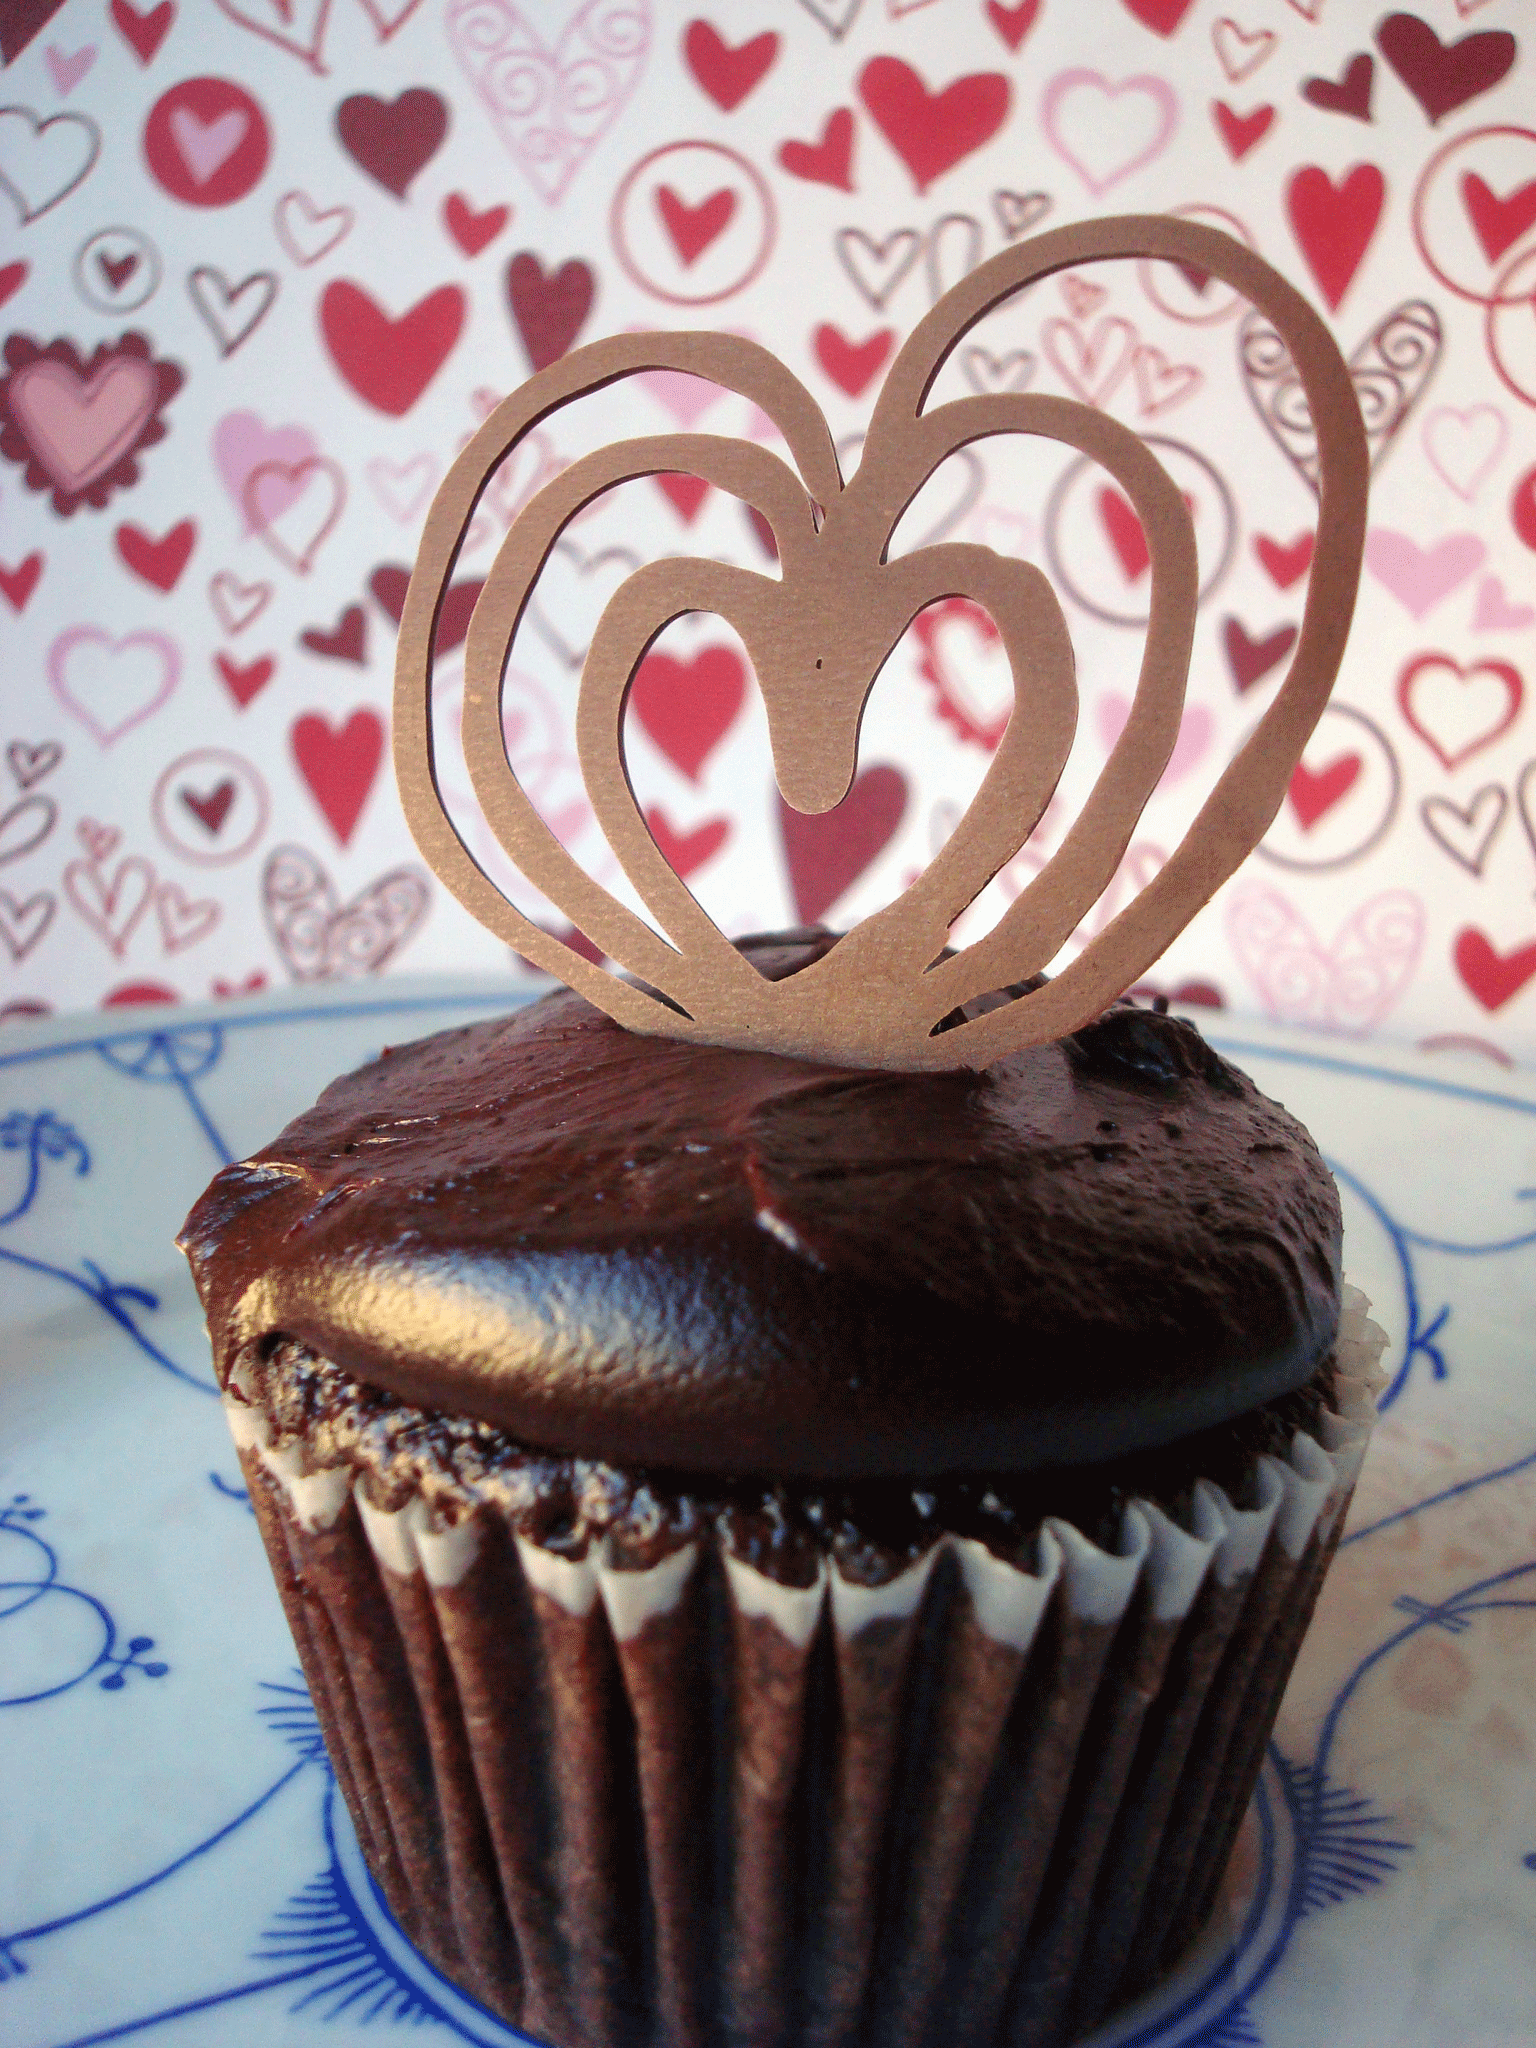
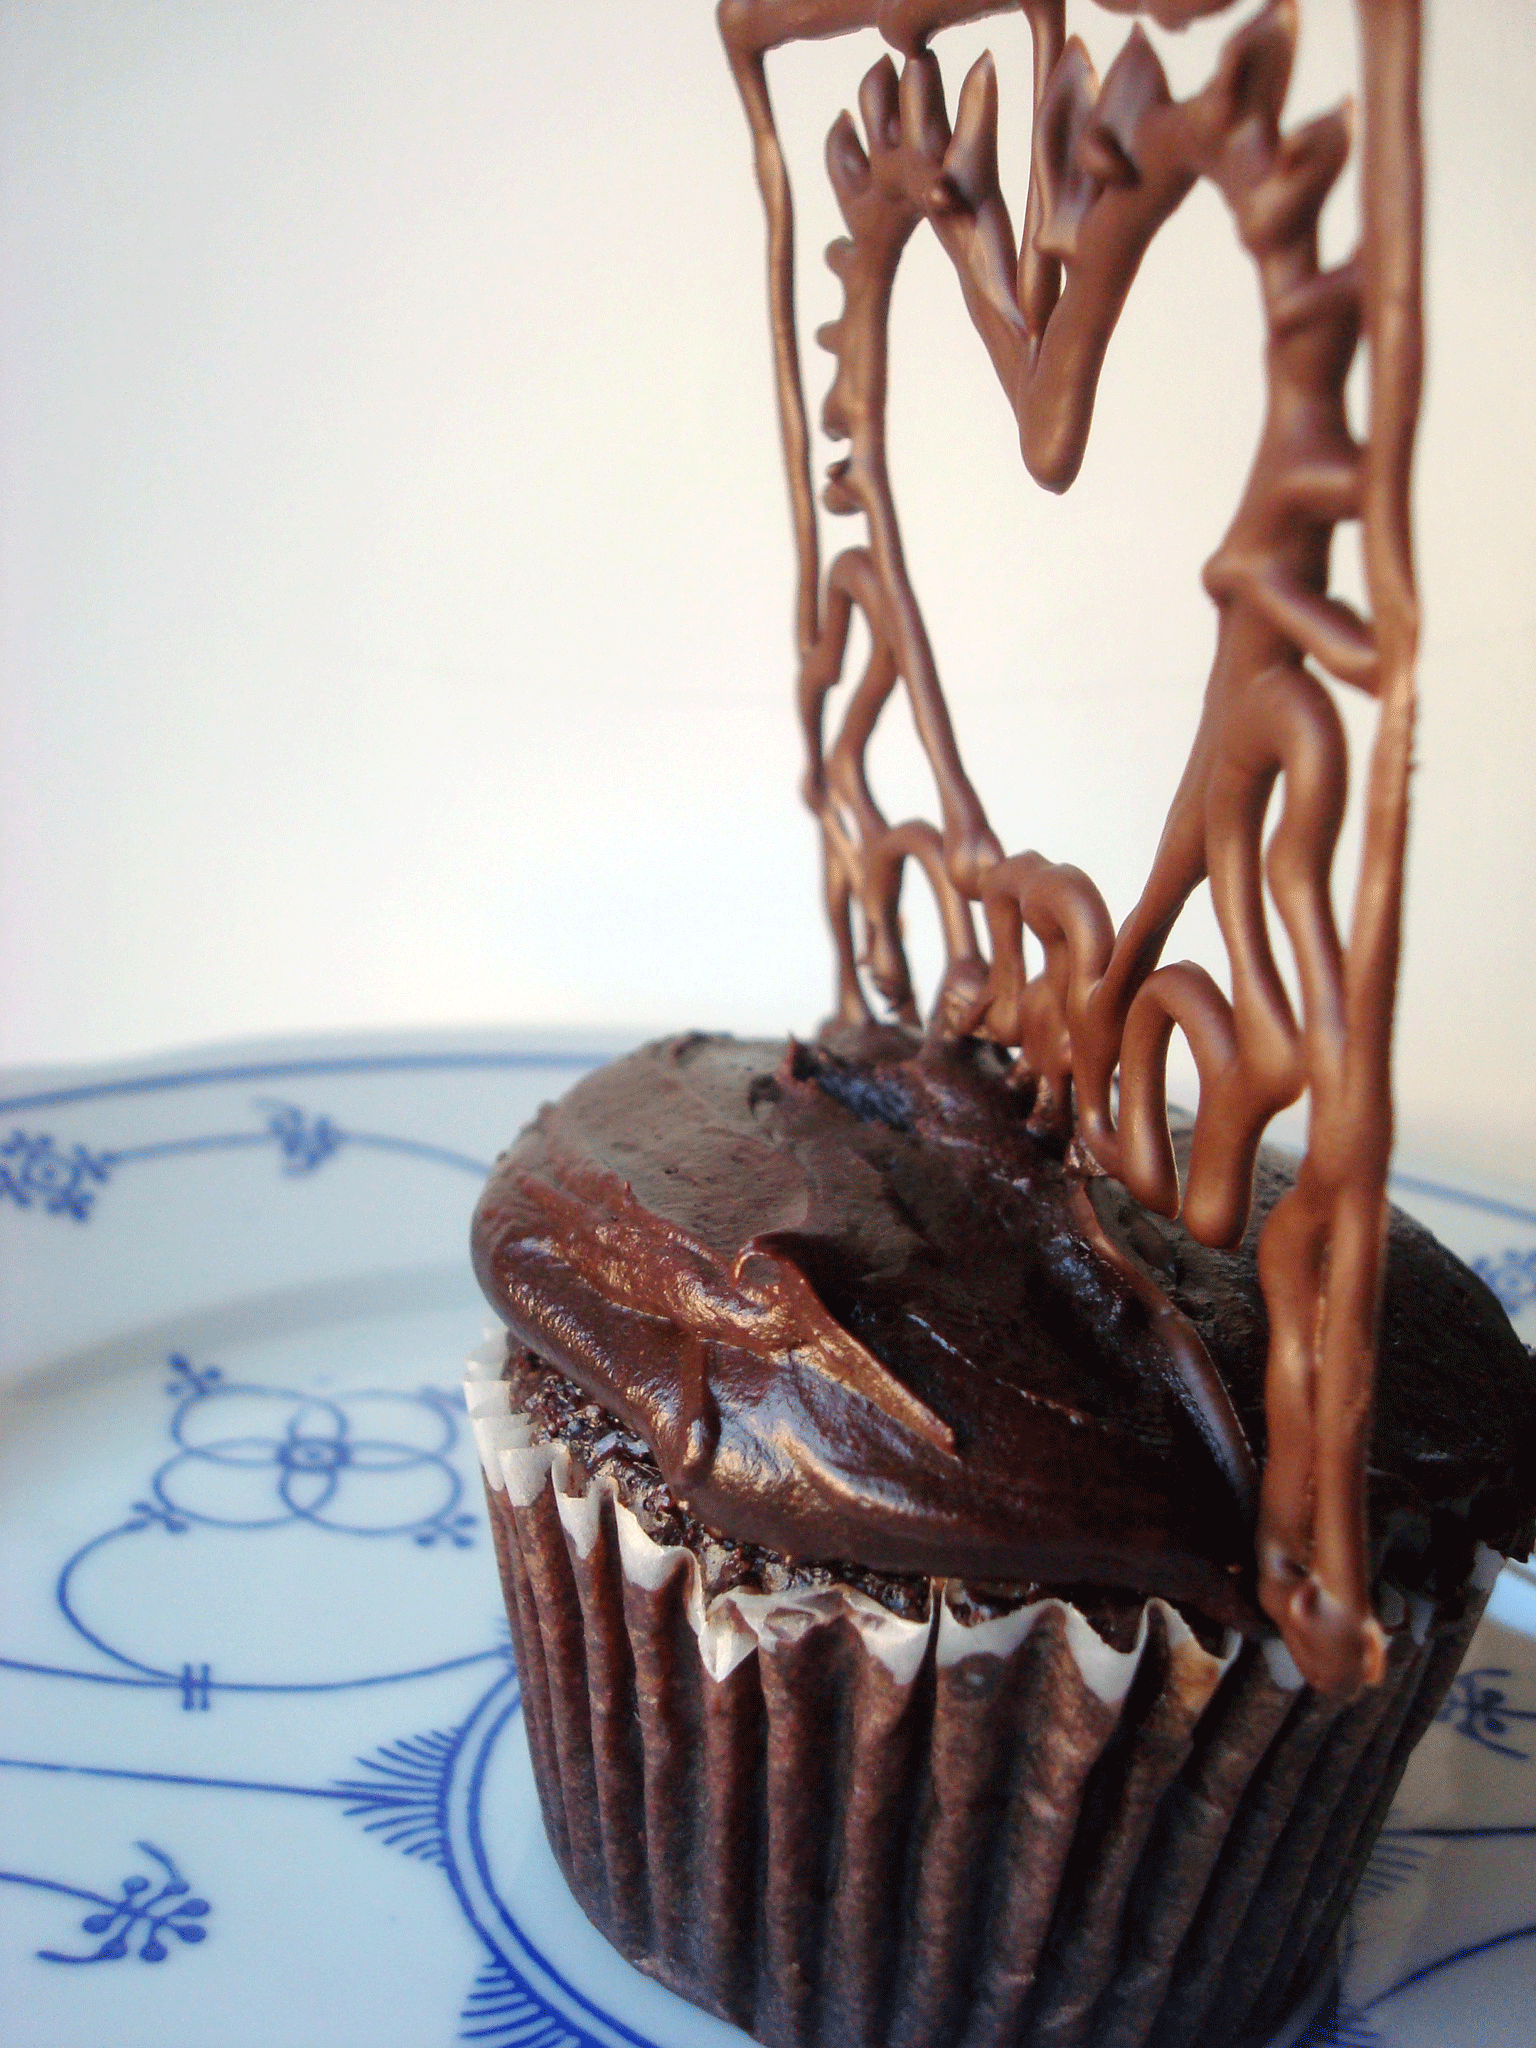
Either pipe on top of the lines you’ve traced for yourself, or draw images such as hearts, stars, or whatever your heart desires. Make sure that each image is “closed”–if there are any stray lines that aren’t attached to the image, they won’t remain attached once the chocolate is removed from the parchment.
Step 5:
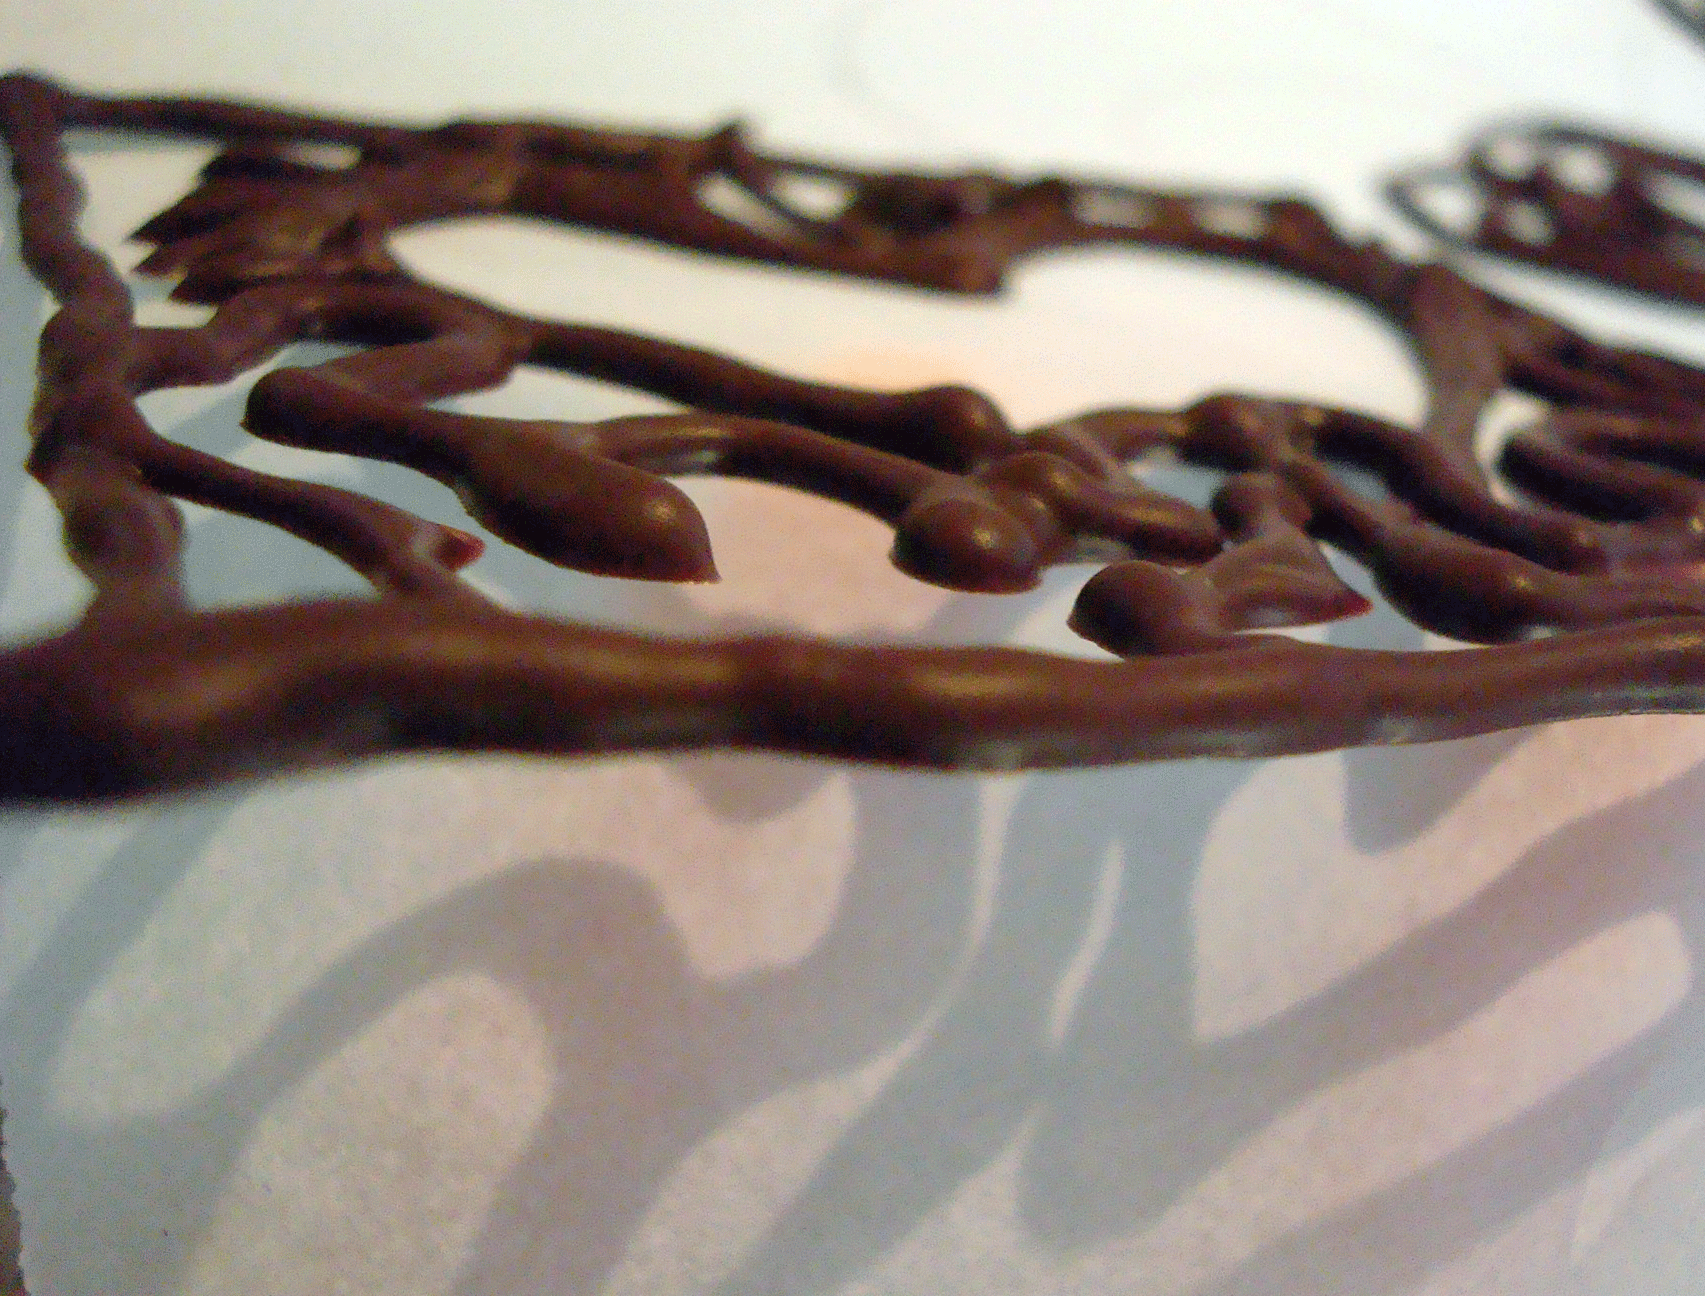
Let the chocolate dry for several hours, or overnight. You can put the sheet in the freezer to help things become firm.
Step 6:
Grab a cake or cupcakes, or whatever you’d like to garnish. Have it at the ready. Remove the chocolate images from the parchment. You may find that using an icing spatula inserted below the chocolate can help ease them out, or you may find that they easily remove from the sheet. Avoid touching the chocolate too much, as the warmth of your hand will make the chocolate melt and warp.
Step 7:
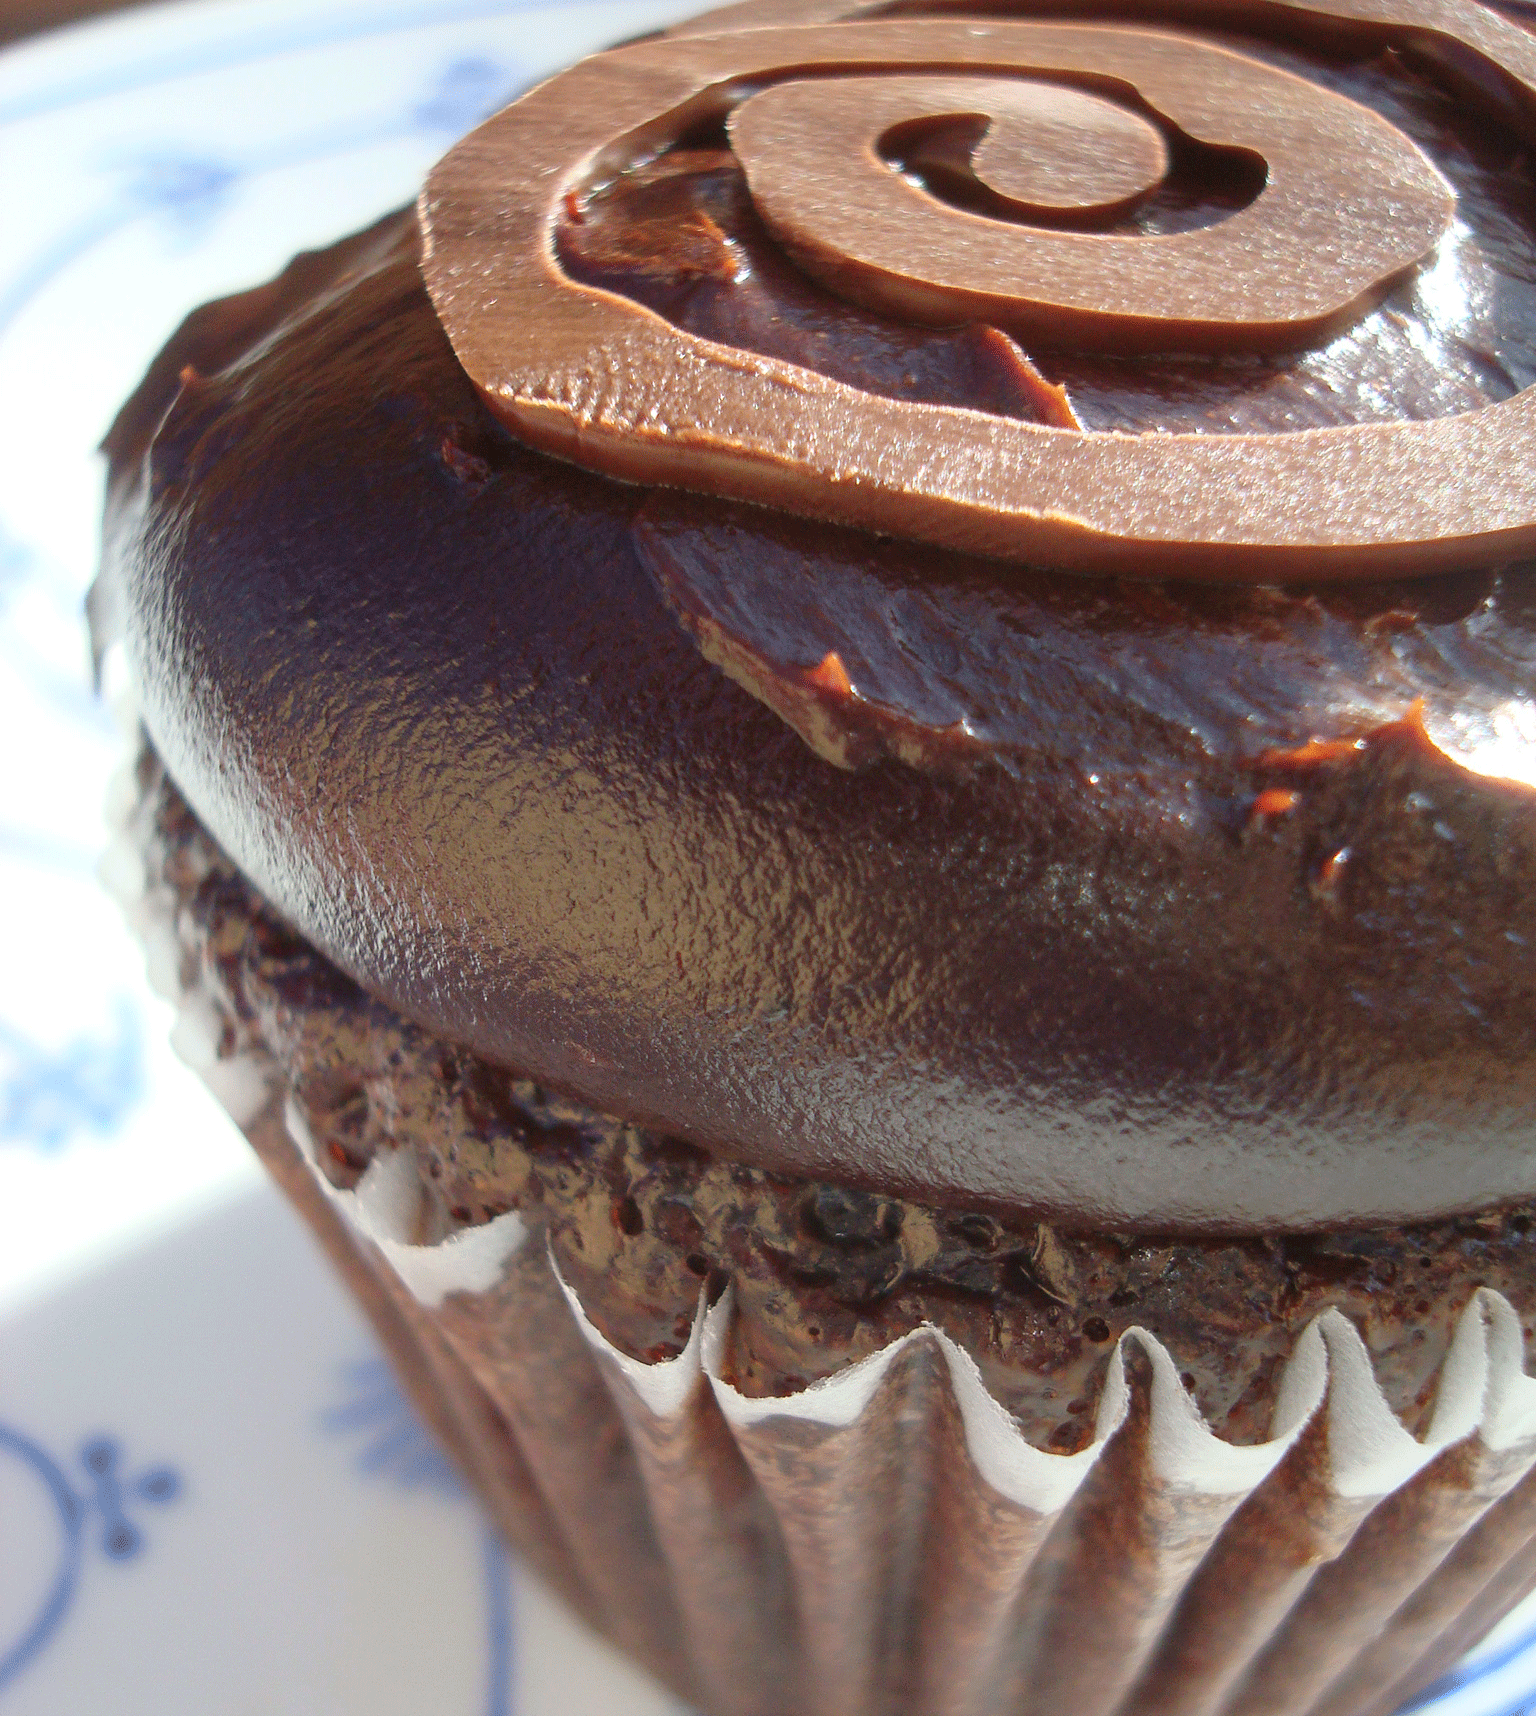
Place the chocolate garnish on top of your cake. If you’re worried about them staying in place, add a toothpick to keep it in place and refrigerate the item in question for about 10 minutes. This should allow things to become firm, and you can remove the toothpick. Or, if you are serving the item in question in warm weather, you may consider placing the garnishes flat on top of cakes, like this:
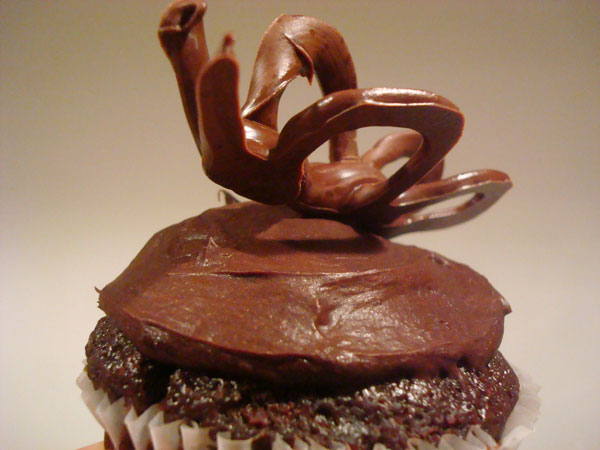
Now that you’ve mastered the art of the chocolate garnish, you can create more advanced cake decorations by making shapes on scored parchment, resulting in dimensional garnishes such as these chocolate butterflies.
Because of the delicate nature of chocolate toppers, store items with toppers such as these at very cool room temperature. Refrigerating is not suggested unless the chocolate has been tempered.
Share tips, start a discussion or ask one of our experts or other students a question.
No Responses to “Amaze with Elegant Piped Chocolate Garnishes”