
Rings are one of the few pieces of jewelry you can see when you wear them. And whether you’re into making jewelry normally or not, there’s quite a thrill to looking down and seeing some bling that you made on your own hand!
It’s not hard to get started, either. You only need a handful of things to make a wire-wrapped ring: some wire, a couple pairs of pliers, a focal piece and, most importantly, a ring mandrel.
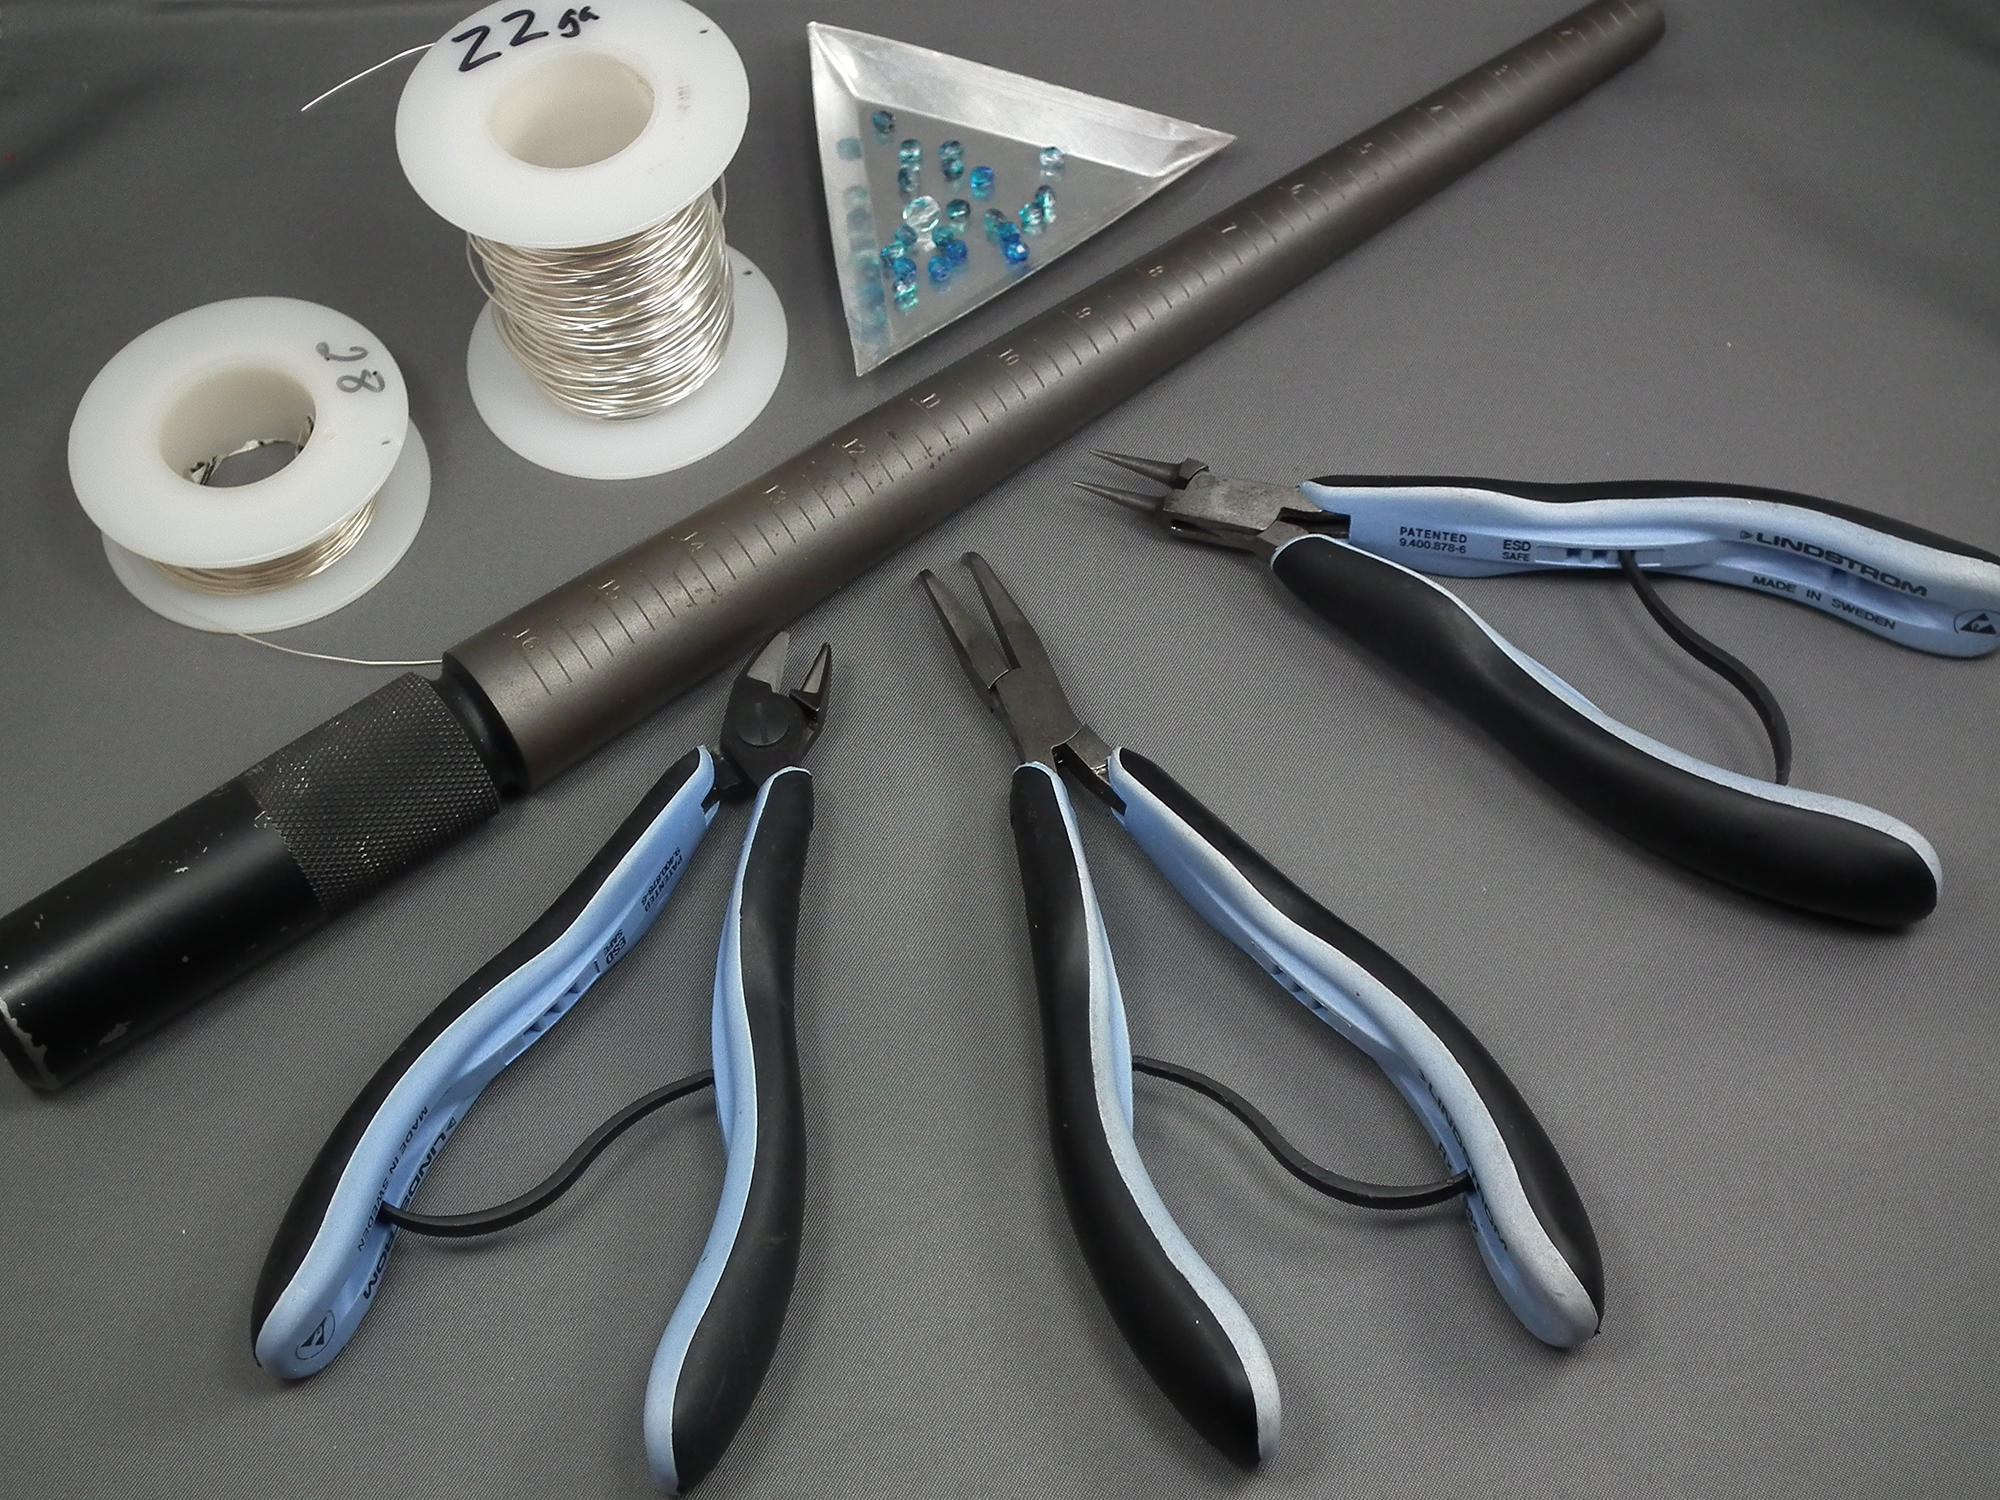
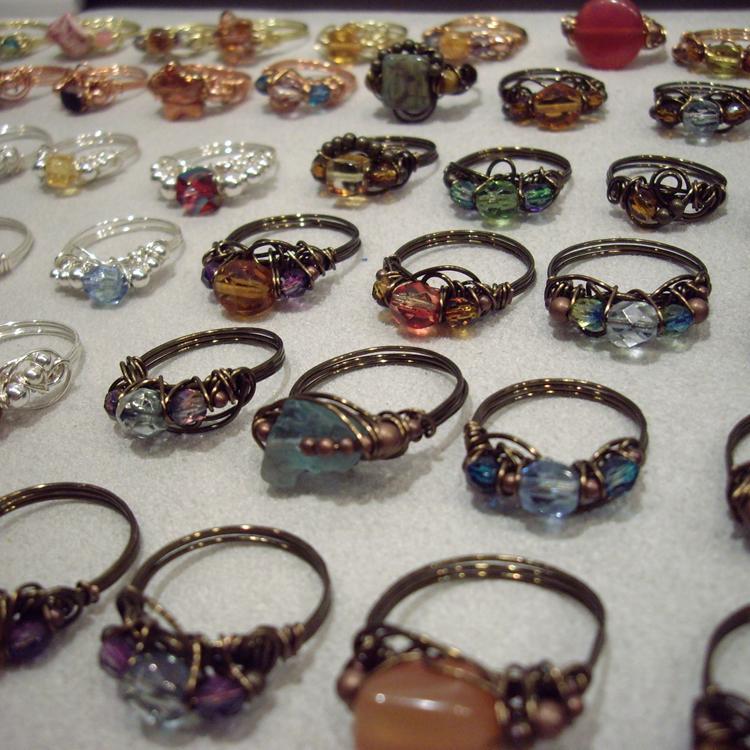
Photo via Craftsy member Gayle Bird
Supplies:
Wire
The gauge of wire you use depends largely on the type of ring you are making. Generally though, for the simpler rings, 20ga is about right.
Pliers
You’ll need, at the bare minimum, flush wire cutters and some chain-nose pliers.
Focal
It’s certainly possible to create a wire-wrapped ring with only, you know, wire… but most rings have a focal point, and that focal point, if you’re just getting started, is usually a bead. Non-drilled focals are a little more complicated, but if you’ve got the time, they can be extra stunning.
Mandrel
There are many options for ring mandrels. You can use wooden dowels or fat-barreled markers if you’re certain of the size and you’re only making one or two. You can’t hammer on a marker though, and wood is soft and can get marred easily. There are plastic ring mandrels with a groove down the back — they’re usable, but truly those are best for sizing, not necessarily making rings, specifically because of that groove. It’s too easy to let the groove make dents. For all of those reasons, if you’re planning on making any number of rings that are more than can fit on your own two hands, I recommend getting a real steel, permanently-sized and marked ring mandrel. In fact, I’ll go you one better: I recommend getting one that sits in an orbital vise to keep your hands free!
Patterns
Once you’ve got your tools together, you need to pick your pattern. Are you a beginner to wire entirely, or maybe you are used to wire but haven’t made rings before? Then you’ll likely want to start with the simplest kind of ring: one wire and one bead, like this simple wire-wrapped ring tutorial by Craftsy member LoveLarisa:
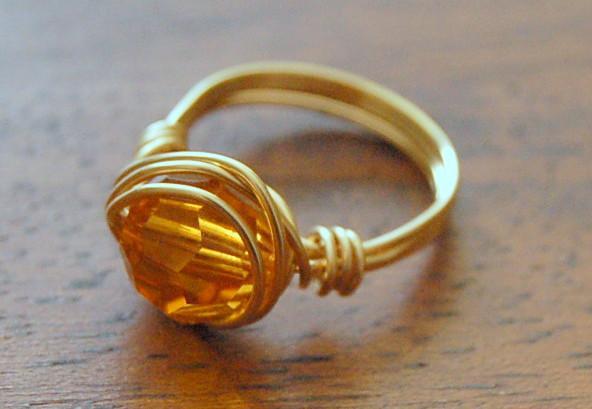
Easy and satisfying, this pattern can have you creating a new ring for every outfit this weekend in no time flat!
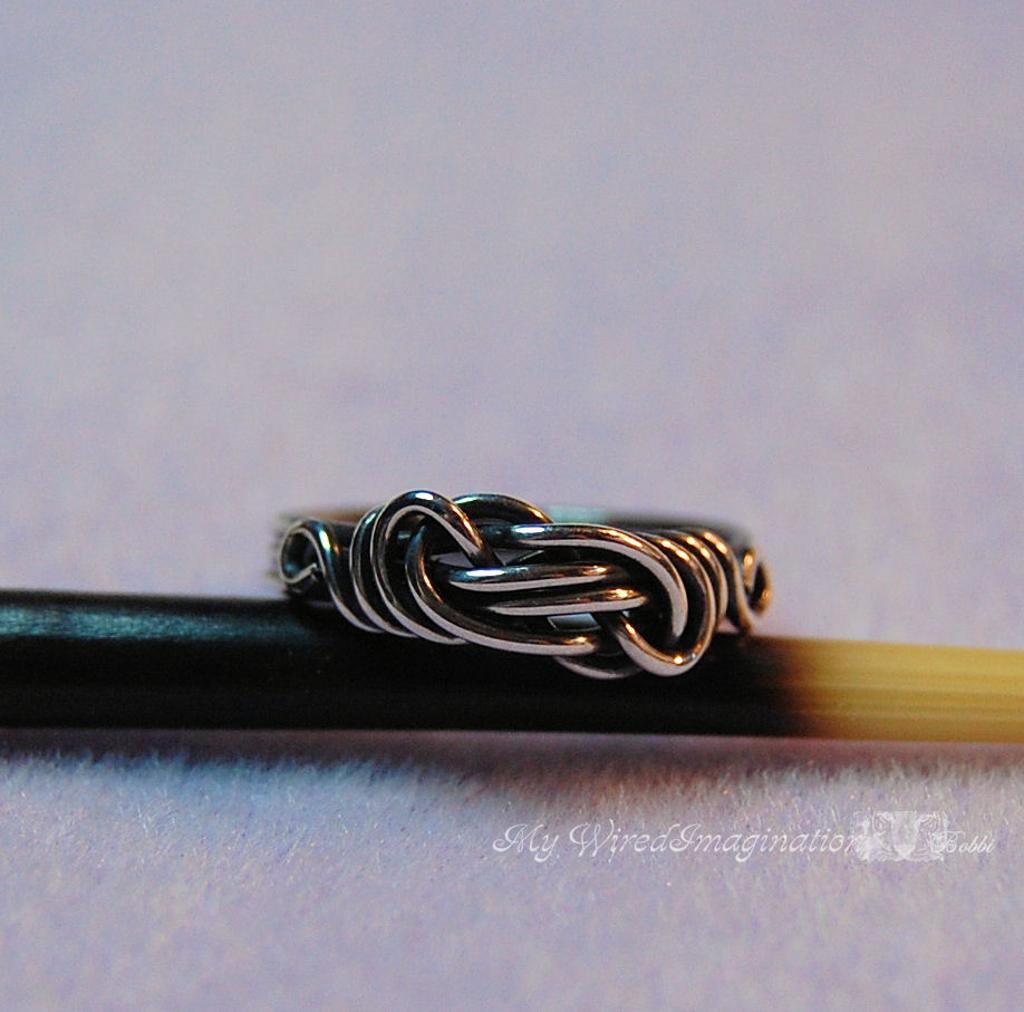
If you’re interested in wire-only rings, you can’t go wrong with Knot a Ring by Craftsy member BobbiWired:
Or this Wire-Wrapped Rose Ring Tutorial by Crafty member and pattern maker WireBliss:

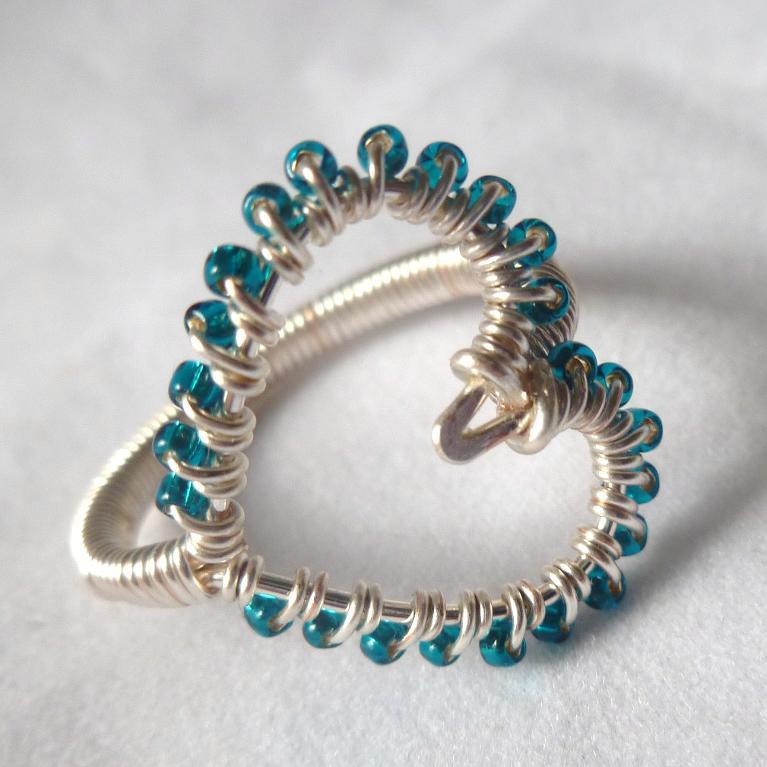
Once you get those mastered, you will find yourself hooked on making wire wrapped rings — and it’ll be time to try something just a little more adventurous! Perhaps this Wire-Wrapped Heart Ring by Craftsy member Copar Aingeal will be your next project:
Or maybe you’re interested in endless variations, like this Million-Ring Design by yours truly:
Or maybe I’m underestimating you… Perhaps you’d rather a REAL challenge! In that case, try any of these beautiful patterns by Crafty member BobbieWired’s MyWiredImagination series:
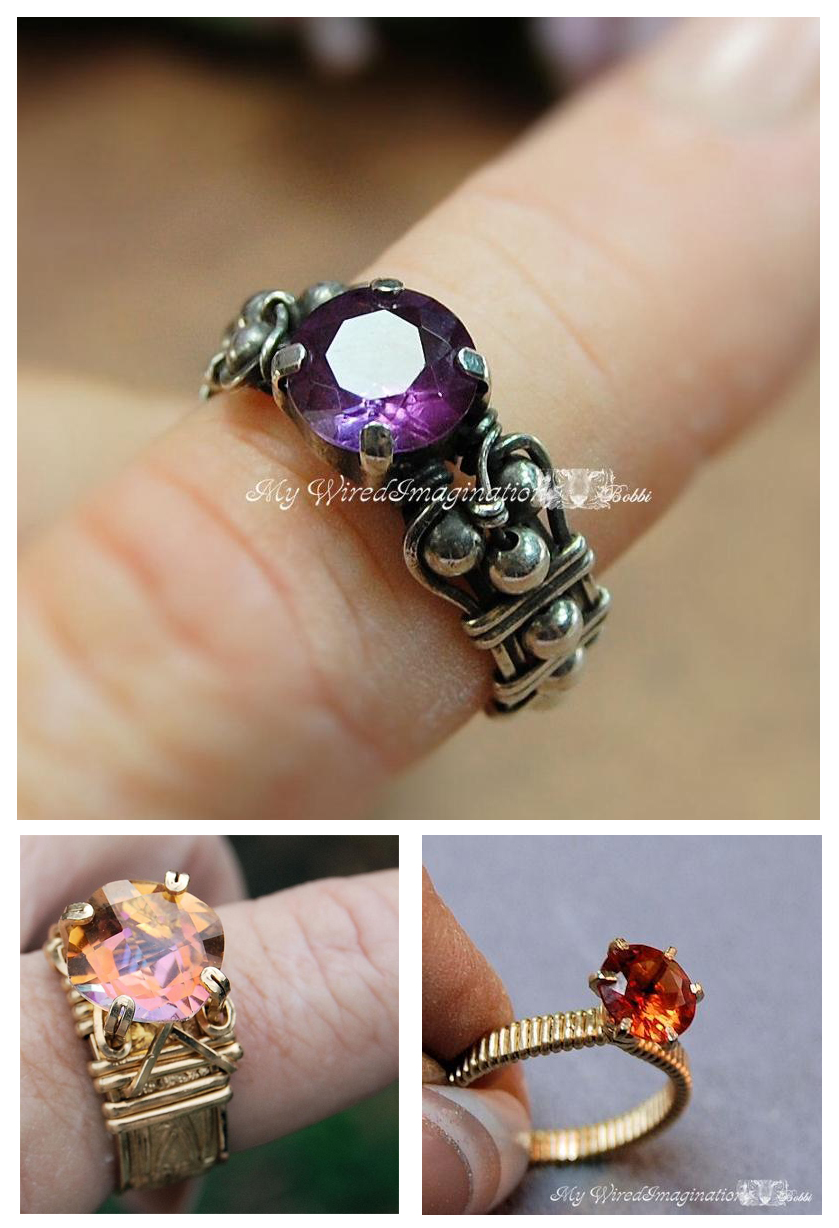
Patterns above: Marcella Wired Crysta, Wire Wrap Fancy Band Ring, and Prong Ring (with bonus pendant!)
Whatever pattern you use — or if you go for it and make up your own — you’ll find that making wire-wrapped rings isn’t nearly as difficult as you might think. Give it a try! You never know what bling will end up gracing your knuckles, ready to make you smile every time you look down.
Share tips, start a discussion or ask one of our experts or other students a question.
No Responses to “Learn How to Make Your Own Wire-Wrapped Rings”