Giving fondant a wood-grain effect is so quick and easy, you’ll be finding a use for it on every cake you make. From trees and floorboards, to Harry Potter’s wand and the Angry Birds’ slingshot, it’s a versatile look you’ll love.

Photo via The Royal Bakery
This tutorial shows you how to add a wood-grain look in your fondant.
You can use it in lengths for trees and branches, or roll it thinly for full wood coverage.
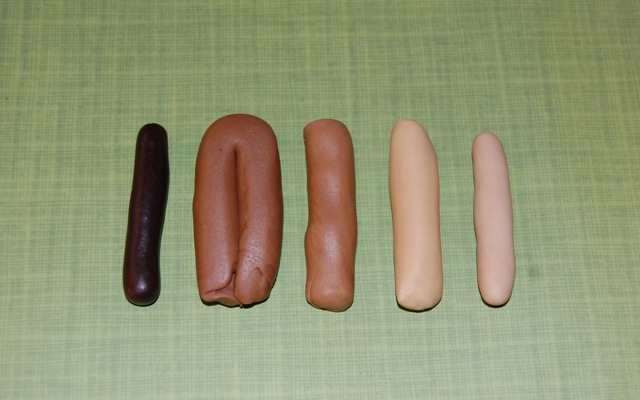
Step 1:
Gather together your shades of brown fondant. Five is ample, but three shades will work. These five shades have been created by adding varying amounts of Wilton White and Satin Ice Chocolate/Brown. The color you use most of will give you the overall shade of your wood. For pale shades, like pine and beech, use more light-colored fondant. For darker shades, like mahogany, use more dark fondant.
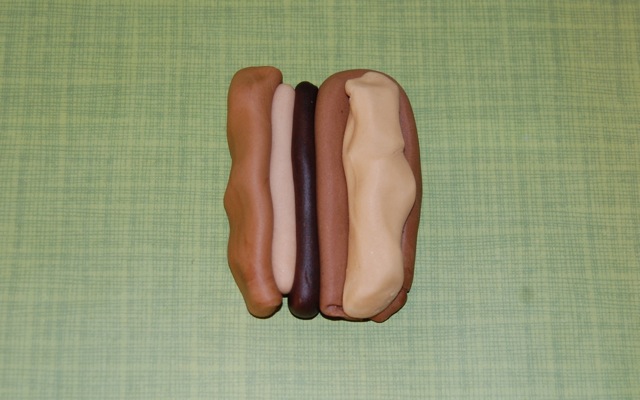
Step 2:
Press all your shades of fondant together, taking care not to put similar shades next to each other. This will create a more realistic wood-grain effect.
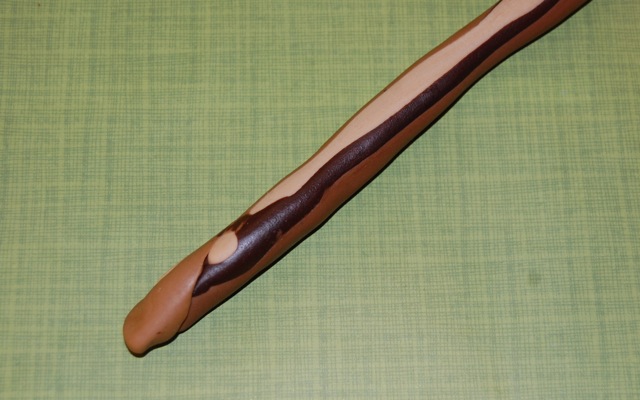
Step 3:
Roll all the fondant shades together into one long sausage.
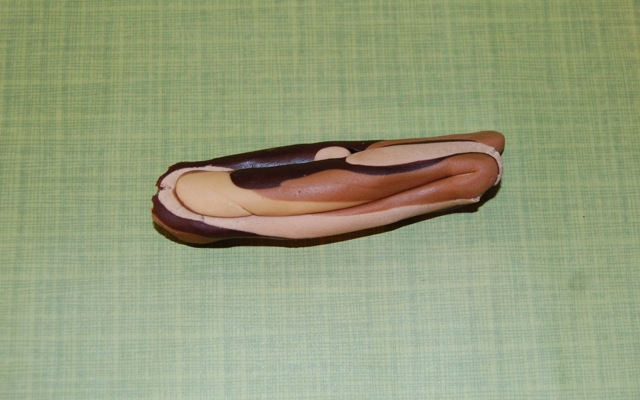
Step 4:
Fold the sausage in half or into thirds. Take care to ensure that you don’t hide any one color inside the fold. Make sure that all colors are still visible somewhere on the outside. Roll again into one long sausage and continue to fold each time in half or thirds Repeat this step until each color of fondant starts to thin and is repeated many times along the length of the sausage.
Step 5:
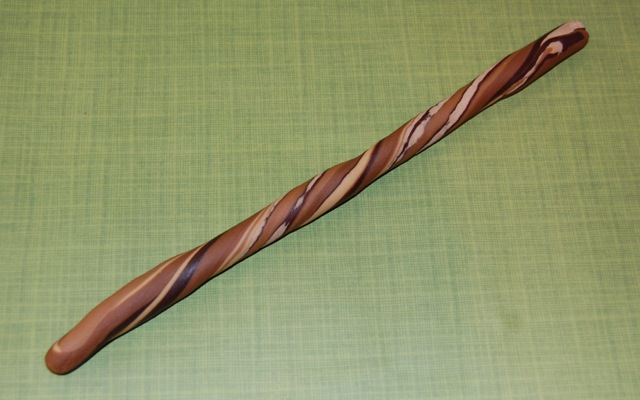
If you’d like to give your wood grain a more gnarled appearance, twist the sausage before rolling it, as shown.
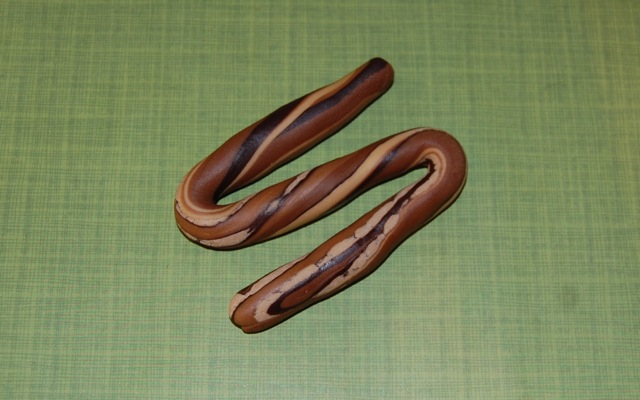
Step 6:
Fold the sausage again, keeping the twist intact.
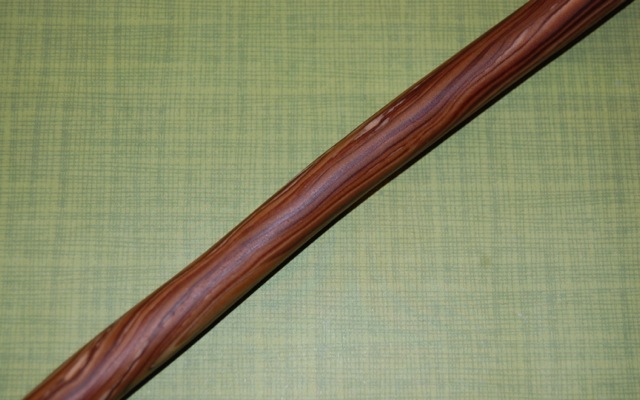
Step 7:
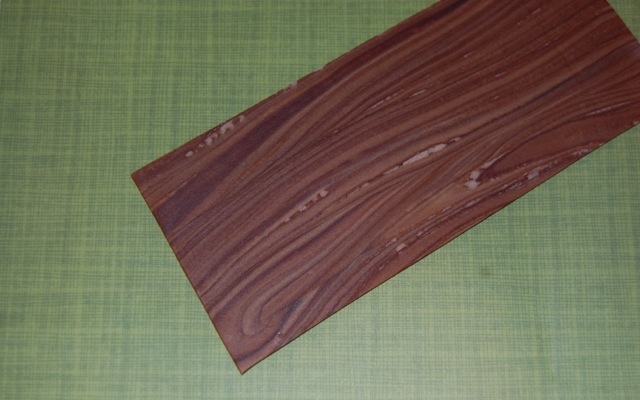
Eventually, after six or seven repetitions, the colors will have stretched and thinned to give you a very convincing wood-grain effect. The fondant can be used just as it is for anything that requires wood in “stick” form, even a wooden spoon!
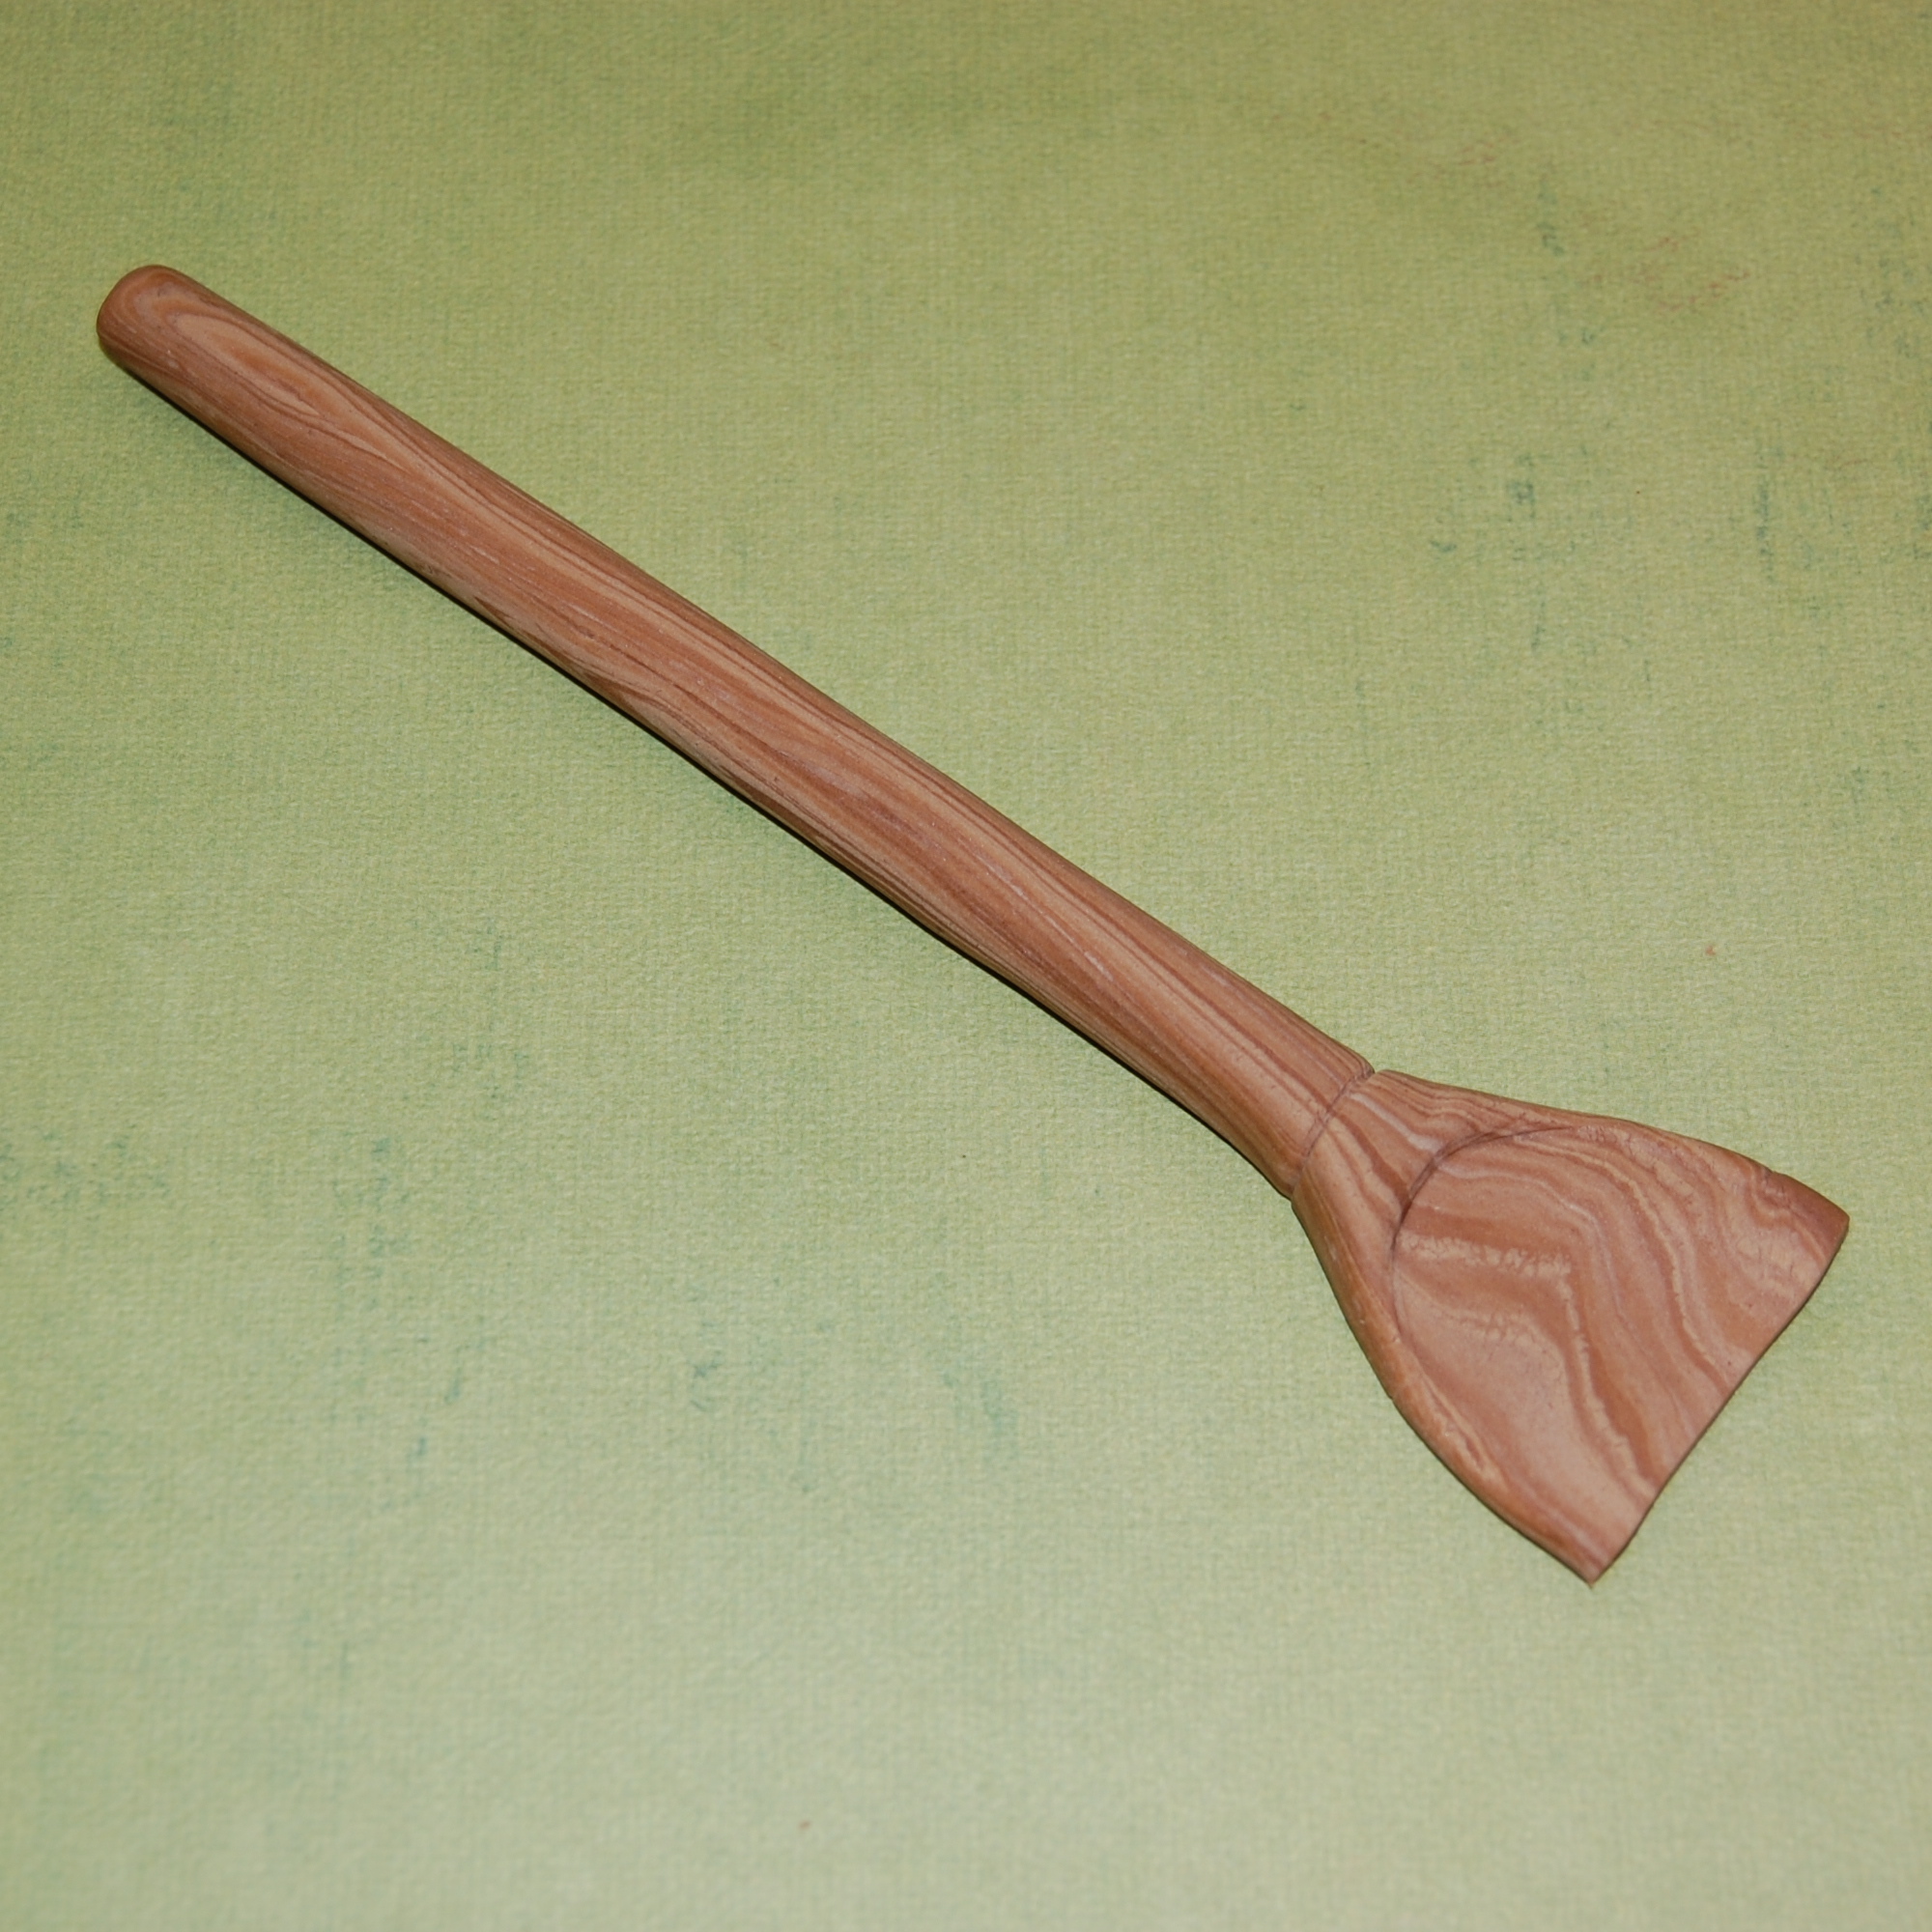
If you need a wood-grain effect to cover a large area, such as for floorboards, the sides of a wooden crate, or a violin veneer, the fondant can be rolled thinly.
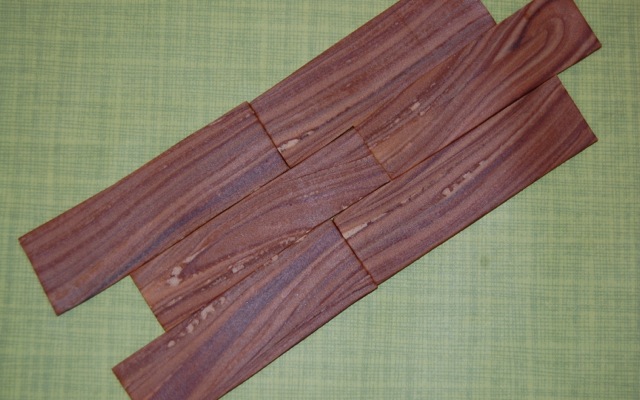
For a floorboard effect, “planks” can be cut, switched around, and fitted back together.
Make indentations with a small piping tip at the corners to mimic the look of nail holes in the wood.
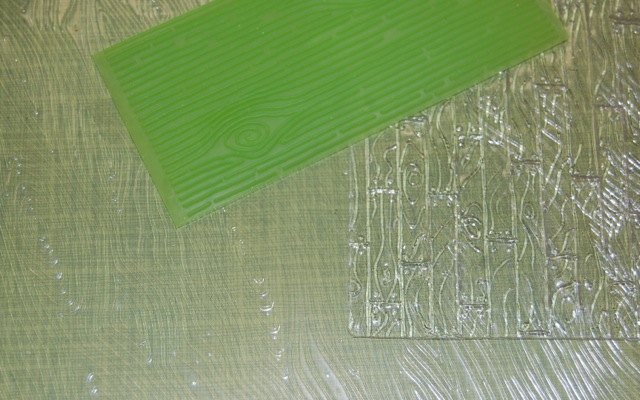
There are a number of wood-grain texture mats available that will further enhance the look of your fondant. The green one is by FMM and includes interesting whorls in the grain. The smaller transparent mat is by Duff, and gives a plank and nail effect. The bottom mat is very large, and is actually for adding texture to chocolates. All three are available online. If you don’t have an impression mat, you can add easily add your own texture using a boning tool or toothpick.
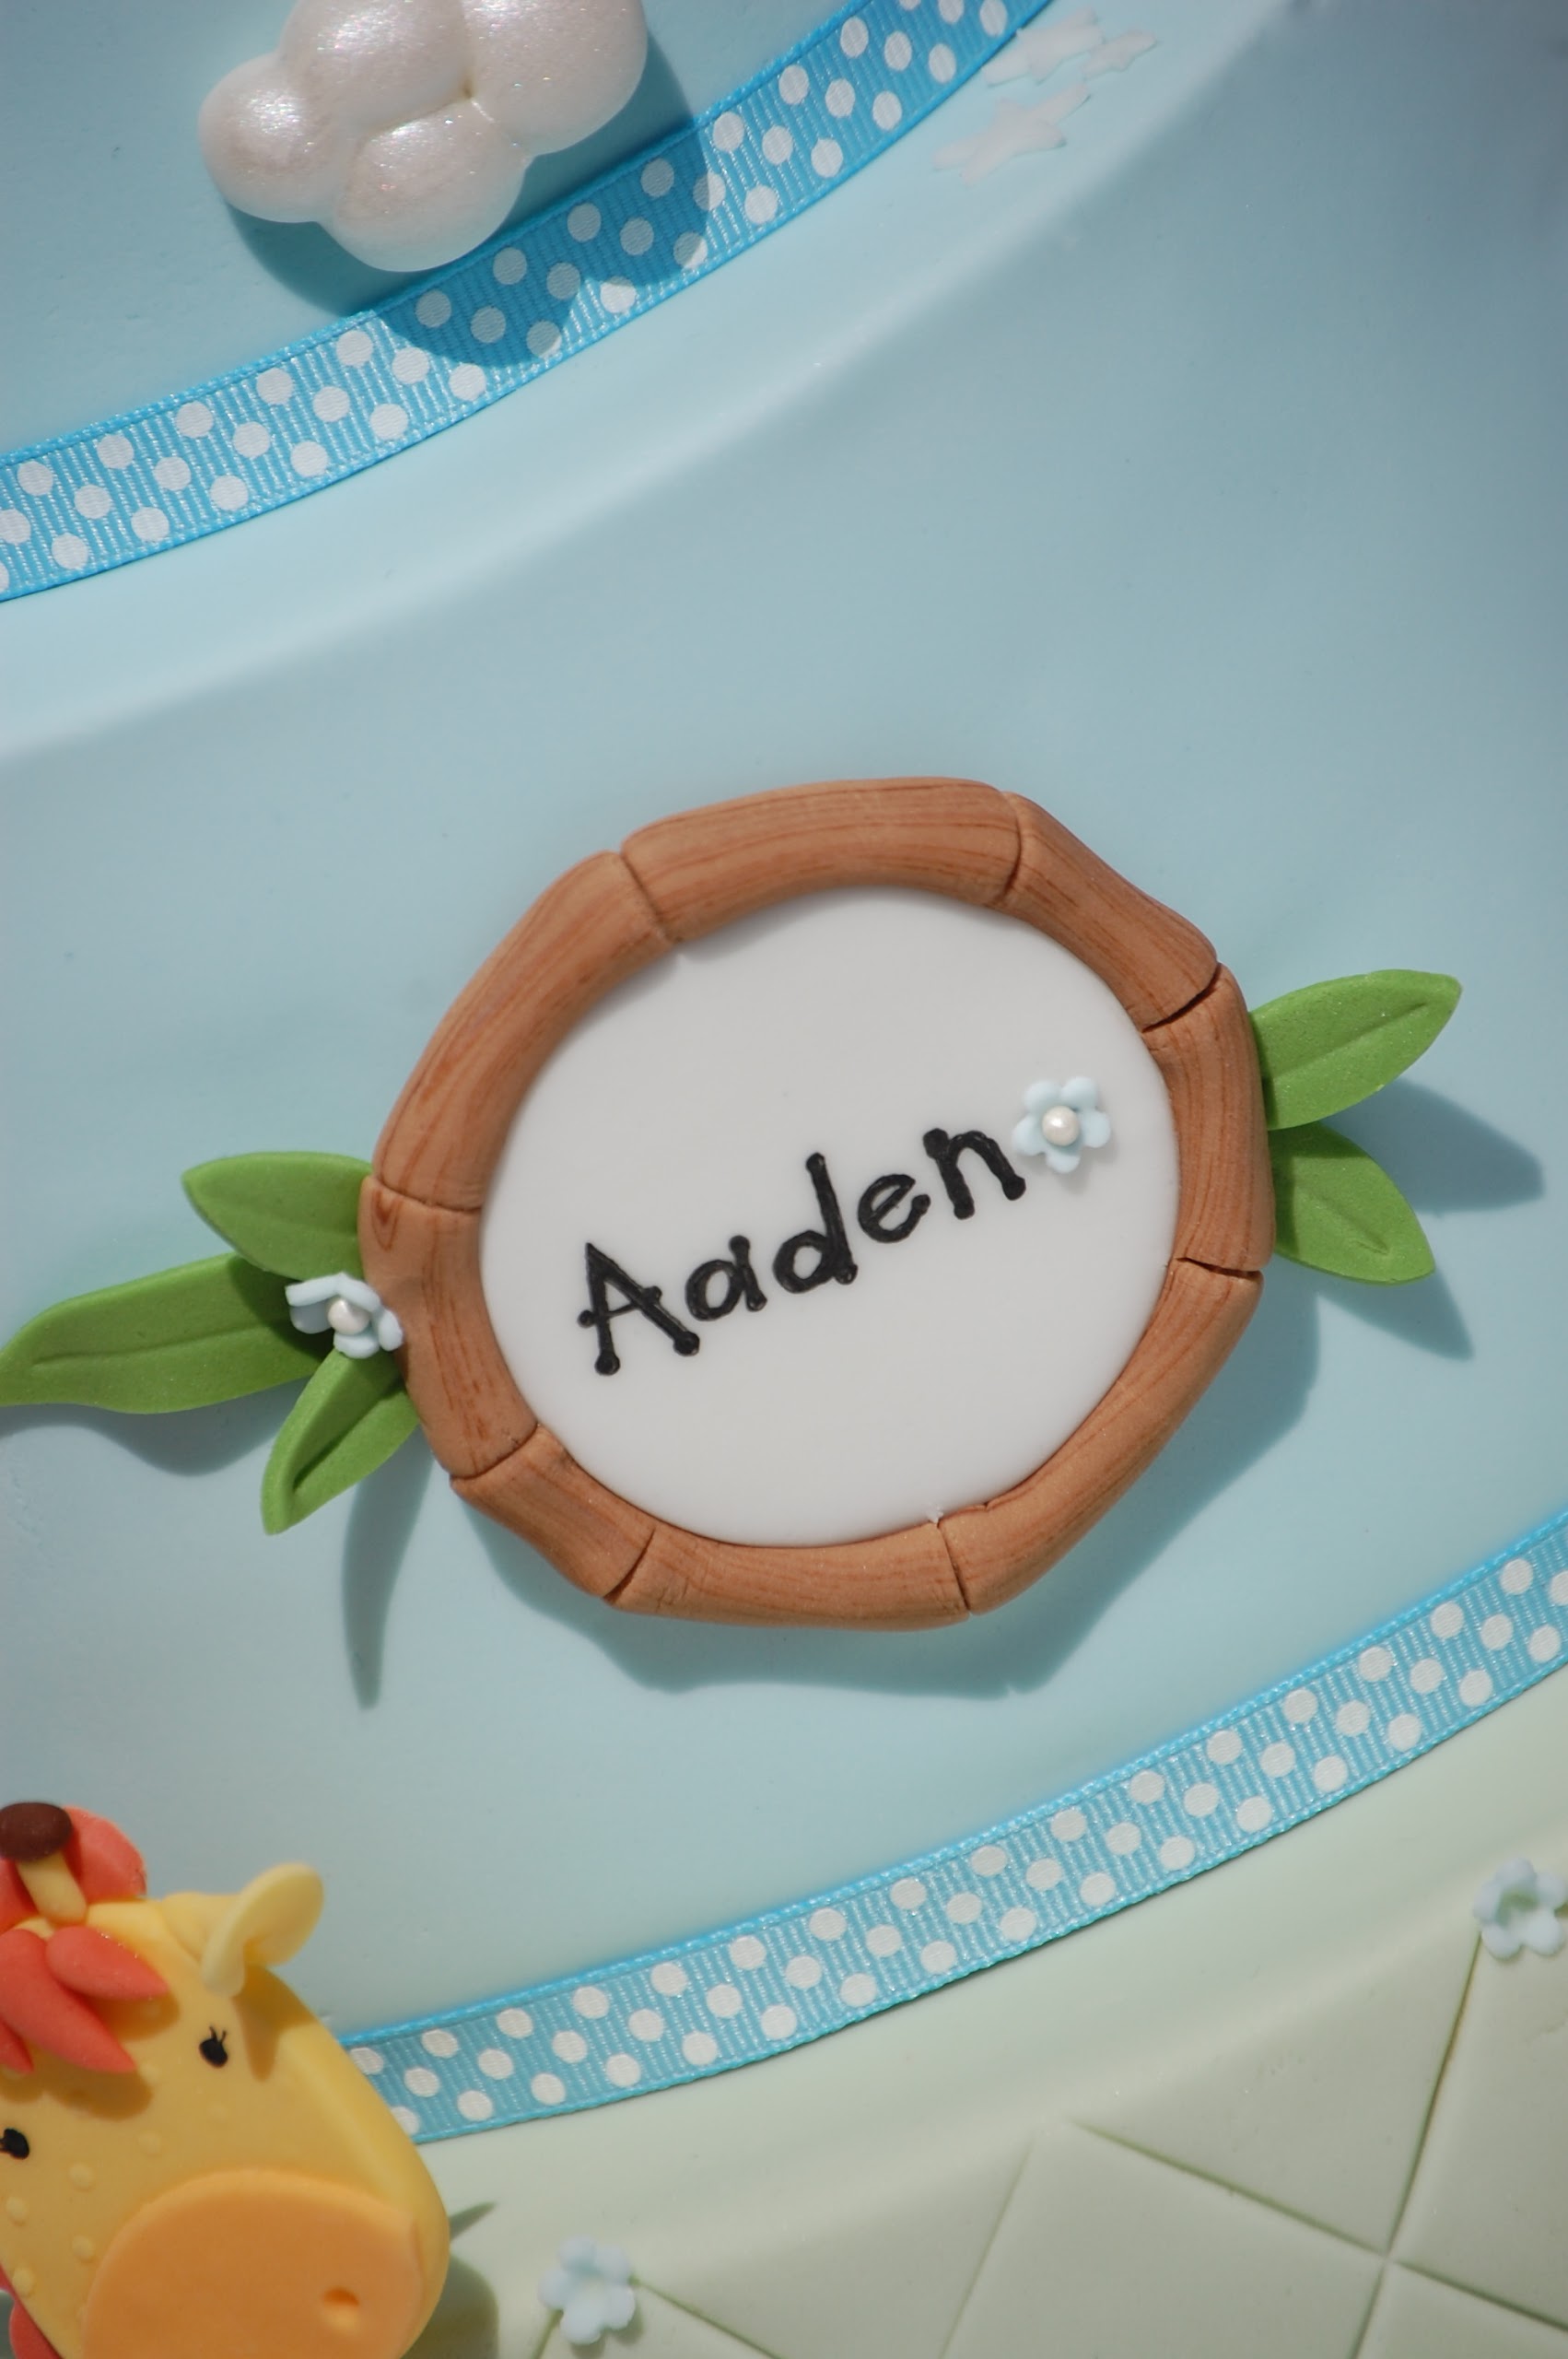
Photo via The Royal Bakery
This effect can also be used to create the striations found in sandstone and other rocks, giving you the perfect Grand Canyon backdrop for your next Disney Cars cake!
Want to learn more fun fondant techniques? Enroll in the Craftsy classes Basic Fondant Techniques with Elisa Strauss and Advanced Fondant Techniques with Marina Sousa.

Share tips, start a discussion or ask one of our experts or other students a question.
No Responses to “No Need to Knock on Wood with this Simple Tutorial”