
You found the perfect knitting pattern, went to your local yarn store, and picked up all the supplies you needed. Obviously, you’re itching to get started. But hold on there. Did you swatch to test your gauge before you started knitting? Keep reading to learn more about how to measure your gauge in knitting.
Swatching is right up there with finishing seams on my lazy knitter list. I hate doing it. I admit to making many projects without first swatching, but let me tell ya, those projects sometimes didn’t turn out the way they should’ve. That’s dangerous territory when it comes to knitted garments!
Not measuring stitch gauge can lead to sweaters that are too large, bags that are too tiny, and gloves you have to squeeze your fingers into. Ask me how I know.
What is knitting gauge?
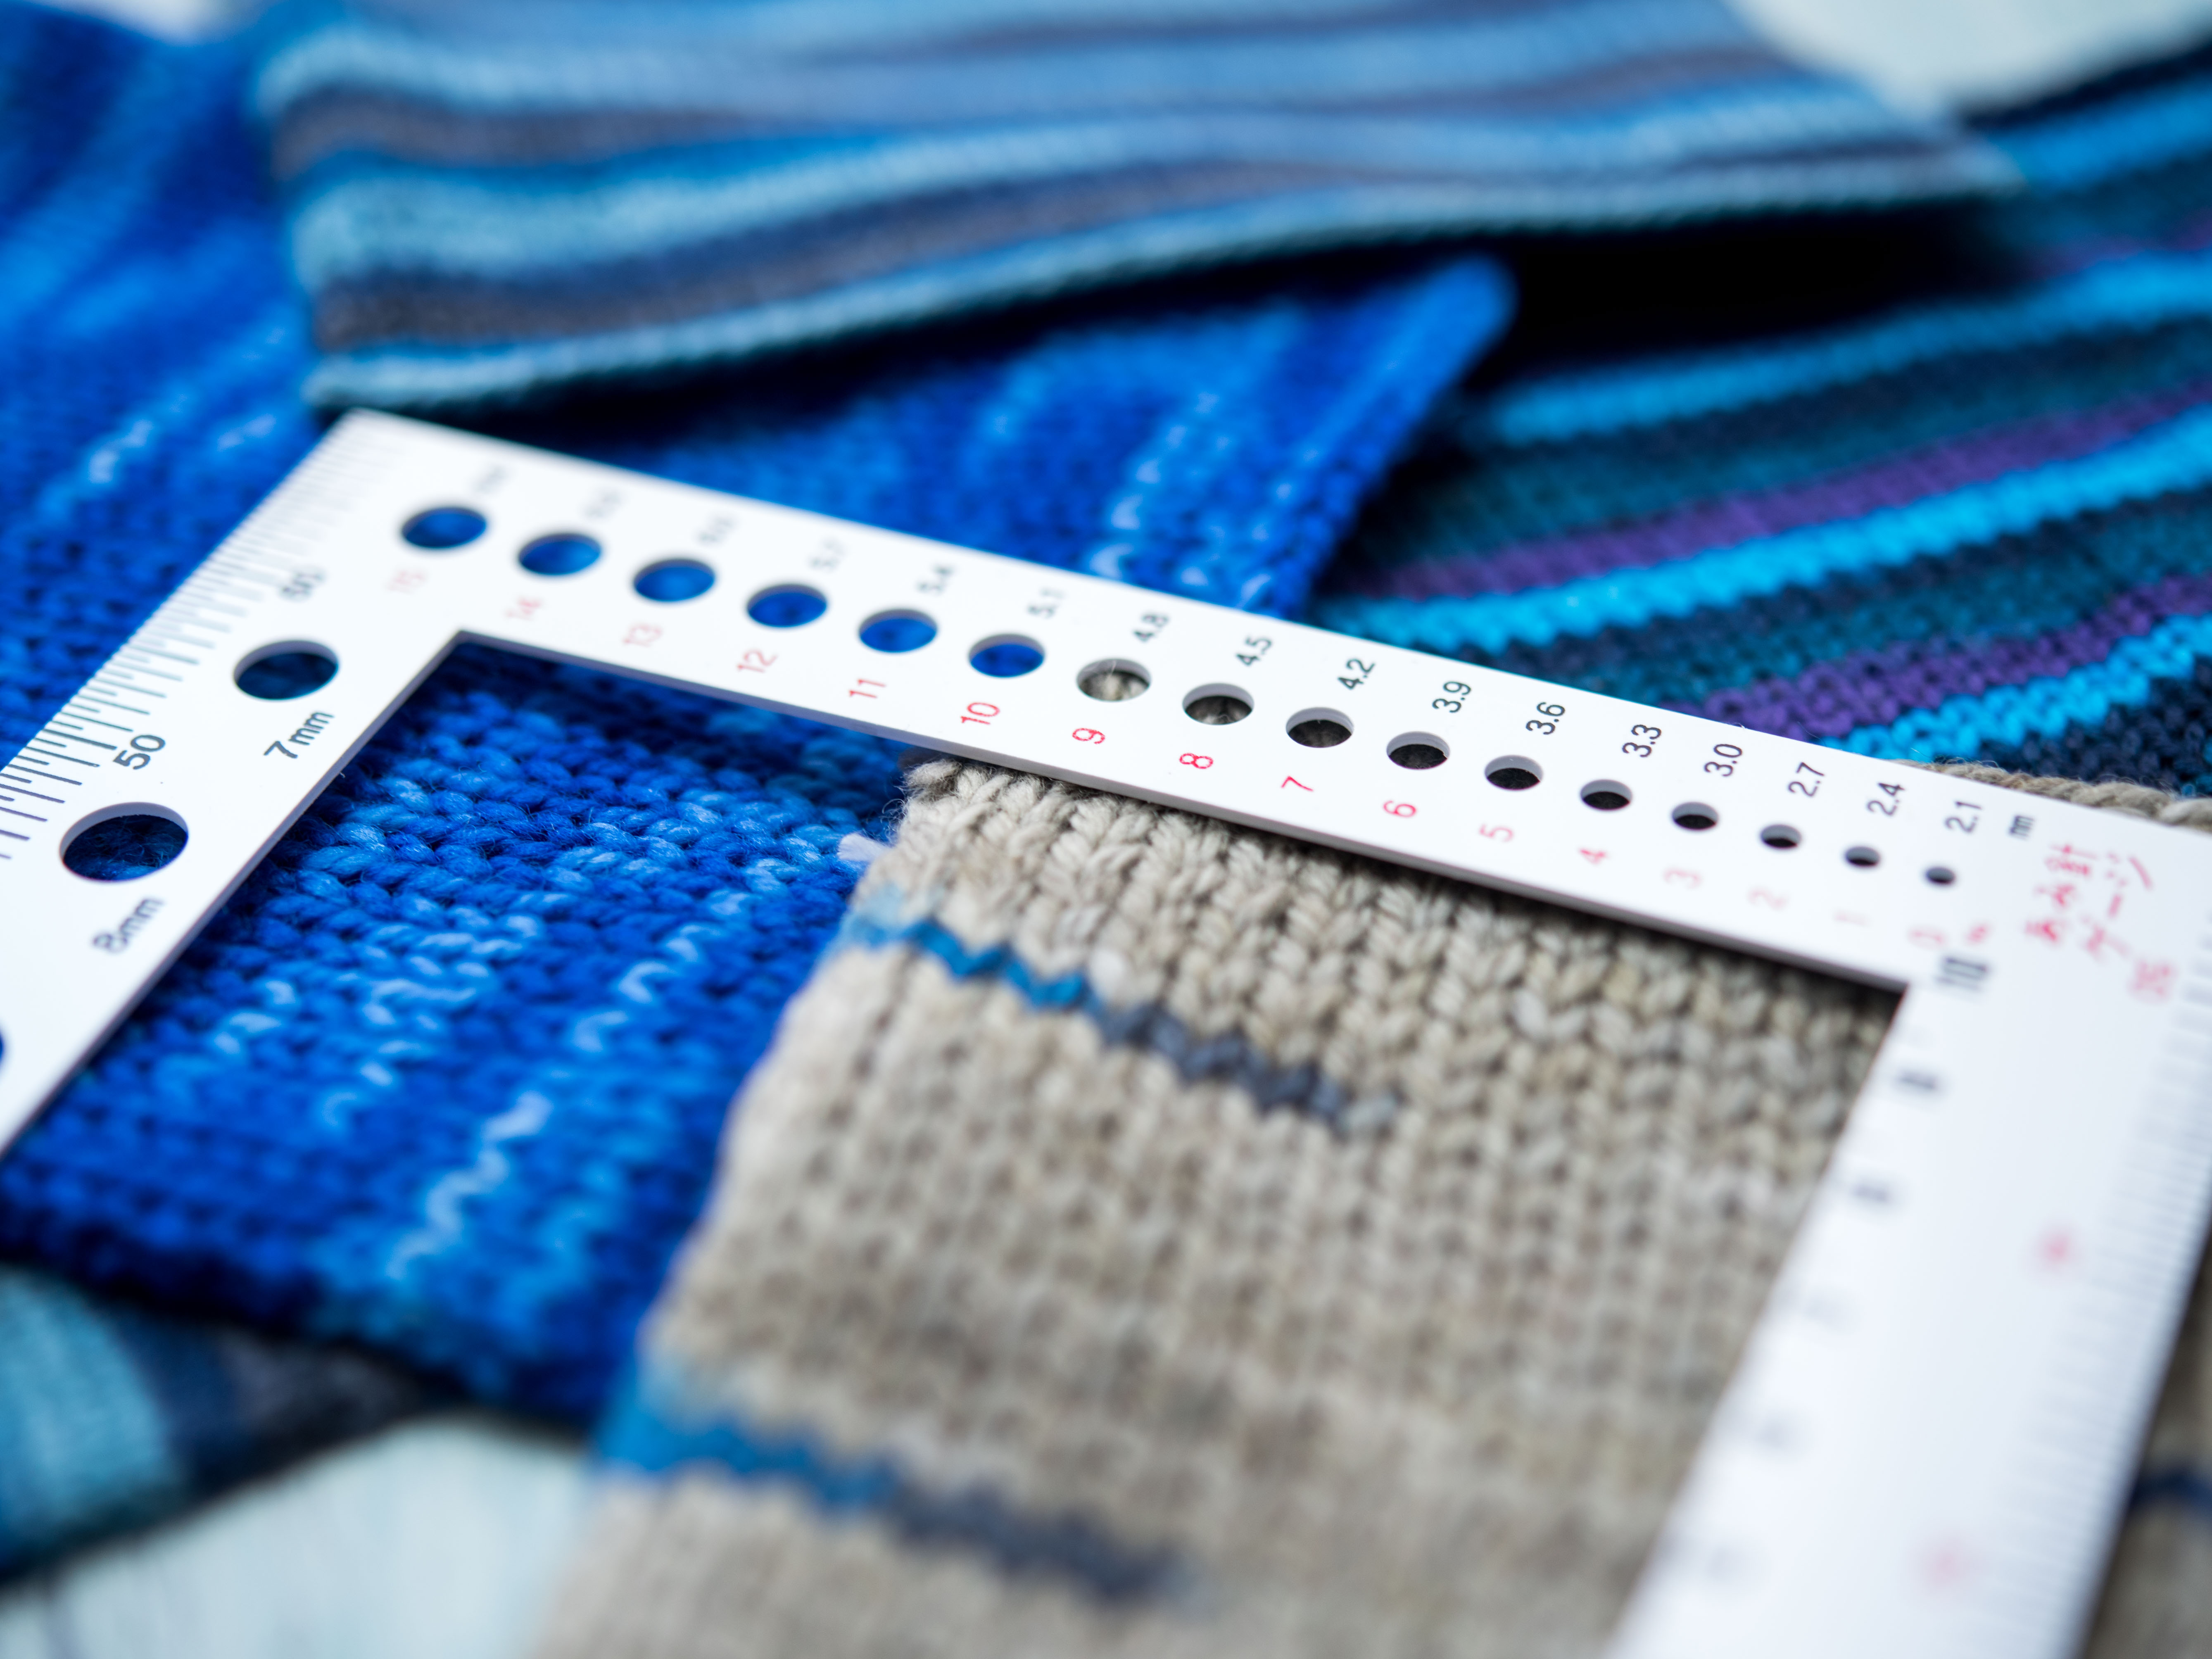
It is the number of stitches per inch you create on the horizontal, and number of rows per inch on the vertical. Most patterns will tell you the target gauge. You can determine gauge by knitting a small gauge swatch and measuring its dimensions.
Why swatch?
When you swatch, you’re measuring the gauge, or how many stitches you’re getting per inch with a certain size needles and yarn.
Every knitter is different.
You could give five knitters the same ball of yarn and the same size needles, and some of them would have 6 stitches per inch while others have 9 stitches per inch. It all depends on your tension. That means that five knitters could work the same sweater, and the sweater size would turn out differently for each person.
Let’s say you’re working on a sweater pattern with a gauge of 9 stitches and 12 rows = 4 inches with size 13 needles. Knitting is your escape from your terrible day job, so you tend to knit with a lot of tension. You don’t swatch, and you knit the sweater with a gauge of 7 stitches and 10 rows per 4 inches. It may seem insignificant, but losing 2 stitches for every 4 inches will start to add up as you knit, and when you finish you’ll have a sweater that’s clinging to your body like a leotard!
Sure, you could knit tighter or looser to meet the gauge. But you wouldn’t want to change the way you naturally knit just to satisfy gauge requirements. Swatch that baby and then alter it to figure out what size needles works best for how you knit.
You’ll learn about the yarn and fabric.
Swatches give you a chance to get familiar with your yarn. Along with gauge, you’ll discover how the yarn feels in your hands and if you enjoy knitting with it.
Knitted swatches will also reveal how the fabric behaves, like whether it’s very stiff or light and drapey, and then you can determine whether it is right for your project. A stiff fabric, for example, would be less desirable for a sweater meant to be loose and airy, but it might be useful for mittens and hats that you might like to be more “wind-proof.” You will also discover the quality of stitch definition in the finished fabric.
For practice!
How to swatch
If you’re working from a pattern, the pattern will specify the gauge for you. For example, it could say: 18 stitches and 22 rows = 4 inches with size 8 needles. It might also specify a stitch, like: 8 stitches and 10 rows = 4 inches over the Cable Pattern.
Follow the recommendations.
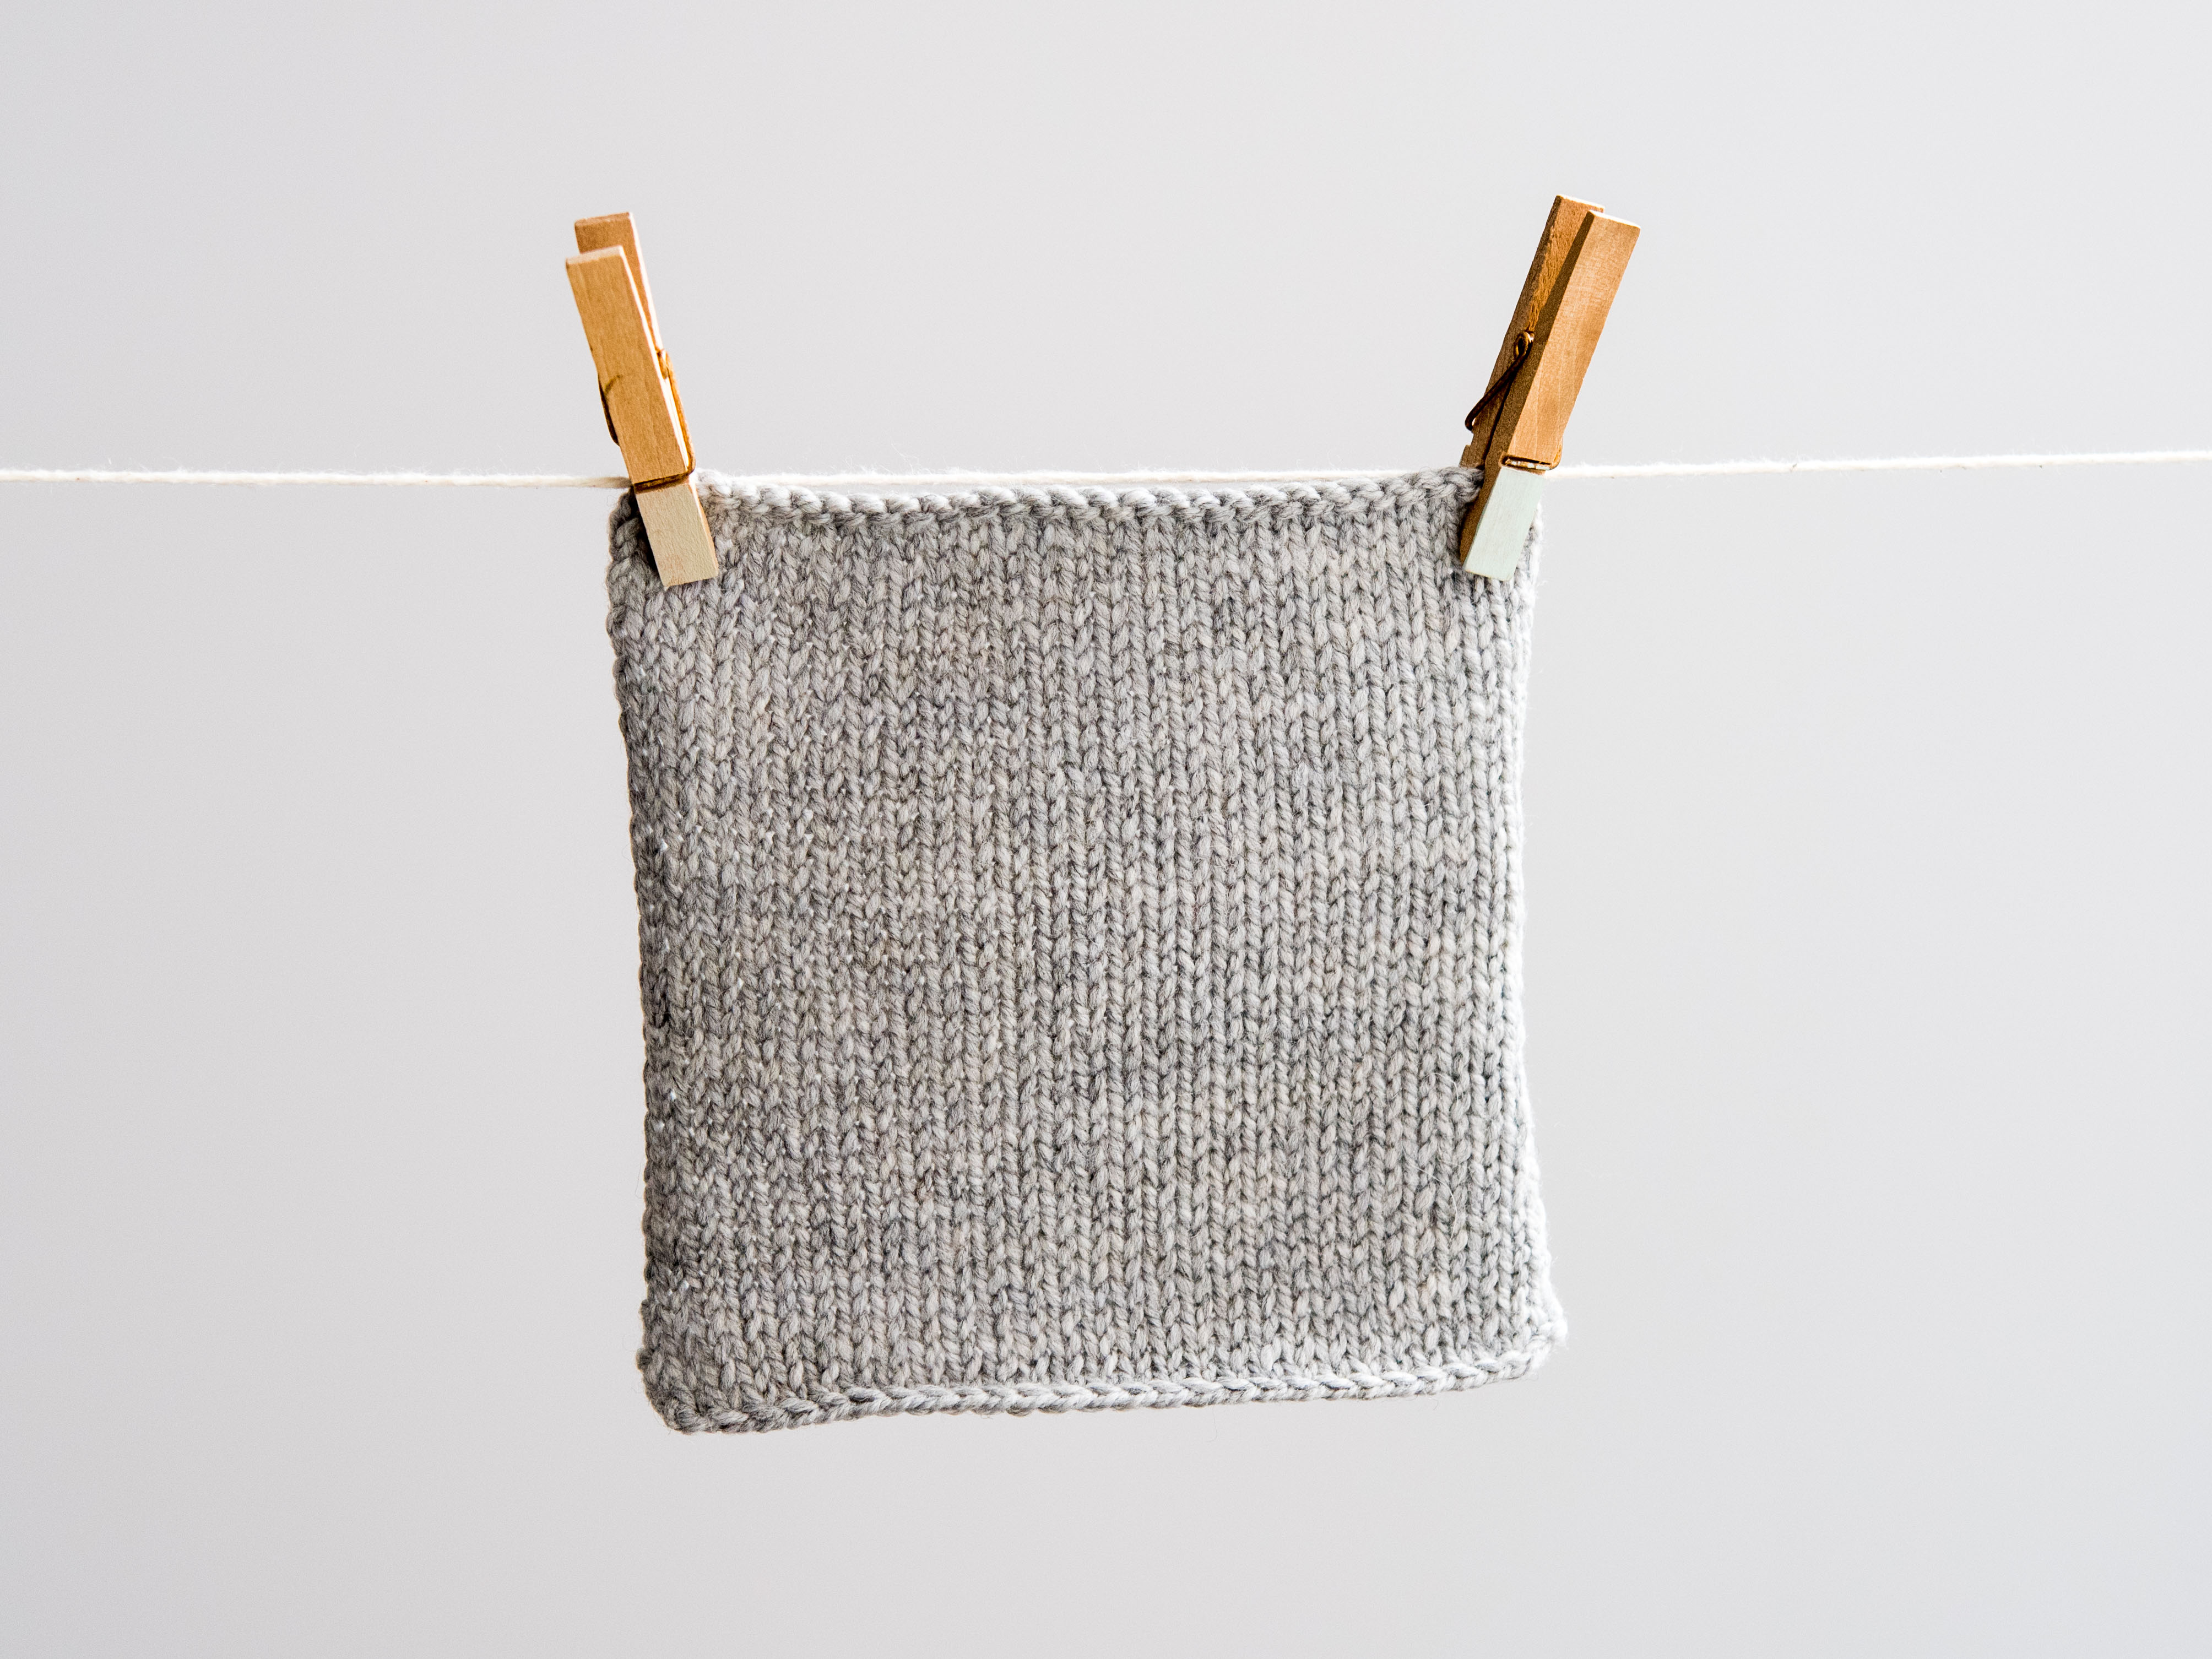
To get started, first use the recommended size needles to knit a square. Don’t just cast on the number of stitches your gauge lists. For example, if your gauge is 9 stitches per 4 inches, don’t just cast on 9 stitches and call it a day. I like to knit extra stitches so that I can take a measurement from the center of my square and get a more accurate count — especially when I’m swatching in stockinette stitch and the edges are rolling up. The same applies to the rows. If your gauge is for 22 rows, knit a dozen extra rows.
Knit the swatch in the stitch the gauge specifies. For example, if the gauge is over stockinette stitch, knit a swatch in stockinette stitch. Sometimes it might be a little more complicated, like a cable pattern or other special stitch. Take this time to not only swatch, but also familiarize yourself with the special stitch so that when you knit the actual project, you’ll know exactly what you’re doing.
Finish the swatch as you’ll finish the project.
After you swatch, bind off. It’s important that your swatch be measured off the needles. Keeping it on the needles can stretch it or bunch it up in places, throwing off the measurement.
If you plan to block your knitting when you’ve finished the project, you should also block your swatch. You might also want to wash it. Otherwise, your measurements could be totally off. You might want to master these finishing techniques first.
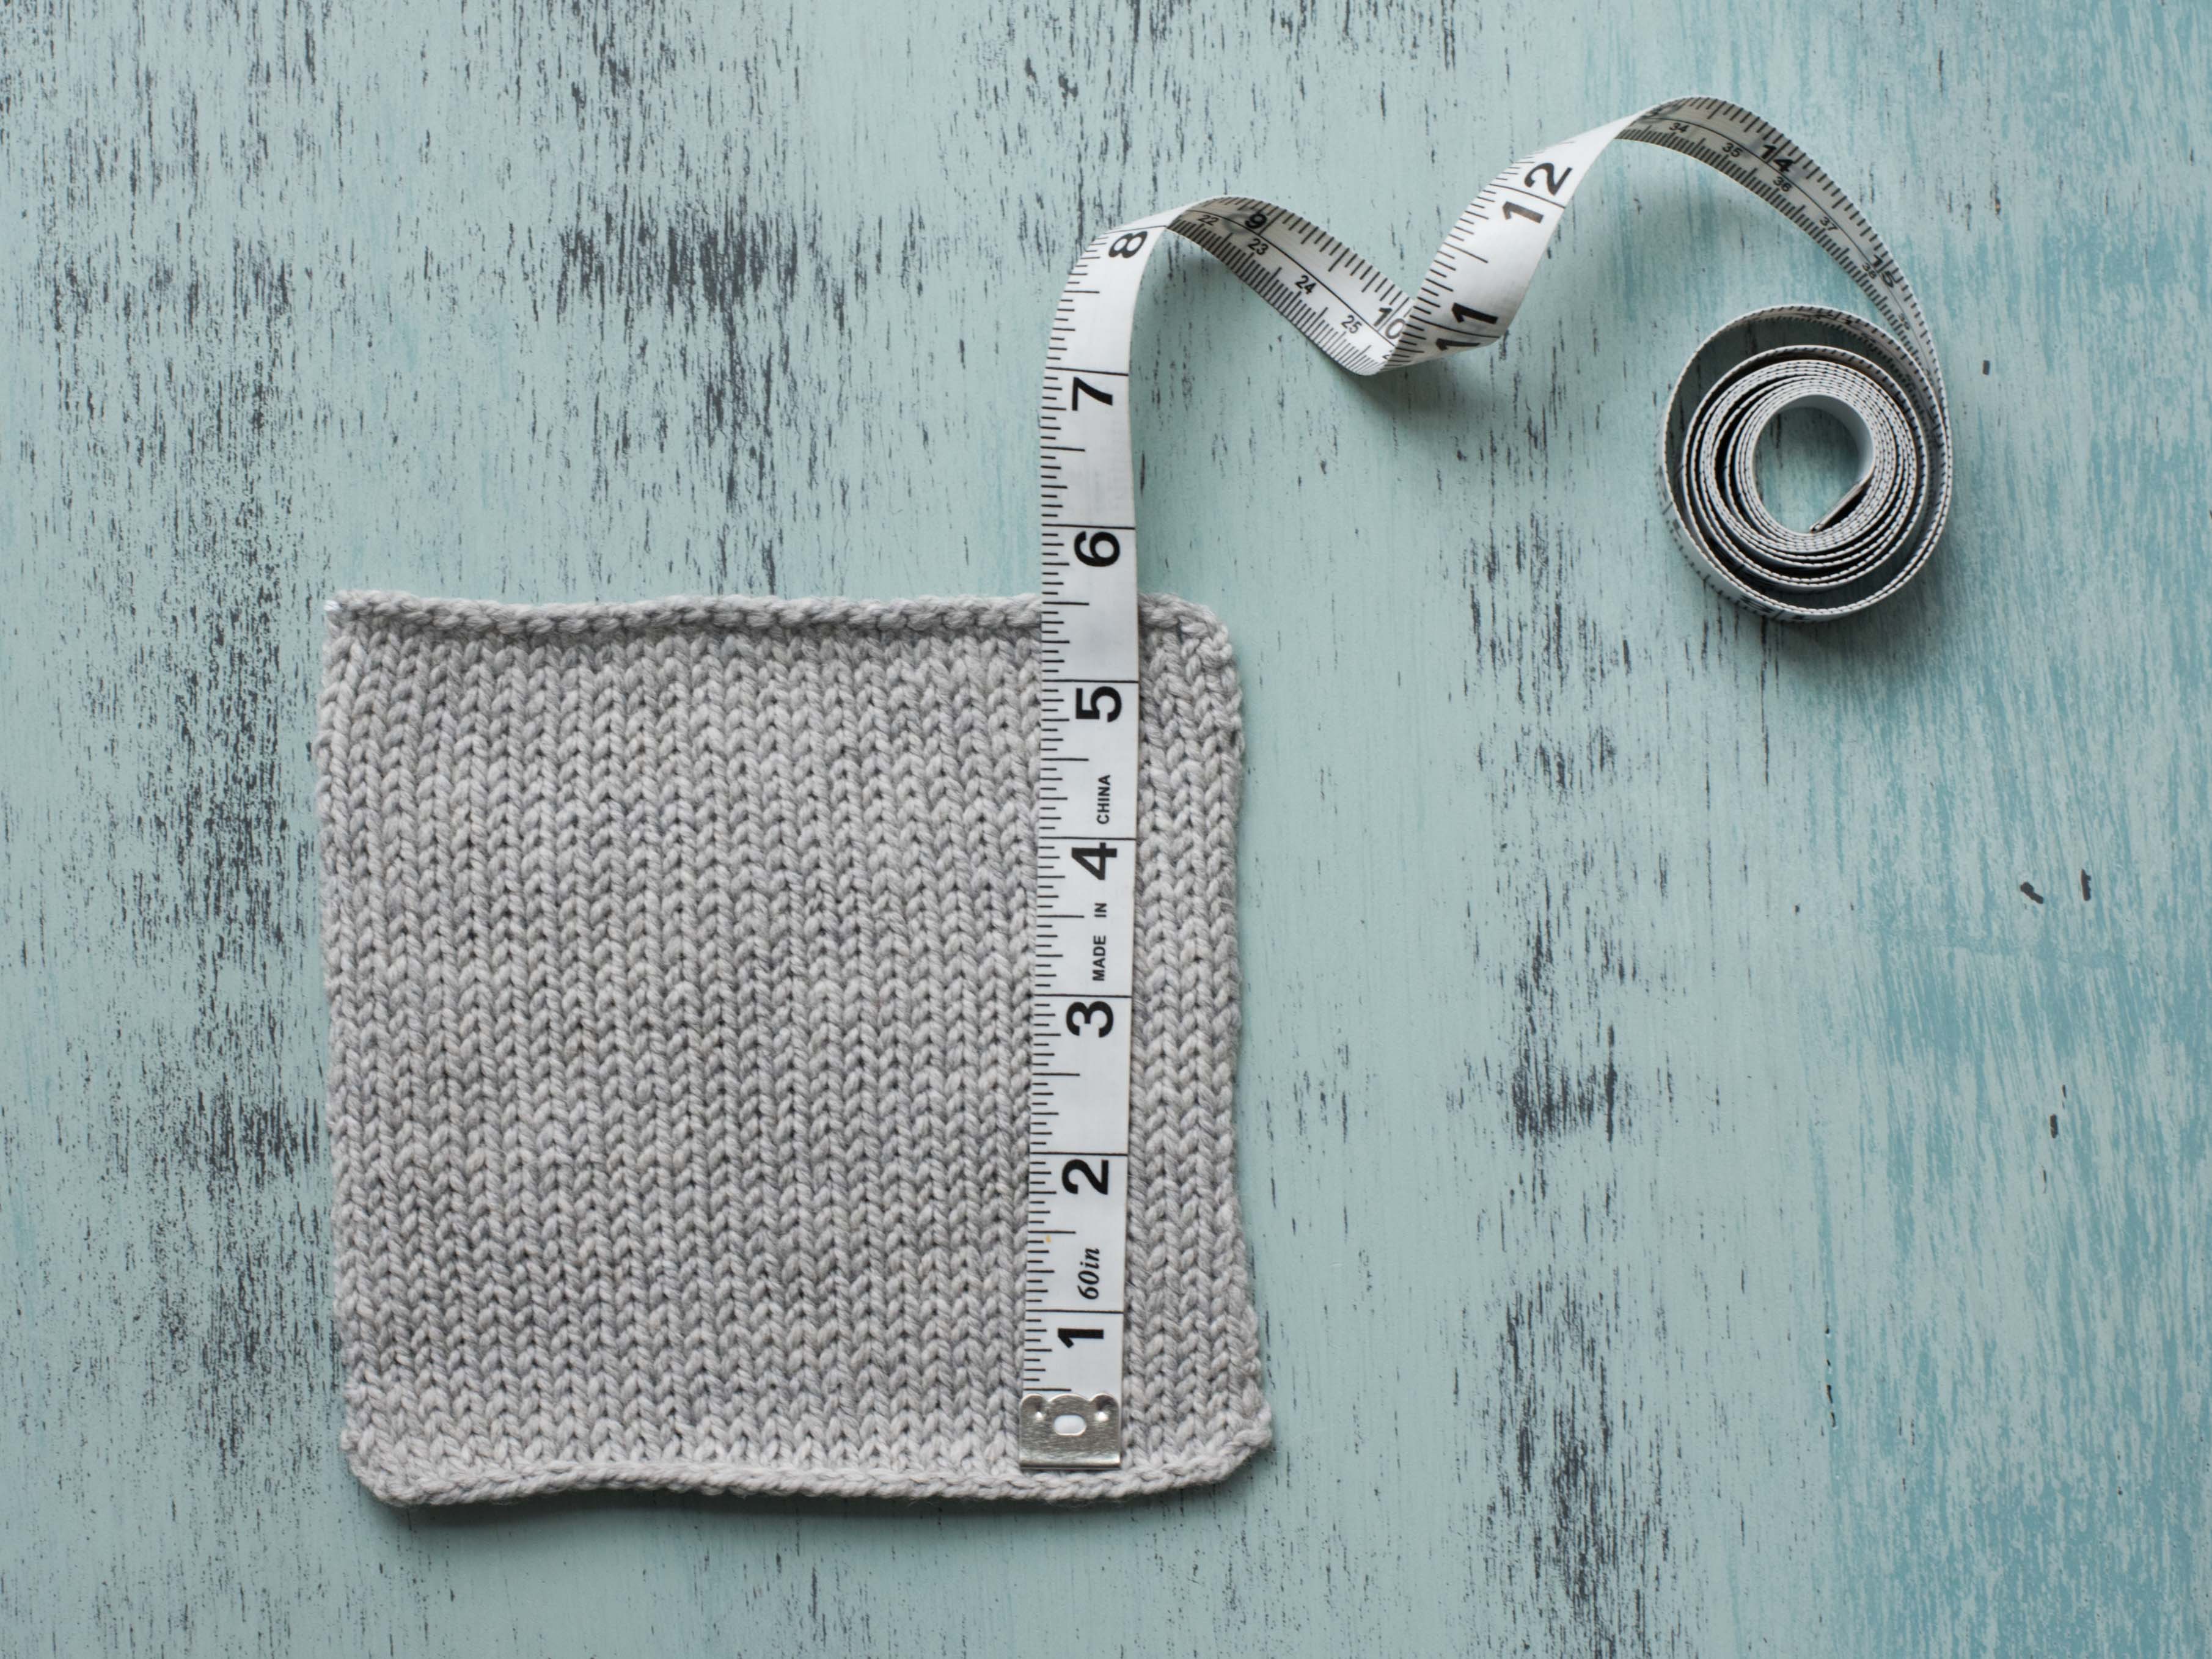
Measure gauge in the center.
Grab a measuring tape or ruler. Measure somewhere in the center of the square to get the most accurate measurement possible.

Just as you measure stitches across, you need to measure rows up and down. Both stitches and rows are part of gauge. My result was 9 rows in 4 inches.
If your measurements were perfect and met the gauge requirements, it’s time to start the project.
Getting gauge
But what if your gauge was wrong?
Let’s say you were aiming for 9 stitches per inch, but instead you knitted 6 inches per stitch. That means your knitting is a bit looser than the designer’s knitting, so knit another swatch using a smaller needle to tighten up the stitches. Bind off and measure again.
If you have the opposite problem — say you were aiming for 9 stitches per inch and instead had 13 stitches per inch — then you need to go up a needle size to try and make the knitting looser.
Keep swatching and changing your needle size until you’ve reached the correct gauge. You will use those winning needles to knit the entire project.
If changing needle size doesn’t correct your problem, or if your gauge is way off, it may be that the yarn you’ve selected just isn’t right for the project.
But if you want to use that yarn, you can turn to adjusting the pattern. Look carefully through to determine what number of multiples you need to subtract or add. If the body of your pattern is a five stitch repeat, for example, either add or subtract five stitches.
Measuring gauge for garment swatches
Here’s a useful gauge tip: When you wear a garment, it hangs vertically off your body. So why not measure your swatch based on that? Measuring flat works fine for something like a throw or gloves. But for sweaters and other garments, pin the swatch to a wall or cork board and let gravity take hold, just as it would when you’re wearing the garment. Measures and alter your swatch based on that measurement.
And once you’ve knitted that swatch, don’t rip it out. Save it so you can test how your garment will wash up. If your yarn is washable, throw that swatch into the washing machine and see how it turns out. Did it pill? Did it fade? Better to find out on a little swatch than on your gorgeous new sweater!
If my swatch, done on the larger of two required needle sizes, indicates that I need to go down a size do I also go down a size on the smaller needle?
I have correct stitches in swatch but not number of rows- 4 too many,how can I correct this
I read your article about gauging, but how do you determine the gauge with a lace project? It's easy with a regular stockinette stitch, but with lace you don't have an equal number of stitches where the yarn overs lie.