
Rendering water, in any form, is a difficult skill to master. Waterfalls are no exception. But you can learn to create these beautiful, cascading streams. I’m going to show you how to use mixed media for a wonderful waterfall work in a fun, illustrative style!
Follow along with this tutorial to paint a set of waterfalls with mixed media, using graphite pencil, ink pen and watercolors.

How to paint a waterfall using mixed media
Supplies you will need:
- Sketching paper
- Watercolor paper
- Masking fluid (optional)
- Graphite pencil and eraser
- Watercolor paint and brushes
- Ink Pen
Step 1:
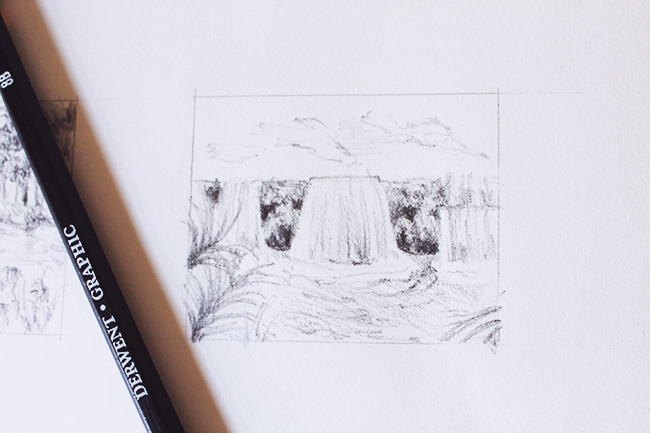
First lets create a quick value and composition study of our mixed media painting on sketching paper. A simple thumbnail sketch is perfect to get your idea on paper and put together all of the elements of the painting.
Step 2:
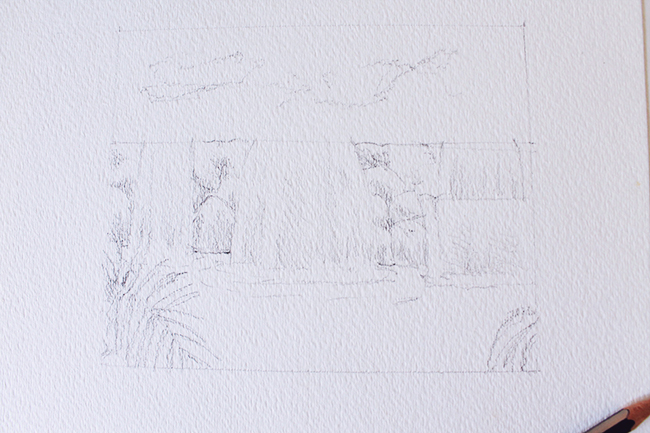
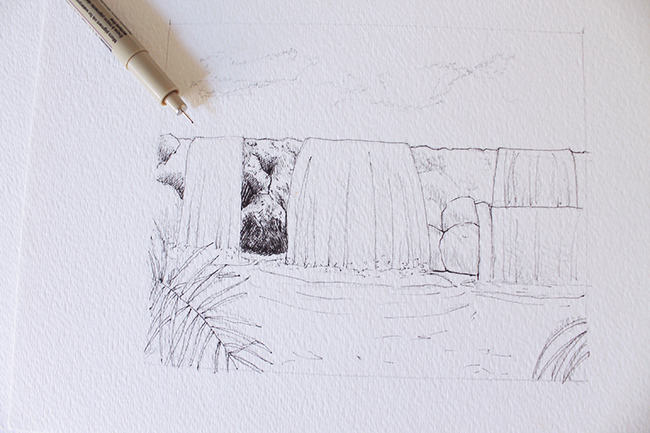
Once you finish sketching the thumbnail, we can move onto our watercolor paper for drawing the basic sketch of the painting. Block out the waterfall areas as well as the rocks in between, the peeking palm leaves and the clouds.
Step 3:
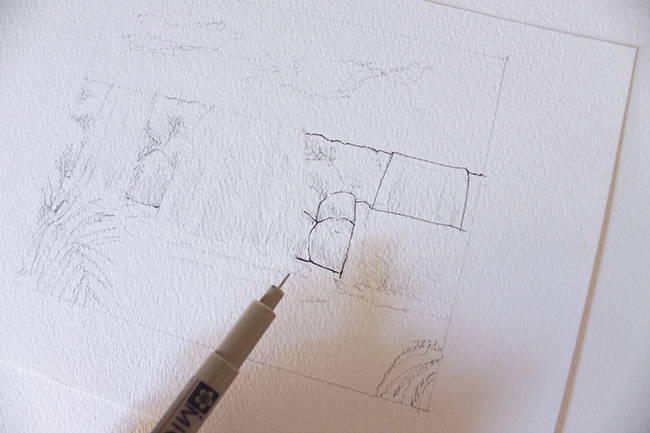
Now, with your ink pen, begin to draw the contour lines over the pencil sketch.
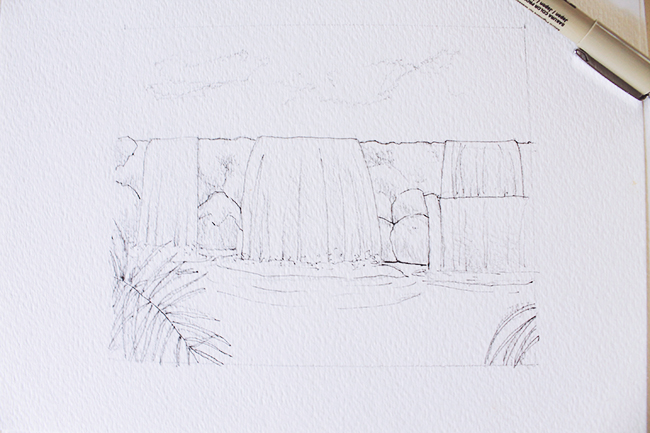
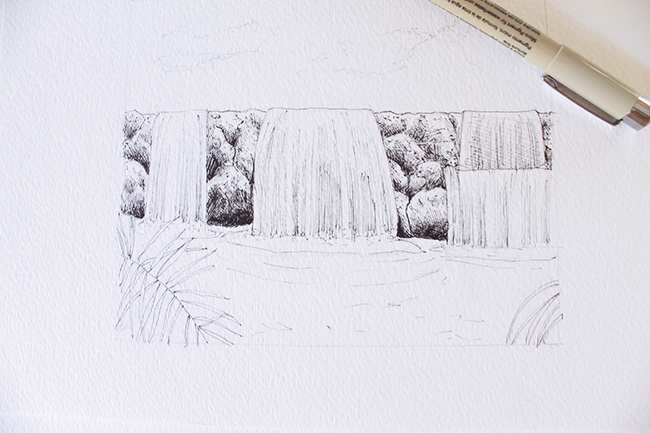
Step 4:
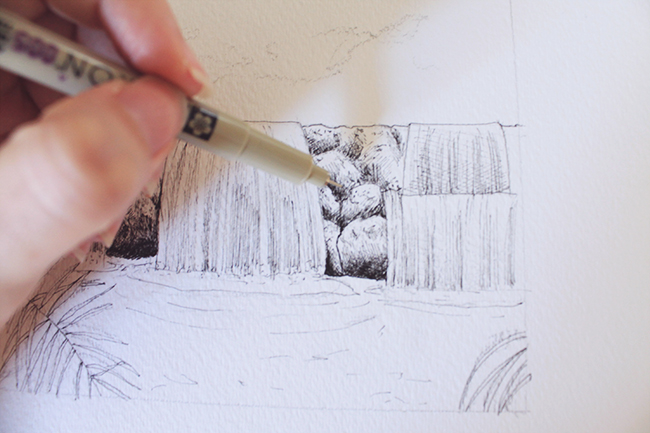
Using dots and lines begin to shade the darker areas and shadows of the painting. Use cross hatching in the darkest shadows over the rocks. Use straight vertical lines over the waterfalls to represent fluid movement. Draw small dots right where the waterfall meets the foam to represent crashing water.
Step 5:
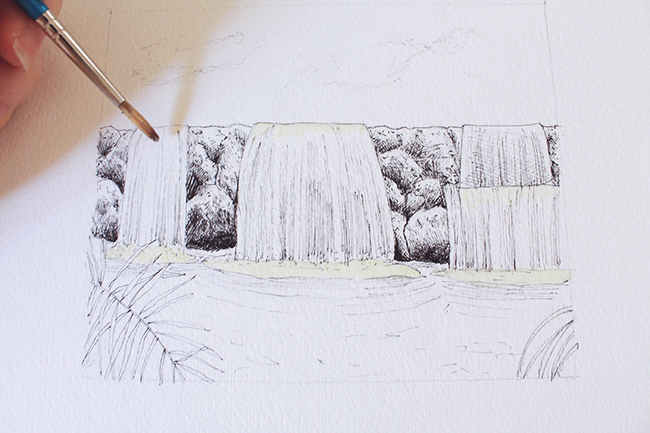
Before we begin to paint with our watercolors, use masking fluid to cover up the white areas of the painting: The top of the waterfalls and the foam at the bottom.
Step 6:
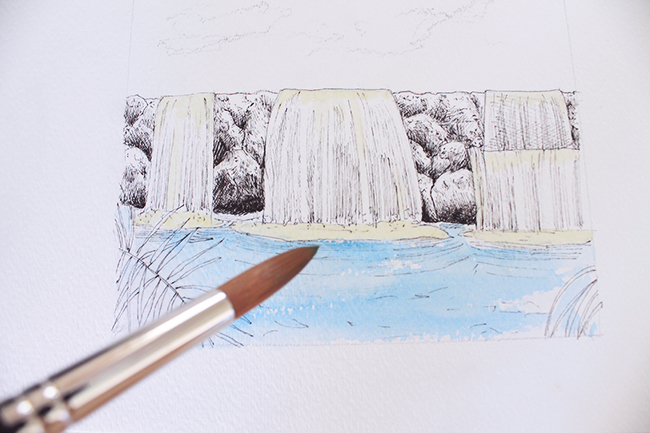
Using a big round brush lay a translucent layer of blue watercolor all over the water area of your painting. Take advantage of the paper’s texture, and use it to create white areas in the water representing foam.
Step 7:
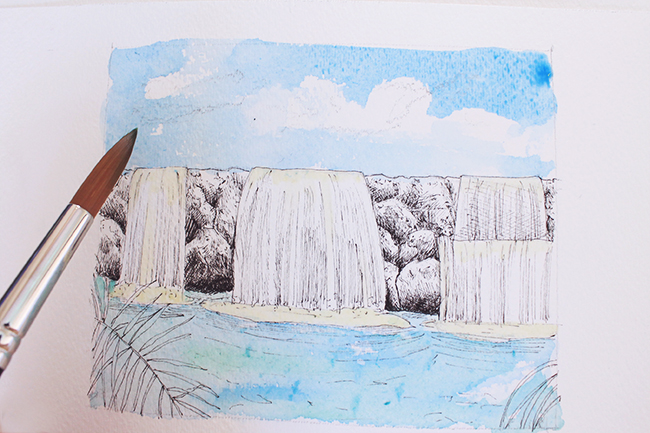
Repeat the same painting technique for the sky, making sure you paint around the clouds.
Step 8:
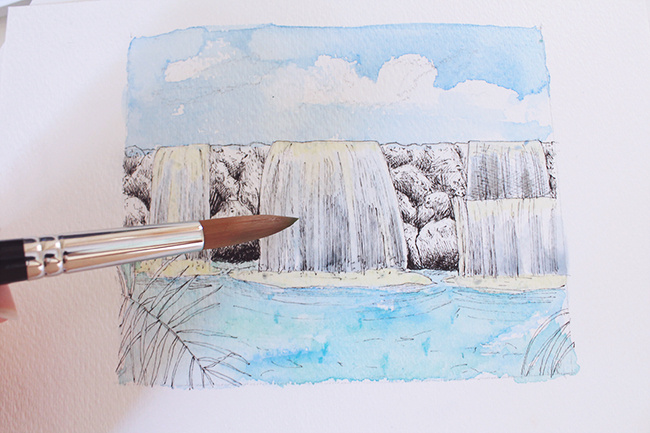
Using a watered down grayish blue, paint the waterfalls leaving some lighter areas unpainted. Wait for the first layer to dry and then paint over some of these sections again to intensify the color a little.
Step 9:
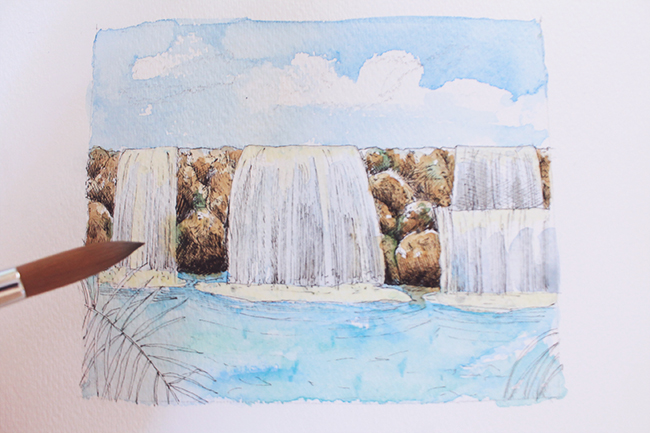
While you wait for the previous layer to dry, mix a bright ochre brown color to paint the rocks. Incorporate some mossy green over the rocks while this layer is still wet.
Step 10:
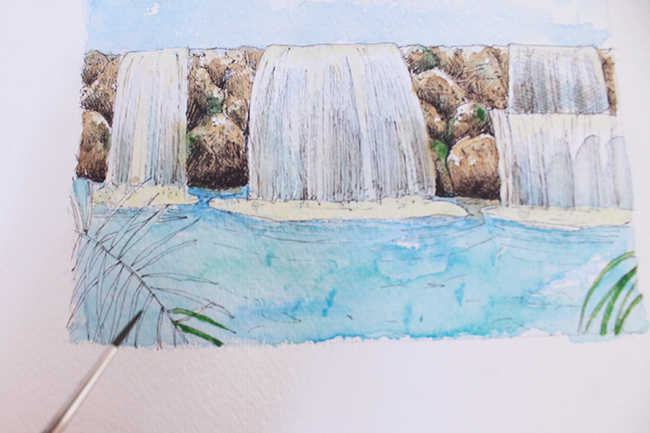
For this step make sure the water section of the painting is completely dry. Using a line brush paint the palm leaves.
Step 11:
We are almost done. The final step is simply rubbing off the masking fluid we applied on step 5. As always, remember to make sure that the whole painting is dry before you attempt to remove the mask.
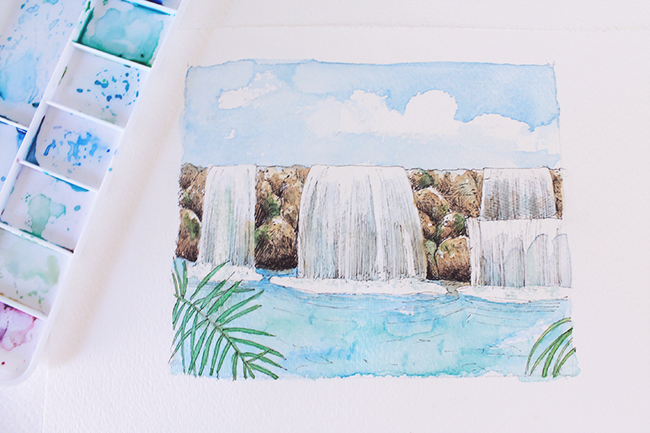
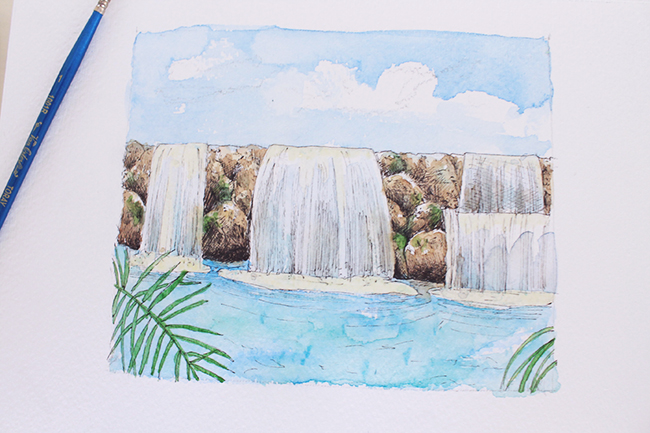
There you have it! A lovely completed waterfall illustration!
Show us what you’re working on!
Share photos of your finished artwork, get inspired by what other artists are working on and connect with the Craftsy drawing community by exploring our Drawing Projects Gallery!
Share tips, start a discussion or ask one of our experts or other students a question.
No Responses to “Paint a Mixed Media Waterfall With This Fun Step-By-Step Tutorial”