
Today we will look at two different approaches we can take when painting tree branches. The one you chose will depend on the type of painting or study you are creating and what you want your subject to look like. Your personal preferences will determine the method that will be most suitable for your needs.
The two approaches we will focus on for how to paint tree branches are suggestive and detailed.
Suggestive approach
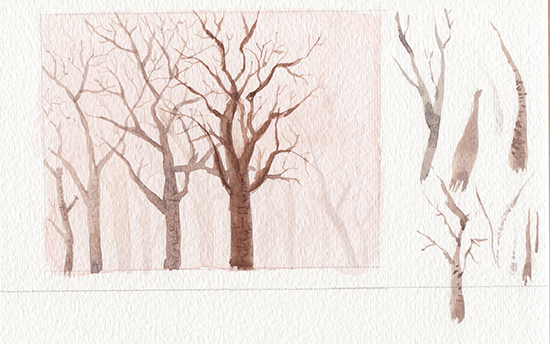
The suggestive approach consists of using just one color, in this case brown and, using the tip of your brush, creating small, thin lines to create the silhouette of trees and suggesting the shape of branches.
Best for:
This quick and simple method is best suited for big landscape paintings featuring bare trees, mostly at a distance, or quick plein air studies.
Technique applied:
Wet on dry. It is very important to use a wet on dry technique to maintain crisp strokes when panting the branches.
How to:
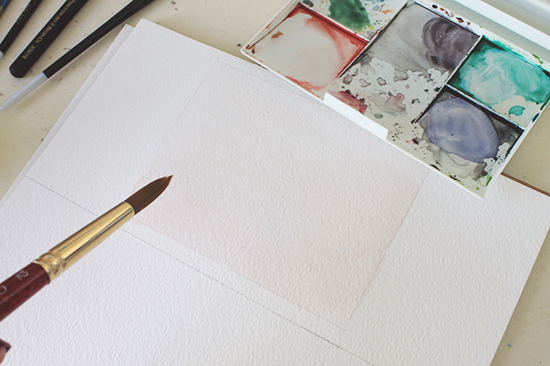
First paint the background however you wish. It can be a simple monotone light wash over your paper to simulate something like the sky or a distant mountain. The less detail you add at this point, the better because the simplicity of the background will let the trees and branches stand out.
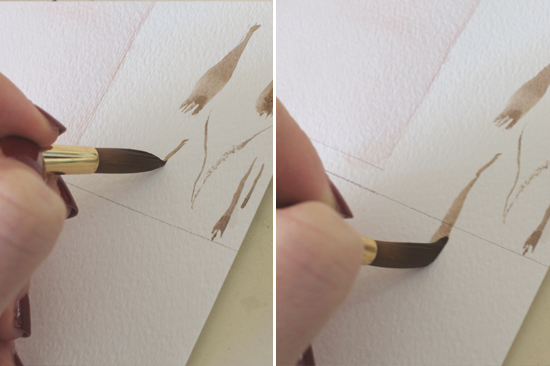
Mix a brown color and begin to paint strokes that resemble the lines of a tree trunk and branches. Use the tip of your brush to paint the thinest branches and press down on it as your stroke heads down to make it thicker, especially when painting trunks.
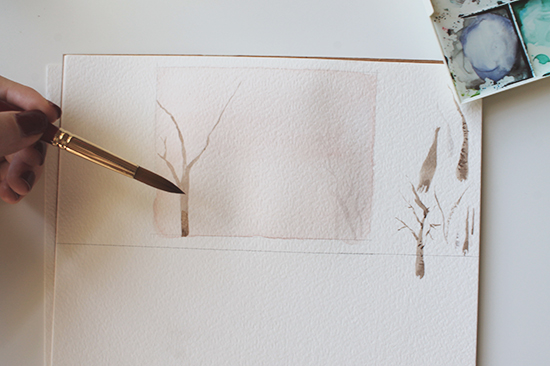
Don’t use rigid, straight lines when painting the branches. They are usually angled and crooked naturally. Follow those natural angles to add movement and interest to the subject. Paint the branches that are closest to the foreground dark, and paint them lighter and lighter as they go deeper into the background.
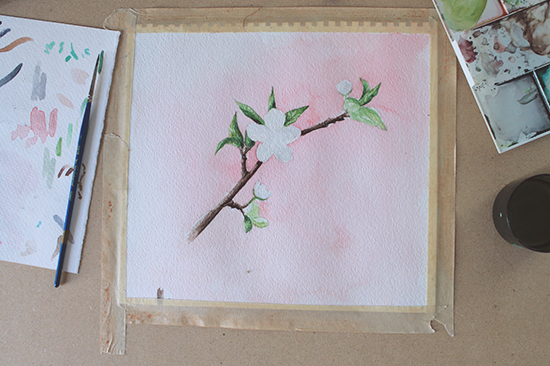
Detailed approach
Best for:
This is a more time-consuming approach that is best suited for detailed paintings or botanical illustrations.
Technique applied:
Wet on wet and wet on dry. The combination of these two techniques allows us to paint general lights and shadows as well as sharper details and indentations on the branches.
How to:
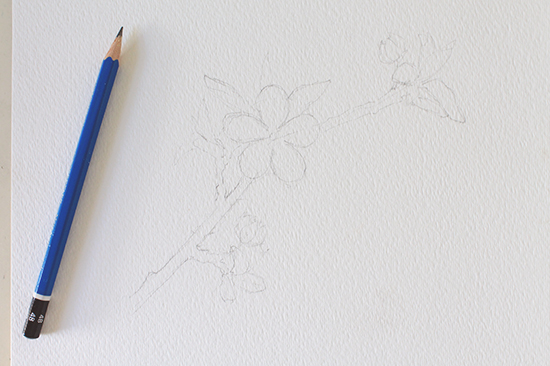
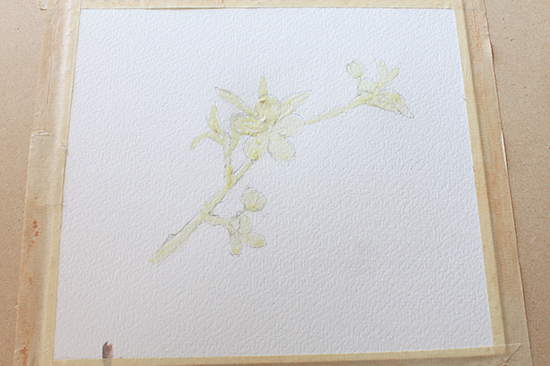
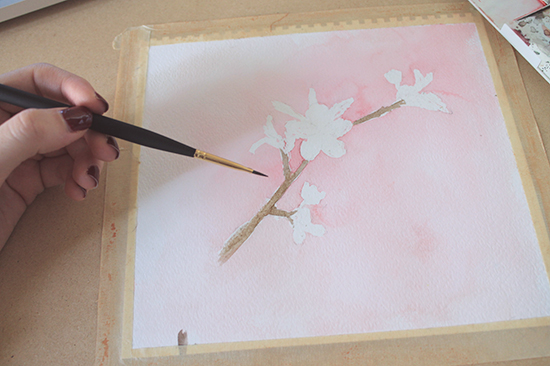
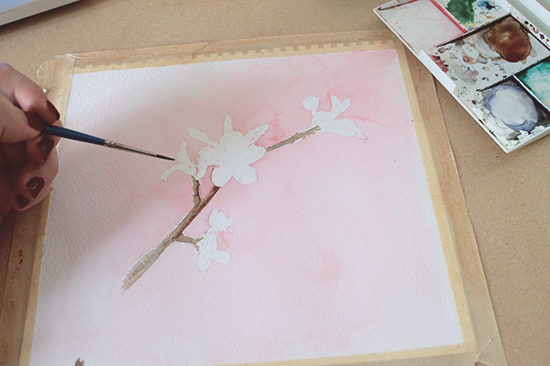
Draw the basic shapes of the branches with pencil and mask the branches with masking fluid in order to paint the background over it, allowing the masking fluid to protects the areas we don’t want to get paint on.
Let the background dry completely, and remove the dry masking fluid by peeling it off gently.
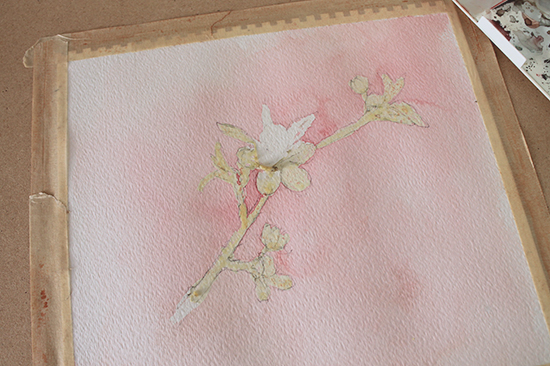
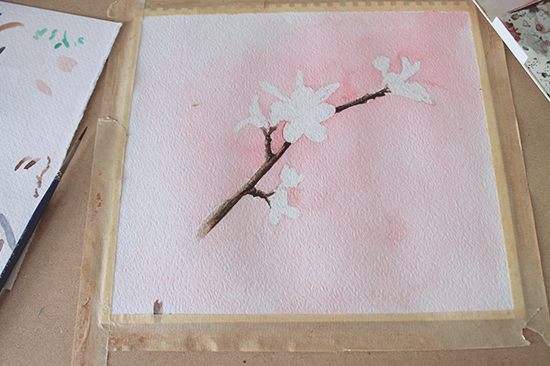
Wet the branches with a clean brush and clean water. Mix a light brown color and apply it over the branches wet on wet.
Once that layer is completely dry, mix a dark brown and apply it to the darkest areas of the branches with the tip of the brush. Apply this color with light strokes for fine detail.
Keep building up as much color and as many shadows as you wish. At this point, applying the paint wet on dry will allow you to create small details in the branch’s texture.
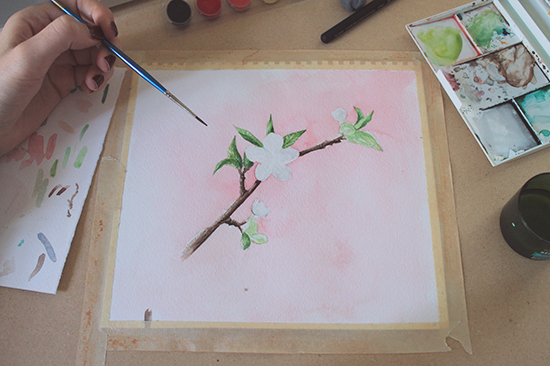
Stop every once in a while throughout the painting process to simply look at the painting. Assess what you have done so far, as it is very easy to get carried away, especially with watercolors, doing too much and saturating the piece with too many layers.
From awe-inspiring autumn to the snowy winter, learn to paint forestscapes as they appear in every season in Craftsy’s class “Painting Trees in Acrylic.”
Share tips, start a discussion or ask one of our experts or other students a question.
No Responses to “How to Paint Tree Branches: Two Approaches”