
There are plenty of reasons you would want to photograph your finished quilts: to enter them in a local or national quilting show, to preserve the memory if you are sending the quilt to a loved one, to create quilt-themed greeting cards and beyond. But if you have taken photos of your quilts before, you will no doubt recognize that it is difficult to get precisely the shot you are looking for. One corner might be slightly askew, there may be a wrinkle in one section of the quilt, or your lighting might not show off your fantastic machine quilting efforts.
Here are some tips for how to photograph your finished quilts.

Photo via Craftsy instructor Amanda Murphy
1. Lighting
The lighting on a quilt can make or break the way the finished photograph turns out. It can change the color of the fabrics, diminish the beauty of the quilting stitches, or wash out the quilt all together. When you shoot your quilt outdoors, make sure that it is out of direct sunlight and that there isn’t any glare on one particular part of the quilt. When photographing indoors, make sure to turn off all of the lights around you and put your quilt by a large window that has lots of natural light streaming in.
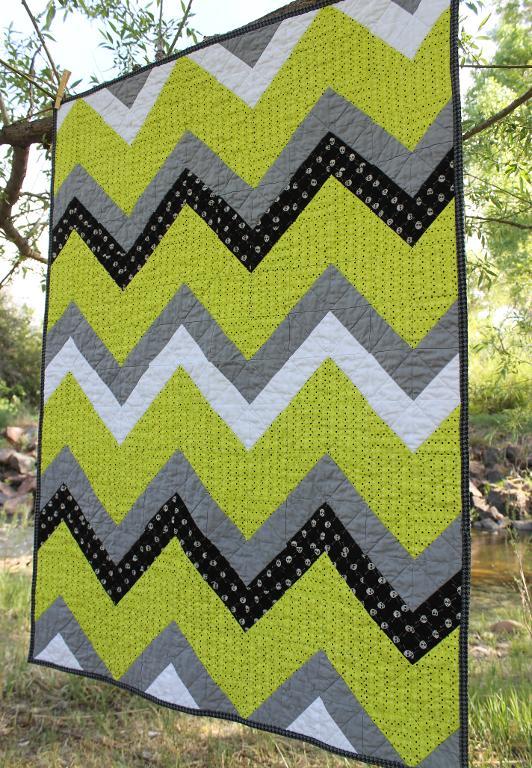
Photo via Craftsy instructor Amy Gibson
2. Properly hang your quilt
For hanging your quilt, it can be helpful to use a quilt rack system of some sort. A quilt doesn’t look its best when there are fingers in the corners holding it up! Be creative and use what you have. You can tack a quilt on a large wall, hang it from a banister, or temporarily hang it from a fence or the side of your house. Look around your house and even your neighborhood and find a large area with good natural lighting. As you hang your quilt, make sure it is very square (top to bottom AND side to side). Taking plenty of time to set up your quilt before photographing it will give you a much better result, and you’ll be glad you put in the extra effort.
You might also enjoy our free video tutorial on how to correctly hang your quilt.

Photo via Craftsy instructor Angela Walters
3. Take a range of photos
When everything is set, make sure to snap a few pictures of your quilt so you’ll have a few to choose from. Try different compositions — zoom-in to capture intricate details, step back and snap the whole quilt, get it from the left and right, and so on.
4. Hire a professional
If you’re entering a local or national show with your quilt or want a very high-quality photograph, consider using a professional. With professional photography you want to make sure your price includes unlimited use of the photos. Some photographers maintain the rights over the picture, making it difficult to get permission to use it for show entries and publication. C&T Publishing offers a fantastic service. You can send them your quilt and they will set it, photograph it and return it with a digital image for you to use, without any strings attached! You can use the digital image for any purpose, for as long as you’d like.
For more help capturing the stunning quality of your quilts in photographs, be sure to check out Craftsy’s online photography classes.
Share tips, start a discussion or ask one of our experts or other students a question.
No Responses to “How to Photograph Your Quilts for Stunning Results”